Hello Ai fans!
It's a Watercolor Weekend so let's talk Watercolor!
First of all, Bonnie finished up her Christmas Journal.
If you missed it, you can find all of the tutorials here on the blog. For a bit longer there will be a tab on the top of this page that says Bonnie's Journal. You can click that. After that is removed you can search the tag "Christmas Journal" and find all of the tutorials.
The next big news in Watercolor is that there is a Harvest Journal and a Halloween Journal coming!
There are new stamp and die sets as well as paper, available NOW!
You can view the new collection here.
Just as with the Christmas Journal sets, you can purchase them separately or as a bundle to save some money.
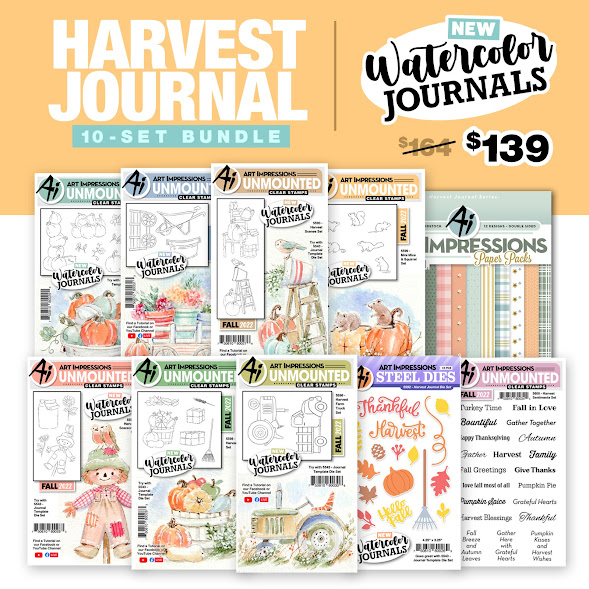
There will be live tutorials for the Harvest Journal every other Wednesday beginning October 12th.
There will also be a recorded tutorial for the bonus Halloween Journal. The Halloween Journal will mostly use images from the Harvest, a couple from the Christmas Journal release and will also feature a few NEW sets which will be available Oct. 12th.
Now, since it is a WC Weekend it's time to share what our amazing design team has put together for you.
Hello,
I'm so happy Autumn has arrived. I love everything about it. I hope you want to give this cute scene a try.
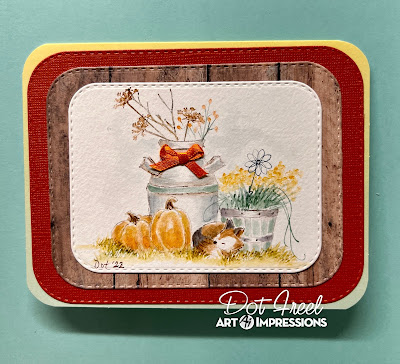
You can do it fairly fast and use any containers, fillers and animal you have but if you want to make this one, start by stamping the fox from the 5016 Mini Critters set inked in Tombow 969. Cover him with a mask then stamp the pumpkin next to him from the 5426 Veggies set inked in the 969. Cover that with a mask so you can stamp the other pumpkin. Then stamp the basket from the 5059 Harvest Set in 969 and 565 behind the fox. Stamp the pot from the 4701 Clay Pot set inked in both 969 and 565. Pull the color out of the lines. Color the pumpkins with the 933, 993 and 947. The stems are 969 then use the fine point tip of the brown TwinTone to darken the stems. The fox is colored with 947, N25 and 969. Darken his eyes and nose with the brown TwinTone. The basket is colored with 312 and N25. Darken the nails with the fine tip of a gray pen. Stamp the flower from the 5264 Decorative Post Set inked in N52. Then use the large grass from the 4051 Foliage Set 1 inked in 312 inside the basket. Ink the vines from the 5474 Flower Set 5 in the 312 and stamp them on either side of the basket. Clean the stamp off then ink just the flowers in 993 and stamp them above the grass. Color the clay pot in N52 and the band in 312. Stamp the branch from that same set inked in 969. Stamp the flower in 947. Stamp the berries in 933 and their stems in 312. Color the sky with the N52. Stamp the small grass from the foliage Set 1 inked in 026 in front and pull the color out. Use the 5062 Rounded Corner Rectangles to cut it out along with background pieces.

You can do it fairly fast and use any containers, fillers and animal you have but if you want to make this one, start by stamping the fox from the 5016 Mini Critters set inked in Tombow 969. Cover him with a mask then stamp the pumpkin next to him from the 5426 Veggies set inked in the 969. Cover that with a mask so you can stamp the other pumpkin. Then stamp the basket from the 5059 Harvest Set in 969 and 565 behind the fox. Stamp the pot from the 4701 Clay Pot set inked in both 969 and 565. Pull the color out of the lines. Color the pumpkins with the 933, 993 and 947. The stems are 969 then use the fine point tip of the brown TwinTone to darken the stems. The fox is colored with 947, N25 and 969. Darken his eyes and nose with the brown TwinTone. The basket is colored with 312 and N25. Darken the nails with the fine tip of a gray pen. Stamp the flower from the 5264 Decorative Post Set inked in N52. Then use the large grass from the 4051 Foliage Set 1 inked in 312 inside the basket. Ink the vines from the 5474 Flower Set 5 in the 312 and stamp them on either side of the basket. Clean the stamp off then ink just the flowers in 993 and stamp them above the grass. Color the clay pot in N52 and the band in 312. Stamp the branch from that same set inked in 969. Stamp the flower in 947. Stamp the berries in 933 and their stems in 312. Color the sky with the N52. Stamp the small grass from the foliage Set 1 inked in 026 in front and pull the color out. Use the 5062 Rounded Corner Rectangles to cut it out along with background pieces.
Next up is Tricia who has created a fantasy type scene with incredible colors in her sky and beach. Her little mermaid just steals the show though.
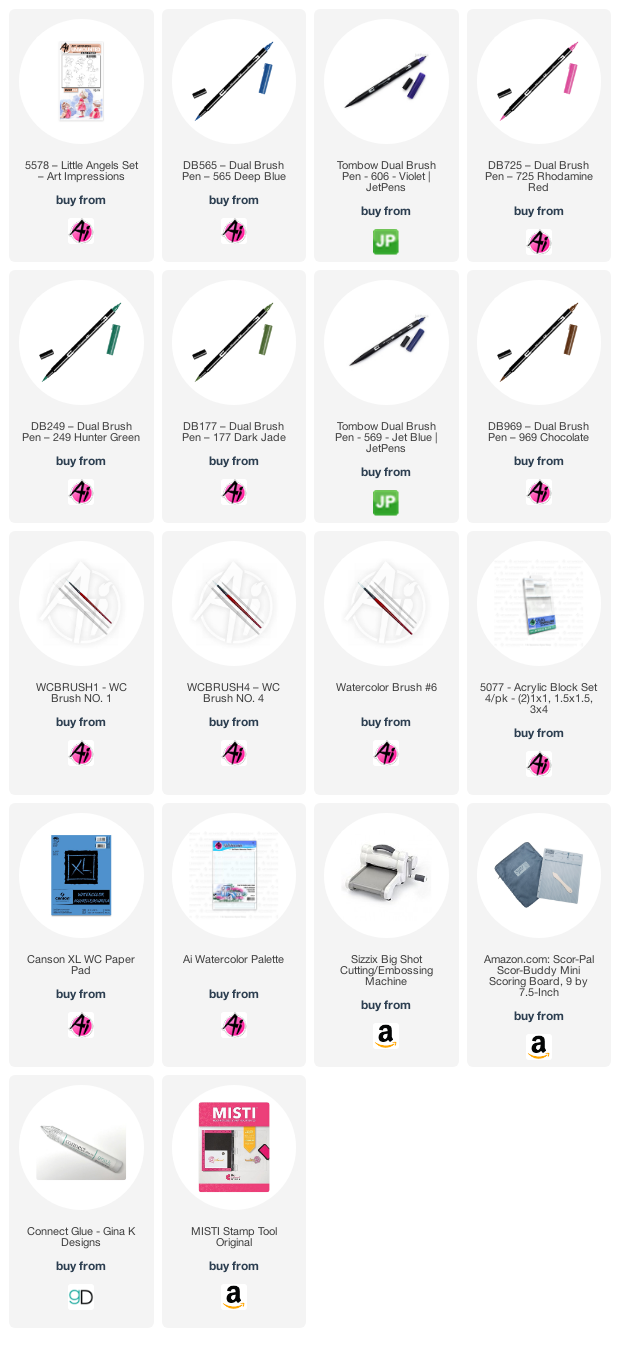
Hey watercolor fans!!! I am so excited to share this “out of the box” painting with you. I challenged myself to any stamp set I decided to use into a Halloween/Fall themed project. It was so much fun! You gotta try it! I decided I was going to take the angels stamp set and turn them into Halloween Costumes. I shared some on Instagram. After finishing this one, I hope to put a cute background on all of them.
Hey watercolor fans!!! I am so excited to share this “out of the box” painting with you. I challenged myself to any stamp set I decided to use into a Halloween/Fall themed project. It was so much fun! You gotta try it! I decided I was going to take the angels stamp set and turn them into Halloween Costumes. I shared some on Instagram. After finishing this one, I hope to put a cute background on all of them.
I started out by inking up the sitting angel from the NEW angels set. I didn’t ink up the top of her shoes, the line between her legs, portions of her hair or her wings, the key is anywhere you don’t want to fight the line, leave it off. I stamped it off twice so she was really light.
I learned a couple of things after doing this one, I would color her shirt and body (is that right for a mermaid?) first and then use a fine tip to draw in the scales. I used a gradient color from purple to blue. I drew in her tail and tried to keep the dark shadows along the edges of her fins.
For her hair, I penciled in how I wanted it to look and then built up the red to get a really rich color. I start out by doing a light wash and then by start building each layer and letting it dry completely and leaving highlights. You can always fill in later. I added some pink to her face and arms.
Once she was done, I painted in the water, sand and sky using a lot of different colors. Again, lots of layering and drying between layers to get rich dark colors. Bleed proof white is also premium for me as I tend to be heavy handed. I painted in the water around her with thin swirls to give the impression of water.
I love being able to get so much more out of my stamps and get some really cute paintings. I have several more coming so stay tuned!
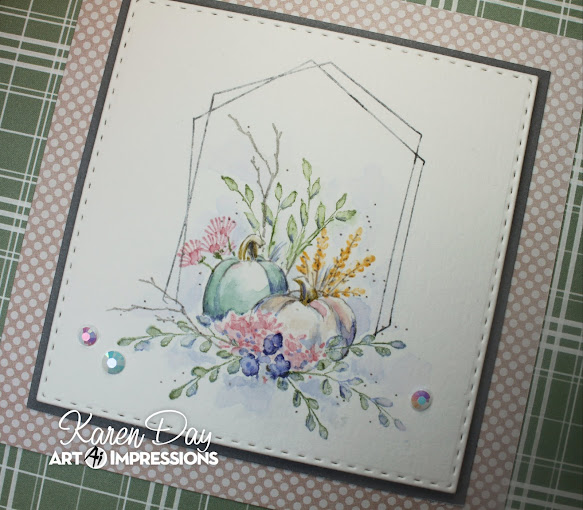
Bringing us to the finish line for this WC Weekend is Karen. She always uses such soft, beautiful colors. This time she has a framed pumpkin scene and she found the perfect little gems to accent it.
Hello everyone!

Hello everyone!
I have a fall image today using a non-traditional colour scheme. I practiced on scrap paper first, to make sure that the foliage I chose worked, and to determine the placement of each element.
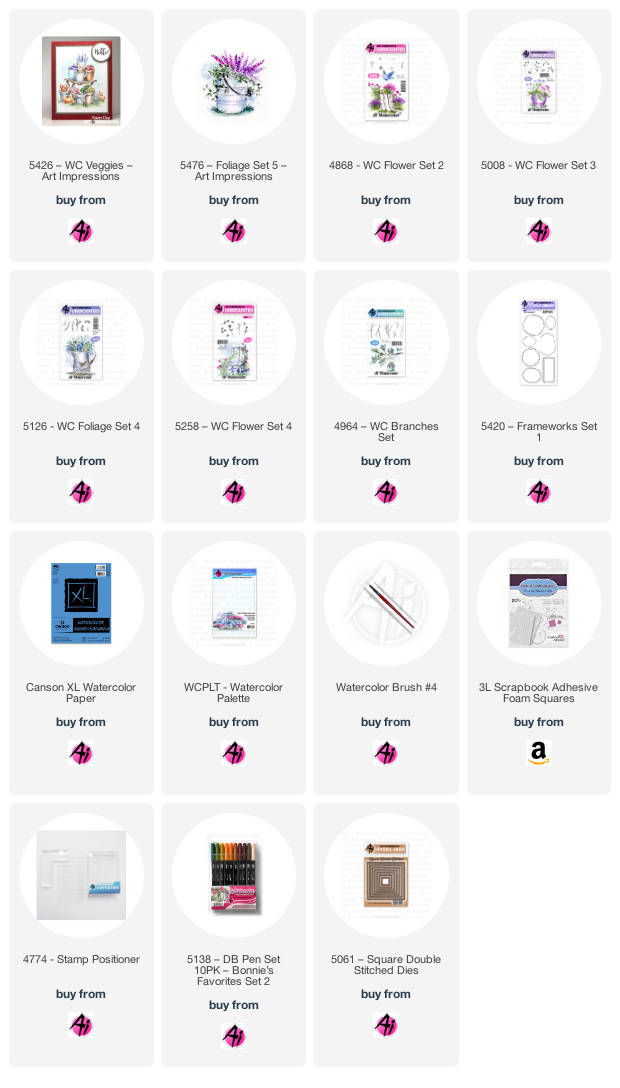
I began with the two pumpkins from 5426 WC Veggies, stamping them in N45 for a lighter image, masking the one in front before stamping the one behind. I began my floral spray from the bottom up, and coloured the two vines from 5476 - WC Foliage Set 5 in both #533 and #158, for a two-toned look. I stamped the tiny heart flowers from 4868 - WC Flower Set 2 in #772 repeatedly to create the pink flowers, then added the roses from #5258 - WC Flower Set 4 in #533/565. With the wheat stamp from 5008 - WC Flower Set 3, I stamped it multiple times in #991, added the leafy branch from 5126 - WC Foliage Set 4 in #158, and the spiky flower from 5258 - WC Flower Set 4 in #772. I used a damp brush to gently dab the images, and painted a pale wash of #533 around them. The pumpkins were painted in with #312/992/772 and their stems with #098. To finish off, I added the twigs from 4964 - WC Branches Set in N55, and then used my positioner to place the frame from 5420 - Frameworks Set 1, being sure to mask off the floral scene so that just the top of it showed - using #N55. I added a few dots to the background, then die cut it with 5061 - Square Double Stitched Dies, and mounted it with 3D foam tape onto the background.


Thank you for joining our 3 DT Members and for sharing in our new release!
Have a wonderful weekend everyone!




2 comments:
All of these are stunning in their own style!!
Thanks for your inspiration.
Mary Bernard
each card is truly spectacular!! Such amazing talent!!
Post a Comment