Hello Ai Watercolour fans! It's time for the Watercolour Weekend post.
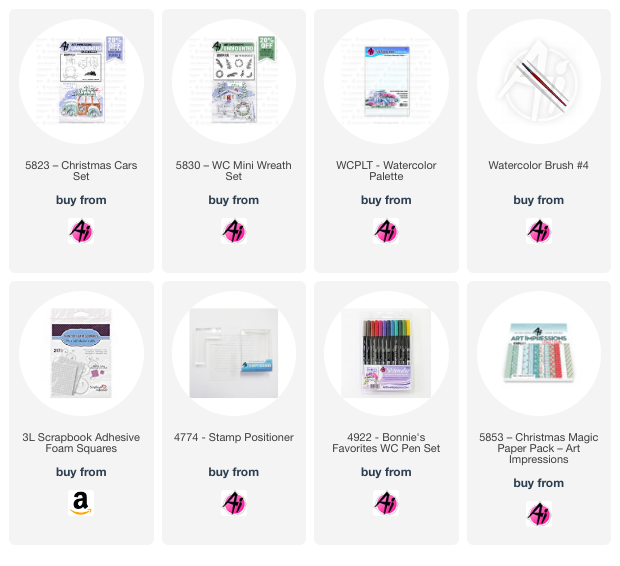
I'm using Bristol Smooth Cardstock today, as it is a lovely bright white colour, and it works well for snowy scenes. I first cut out the decorative oval die shape, so I'd have my painting area defined for me. I inked up first the car, then the presents using Tombows #969/565 - purposely stamping the presents just a little askew, as though they were precariously stacked on the roof, with the help of my stamp positioner. I picked the larger wreath from 5830 - WC Mini Wreath Set, coloured it with #249, and stamped it on the front of the car.
I picked my colour palette according to my background paper, so started painting the car with #526, using a watered down layer on the hood of the car, which would be lighter, and a more saturated shade for the front and undersides of the vehicle. #N45 was used to paint in the tires, and all the chrome bits around the headlights and grill. I used #126/703/847/249 to paint in the presents, adding some diagonal stripes on some of the wrapping paper. I painted in a wash of #565 as the sky, trying to indicate some snowbanks at the side of the road, and used it to shade under the tires, and on the windshield. I lightly touched the wreath with a damp paintbrush, and added dots of #847 as berries. To create my snow, I used Bleedproof White Paint to add snow on the parcels, car and wreath, along with a few snowflakes in the sky.
This was fairly quick and easy to paint - so I plan to make a bunch more to send this season. To assemble my card, I cut out a slightly larger oval in the same warm pink shade as my present, and mounted it behind my scene. I adhered it to my striped paper from the 5853 - Christmas Magic Paperpack
My second card to share is a Snowglobe Shaker card! These are so little and fun to make - and there are so many possibilities to use with the shaker shape.
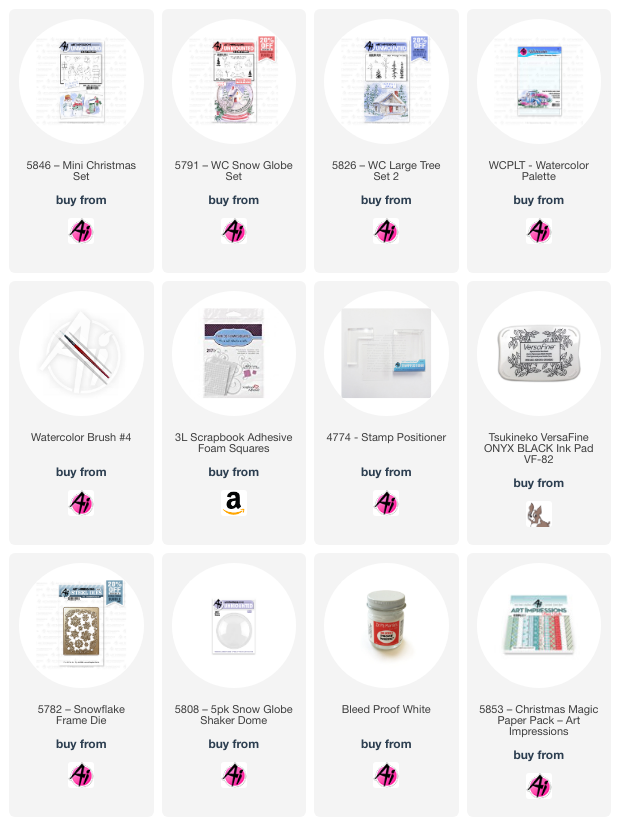
I chose the snowmen duo from 5846 - Mini Christmas Set, using Tombows #969/565, and stamping them on Bristol Smooth Cardstock. I then traced around them using the dome as a guide. I cut out a mask, and covered up the snowmen, then used the smallest pine tree from 5826 WC Large Tree Set 2, and stamped it three times in #249 to appear behind them. I painted in #526/847 on their scarves and clothes, and used #N45 for his top hat, adding layers to darken it at the sides to appear rounded. I used my #933 marker directly on the paper for their noses, and then painted a wash of #565 as the sky, and as shadows around my snowmen - shadows are the key to making the snowmen stand out against a snowy background! After touching the trees with a damp paintbrush, I used Bleedproof White paint to add snow to the branches, around the base of the snowmen, and as a few falling snowflakes. I used my Twintone Navy marker to add in a few of the lines that needed to be darker - especially their faces.
I decided on a 5" square card, and chose several papers from the 5853 - Christmas Magic Paper pack, using the circle die that comes with the 5791 - WC Snowglobe Set to cut the opening in the striped paper. I glued the scene to my card base, added some glitter and snowflakes on top of it, then adhered the 5808 - Snowglobe Shaker Dome onto it, sealing in all the shaker bits. I added the striped paper over top, then added the base of the snowglobe, which I had stamped, painted and fussy cut out to complete my globe! *Don't forget to remove the plastic coating that covers the dome, before you put the paper over top (ask me how I know!!) The sentiment is included in the Snowglobe set. I used a few of the snowflakes from the 5782 - Snowflake Frame Set to glue around my globe.
The air has turned cooler where I live in Canada, so I'm starting to feel festive, and am in the mood to create for the holidays. I hope I've inspired you to pull out your supplies and get busy! Have a wonderful Watercolour Weekend.
Christmas Cars:

Snowglobe Card:


.jpg)


3 comments:
Both of these are gorgeous Karen!
Both cards are beautiful.
Spectacular painting and cards, Karen!!
Post a Comment