Showing posts with label 5846 - Mini Christmas Set. Show all posts

Saturday, December 2, 2023

It's a Winter Wonderland by Janet


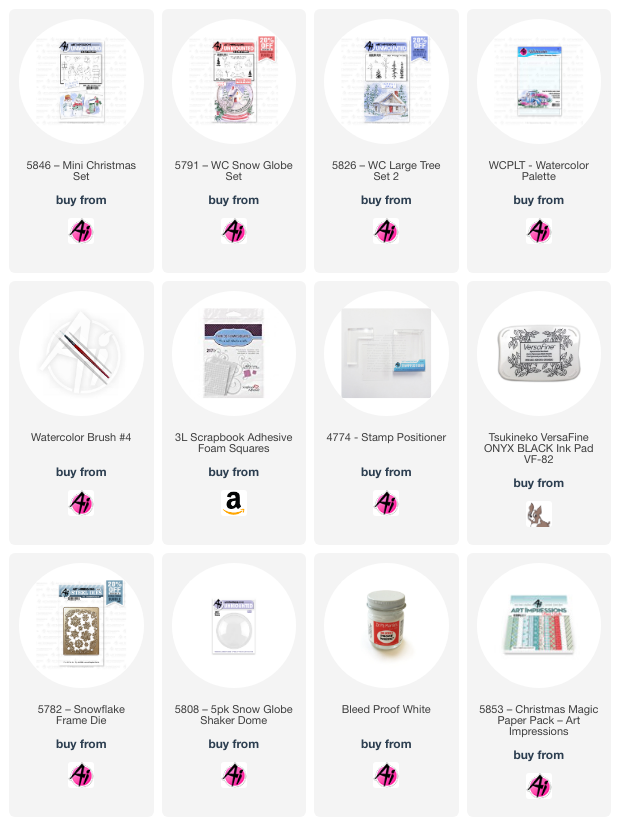
Happy Saturday Ai fans! I know you all have been busy making cards. I really enjoy interactive cards. Today I have a fun little shutter card featuring 5802 - Joyful Snowman Set. The front of the card shows off the cute snowman and rabbit. I think the two of these little stamps work so beautifully together! For this card I used the 5853 - Christmas Magic Paper Pack for the front and interior mats. I colored the two stamps with Copic markers and then cut them out using the included dies. I created mats out of this paper plus some white glitter paper. I so love this set. The images are just so adorable.
 
As cute as the outside of the card it, I think the inside is very cute as well. This is a shutter card so as the card is opened, the image of the little snowman is revealed. He's from the 5846 - Mini Christmas Set. He fits so perfectly in the shutter. 

Here's a close up of the shutter when it's opened. It's so fun to open the card and see the image revealed in the window.

Thanks for stopping by today. I hope you'll stop by the store to see all the things you need for your card, journal, and tag making projects. 


Janet YouTube - Blog - Facebook - Instagram - Pinterest  

Tuesday, November 21, 2023

Holidays Shaker Tags by Nina

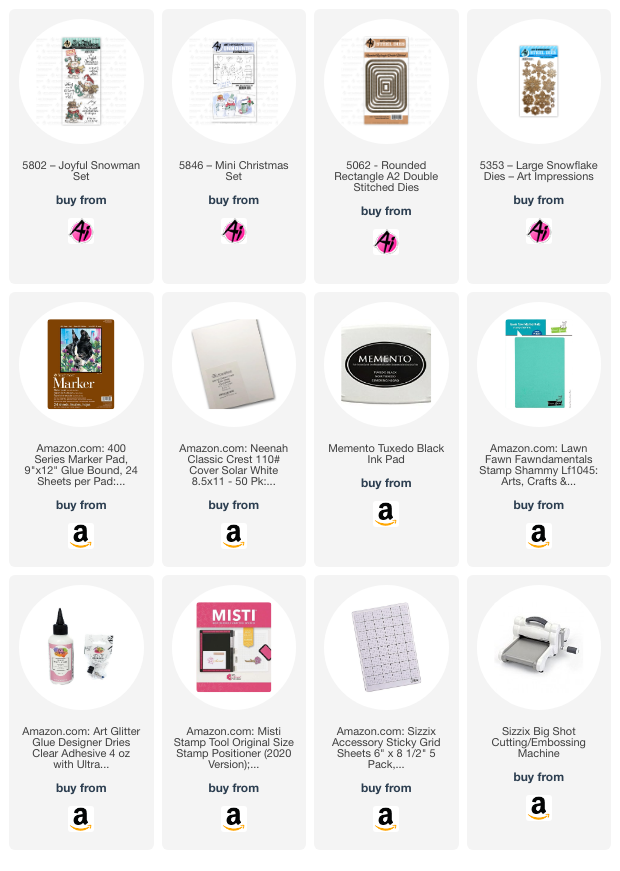
 Hello Ai fans, Nina here and I am so excited to share with you today's project. I made these adorable Christmas shaker tags that you can easily recreate and use for your Christmas gifts. I used our recently released Mini Christmas Set and the Journal Template Die Set.


I started by Stamping all these cute images on a thick white paper using Memento Tuxedo Black Ink and my Mini Misti and colored them with Copic markers.

I then cut all around the images leaving a white border all around which gives this chic finish to the images.

To create the shaker part I basically die cut two frames from the Journal Template die set and sandwiched the shaker beads in between both the frames. Let me explain in details.

For each tag I die cut the frame twice. I choose red cardstock to match my Christmas theme. for one of the frames I taped the inside rectangle to the outer frame from the back and then backed it with a scrap of paper to hide the tape, this would be the bottom background. I then glued this very light blue background.

To create a well for the beads to freely move in without falling out, I placed thin strips of foam tape on the edges of this bottom layer. Make sure they are too thin and place it on the outer edges only so that when you attach the top frame all the foam tape is hidden underneath.

I then poured the beads and placed a piece of acetate wide enough to attach to all the foam tape all around so the beads donot escape.

I then added glue on the edges of the acetate and placed the final frame on top of it.

Finally I attached all the images on top of the acetate with double sided tape.

I forgot to add the twine loops to be able to hang the tags before taking the pictures. If you keep them without the loop they are so cute to attach to the box of a gift or the mini gift card boxes. to make it a tag just cut a small twine and glue it to the back.



Sunday, November 5, 2023

Christmas Cars and a Wintery Snowglobe by Karen Day

 Hello Ai Watercolour fans!  It's time for the Watercolour Weekend post.

It's Karen here with you this week, and I've been having a great time painting with many of the new Ai Christmas stamp sets.  I may have squealed when I first saw 5823 - Christmas Cars Set... it's possibly my favourite set ever created by Bonnie - so I couldn't wait to ink it up.


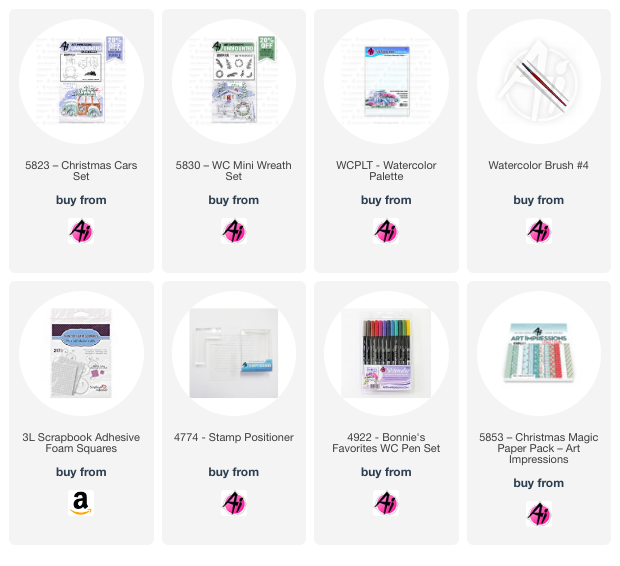
I'm using Bristol Smooth Cardstock today, as it is a lovely bright white colour, and it works well for snowy scenes.  I first cut out the decorative oval die shape, so I'd have my painting area defined for me.  I inked up first the car, then the presents using Tombows #969/565 - purposely stamping the presents just a little askew, as though they were precariously stacked on the roof, with the help of my stamp positioner.  I picked the larger wreath from 5830 - WC Mini Wreath Set, coloured it with #249, and stamped it on the front of the car.


I picked my colour palette according to my background paper, so started painting the car with #526, using a watered down layer on the hood of the car, which would be lighter, and a more saturated shade for the front and undersides of the vehicle.  #N45 was used to paint in the tires, and all the chrome bits around the headlights and grill.  I used #126/703/847/249 to paint in the presents, adding some diagonal stripes on some of the wrapping paper.  I painted in a wash of #565 as the sky, trying to indicate some snowbanks at the side of the road, and used it to shade under the tires, and on the windshield.  I lightly touched the wreath with a damp paintbrush, and added dots of #847 as berries.  To create my snow, I used Bleedproof White Paint to add snow on the parcels, car and wreath, along with a few snowflakes in the sky.

This was fairly quick and easy to paint - so I plan to make a bunch more to send this season.  To assemble my card, I cut out a slightly larger oval in the same warm pink shade as my present, and mounted it behind my scene.  I adhered it to my striped paper from the 5853 - Christmas Magic Paperpack

My second card to share is a Snowglobe Shaker card!  These are so little and fun to make - and there are so many possibilities to use with the shaker shape. 


I chose the snowmen duo from 5846 - Mini Christmas Set, using Tombows #969/565, and stamping them on Bristol Smooth Cardstock.  I then traced around them using the dome as a guide.  I cut out a mask, and covered up the snowmen, then used the smallest pine tree from 5826 WC Large Tree Set 2, and stamped it three times in #249 to appear behind them.  I painted in #526/847 on their scarves and clothes, and used #N45 for his top hat, adding layers to darken it at the sides to appear rounded.  I used my #933 marker directly on the paper for their noses, and then painted a wash of #565 as the sky, and as shadows around my snowmen - shadows are the key to making the snowmen stand out against a snowy background!  After touching the trees with a damp paintbrush, I used Bleedproof White paint to add snow to the branches, around the base of the snowmen, and as a few falling snowflakes.  I used my Twintone Navy marker to add in a few of the lines that needed to be darker - especially their faces.


I decided on a 5" square card, and chose several papers from the 5853 - Christmas Magic Paper pack, using the circle die that comes with the 5791 - WC Snowglobe Set to cut the opening in the striped paper.  I glued the scene to my card base, added some glitter and snowflakes on top of it, then adhered the 5808 - Snowglobe Shaker Dome onto it, sealing in all the shaker bits.  I added the striped paper over top, then added the base of the snowglobe, which I had stamped, painted and fussy cut out to complete my globe!  *Don't forget to remove the plastic coating that covers the dome, before you put the paper over top (ask me how I know!!)  The sentiment is included in the Snowglobe set.  I used a few of the snowflakes from the 5782 - Snowflake Frame Set to glue around my globe.


The air has turned cooler where I live in Canada, so I'm starting to feel festive, and am in the mood to create for the holidays.  I hope I've inspired you to pull out your supplies and get busy!  Have a wonderful Watercolour Weekend.

Christmas Cars:
Snowglobe Card: