Hello Ai fans!
Welcome to our latest challenge.

Under the Dome!
Over the next two weeks we want to see your snow globes, domes and shaker cards.
They don't need to be holiday themed unless you want them to be. We'll also accept snow globe stamps without a dome over them. It's the holiday season and we want to include as many people as possible!
Before we see our Featured Designer Janet's beautiful card, let's see who won our All the Fall challenge.
We selected her Halloween card but we also love her other entry.
Please contact Leah at Feedback@artimpressions.com
to claim a free stamp set of your choice!!
Also, be sure to grab our badge to display on your blog, Facebook or Instagram!
Please contact Leah at Feedback@artimpressions.com
to claim a free stamp set of your choice!!
Also, be sure to grab our badge to display on your blog, Facebook or Instagram!
I love a "country" Christmas and Janet's woodgrain and snowflake paper bring so much charm to her card. I can just imagine the smile on someone's face when they receive this card and give it a shake!

I love it when it's my turn to feature a card for you and today I'm here with you as my alter ego, Jingle the snow girl. Hi everyone! You'll see me peaking in on all the photos in this tutorial. I'm tickled pink with excitement for the holiday season. So let's get started with my project!
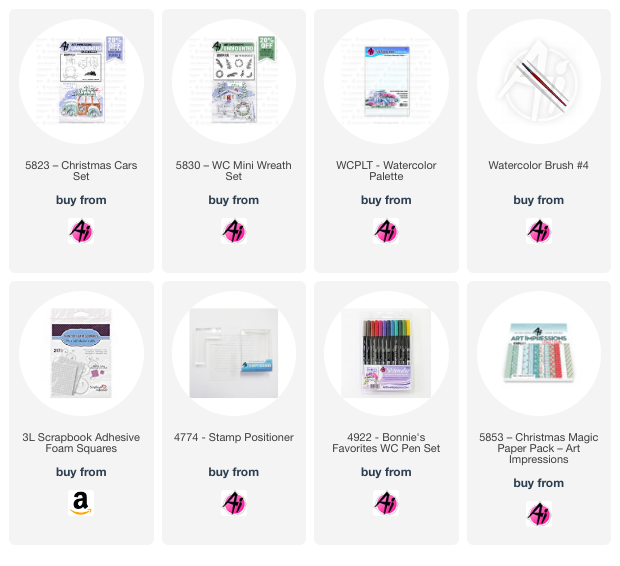
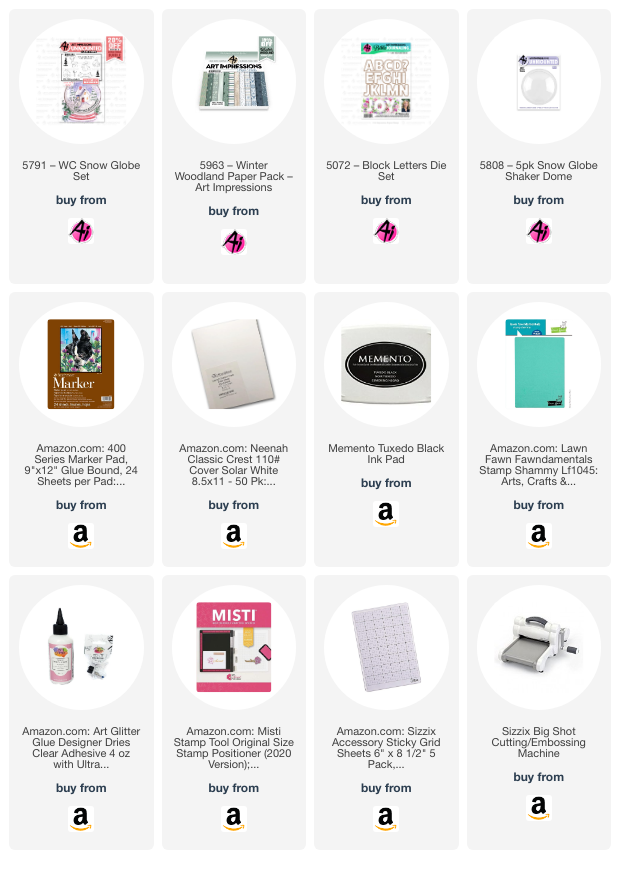
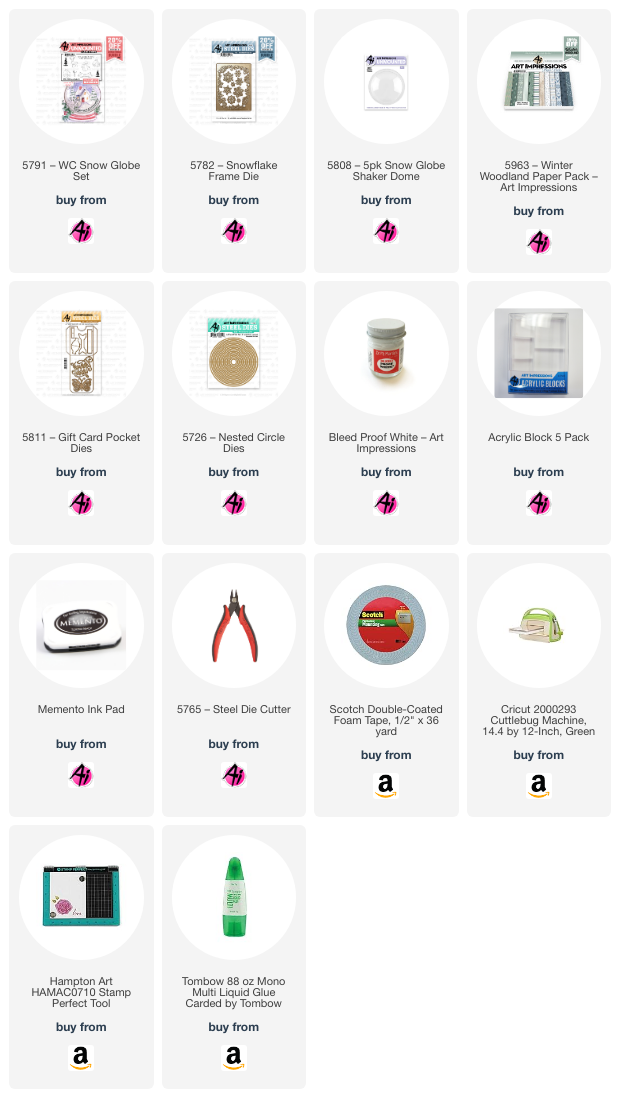
The card is simple enough for anyone to try. Although it's not complicated, it packs a special punch by the use of a 5808 - Snow Globe Shaker dome which is available at the Ai store. If you are not into the work of creating a traditional shaker but if you like the look, this is for you! Each dome attaches to your project easily because it's stick and go with adhesive already included on the outer edge. There's no fuss to use the domes for any season or theme and it couldn't be easier! And to make it even better, Ai has a special set, 5791 - WC Snow Globe Set, which includes just the right circle die for the dome opening, stamps of items to go inside the shaker, and even a shaker base to really give the impression of a snow globe. I used the basics of this set for a clean look. Here's a close-up to show how it looks on the final project including the snowman inside and shaker snow. Hi Jingle!

To prep for this card, I cut a white panel at 3.75" x 5." I used the circle die included in the set to cut a horizontally centered circle in the panel with the top edge of the circle about 3/4" from the edge. I used the same die to cut a circle from a piece of snowflake paper from the 5963 - Winter Woodland Paper Pack. It will be the background for the shaker. Next I cut a piece of snowbank for the snowman to be mounted to. I cut a little dip in this piece but it isn't necessary to do that. I stamped, colored and cut out the snowman image from the set and attached it to the snow bank. I chose another pretty piece of red word cardstock from the same paper pack and cut the word JOY out using dies from 5072 - Block Letters Die Set. Finally at the top, you'll see the Snow Globe Shaker Dome that I used on the project. The bottom of the dome is flat and the white circle you see is the adhesive backing which when peeled reveals adhesive that makes it possible to adhere the dome to paper.

To make sure the dome is in the right place on the card base, I put the snowflake circle with the dome on top on the card base (do not glue yet) and placed the white panel on top (also unglued) and then pushed the panel around until it was centered on my wood patterned card base. I carefully removed the panel and the dome and then glued the snowflake circle in place, lifting part of it up at a time so that I didn't have to move the paper out of place. Then I glued the snowbank with the cute snowman which I had stamped, colored and cut out on the snowflake circle. In the center of the snowflake circle, I added about a 1/2 teaspoon of FloraCraft Diamond Dust. This is a finely crushed glass product which looks very much like snow. You can use all kinds of things for the shaker bits including sequins, beads, clay polymer pieces and even paper snowflakes which you can cut with included dies in the set. Once the shaker bits were piled in the center of the circle, I peeled the adhesive backing from the snow globe and seated it around the snowflake patterned circle. Just for extra security, I chose to apply a thin bead of liquid glue on top of the included adhesive before I put it down. It's probably not necessary but it makes me feel better to know there's no way the dome will come loose. Sorry for the terrible glare in this photo!

The last bit of work was to glue the Joy letters on the white panel. I stamped the sentiment from the set below that. As an added decoration, I pulled out my Journal Template Set and cut a flourish for the top of the card in gold cardstock. I also cut three red glitter stars which I glued to the card. To finish up, I only had to apply glue to the back of the finished white panel and apply it to the card base, allowing the snow globe dome to slip through the cut circle of the white panel. Here's the finished card again.
Thanks so much for joining Jingle and I to see what I created for the Under the Dome challenge. Join the challenge by uploading any card with any shaker element. You'll get to show off your work and you might even win a free stamp set!
Please visit the Ai store for the sets I used and all the things you need for your card, journal, and tag making projects. Happy creating!
Janet - YouTube - Blog - Facebook - Instagram - Pinterest
Thank you Janet for this wonderful tutorial. No one has an excuse not to try a
shaker dome now.
✻ Please make a new card or handmade crafty creation. You can make any item you wish; this is not limited to cards! (unless specified)
✻ Limit two submissions per person. You will receive extra votes if you use Art Impressions stamps!
✻Please include your first name and last initial on your submission.
✻We love to comment on your entries, but keep in mind if you use a private group or a platform that you need to sign up for, we probably won't be able to.
✻ The Ai Challenge is open to everyone, international submissions are welcome!
✻ Include a link back to the Ai Blog or grab our button on the top right of our sidebar!
✻ Share the Ai love if you can, by clicking and commenting on your fellow crafters.
✻ Make sure to get your link up by the deadline to enter your creations.
✻ Good luck and happy stamping!


.jpg)