

Today I have two cards to share, featuring three fabulous, recently
released sets: 5928 – Stay Hydrated Set,
5916 – Woodland Castle Set, and 5915 – Woodland Fairies Set.
The first card features the Stay Hydrated Set. With the hot
summer heat upon us, we can all appreciate how important it is to stay hydrated.
This fashionable gal is looking fabulous and ready for her day with her big tumbler! It’s fun to
coordinate her outfit with the background paper. I’ve watercolored this image,
but she looks great paper-pieced as well!
Stay Hydrated and
Fabulous Card:
 This card came together quite quickly. I used a MISTI stamp
platform to stamp the image onto Canson XL watercolor paper. I inked the stamp
image with Ranger Pebble Beach Archival Ink and stamped it off once onto scrap
watercolor paper before stamping it onto my watercolor paper. If I happened to
miss a spot, I would repeat the process. I like to use this ink when I’m
painting people. This ink retains the fine details, is waterproof, and works
well with skin tones. I also inked just the tumbler alone and stamped it onto a
separate piece of watercolor paper to use later on this card. I
stamped the Hydrated sentiment onto this tumbler in Versafine Onyx Black Ink.
This card came together quite quickly. I used a MISTI stamp
platform to stamp the image onto Canson XL watercolor paper. I inked the stamp
image with Ranger Pebble Beach Archival Ink and stamped it off once onto scrap
watercolor paper before stamping it onto my watercolor paper. If I happened to
miss a spot, I would repeat the process. I like to use this ink when I’m
painting people. This ink retains the fine details, is waterproof, and works
well with skin tones. I also inked just the tumbler alone and stamped it onto a
separate piece of watercolor paper to use later on this card. I
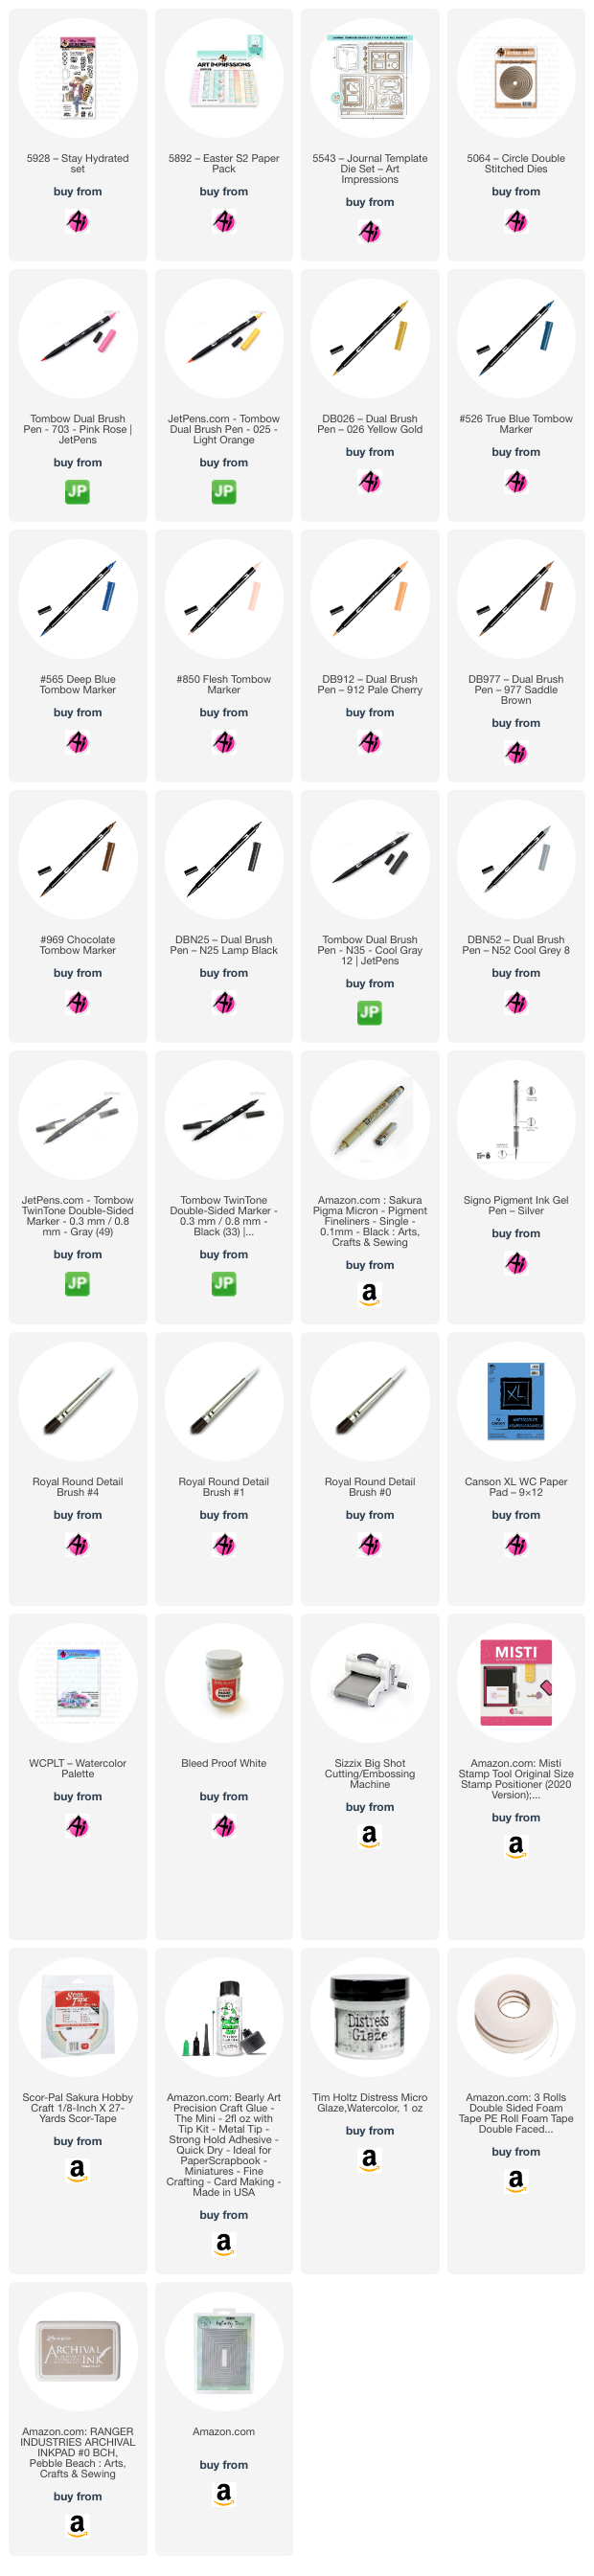
stamped the Hydrated sentiment onto this tumbler in Versafine Onyx Black Ink.For her face, arms, and ankles I painted them with 850 and
shaded with 912. For her pants, shoes, and sunglasses lens, I used N35 and
shaded with N25. Her oversized shoulder bag was painted in 977 and shaded with
969. For her hair and earring, I used 025 and 026. For her white shirt, I
shaded with a watery mix of N52 and a less diluted N52 for the darker areas
inside her shirt. For her pink shirt, sunglasses frame, and lips I used 703. I
added a little diluted 703 for her cheeks. For the background, I brushed in a
watery mix of 526. I used 565 to add a shadow under her foot. With a 0 brush, I
added white highlights to the lens of her sunglasses. I used a gray or black
TwinTone to add back details where needed.
For the separate tumbler stamped image, I used 703 for the
body. I then used a Silver Signo Gel Pen to color the brim/lid. I shaded the
straw, lid, and tumbler with a small amount of 565. Next, I die-cut the
painting with a rectangle die and also die-cut another slightly larger rectangle
in black for a mat. I closely trimmed the tumbler image with a pair of scissors
and used foam squares to pop-up the tumbler on the painting. The pink gingham background
paper is from the 5892 – Easter S2 Paper Pack. All were attached to a
black card base. I stamped the Liquid Therapy sentiment in Onyx Black onto
watercolor paper and die-cut with a circle die from 5064 – Circle Double
Stitched Dies and die-cut a mat from black cardstock with a scalloped die from 5543
– Journal Template Die Set and adhered to the card front with a foam square. For the interior of my card, I stamped the Stay Fabulous sentiment
and the tumbler in Versafine Onyx Black ink onto watercolor paper die-cut with
a rectangle die. I masked the edges of the body of the tumbler and stamped the
animal print onto the tumbler, using Onyx Black ink. The tumbler was painted in
the same way as the one on the front and adhered the rectangle to the inside of
the card. This card is now ready to send to a girlfriend who needs to be
reminded of just how fabulous they are! Now on to my next card…
For the interior of my card, I stamped the Stay Fabulous sentiment
and the tumbler in Versafine Onyx Black ink onto watercolor paper die-cut with
a rectangle die. I masked the edges of the body of the tumbler and stamped the
animal print onto the tumbler, using Onyx Black ink. The tumbler was painted in
the same way as the one on the front and adhered the rectangle to the inside of
the card. This card is now ready to send to a girlfriend who needs to be
reminded of just how fabulous they are! Now on to my next card…
Hope your Day is
Magical Card:

I think the new 5916 – Woodland Castle Set and 5915 –
Woodland Fairies Set work great together to create a fun, whimsical scene. And
they are super adorable sets with lots of options! This card was inspired by
Bonnie’s recent Watercolor Wednesday LIVE video tutorial (Jun 12, 2024) showing
how to place the wildflowers in the foreground to give your finished scene more
depth.
I started by die-cutting a piece
of Canson XL watercolor paper with a rectangle die. With the same sized rectangle
die, I die-cut another rectangle from purple cardstock and then die-cut it
again with a smaller rectangle to create a frame. I laid the frame on top of my
watercolor paper and lightly traced the interior with a pencil to give me a
boundary to paint within. Then, I masked off the edges with Post-it tape. I
inked the large castle stamp from the Woodland Castle set in 969 and 565, and
stamped it off once before stamping it onto my watercolor paper. With the castle
now in place, I made a mask to place over it. Using the 5379 – WC Winding Scene,
I inked the top two hillsides and the one on the right just below in N79 and
stamped into place over the masked castle. With a pencil, I sketched in the
remaining hills. Next, I inked just a portion of the curving road in N79 and
stamped it into place at the castle doors to create a path/road.
First, I brushed in a watery sky with
526. I pulled some color from the image to shade the castle and add contours to
the turret walls. Next, I inked the line of bushes stamp from 5372 – WC Mini
Foliage Set in 177 and stamped along the top hills. With a damp No. 4 brush, I
dabbed the bushes. With color from my palette, I added more 177 to the top hills
and pulled some color from the bottom edges of the bushes. I did the same
process for the next set of hills below, but used 249 this time. With 177
again, I painted in the grassy areas around the castle and added tiny grass to
the hillside edge.
For the flowers in the foreground,
I inked the daisy bunch from 4052 – WC Flower Set 1 in 993 and stamped in
multiple bunches. I did the same with 526. Next, I dabbed the flowers lightly
with a no. 4 brush. Before adding any more flowers or foliage, I painted in a light
base of 177 below the daisy bunches. Once dry, I added tall grasses from 5007 -
WC Foliage Set 3 inked in 177 along the bottom edge here and there, and kind of
bounced the grass up and down as I stamped so they appear more random. Next, I
stamped in the tall purple flowers from 4052 – WC Flower Set 1 inked in 636 for
the flowers and 249 for the stems. Then I added the red flowers from 5008 - WC
Flower Set 3, inking the flowers in 856 and the stems in 177 and stamped them
here and there throughout the scene. I added foliage to the wildflowers
throughout, inked in 249 or 177. I chose foliage from 4051 – WC Foliage Set 1
and 5126 – WC Foliage Set 4. I also stamped leafy vines from set 4051 inked in
249 to the top corners and center to look like leafy tree branches in the
foreground. I dabbed all the flowers and leaves with a damp brush.
I used 526 to paint the turrets,
roof edge, balcony, and door trim. The flags, turret edging, and doors were all
painted with 025 and shaded with 026. The windows were painted with 565, and I
painted a shadow along the top of the door. And with a mix of 565 and 969, I
added color to the path. I inked the tiny vine from 5372 in 177 and added foliage
around the castle edges and lightly dabbed with a damp brush. With Dr. Ph.
Martin’s Bleed Proof White and a no. 0 brush I added frames to the windows and
dabbed in some tiny flowers near the castle and some larger dabs of flowers
among the wildflowers. I also added some white to the red flower centers. Once
dry, I added yellow centers to the white flowers with the bullet tip of 993. I
added a tiny bit of shading under the white flowers with 565. Where needed, I added some fine
details with a brown or gray TwinTone marker.
With the painting now complete, I
removed the tape from the edges of the painting and erased any pencil lines. I adhered
the purple frame to the painting with foam squares. I attached the purple patterned
paper from the new 5939 – Fairy Garden Paper Pack and the painting to a white card
base. I stamped the “Hope Your Day is Magical” sentiment onto Watercolor paper
and die-cut the circle and mat using the same dies from the previous card and
attached them to the card frame. Added a little bling to the tag.


For the interior of the card, I stamped the “Wishing you the best day ever!” sentiment and little fairy in Versafine Onyx Black Ink onto a rectangular piece of white cardstock and adhered to the card base.
I love how this sweet and whimsical fairy card turned out and I look forward to making more cards with these adorable new sets. Thank you for joining me for another Watercolor Weekend! Until next time, Happy Painting!


2 comments:
Two gorgeous projects, Diane!
They're both amazing, Diane! Beautiful paintings and design!
Post a Comment