Showing posts with label 5892-Easter S2 Paper Pack. Show all posts

Monday, March 10, 2025

Easter Shadow Box card by Sharon Caudle

 Hello AI Fans!

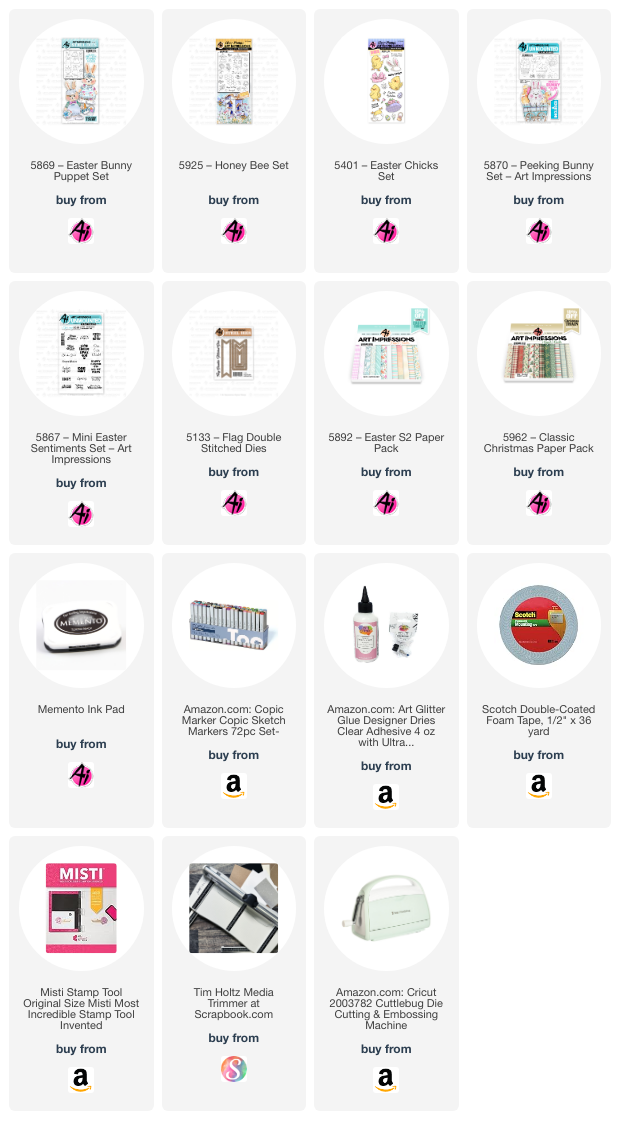
Are you loving all the beautiful Easter projects everyone is posting??!! I love this time of year! A time of renewal, faith, and hope. I'm starting to see a few sprigs of green grass slowly peeking out. Winter is definitely not done yet, but spring is coming! I wanted to create a fun shadow box card using a bunch of different Easter images available from Art Impressions. This box was a lot of fun to make! I started out by stamping all these fun images onto a Copic friendly paper and then coloring them with the Copic markers I've listed below for you. I just noticed I forgot to put the cute little white dots on the Peeking Bunny image, but I don't think it detracts from his adorable face. I built up the shadow box from a shadow box die set I have in my stash, and then cut out some strips from AI paper and used a grass die to create a fun polka dotted grass element. It just adds to the whimsy of this project. I used I love that this folds flat for mailing! 


That top cross piece is supposed to add stabilization to the shadow box, but I used such a heavy cardstock I didn't really need it.  I wasn't sure if I was going to hang anything, so I went ahead and added it anyway. 


And here's a good look at how dimensional this really is. I love it! 


So that's it for me today! I hope you enjoyed my project. Thanks so much for stopping by for a visit and until next time - stay crafty!! 
Copic markers used:
E21, 33, 40, 41, 97, and 99
Y02, 13, 15, 19, 35, and 38
YG01, 03, and 05
R01, 02, and 20
V01
G00
B00, 91, 93, and 95


Saturday, February 1, 2025

Life is Better with Friends by Janet


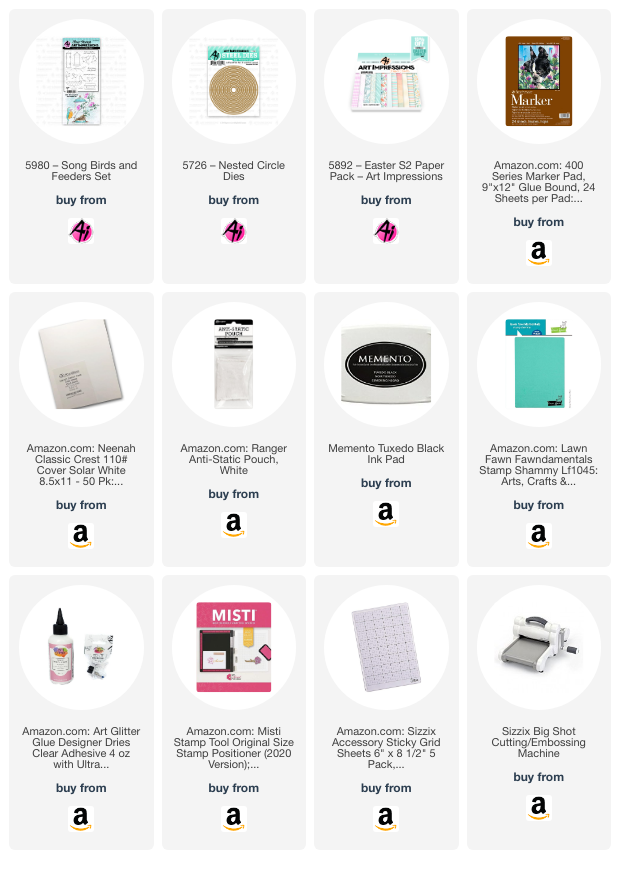
Hello and happy weekend! Have you seen the beautiful new stamp set that Kim Hein designed yet? It's called 5980 - KH Song Birds and Feeders Set. This is for the bird lovers out there. In this card, I've used just one of the many images dedicated to our feathered friends.

To make my card I first cut out a circle on alcohol ink friendly cardstock using 5726 - Nested Circle Dies. Then I stamped the image and added one additional bird on the left side. I knew this was going to be about friends so I had to have two birds! I colored the bird bath with cool gray markers and made one bird with a blue breast and the other with a red breast. These guys are friends even though they're very different from each other. Do you have any friendships that are the same? I bet you do. 

After I finished coloring the stamped images, I used a blender stick from Ranger and applied some blue ink here and there to make a sky. I grounded the birdbath with a warm gray marker. Though simple to color, the effect is nice.

There's a lot going on in the card background but it doesn't overpower the birds. I enjoy combining patterns and you're good to go when you use Ai Paper packs because each pack coordinates perfectly together. I used a a piece of patterned paper from 5892 - Easter S2 Paper Pack and cut it with a lattice background die. I cut a middle rectangle piece out of the same paper pack for the center and behind it all, I used another design from the same pack. 

Thanks so much for joining me here at the blog today. As always, please visit the Ai store for the products I used and all the things you need for your card, journal, and tag making projects. Happy creating!

Janet YouTube - Blog - Facebook - Instagram - Pinterest 


Monday, September 2, 2024

Let's Get Together by Sharon Caudle

 Hello AI Fans!!

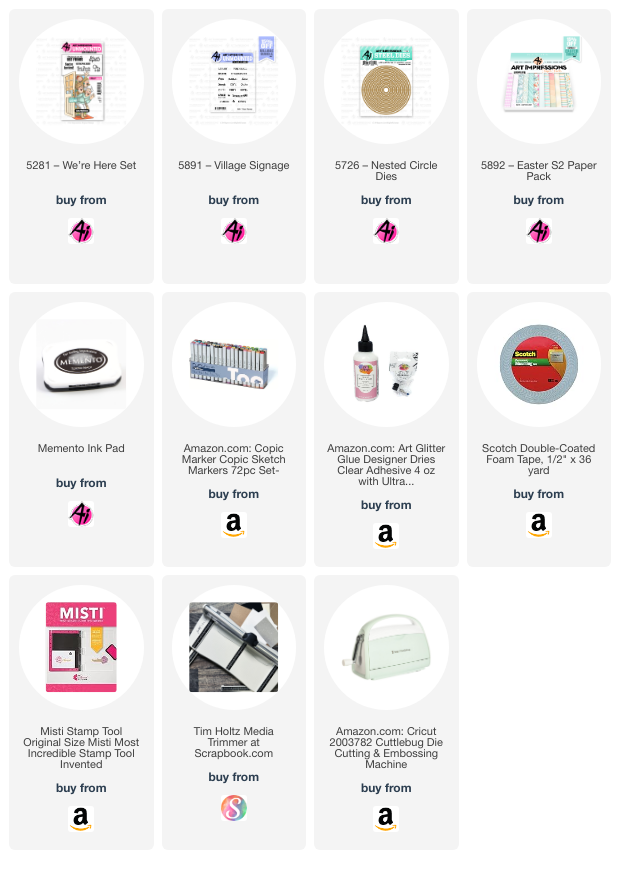
The current challenge is "My Favorite Peeps" and I do LOVE Art Impressions Girlfriends and people!! My card today fits right in with that challenge and features #5281 We're Here Set! I just love this image! Who doesn't absolutely love to get together with their friends?!! Especially to craft!! Did you notice the sign hanging on the door? I used #5891 Village Signage to stamp AI Crafts onto the sign so everyone is showing up at AI to have a blast!! I also used 5726 Nested Circle dies for the sentiment and #5892 Easter S2 Paper pack. As you can see, it's perfect for any card, not just Easter!  The images were stamped using Memento Tuxedo black ink onto Copic friendly paper, and then colored with Copics which are listed below. 


Thanks so much for stopping by for a visit today and until next time - stay crafty!!


Copics used:

E000, 00, 04. 11, 17, 30, 31, 41, 42, 43, 44, 51, 53, 55, 57, 59, 97, and 99
C1, 3, 4, 5, and 6
B00, 91, 93, and 95
BG72 and 75
V12 and 15
R12, 20, and 22
Y26


Saturday, August 24, 2024

Beach Babes Rule by Janet


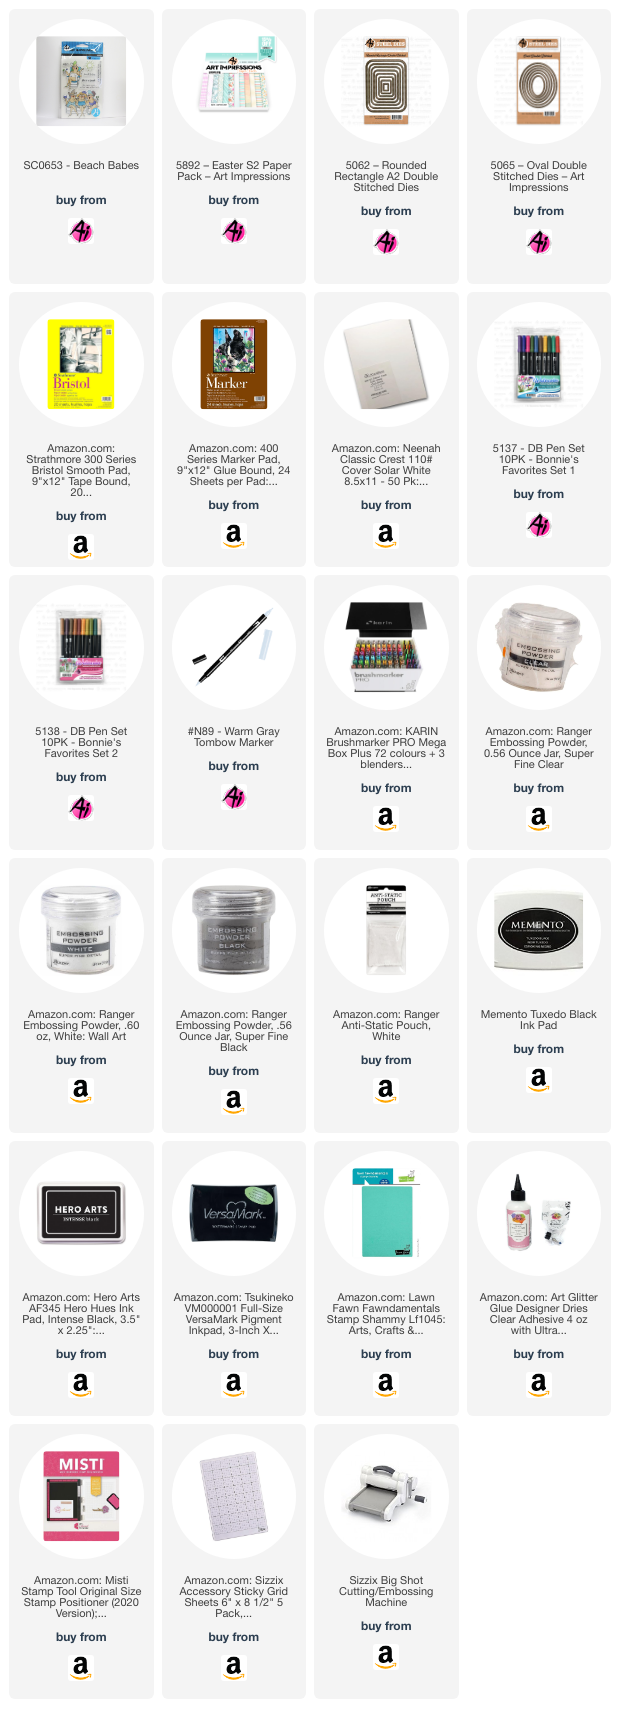
Greeting! Today I'm here with a summer card that I hope will give you grin. I do love Ai's people and the Girlfriend's line is always good for a laugh. This set is called Beach Babes SC0653. As a lady of a certain age, I can easily image myself in these girls although I don't particularly look like any of them. Rather, they reflect my attitude and way of looking at life and this set doesn't disappoint! After stamping it, I loosely drew and colored a sidewalk or cement deck for the chairs to rest on. It's pretty basic but it works for a cartoon style of card that this is.

I colored the three ladies and then used a die from the 5062 Rounded Rectangle A2 Double Stitched Dies to cut it out. I cut out an oval out of orange cardstock using 5065 Oval Double Stitched Dies. Then I cut another rounded rectangle out in blue cardstock. I cut a rectangle with my paper cutter out of 5892 Easter S2 PP. The pattern of loose stripes and colors reminds me of the beach. 

I made an A2 side-folding card out of Kraft cardstock. Next came the patterned paper, then the largest rounded rectangle and the oval on top of that. I adhered the ladies slightly high on the card front, leaving enough room for the sentiment. I added round pale blue and clear jewels to each corner to finish it off. I don't know about you, but it makes me want to grab a couple friends and visit a pool deck!

Thanks so much for joining me here today. Please visit the Ai store for the sets I used and all the things you need for your card, journal, and tag making projects. Have a great weekend!

Janet YouTube - Blog - Facebook - Instagram - Pinterest


Tuesday, July 30, 2024

Friendship Birds by ReneƩ Matarese

 Hello Ai fans!

Today I'm sharing two bird cards with you.
They're very similar but I did one in the portrait layout
and one in landscape. I also changed up the sentiments
and border color.


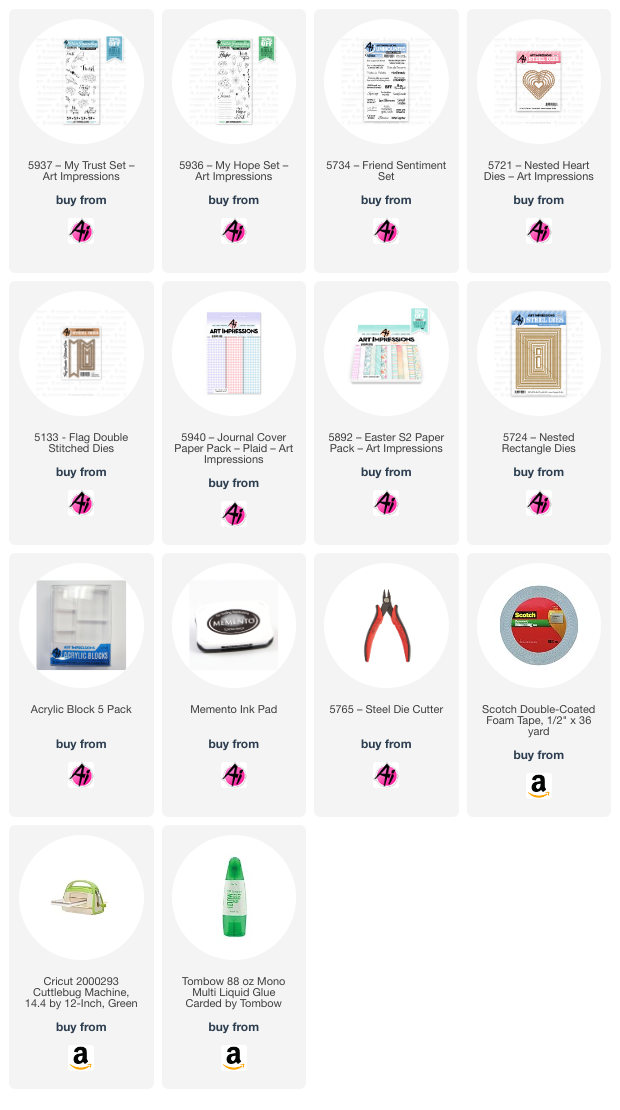
I used both the new 5937 – My Trust Set and 5936 – My Hope Set.
The sentiments are both from 5734 – Friend Sentiment Set.


The dies and paper are all linked below.
There are so many beautiful images in these two
stamp sets. I love them both!


Copics used:

RV13, RV14, RV52B02, B91,
E13, W1, YR23, Y13, V09

Thursday, July 25, 2024

Buzzing By by Dori Mendiola

 Happy Thursday AI Friends!

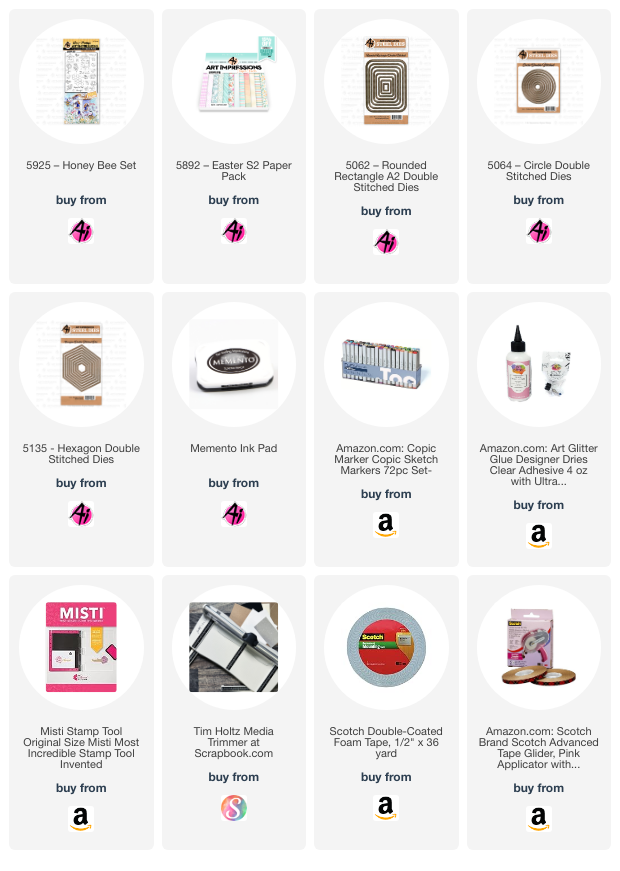
My card for today fits the All A-Buzz Challenge going on this week.  Check out the "Bi-weekly Challenge" tab above for the details and join in on the fun.  Create a card/project using insects.  I used the #5925 - Honey Bee set for my card.  What a great fun set.  It includes flowers, bees, honey jar, bee hive and so much more plus dies to go with each of the images.  

A complete set for creating a beautiful scene.  


I love making interactive cards so this one is no surprise that I made the bees buzz around.  I stamped each of the images onto copic friendly paper and colored with copic markers listed below.  I die cut each of the images with the corresponding dies, included in the set, and placed them aside while I built the base for the card.  
I used the #5892 Easter S2 paper pack and the largest #5062 Rounded Rectangle A2 Double Stitched die to cut the pattern paper.  Then I used two circles from the #5064 Double Stitched Circle dies to cut the round track for the bees to buzz around.  I placed foam tape behind the circle as well as the rectangle, making sure not to place too close to the outside of the circle so the bees can spin, and adhered onto a black cardstock background.  I slipped a dime (or disc, thin button, etc.) under the track and placed a square pop dot, cut in half, on top of the dime.  Then I placed two bees on top of the foam dot.  I used two bees so that I could hide the dime from showing.  

After making the mechanism, I decorated the rest of the card using the images I had colored and die cut.  I created the grass using a die cut and patterned paper from my stash.  I also used the Rounded Rectangle A2 die to cut the bottom portion of the grass so it fit nicely over the striped base. I glued the stem portion of the flowers underneath the grass and popped up the flower portion using foam tape.  Lastly, I stamped the sentiment, from this same set, and die cut using the #5135 Hexagon Double Stitched Die set.

That's my card for today!  Hope you play along with us and enter your creative card/project into the challenge.  You could win a free stamp set and who can say "No" to that.  

Have a great day and enjoy creating!

Copics used:  N2, N4, N7
E21, E23, E25, E27
Y11, Y13, Y15, Y17
YG41, YG45
B0000, B000
R02, R05


Sunday, July 21, 2024

"Stay Hydrated and Fabulous" Card and "Hope Your Day is Magical!" Card by Diane Mason

Hello, and welcome back for Watercolor Weekend!

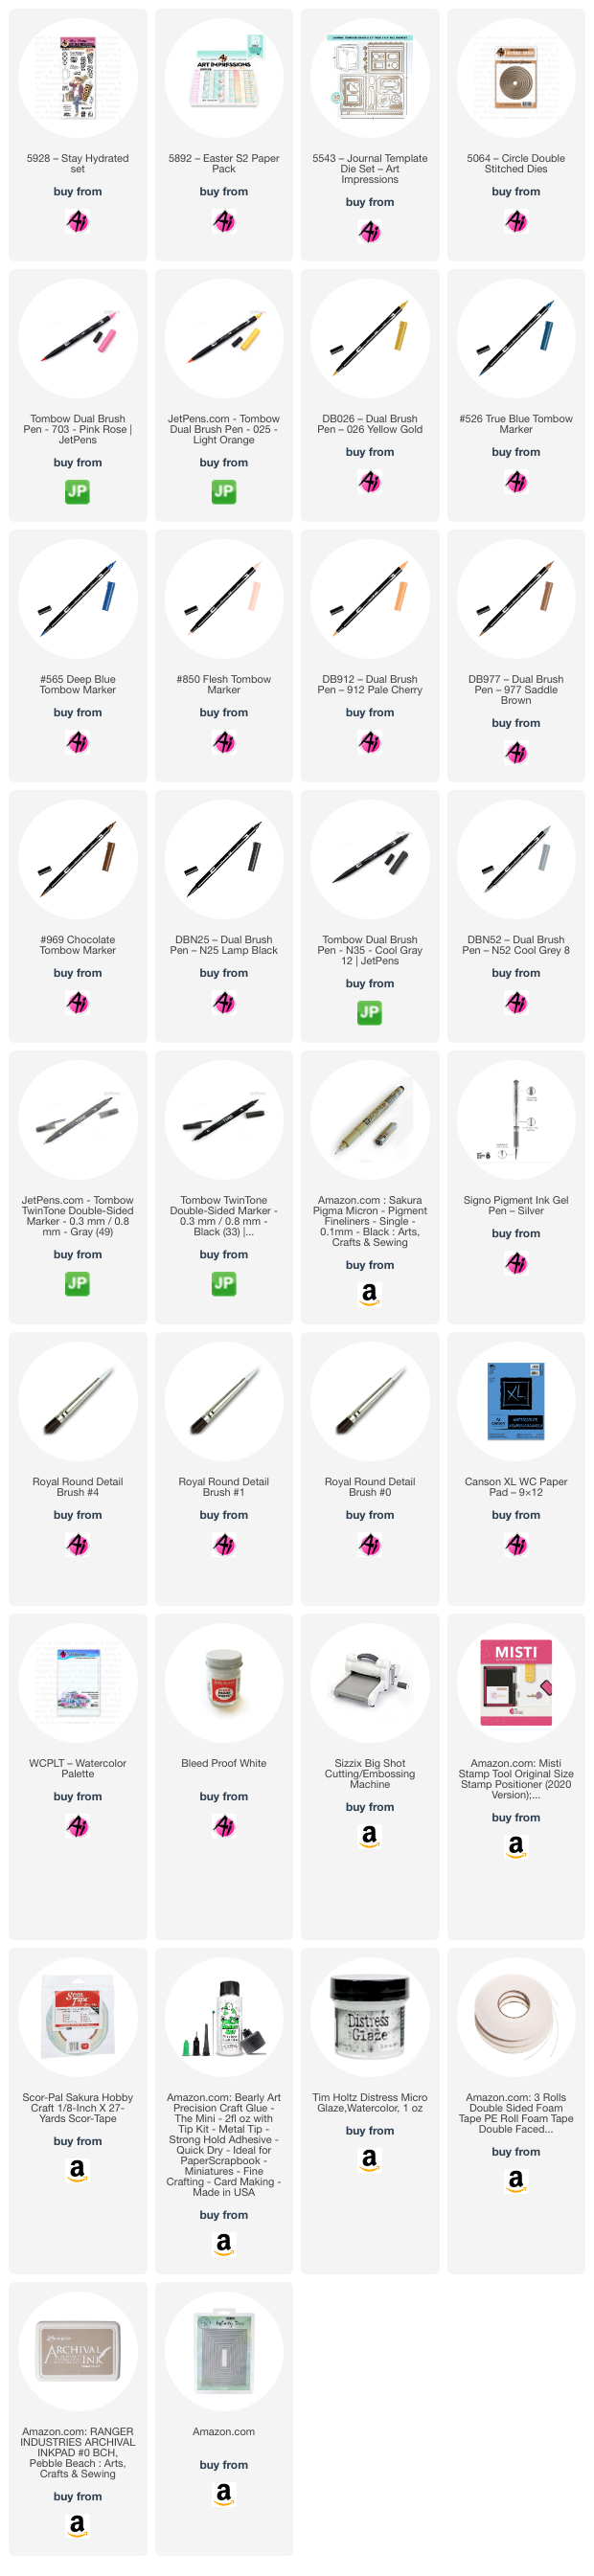
Today I have two cards to share, featuring three fabulous, recently released sets:  5928 – Stay Hydrated Set, 5916 – Woodland Castle Set, and 5915 – Woodland Fairies Set.

The first card features the Stay Hydrated Set. With the hot summer heat upon us, we can all appreciate how important it is to stay hydrated. This fashionable gal is looking fabulous and ready for her day with her big tumbler! It’s fun to coordinate her outfit with the background paper. I’ve watercolored this image, but she looks great paper-pieced as well!

Stay Hydrated and Fabulous Card: 

This card came together quite quickly. I used a MISTI stamp platform to stamp the image onto Canson XL watercolor paper. I inked the stamp image with Ranger Pebble Beach Archival Ink and stamped it off once onto scrap watercolor paper before stamping it onto my watercolor paper. If I happened to miss a spot, I would repeat the process. I like to use this ink when I’m painting people. This ink retains the fine details, is waterproof, and works well with skin tones. I also inked just the tumbler alone and stamped it onto a separate piece of watercolor paper to use later on this card.­­­­ I stamped the Hydrated sentiment onto this tumbler in Versafine Onyx Black Ink.

For her face, arms, and ankles I painted them with 850 and shaded with 912. For her pants, shoes, and sunglasses lens, I used N35 and shaded with N25. Her oversized shoulder bag was painted in 977 and shaded with 969. For her hair and earring, I used 025 and 026. For her white shirt, I shaded with a watery mix of N52 and a less diluted N52 for the darker areas inside her shirt. For her pink shirt, sunglasses frame, and lips I used 703. I added a little diluted 703 for her cheeks. For the background, I brushed in a watery mix of 526. I used 565 to add a shadow under her foot. With a 0 brush, I added white highlights to the lens of her sunglasses. I used a gray or black TwinTone to add back details where needed.

For the separate tumbler stamped image, I used 703 for the body. I then used a Silver Signo Gel Pen to color the brim/lid. I shaded the straw, lid, and tumbler with a small amount of 565. Next, I die-cut the painting with a rectangle die and also die-cut another slightly larger rectangle in black for a mat. I closely trimmed the tumbler image with a pair of scissors and used foam squares to pop-up the tumbler on the painting. The pink gingham background paper is from the 5892 – Easter S2 Paper Pack. All were attached to a black card base. I stamped the Liquid Therapy sentiment in Onyx Black onto watercolor paper and die-cut with a circle die from 5064 – Circle Double Stitched Dies and die-cut a mat from black cardstock with a scalloped die from 5543 – Journal Template Die Set and adhered to the card front with a foam square.For the interior of my card, I stamped the Stay Fabulous sentiment and the tumbler in Versafine Onyx Black ink onto watercolor paper die-cut with a rectangle die. I masked the edges of the body of the tumbler and stamped the animal print onto the tumbler, using Onyx Black ink. The tumbler was painted in the same way as the one on the front and adhered the rectangle to the inside of the card. This card is now ready to send to a girlfriend who needs to be reminded of just how fabulous they are! Now on to my next card…

Hope your Day is Magical Card:­­­­­

I think the new 5916 – Woodland Castle Set and 5915 – Woodland Fairies Set work great together to create a fun, whimsical scene. And they are super adorable sets with lots of options! This card was inspired by Bonnie’s recent Watercolor Wednesday LIVE video tutorial (Jun 12, 2024) showing how to place the wildflowers in the foreground to give your finished scene more depth.

I started by die-cutting a piece of Canson XL watercolor paper with a rectangle die. With the same sized rectangle die, I die-cut another rectangle from purple cardstock and then die-cut it again with a smaller rectangle to create a frame. I laid the frame on top of my watercolor paper and lightly traced the interior with a pencil to give me a boundary to paint within. Then, I masked off the edges with Post-it tape. I inked the large castle stamp from the Woodland Castle set in 969 and 565, and stamped it off once before stamping it onto my watercolor paper. With the castle now in place, I made a mask to place over it. Using the 5379 – WC Winding Scene, I inked the top two hillsides and the one on the right just below in N79 and stamped into place over the masked castle. With a pencil, I sketched in the remaining hills. Next, I inked just a portion of the curving road in N79 and stamped it into place at the castle doors to create a path/road.

First, I brushed in a watery sky with 526. I pulled some color from the image to shade the castle and add contours to the turret walls. Next, I inked the line of bushes stamp from 5372 – WC Mini Foliage Set in 177 and stamped along the top hills. With a damp No. 4 brush, I dabbed the bushes. With color from my palette, I added more 177 to the top hills and pulled some color from the bottom edges of the bushes. I did the same process for the next set of hills below, but used 249 this time. With 177 again, I painted in the grassy areas around the castle and added tiny grass to the hillside edge.

For the flowers in the foreground, I inked the daisy bunch from 4052 – WC Flower Set 1 in 993 and stamped in multiple bunches. I did the same with 526. Next, I dabbed the flowers lightly with a no. 4 brush. Before adding any more flowers or foliage, I painted in a light base of 177 below the daisy bunches. Once dry, I added tall grasses from 5007 - WC Foliage Set 3 inked in 177 along the bottom edge here and there, and kind of bounced the grass up and down as I stamped so they appear more random. Next, I stamped in the tall purple flowers from 4052 – WC Flower Set 1 inked in 636 for the flowers and 249 for the stems. Then I added the red flowers from 5008 - WC Flower Set 3, inking the flowers in 856 and the stems in 177 and stamped them here and there throughout the scene. I added foliage to the wildflowers throughout, inked in 249 or 177. I chose foliage from 4051 – WC Foliage Set 1 and 5126 – WC Foliage Set 4. I also stamped leafy vines from set 4051 inked in 249 to the top corners and center to look like leafy tree branches in the foreground. I dabbed all the flowers and leaves with a damp brush.

I used 526 to paint the turrets, roof edge, balcony, and door trim. The flags, turret edging, and doors were all painted with 025 and shaded with 026. The windows were painted with 565, and I painted a shadow along the top of the door. And with a mix of 565 and 969, I added color to the path. I inked the tiny vine from 5372 in 177 and added foliage around the castle edges and lightly dabbed with a damp brush. With Dr. Ph. Martin’s Bleed Proof White and a no. 0 brush I added frames to the windows and dabbed in some tiny flowers near the castle and some larger dabs of flowers among the wildflowers. I also added some white to the red flower centers. Once dry, I added yellow centers to the white flowers with the bullet tip of 993. I added a tiny bit of shading under the white flowers with 565. Where needed, I added some fine details with a brown or gray TwinTone marker.

With the painting now complete, I removed the tape from the edges of the painting and erased any pencil lines. I adhered the purple frame to the painting with foam squares. I attached the purple patterned paper from the new 5939 – Fairy Garden Paper Pack and the painting to a white card base. I stamped the “Hope Your Day is Magical” sentiment onto Watercolor paper and die-cut the circle and mat using the same dies from the previous card and attached them to the card frame. Added a little bling to the tag.
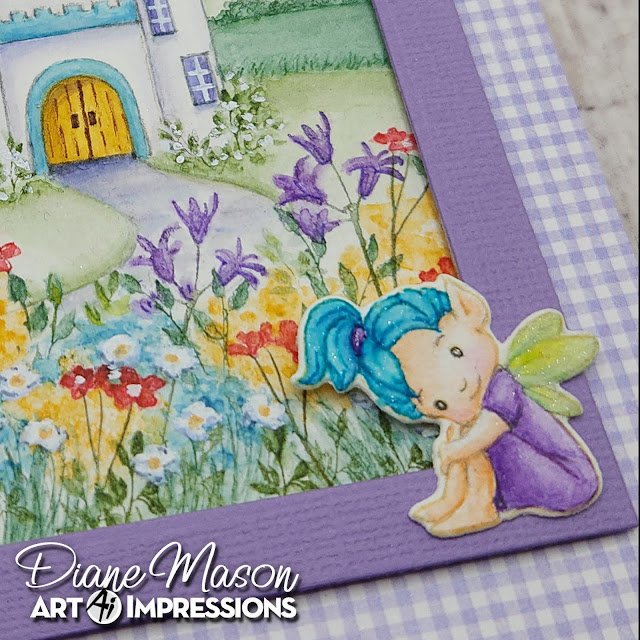

For the tiny fairy in the corner of the frame, I used Ranger’s Pebble Beach Archival Ink to stamp the image. I colored her skin with 850 and 912. I added a tiny bit of 703 to her cheeks. I used 526 for her hair and 636 for her dress and hair tie. I painted her wings lightly with 133 and 526. I darkened her eyes with a black Micron pen and brushed a little Spectrum Noir Clear Sparkle Pen onto her hair and wings to make them shimmer. After I die-cut out the little fairy, I attached her to the bottom edge of the frame.

For the interior of the card, I stamped the “Wishing you the best day ever!” sentiment and little fairy in Versafine Onyx Black Ink onto a rectangular piece of white cardstock and adhered to the card base.

I love how this sweet and whimsical fairy card turned out and I look forward to making more cards with these adorable new sets. Thank you for joining me for another Watercolor Weekend! Until next time, Happy Painting!

For the "Stay Hydrated" Card:

For the "Hope Your Day is Magical" Card:


Thursday, July 18, 2024

Beautiful Cross and Saying by Dori Mendiola

Happy Thursday AI Friends!

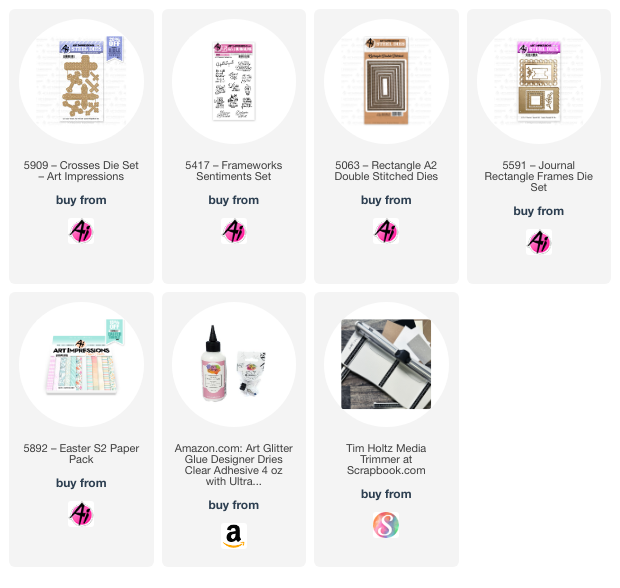
I have a spiritual card for you today using the new #5909 Cross Dies as well as the #5417 Frameworks Sentiment.  These cross dies are so beautiful and elegant.  Seven unique dies come in the set and can be used together, as I did below, or individually.


I created the background using Ranger alcohol inks, but you can also use your Copic marker refills for this technique.  I made this background awhile ago so not positive on the colors but I believe I used Butterscotch and Honeycomb.  I made several different backgrounds using this technique and it was so much fun creating different variations.  

Using a piece of felt and the straight edge of a protractor, any straight edge will work, I wrapped the felt over the straight edge and taped the sides down to hold into place.  I then placed a drop or two of the butterscotch alcohol ink onto half of the felt and honeycomb onto the other half.  For the paper, I used the back side of a piece of photo paper.  Place the straight edge onto the paper and zig zag it across the length of the paper.  This will create the sun-ray look.  You can do this same technique using rainbow colors and run your straight edge in a half circle across the paper.  These are just a few ideas, but there are so many other ways to create amazing backgrounds.  Have fun playing.

I used the largest rectangle die from the #5063 Rectangle A2 Double Stitched dies to cut the background and the #5591 Journal Rectangle Frames die,  using #5892 Easter S2 PP, to cut the scalloped frame for the sentiment.  I die cut the large cross out of white cardstock and the smaller cross out of a piece of yellow cardstock wrapped in packing tape to give it a glossy finish.  This is a nice alternative to using glossy accents and it die cuts wonderfully.  

Hope you enjoy my card today and have fun trying the alcohol ink technique.  


Monday, July 8, 2024

Hope your day is magical by Sharon Caudle

 Hello AI Fans!

I hope you're having a great start to your week. I have a card to show you today that fits right in with the Magical Creatures challenge that is going on right now. I used the new #5915 Woodland Fairies Set for those adorable fairies. There are so many adorable fairies in this set! I also used #5788 Whimsical Mushroom Set, #5346 Birdhouse Cubbies, and #5125 WC Elves Set for the big mushroom. I stamped them onto Copic friendly paper and then colored them with the markers which are listed below. 


Thanks so much for stopping by for a visit today and until next time - stay crafty!

Copics used:
E000, 00, 07, 09, 11, 17, 21, 23, 40, 41, 42, 43, 71, 74, 97, and 99
Y00 and 02
YG61, 63, 67, 91, 93, and 95
B000, 00, 01, and 02
G00 and 12
R01, 11, 12, 22, 24, and 27


Thursday, June 27, 2024

Get Well mini frame card by Dori Mendiola

 Happy Thursday AI Friends!

Have you seen the latest release at Art Impressions?  Fairies, Castles, papers and dies, oh my!  So much was released last week!  Make sure to check it out on the website.

I am a huge fan of dies so I decided to highlight the #5902 Mini Scalloped Frame die set that was released.  This set, plus the #5901 Mini Rectangle Frame die set, are must haves.  These make creating mini cards/frames so fun and are SO cute!


I created a mini get well tunnel card using the #5499 Get Well Matchbook stamp set.  This card measures approx. 3 1/2" by 2 1/2" and props up to sit on your desk, countertop, windowsill, etc. by the use of the easel that comes with the #5902 Mini Scalloped Frame die set. 


To make the tunnel card, I cut the scallop frame out of heavy cardstock using the Mini Scallop Frame die and the largest oval from the same set.  Fold the frame at the score lines and glue the tab to the off-setting side to create the frame.   To create the middle layer of the tunnel frame, I cut a single piece (approx. 3 1/4" x 2 1/4") of heavy cardstock with the middle size oval.  The outside pattern paper, as well as the background pattern paper, are from the #5892 Easter S2 paper pack.  I used the largest oval die to cut the outside pattern paper and adhered it to the outside frame.   Adhere the background pattern piece (approx. 3 1/4" by 2 1/4") to the back of the frame.  Place a strip of glue down one side of the middle layer and adhere to the frame.  Now you are ready to decorate the frame/card.

I stamped the images on copic friendly paper and colored with my copic markers (listed below).  I then die cut each of the images out with the coordinating dies from the matchbook stamp set.  I cut off the tabs from each of the images so that I could layer them within the tunnel card.   Create your scene on each layer as you wish. 

What a fun card to receive, if you know someone who is feeling under the weather!

Make sure to visit the website and check out the new releases.
Have a great day and enjoy creating!

Copic pens used:  C00, C01, C02, C03
B000, BG000, BG53, BG57
E51, E53
R20 and R22


Thursday, June 6, 2024

Bait & Tackle Shop by Dori Mendiola

 Happy Thursday AI Friends!

I hope you all have had a chance to check out the four new matchbooks that were released last week. They are so so cute and fun to make. Today I want to share the #5906 Bait and Tackle Shop. Bonnie did such an amazing job at creating this little shop. She included everything!!!!!  This is perfect for the fisherman in your life!  Just in time for Father’s Day!!


I stamped the images onto copic friendly paper with Memento Black ink and then colored with my copic markers (see list below).  Once colored I assembled the matchbook using the corresponding #5317 MB template die set (sold separately).  Check out Bonnie's tutorial at https://www.youtube.com/watch?v=cTqXgY0Ebmk for assembling instructions.  I also used the #5318 MB envelope die set to make the corresponding envelope that the matchbook fits into.   
These die sets work with all of the matchbook stamp sets.  There are over 20 to choose from.

Hope you try out some of these sets.  They are just so cute and a treat for anyone to receive.  

Thanks for joining me today and I hope you have a wonderful day! 


Copics used:  C00, C01, C03, C05
E42, E43, E44, E50, E51, E53, E55
B01, B32, B34
BG01, BG02, BG90, BG93, BG95
R02, R05
YR01, YR02


Saturday, May 11, 2024

Keep on Growing by Janet Axtman


 Happy Saturday and welcome to the Ai blog! One of the cutest new sets for spring is called 5798 - Gardening Girlfriends Set. It has several images and sentiments. I've been looking forward to using this set because the ladies in it are so cute. Also there are several stand-alone accessories such as an apron, pitcher, and hat. I cut out the circle from alcohol friendly cardstock with 5064 - Circle Double Stitched Dies. I stamped the image of the lady and added flowers to the pots using 4868 - WC Flower Set 2.

I was lacking a little inspiration for how to lay my card out so I went to some card sketches I keep handy and decided to try this one. If you ever feel stuck, card sketches can really help you out because of their tried and true nature. For my patterned cardstock, I used 5892 - Easter S2 PP. I just added solid coordinating cardstock for the card base and sentiment strip. I used 5725 - Nested Square Dies and 5724 Nested Rectangle Dies to cut the mats behind the circle. I stamped the sentiment on a strip of darker blue cardstock and matted it with some leftover striped cardstock used for the mat. A few blue glitter enamel dots finishes this one off nicely.

Thanks for stopping by today. I hope my card gives you some ideas of your own. Please visit the store to see all the things you need for your card, journal, and tag making projects. Have a GREAT Saturday!


Janet YouTube - Blog - Facebook - Instagram - Pinterest