Showing posts with label When One Door Closes Challenge #411. Show all posts

Tuesday, September 9, 2025

Hi Friend! by Reneé Matarese

 Hello Ai fans!

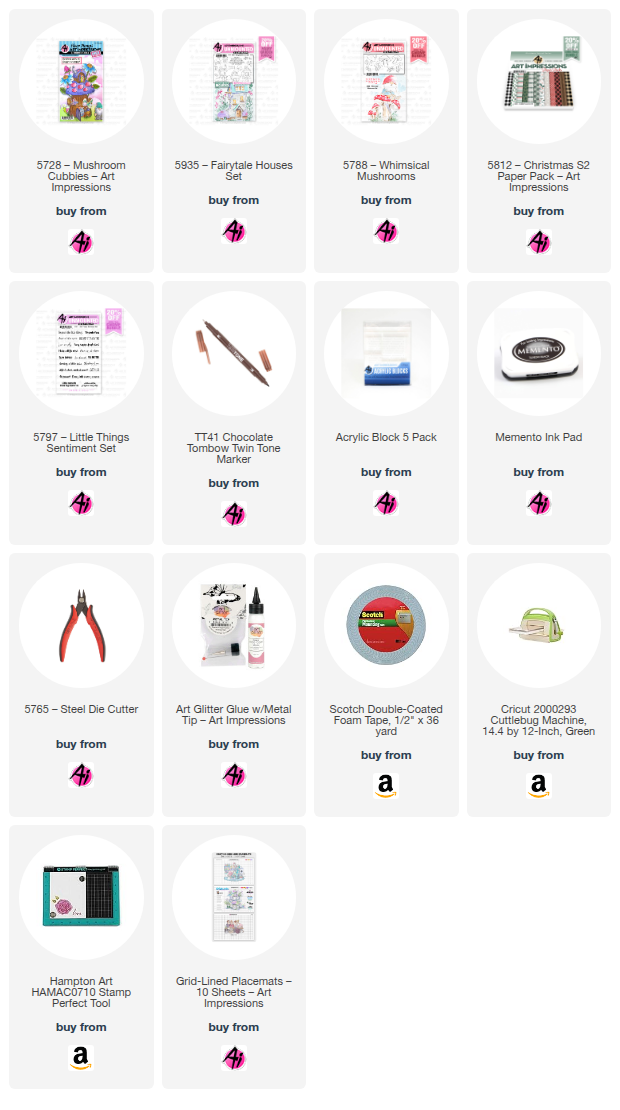
I love mushrooms and instantly thought of the Mushroom Cubbies set for the Art Impressions "When One Door Closes" challenge.


I grabbed mushrooms and other elements from a few different Ai sets to complete both the front and inside of my card.


I know most people think of brown when they think of mushrooms but they come in MANY different colors and I love trying out different combinations. In my woods we have orange, white, black, red, yellow, and purple. Probably more if I looked hard enough. We've picked and eaten the Chanterelles and Black Trumpet mushrooms.


 I wanted to make this card extra special so I decorated
the inside of the card pretty elaborately too.


I'm kind of wishing now that I had a little fairy tucked in there somewhere too.
Next time, I guess...


Thursday, September 4, 2025

When One Door Closes Challenge #412 Week #2

 Hello Ai fans and welcome to week #2 of our
When One Door Closes challenge.

We're looking for your creations using things with doors on them.

Last week we saw a fabulous hen house card with a handmade screen door from Dori.
You can read all about her card on her post from last week.

Tasha used:
Lynn created two door tags and you can visit her BLOG POST
to see her YouTube tutorial on these.


Janet used:


You can hear all about Sharon's card on her BLOG POST.


Debbie Hedges was our Guest Designer and you can hear all about her card on her BLOG POST.


I used the Mushroom Cubbies and you can see my post here.
5728 – Mushroom Cubbies


I just love the creativity of our Design Team.
If these don't inspire you to create something and enter then I don't know
what will. You could be our next winner and have a brand new set to play
with!


Be sure to enter your creation for the chance to win a free stamp set from Art Impressions. 
We award one Top Spot and one Lucky Random Winner, and each will win a free stamp set from Art Impressions.

✻ Please make a new card or handmade crafty creation. You can make any item you wish; this is not limited to cards! (unless specified)

✻ Limit two submissions per person.
 ✻Please include your first name and last initial on your submission. You may include your entire last name, but it's not necessary.
✻We love to comment on your entries, but keep in mind if you use a private group or a platform that you need to sign up for, we probably won't be able to.
✻ The Ai Challenge is open to everyone, international submissions are welcome!
✻ Include a link back to the Ai Blog or grab our button on the top right of our sidebar!
✻ Share the Ai love if you can, by clicking and commenting on your fellow crafters.
✻ Make sure to get your link up by the deadline to enter your creations.
✻ Good luck and happy stamping! 

You are invited to the Inlinkz link party!

Click here to enter

Sunday, August 31, 2025

When One Door Closes Gnome Home with GD Debbie Hedges

Hello Ai fans!

Every once in a while we just like to pick a talented artist and feature them as a Guest Designer.

This time we chose Debbie Hedges, and she's helping us out with our When One Door Closes challenge.


She created an amazing little gnome home and we're so excited to share it.

Please enjoy...

------------------------------------------------------------------------------------------------------------------------

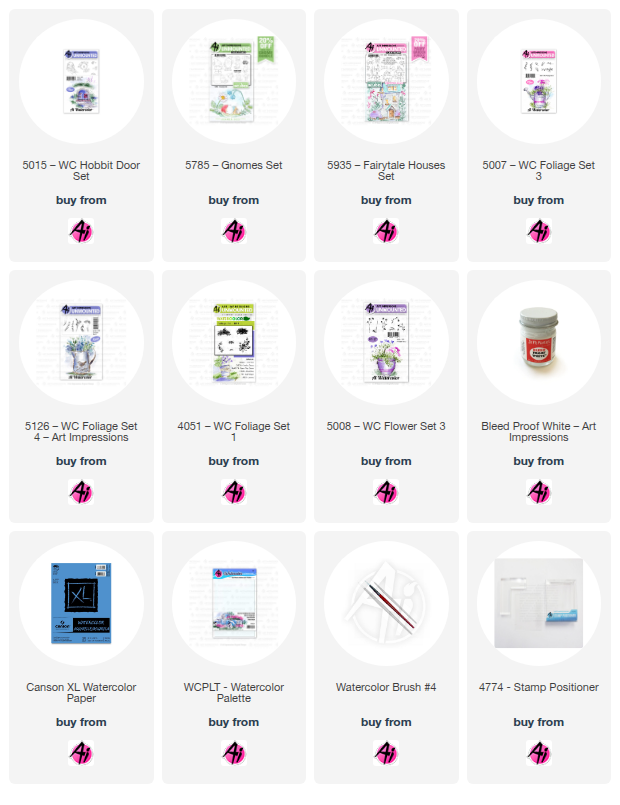
Welcome to the newest bi-weekly challenge! I am excited to share Challenge #411 When One Door Closes. The first stamp set that came to mind was #5015 WC Hobbit Door set, so I built my project around that. For this challenge, think of anything with a door . . . houses, barns, cubbies, fairy houses, cars, etc.


 I began by stamping the hobbit door in the center of my watercolor paper. I then used a ruler along the bottom of the door and lightly drew a horizon line for the base of my little “house.” I wanted the focus on the door. With my stamp positioner, I added the gnome and my three mushrooms. That gave me the base to work with for my scene. I began by painting the door in grey tones, adding shadows as needed. I then worked on the stone path, using sepia, grey and brown tones so that the stones were multi-colored and then went back and added shading to create dimension. Next I added a brown/sepia wash to create the idea of a wall for my door. I wanted it to have light and dark areas for interest. I then used the vine to climb one side of the door by stamping it once from the base of the door, then only inking portions of it to go around the arch. I used my positioner for placement. It is a great tool to preview what it will look like before you commit it to paper! I then touched each leaf with my brush to soften the color. I used a single flower bud and my stamp positioner to add the purple flowers in the vine and then touched each one with my brush to soften. My next step was to paint the mushrooms and gnome. This is not my first attempt on this project and for this one, I wanted the mushrooms to have added color – not just yellow and orange. So, they are shades of yellow at the base, to orange, to red and then some purple at the top of the largest mushroom. The base of the mushroom are shades of brown and I added some brown lines for ridges. For the gnome, I used the same red for his hat, and gave him a steel blue jacket, green pants and brown boots and belt. I added some grey tones to his white beard for shadows and used a flesh tone marker for his nose – adding pink to the bottom for shading. To finish this up, I needed to add teeny tiny grass along my horizon line along the base of the wall. I created a paper mask for the mushrooms and the gnome and just used post-it tape to protect the door area. Once the grass was stamped, I used the fine tip of my green marker to add some stalks of grass in front of the mushrooms. I also used the grass to stamp some grass along the steps on the stone path. Once that was stamped, I pulled the color out and then created a wash of green for the foreground. I then used the taller grass to create a clump of grass behind the gnome. I love to add a few leaves to the top of a project to finish it off. It gives the feeling that tree branches are hanging down. So, I used the leafy branch – it is one of my favorites – and just stamped it a few times along each top corner of my project. I then added water to each leaf to soften it. With a ruler and a pencil, I lightly added some horizontal lines to give the idea of siding and added a few vertical lines in random spots along with a couple dots for nails. All of this was very faint. Then with Dr. Ph Martins white paint, I added a small dot highlight to the door handle, a single dot in the middle of each flower bud, multiple dots on the mushrooms, and small dots on the grass along the path so it looks like tiny white flowers. There are a few random tiny white dots on my foreground as well. I then added dots to the top of the tall grass clump to create three daisies. When it was fully dry, I added orange dots for centers. I also added some white paint for dimension on the gnome’s beard. I hope you like it and will give it a try! Here are the stamps I used for this project along with the links for the stamp sets.


Thank you so much Debbie for your beautiful creation and inspiration.

You can enter your "door" craft HERE.

Thursday, August 28, 2025

When One Door Closes Challenge #412

Hello and welcome to our newest challenge!

This one is called When One Door Closes.


We want to see your projects using stamped or die cut doors.
Wait until you see what Featured Designer Dori has created.
She made her own, elaborate chicken coop door!
SO CREATIVE!!

After you check out her card and tutorial, be sure to
scroll down to see who won our last challenge.

Take it away Dori!

--------------------------------------------------------------------------------------------------------------------

Hello AI Friends!

Welcome to my feature for the "When One Door Closes" bi-weekly challenge.
I thought it would be fun to make a chicken coop and create a fun fold door card.  

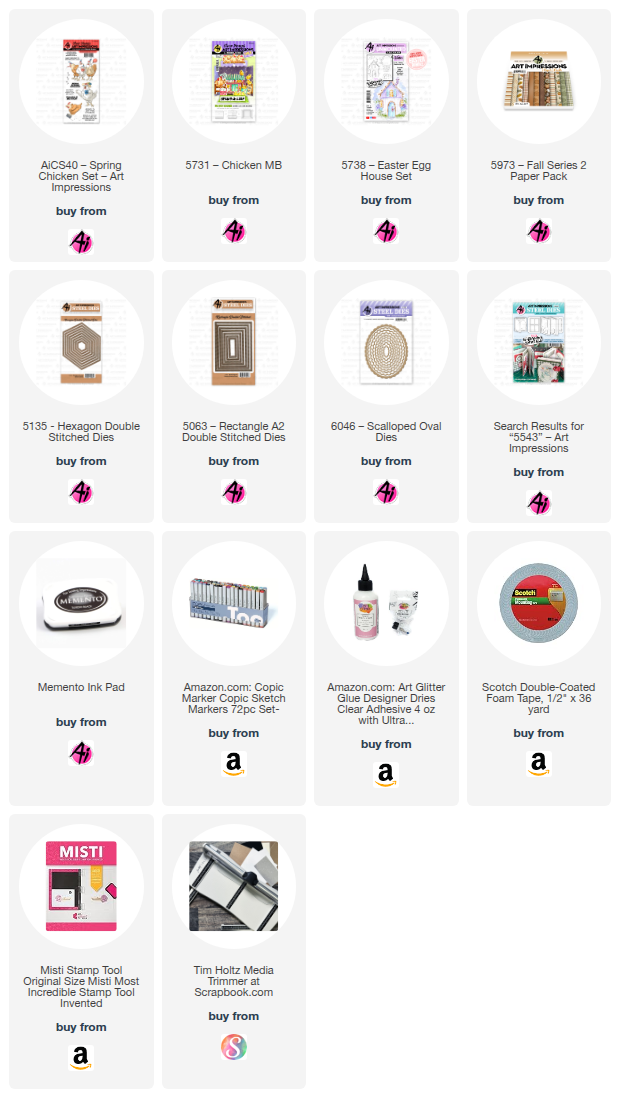
I used the AICS40 Spring Chicken and the 5731 - MB Chicken set for this interactive card.  How does the saying go "When one door closes, another one opens"?  Who would have thought that it opens to a CHICKEN PARTY!  😁 


I did the usual by stamping the images onto copic friendly paper with Memento black ink and colored with my copic markers listed below.  I used the 5135 - Hexagon Double Stitch largest die to cut the chicken image and then I used the 5063 - Rectangle A2 Double Stitch largest die to cut the straight edge at the bottom.  The images on the front of the card were cut with the matchbook dies that come with the set.  I fussy cut the tabs off for the matchbook.  I also fussy cut the 6003 - Exclusive Coop freebie.  

To make the fun fold coop card - start with a 4 1/2 x 11 piece of colored cardstock.  Score and fold 
at 2 3/4 and 8 1/4".  Fold the card shut to make an A2 size card.  Use the hexagon die to make a template out of scrap cardstock.  Place the point of the template on the inside edges of the front flaps of the card.  Either draw a cut line for the angle cuts at the top of the card or place the card base into your cutter holding the template in place and cut the angle cuts.  

For the inside pattern pieces, middle - cut a gingham piece 4 1/4 x 5 1/4.  Cut the angles at the top using the cut off angle pieces for the template then cut off the bottom edge to fit.  Do the same for the sides but cut two pattern paper pieces at 4 1/4 x 2 1/2.  Adhere the inside pattern pieces.  To cut the windows, use the template for the angles and draw your window.  Cut using an exacto knife.  Glue some screen material to the inside panel just along the window hole.  Take narrow pieces of cardstock to frame the inside of the window (see below).


For the valance at the top of the windows (inside and out), I cut several edges from pattern paper using the scallop edge from the 5543 - Journal Template die set.  For the front of the card, I placed thicker edges along the bottom and popped up the top thinner layer.  I used thinner edges for the inside windows.

The sentiments came with the AICS40 - Spring Chicken stamp set.  I cut two of them with the 6046 - Scallop Oval dies and adhered them to the inside flaps.  The one on the front, I used the 5063 - Rectangle A2 Double Stitch die.  The eggs on the inside are from the 5738 - Easter Egg House set and are fussy cut and placed onto a straw piece cut using a die from my stash.

As for the front of the card, I used the 5731 - Matchbook Chicken set along with the 6003 - Exclusive Coop freebie (available now with a $30 order).  The fence and grass are dies from my stash.  
The latch was created using several layers of cardstock with a wood grain cardstock as the top layer.  I cut three strips of wood grain cardstock at 3/8 x 1 1/4".  I cut one in half and placed a piece of cardstock behind each.  I folded both of these to make the hooks and glued in place.  
I layered several pieces of scrap cardstock behind one of the other wood grain pieces and placed a brad into one end.  I used the heart die cut as the anchor so that the latch would turn.  Punch a small hole into the heart die cut and place the brad prongs through it.  Secure the brad but make sure it is not too tight so that it can rotate.  
I cut about 1/4" off one end of the last wood grain piece and layered with several pieces of scrap cardstock.  I then glued this to the back of the other (scrap to scrap) avoiding the brad.  You want the wood grain to show from both the inside and the front.  Glue down the heart and check that the latch will move up and over.  See video below.


I hope you enjoyed my card today.  Thanks for joining me!
Have a wonderful day and keep creating!

Copics used:  T0, T2, T4
E21, E23, R22, R24, R27
YR16, YR18, YR20, YR21, YR24, YR27
Y11, Y13, Y15, Y17
YG06, YG17, G40
B000, B12, B14
Your card is amazing Dori and what a great idea.

Now, let's see who won our Sports & Leisure challenge...

For our Top Spot we chose:


Please contact Leah at Feedback@artimpressions.com
to claim a free stamp set of your choice!!
Be sure to grab our badge to display on your social media too!


Our Lucky Random Winner was #3 Sue V.


Please contact Leah at Feedback@artimpressions.com
to claim a free stamp set of your choice!!
Be sure to grab our badge to display on your social media too!


Congratulations to our winners!

Have YOU entered one of our challenges yet??
You might be one of our next winners.
What's holding you back??
Is it the free stamps?
I didn't think so.
LOL!

Enter below. It's fast, easy and you just might be our next winner.
For this challenge, we want to see your projects that have a door on them. It can be stamped or die cut or part of an image. It doesn't have to be a "front door" like the front door series or the slew of watercolor doors Art Impressions carries. You can also use the Cubbies which have doors or any vehicle that has a door on it. Use your imagination! Dori even created her OWN door so there's no excuse if you don't own one.


Be sure to enter your creation for the chance to win a free stamp set from Art Impressions. 
We award one Top Spot and one Lucky Random Winner, and each will win a free stamp set from Art Impressions.

✻ Please make a new card or handmade crafty creation. You can make any item you wish; this is not limited to cards! (unless specified)

✻ Limit two submissions per person.
 ✻Please include your first name and last initial on your submission. You may include your entire last name, but it's not necessary.
✻We love to comment on your entries, but keep in mind if you use a private group or a platform that you need to sign up for, we probably won't be able to.
✻ The Ai Challenge is open to everyone, international submissions are welcome!
✻ Include a link back to the Ai Blog or grab our button on the top right of our sidebar!
✻ Share the Ai love if you can, by clicking and commenting on your fellow crafters.
✻ Make sure to get your link up by the deadline to enter your creations.
✻ Good luck and happy stamping! 


You are invited to the Inlinkz link party!

Click here to enter