Showing posts with label 4868 - WC Flower Set 2. Show all posts

Thursday, September 10, 2026

On the Border Challenge #436 Week #1

 Hello Ai fans and welcome to our new challenge.


On the Border

We want to see your creations featuring something on the border.
Deck out those borders with stamps, dies, embellishments...whatever you like!

Our Featured Artist for this challenge is Neema and she has a stunning floral Storytile
 card to inspire you.

After looking through her photos and reading her tutorial, be sure to scroll down
to see who won our Furry Friends challenge.

Take it away Neema!


Hello crafting friends,


Welcome to this week's challenge! Today's theme is "On the Border", and there are so many creative ways to enhance them—whether you use stamps, scissors, dies, paint, or any other technique to make them stand out.

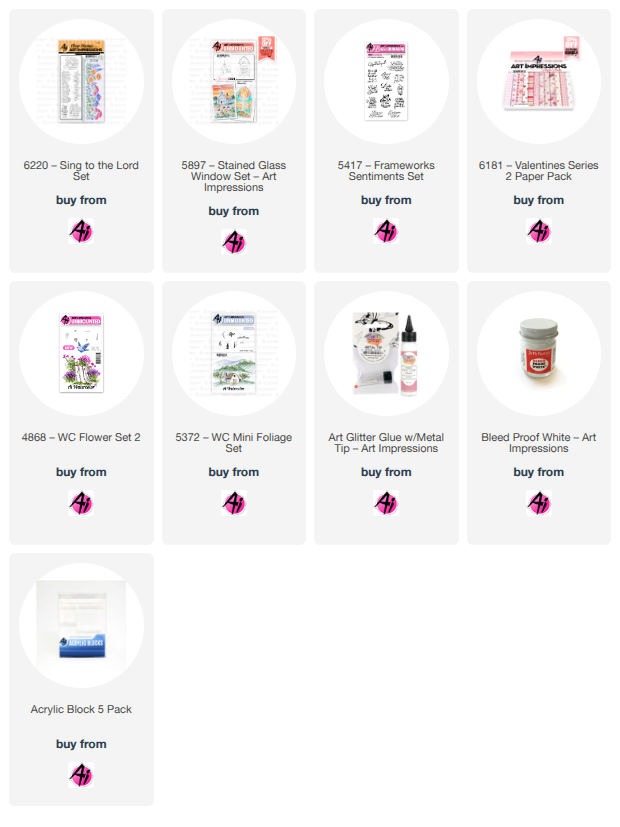
For my project, I created a bookbinding card and used a border stamp from the "Sing to the Lord" set (#6220) to decorate the spine. Here is how I put it together:

Making the Card

1.  Cut the card base to 11" × 5.5" and fold it in half along the longer side.
2.  Score at 1.25" from the center fold on one side to create the spine.
3.  For the cover, use the "Story Tiles" template set (#6158). Cut the frame twice and stack the pieces to create dimension.
4.  For the inside of the tiles, use the "Garden Friends" set (#6177). Stamp the images onto watercolor paper using Tombow markers 696 and 565, and use the markers to color them in.

Making the Spine

1.  Cut a strip of watercolor paper to 1.25" x 5.5".
2.  Use a border stamp from the "Sing to the Lord" set (#6220) to stamp the image. Since the stamp is shorter than the paper, repeat the pattern to fill the entire strip.
3.  Color the stamped image, then glue the strip to the card base.
4.  To finish, wrap twine around the card twice, tie it into a bow, and add small pearls to the ends.

I hope you will join us and participate in this week's challenge!

Happy crafting,

Neema

This was Neema's first time as Featured Designer and she hit a home run!
So beautiful.

Now let's see who won our Furry Friends challenge.

For our Top Spot we selected #17


Please contact Leah at Feedback@artimpressions.com
to claim your free stamp set.

Our Lucky Random Winner was #7


Please contact Leah at Feedback@artimpressions.com
to claim your free stamp set.

Congratulations to our winners!
Enjoy your new stamps.

Now, onto the details of our new challenge.


Please use something to make your border extra special.
It doesn't matter what as long as it's not just a plain old border.

Here are the rules...

✻ Please make a new card or handmade crafty creation using either stamps, dies and or designer paper from Art Impressions. You can make any item you wish; this is not limited to cards! (unless specified)

✻ Limit two submissions per person.
✻Top Spot Winner and Lucky Random Winner each receive a free 
stamp set from Art Impressions
 ✻Please include your first name and last initial on your submission. You may include your entire last name, but it's not necessary.
✻We love to comment on your entries, but keep in mind if you use a private group or a platform that you need to sign up for, we probably won't be able to.
✻ The Ai Challenge is open to everyone, international submissions are welcome!
✻ Include a link back to the Ai Blog or grab our button on the top right of our sidebar!
✻ Share the Ai love if you can, by clicking and commenting on your fellow crafters.
✻ Make sure to get your link up by the deadline to enter your creations.
✻ Good luck and happy stamping! 

You are invited to the Inlinkz link party!

Click here to enter

Dance Like No One is Watching! By Andrea Pierron


 Good morning, Ai friends!! Andrea here, and I am so excited to be a part of this team and to get to know you all! I have been a fan of Art Impressions products for over 20 years! They have been one of my favorite stamping companies since I started card making. I absolutely love how unique their products are and I love seeing all of the gorgeous products you all create with Ai stamps. So today, I am sharing a card that I made using these two adorable seniors! I have wanted to put something together with these two for quite a while. 


First, I stamped the 2 seniors onto my card stock using Momento ink. I made a mask by stamping the images again on regular printer paper (to lay over the original images) and I cut the masks out. I then carefully lined up the masks on top of the original stamped images and stamped a background stamp from Purple Onion Designs over the images. Then, I removed the masks and voila! You have the couple dancing inside a cute little room! I wanted to have some pattern on their clothing, so I chose the paper I liked for it and stamped the images a 3rd time on the patterned paper and cut out the man's pants and woman's apron. Then, I then got to work on all of my coloring. Once finished, I added some cute little flowers to the windows and stamped a sentiment and added it to my card front. I glued on the apron piece and the pants. The card front panel was then glued to the card base. That is it and I hope you like it! 

Materials Used

Stamps

  • 5279 Be Happy Laugh Lines
  • 5278 Dance It Out Set
  • 4868 Watercolor Flower Set 2
Paper

  • Distinguished Gents by Unity Stamps
  • 6205 Floral Shop by Art Impressions
  • Neenah Classic Crest card stock for stamping on
Markers & Inks

  • Momento Ink Pad
  • Black thin Liner Pen
  • Copic Markers Used: E93, E00, E13, E21, E000, Y35, N3, N2, N5, G40, B0000, B00, G43, G46, E49, E47, E57, E41, B32, B37, B34, 110, E42, E43


Tuesday, September 1, 2026

Focus on Faith with Sara Furr: Lacy Pink Church

 Blessings my dear friends, and welcome to my first edition of Focus on Faith for the month of September.


If you have been following me, you know that I like to use several different kinds of medium to color and create my projects.

 This week, I have a lovely little country church scene I created using colored pencils and dye ink markers. 


I just stamped the front flowers and the church with Versafine Onyx black ink and colored them up with colored pencils. I stamped the foliage (tree, leaves, shrubs, and grass) with dye ink markers.


 To create the sky and the grassy foreground, I just turned my pencils sideways to swipe them across my cardstock and blend them into each other. I added some tiny white accents to the flowers and grass with Dr. Ph Martin's Bleedproof white paint.


If you have any questions on how I created this, please feel free to leave me your questions in the comments section. 
I pray you all have a very blessed month and I will see you soon.

Blessings to you all, 
Sara E. Furr- The Crafty Farm Chick 

Supplies used:

Canson XL Bristol Smooth cardstock 
Colored Pencils
Dye ink markers
Versafine Onyx black ink pad
Stamp platform
Paper cutter
Scissors
Lace
Sewing machine
Foam adhesive 

Thursday, May 7, 2026

Mix & Match Challenge #427 Week #1

Hello Ai fans and welcome to our latest challenge.


All you need to do is use at least 2 different items from Art Impressions.
2 different stamp sets, a stamp and a die set, papers and dies...etc.
Mix & Match all your favorite products.

Our Featured Designer this week is Janet and she has a really fun birthday card to share with you.
After you check out her lovely card and tutorial, be sure to look and see if you were one of our winners from the last challenge.

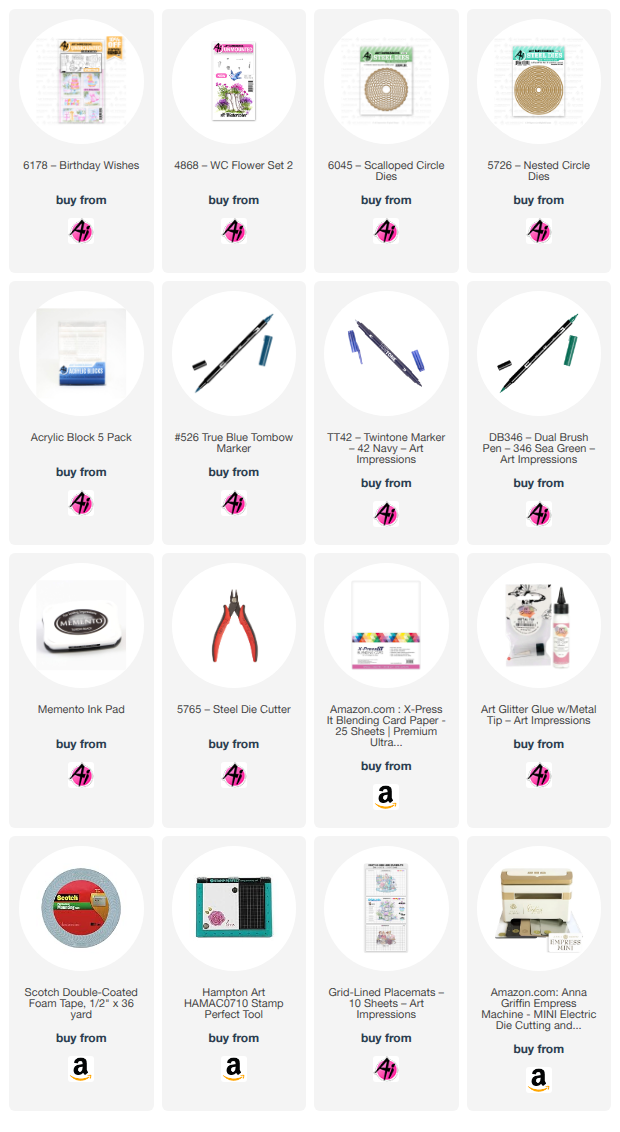
Welcome to Art Impression's newest challenge, Mix and Match! It's an opportunity to mix at least 2 Art Impression's sets together in a creation. For this challenge I've chosen two sets for my card. The first is 6178 - Birthday Wishes. This set has several cute birthday related images to choose from and I picked the cake with a pot that's waiting to be filled with the flowers of your choice. To fill the pot, I picked a stamp from the 4868 - WC Flower Set 2.


This card is full of many layers. Below are all the pieces that I cut to make the card front. These are layered on an A2 card base in order from 1 to 6, with the bottom layer starting with 1. The circle layer is cut with 5726-Nested Circle Dies and the scallop circle is cut with 6045-Scalloped Circle Dies. 

I stamped the birthday cake image on the plain circle. I masked off the top of the pot and stamped the flowers into it. I added a full stamped flower image and then added another 1/2 of the flowers in order to fill the pot entirely. I used Tombow Dual Brush markers, #346 and #526 for the flowers. The cake and pot was colored with Copic markers.

Copic Markers Used:
BV000, BV02, BV04
BG000, BG11, BG15
BG01, BG5
BV23, BV31, C1, Y17, 
plus Tombow Twin Tone-Blue

While I was working on the cake, my darkest blue Copic marker leaked a large drop of ink as shown in the picture below. I'm sharing this boo boo to show that I made this work by placing blue enamel dots to cover this and saving the time and work that I'd put into the card. When something unexpected like this happens, think creatively on how you can recover. Usually there is a way to strategically recover as I did in this example.


Next I stamped the balloons and sentiment from the birthday set and colored them with markers. The sentiment was cut out with 6048-Scalloped Rectangle Dies and layered with a piece of light brown cardstock. I fussy cut the balloon image. I then arranged all the elements on the card to complete the project.
I hope you've enjoyed today's tutorial. I invite you show off your own creation using two or more Ai sets and upload it to the Mix and Match Challenge. You can win free stamps for your efforts!

For our Top Spot we selected: Kathy R.
We loved her gorgeous little hummingbird!


Please contact Leah at Feedback@artimpressions.com
to claim a free stamp set of your choice!!
Be sure to grab your winner's badge to display on your social media.


Our Lucky Random Winner was: Lynn C.


Please contact Leah at Feedback@artimpressions.com
to claim a free stamp set of your choice!!

Be sure to grab your winner's badge to display on your social media.

Congratulations to both of our winners and thank you
Janet for the amazing inspiration for the new challenge!


Now for our new challenge!

 ✻ Please make a new card or handmade crafty creation using either stamps, dies and or designer paper from Art Impressions. You can make any item you wish; this is not limited to cards! (unless specified)

✻ Limit two submissions per person.
✻Top Spot Winner and Lucky Random Winner each receive a free stamp set from Art Impressions
 ✻Please include your first name and last initial on your submission. You may include your entire last name, but it's not necessary.
✻We love to comment on your entries, but keep in mind if you use a private group or a platform that you need to sign up for, we probably won't be able to.
✻ The Ai Challenge is open to everyone, international submissions are welcome!
✻ Include a link back to the Ai Blog or grab our button on the top right of our sidebar!
✻ Share the Ai love if you can, by clicking and commenting on your fellow crafters.
✻ Make sure to get your link up by the deadline to enter your creations.
✻ Good luck and happy stamping! 

You are invited to the Inlinkz link party!

Click here to enter

Saturday, April 18, 2026

Flower Shop & Sequins by Janet

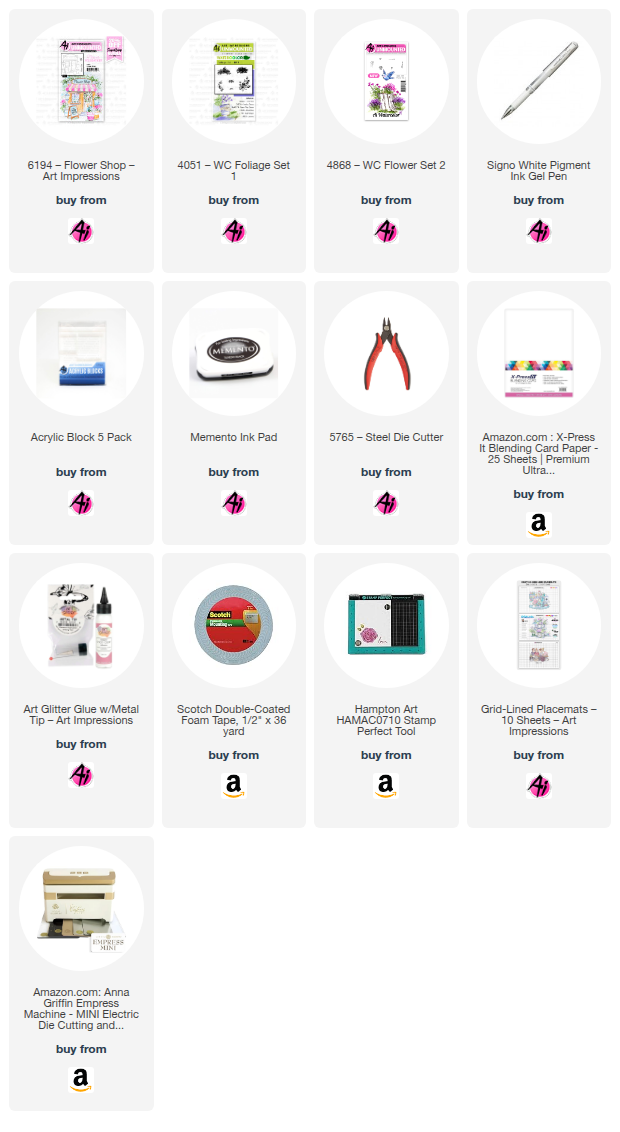
My post today is perfect for the newest Ai challenge - I See Right Through You! Making this card was super fun. The cute flower shop image is a new set called 6194 - Flower Shop. I love the cottage feel of the shop. 

As with many watercolor sets, the stamp leaves ample room for stamping or painting in the flowers. After I stamped the image on 4" x 5.25" alcohol friendly paper. I set about coloring the shop, the pots, the door, the sign, and lantern. Then I used two sets to stamp in the flowers: 4868 - WC Flower Set 2 and Foliage Set - 4051. I colored them with markers and dabbed white gel pen highlights in them. I also added a light blue sky background and grounded the bottom with a puddle of warm grey and blueish green.

I secured the white panel to a blue cardstock mat. Then came the clear acetate card cover which holds in a mix of several sets of sequins in complementary colors. The final touch is a lavender, green, and blue double organza bow. Pairing this image with a sequin shaker is clearly a great combination!

Thanks for stopping by today. Be sure to enter your card into the I See Right Through You

Thanks for joining me on the blog today. As always, find your favorite stamps, dies, papers, and accessories at the Ai Store!

Happy Crafting!