Showing posts with label 5726 Nested Circle. Show all posts

Tuesday, September 1, 2026

Shadowbox Gift Card Holder by Reneé Matarese

 Hello Ai fans!

I'm sharing my creation for the Furry Friends challenge today.


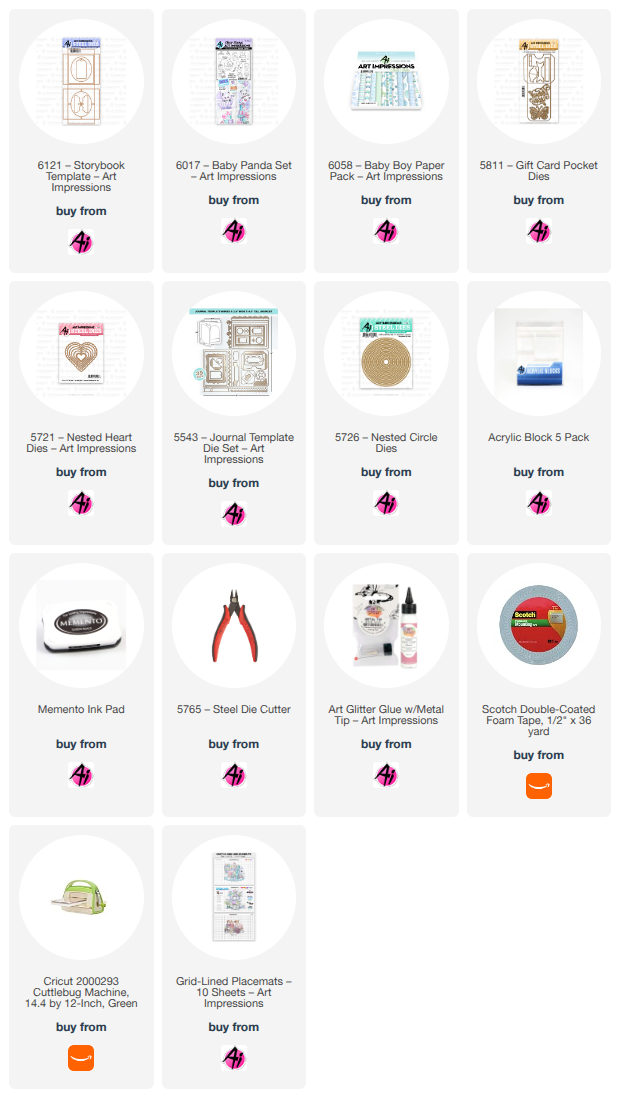
I used the 6121 – Storybook Template because I love the look of the shadowbox.
Tucked in a little bear from 6017 – Baby Panda Set and accessorized with several other sets which are all linked below.


On the back, I added a pocket to tuck in a gift card.
The gift card pocket wasn't meant to go with this set so the card does
stick out over the top a bit, but that didn't bother me.


I think it's a cute way to present a gift card to an expectant parent.


Wednesday, August 5, 2026

Friends Gnome Matter What by Dori Mendiola

 Happy Wednesday AI Friends!

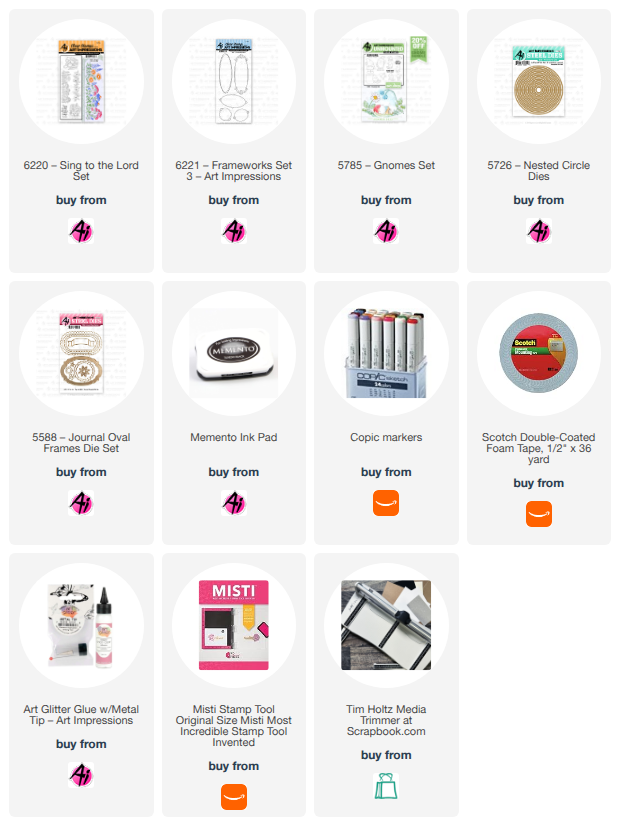
My card today fits the new blog challenge - Floral Frenzy and features two new stamp sets - #6220 - Sing to the Lord and #6221 - Frameworks Set 3 along with the cute little gnomes from the #5785 - Gnomes set.  I personally think you can put gnomes on anything and it just creates cuteness overload!  Wouldn't you agree?

I stamped the images onto copic friendly paper with Memento black ink and colored with copic markers listed below.  I used the corresponding dies to cut the gnomes.  The florals are one stamp from the stamp set.  I colored the full stamp image and then cut it into thirds using a small circle die.  I stamped the frameworks image onto a 4" square piece of white cardstock.  I adhered a colored floral image into each of the frameworks.

To make the "Book Cradle" card style:  There are several tutorials showing how to make this fun fold but I watched the one from Dawn's Stamping Thoughts and made a slight change to it.

Start with a base white cardstock measuring 4 x 8.  Score on the long side at 1/2, 4 and 7 1/2.  Fold and burnish each score as a mountain fold.

For the cradle base: Cut a 4 x 5 inch white cardstock piece.  Score at 1/2, 1 1/2, 2 1/2, 3 1/2, 4 1/2 on the long side.  Burnish at 2 1/2" as valley fold.  Glue the second fold (as mountain) up to the 2 1/2" leaving the first 1/2" as a tab.  Do the same on the other side.  You should be left with 1/2" single width of cardstock, then 1" double width on next two folds and then lastly, a 1/2" single width tab.  

Make the support stand that fits at the bottom of the base:  Cut a 4 x 2 1/2" piece of cardstock.  Score along short side at 1/2, 1 1/4 and 2.  Shape into a W.  Glue the 1/2" tabs of this stand to the inside bottom of the base piece.  See below (bottom of card).  

Adhere the card base 1/2" tabs to the cradle base 1/2" tabs.   The card should fold flat and pop up when standing.  Finish decorating with mat layers and pop up the gnomes with foam tape.  Add the sentiment to the bottom using the banner from the #5588 - Journal Oval Frames.


Once you make one of these cards, you will find out how fun and easy it is to make plus so cute when on display.  I'm hooked so you may see more of these in my future posts.  😁

Make sure to join our blog challenge for a chance to win a free stamp set of your choice.  It's easy, just check out the tab above.  

Have a wonderful day and keep creating!

Copics used:  W0, W1, W3
E00, E02, E21, E23, E25
B0000, B000, B01
G40, G43, G46
Y13, Y15, Y17
RV10, RV32, RV34

Saturday, June 27, 2026

Tiny Teapot House by Janet

Have you seen the latest Ai challenge? It’s the Artful Architecture challenge. I was really excited for this one because there are just so many Ai stamps that feature whimsical houses. For my card, I chose to use the adorable teapot house found in the 5935-Fairytale House set. It’s a great set because it comes with matching dies for all the images. Just so cute and convenient!

To make this, I first decided on a circle shape to stamp the teapot. It works well on a circle because of the rounded bottom of the pot. To cut the circle I used 5726-Nested Circle Dies. The smallest was cut from marker friendly cardstock. I cut another circle out of plain white cardstock with a circle die in the set that is three circles larger. To create a set of stacked circles, I cut two more scalloped circles out of blue frosted cardstock using 6045-Scalloped Circle Dies. I cut, stamped, and shaded two fence images and did the same with three flowers, a butterfly, and bee images. It’s so great to have the stamps and the dies for all these little accents.

The next step was to stamp the teapot house and color it with Copic markers. I’m not that great at creating grass with markers so I used the grass dies in the set and tucked the grass cuts into the base of the scene. I trimmed excess that hung over the circle. I then layered all the circles in graduating sizes. I glued the two fence pieces in place which slightly overhang the first circle. This gives a more finished effect with a touch more dimension and texture. I added the flowers and bee to the scene. Before gluing the butterfly, I folded the wings up and glued the center to the scene so that the wings pop up and give even more dimension. I will point out that I used the white Signo Pigment Ink Gel Pen from the store to draw in the white stripes on the teapot, reflections in the windows, and accents on the butterflies.

I chose a preprinted patterned card base and glued in a strip of delicate cream crocheted lace. I collect old buttons and I had this beautiful shabby chic blue button in my stash. It’s just perfect as an accent to the lace and the house. The finished card is whimsical and full of color and texture.

Thanks for stopping by and spending time with me and Art Impressions today. Please visit the Ai store to pick up your favorite stamps, dies, papers, accessories, and supplies. 

Happy Crafting!


Tuesday, June 23, 2026

Cozy Cottage Floral Card by Reneé Matarese

The current challenge here on the Art Impressions blog is Artful Architecture.
I was inspired to make this floral card and, you'll never guess where this house is from.

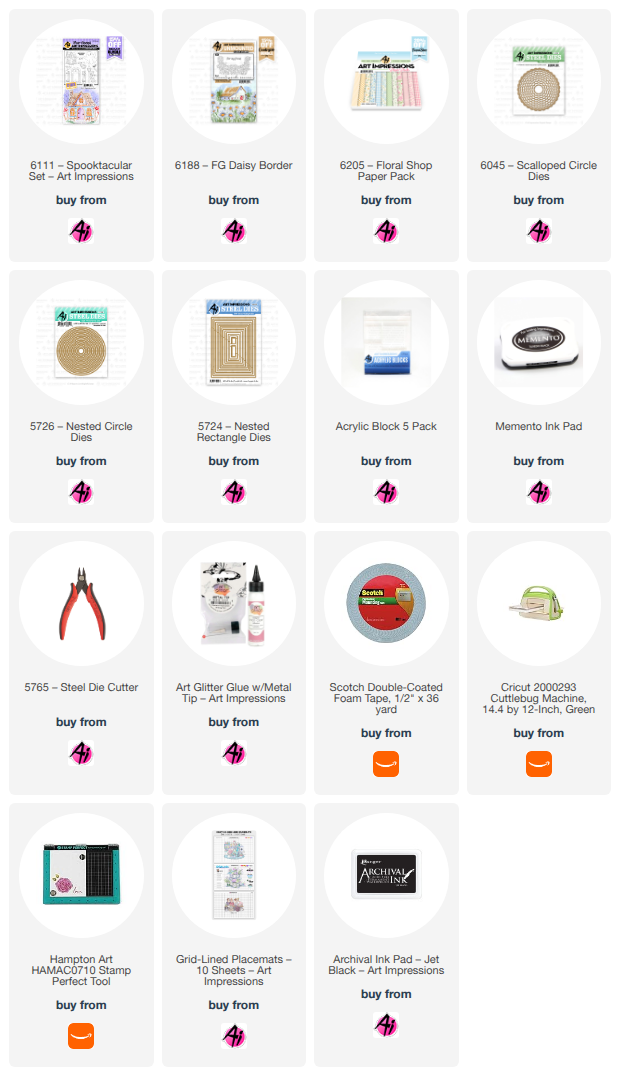
I used the 6111 – Spooktacular Set. You can find links for all of the other products below in my InLinkz. 


This was so fun to make. I love thinking outside the box and using stamps and dies in new ways.
I think this spooky little cottage looks a little less spooky when it's nestled among beautiful daisies.


This card is perfect for so many occasions!
The front simply says "For my friend," so depending on what you stamp or write inside, it could be used in a lot of different ways.


Thursday, June 18, 2026

OUCH - Doggy Cone by Dori Mendiola

 Happy Thursday AI Friends!

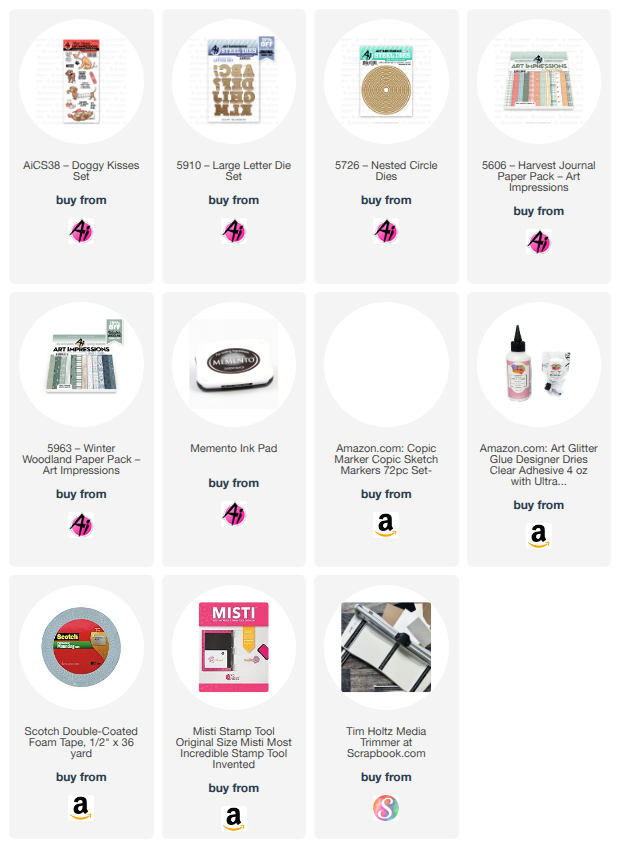
Today I have a fun fold wellness card with this cute little injured dog from the #AiCS38 - Doggy Kisses set.  This set has the most adorable little pups with the funnest little "get well" sentiments.  Definitely a cute, fun set!  Who wouldn't find this little guy to be uplifting and a fast "cure" for any illness?

I started by stamping the images onto copic friendly paper with Memento black ink and colored with my copic markers listed below.  I die cut the letters out with the #5910 - Large Alphabet set and colored around the edges with my copic marker (E53) to add that extra pop from the pattern paper.  I also popped up the letters with foam tape.


I cut the image panel with a circle die.  I adhered pattern paper to the card base and then die cut a circle into the top panel, using a larger circle die than the image panel.  I cut a narrow circle frame to give a nice finish to the opening.  For the pop through panel, I cut a strip 4 3/4" x 2" in white cardstock and scored along the long side at 1/2".  I adhered the 1/2" tab to the inside back of the card base, making sure that the strip will be centered when shutting the card.  I adhered a piece of pattern paper to the inside back underneath the strip piece and covered up the tab.  I then die cut a decorative edge to one side of a piece of pattern paper and cut to fit on top of the strip.  Placing the strip panel through the front circle, adhere the image panel onto the strip so that it fits nicely.  

I used a magnetic closure to keep the card closed, but this is optional.  I placed one under the bandaid on the front cover and the other under the paw heart inside.  


Video below shows how the card opens and closes.


Hope you enjoyed my card today.  Thanks for joining me!

Have a wonderful day and keep creating!

Copics used:  N0, N1
R20,    B000
E50, E51, E53, E55

Thursday, May 7, 2026

Mix & Match Challenge #427 Week #1

Hello Ai fans and welcome to our latest challenge.


All you need to do is use at least 2 different items from Art Impressions.
2 different stamp sets, a stamp and a die set, papers and dies...etc.
Mix & Match all your favorite products.

Our Featured Designer this week is Janet and she has a really fun birthday card to share with you.
After you check out her lovely card and tutorial, be sure to look and see if you were one of our winners from the last challenge.

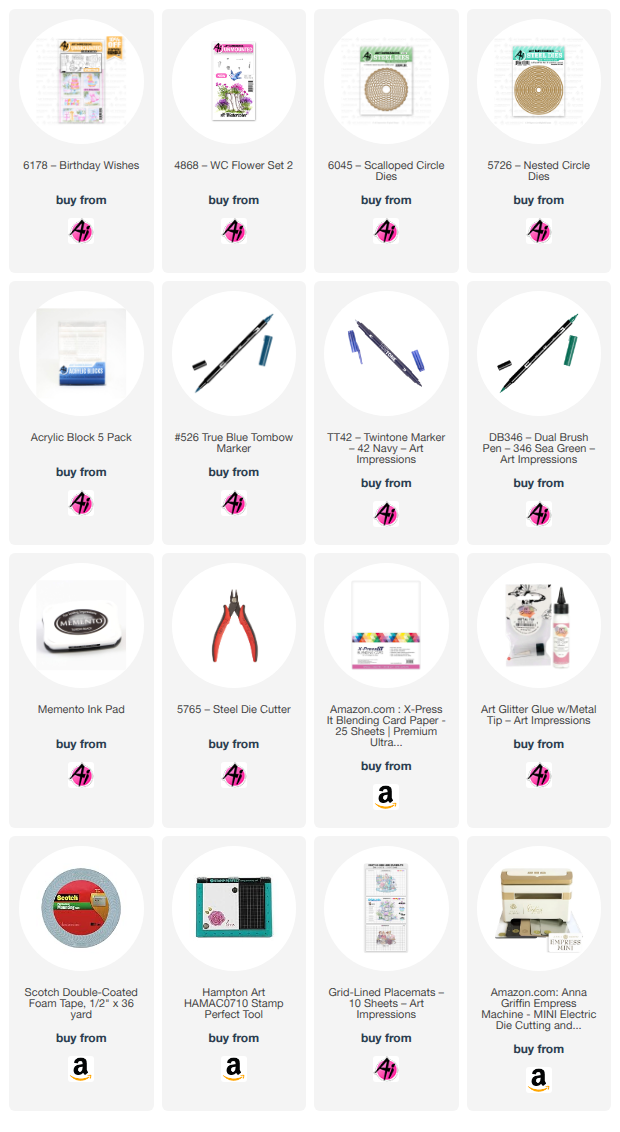
Welcome to Art Impression's newest challenge, Mix and Match! It's an opportunity to mix at least 2 Art Impression's sets together in a creation. For this challenge I've chosen two sets for my card. The first is 6178 - Birthday Wishes. This set has several cute birthday related images to choose from and I picked the cake with a pot that's waiting to be filled with the flowers of your choice. To fill the pot, I picked a stamp from the 4868 - WC Flower Set 2.


This card is full of many layers. Below are all the pieces that I cut to make the card front. These are layered on an A2 card base in order from 1 to 6, with the bottom layer starting with 1. The circle layer is cut with 5726-Nested Circle Dies and the scallop circle is cut with 6045-Scalloped Circle Dies. 

I stamped the birthday cake image on the plain circle. I masked off the top of the pot and stamped the flowers into it. I added a full stamped flower image and then added another 1/2 of the flowers in order to fill the pot entirely. I used Tombow Dual Brush markers, #346 and #526 for the flowers. The cake and pot was colored with Copic markers.

Copic Markers Used:
BV000, BV02, BV04
BG000, BG11, BG15
BG01, BG5
BV23, BV31, C1, Y17, 
plus Tombow Twin Tone-Blue

While I was working on the cake, my darkest blue Copic marker leaked a large drop of ink as shown in the picture below. I'm sharing this boo boo to show that I made this work by placing blue enamel dots to cover this and saving the time and work that I'd put into the card. When something unexpected like this happens, think creatively on how you can recover. Usually there is a way to strategically recover as I did in this example.


Next I stamped the balloons and sentiment from the birthday set and colored them with markers. The sentiment was cut out with 6048-Scalloped Rectangle Dies and layered with a piece of light brown cardstock. I fussy cut the balloon image. I then arranged all the elements on the card to complete the project.
I hope you've enjoyed today's tutorial. I invite you show off your own creation using two or more Ai sets and upload it to the Mix and Match Challenge. You can win free stamps for your efforts!

For our Top Spot we selected: Kathy R.
We loved her gorgeous little hummingbird!


Please contact Leah at Feedback@artimpressions.com
to claim a free stamp set of your choice!!
Be sure to grab your winner's badge to display on your social media.


Our Lucky Random Winner was: Lynn C.


Please contact Leah at Feedback@artimpressions.com
to claim a free stamp set of your choice!!

Be sure to grab your winner's badge to display on your social media.

Congratulations to both of our winners and thank you
Janet for the amazing inspiration for the new challenge!


Now for our new challenge!

 ✻ Please make a new card or handmade crafty creation using either stamps, dies and or designer paper from Art Impressions. You can make any item you wish; this is not limited to cards! (unless specified)

✻ Limit two submissions per person.
✻Top Spot Winner and Lucky Random Winner each receive a free stamp set from Art Impressions
 ✻Please include your first name and last initial on your submission. You may include your entire last name, but it's not necessary.
✻We love to comment on your entries, but keep in mind if you use a private group or a platform that you need to sign up for, we probably won't be able to.
✻ The Ai Challenge is open to everyone, international submissions are welcome!
✻ Include a link back to the Ai Blog or grab our button on the top right of our sidebar!
✻ Share the Ai love if you can, by clicking and commenting on your fellow crafters.
✻ Make sure to get your link up by the deadline to enter your creations.
✻ Good luck and happy stamping! 

You are invited to the Inlinkz link party!

Click here to enter

Thursday, April 23, 2026

Bunny in Flower bendy card by Dori Mendiola

 Happy Thursday AI Friends!

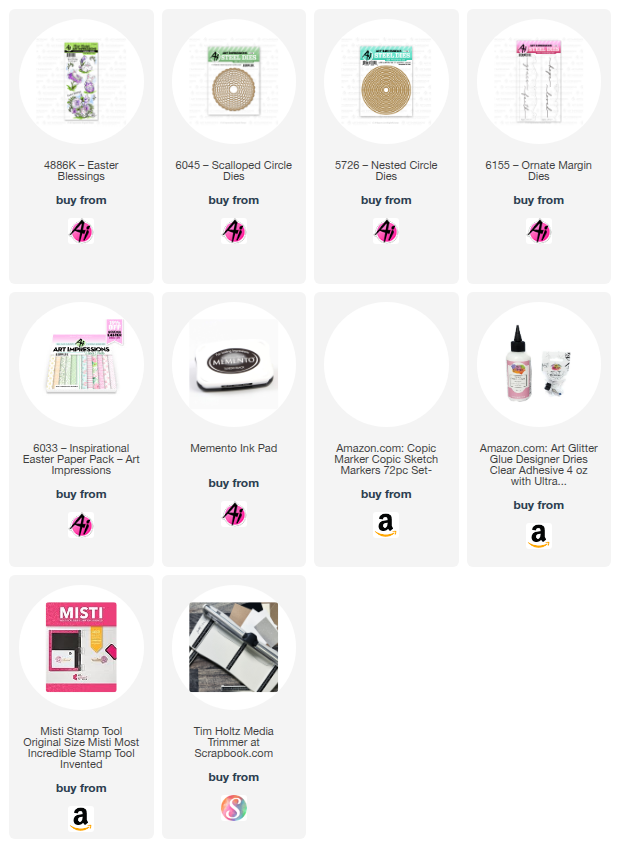
I recently purchased the Bunny set #4886K – Easter Blessings, and I’ve already made so many cards with it. It’s not just for Easter either! I’ve used it for birthdays, spring cards, thinking‑of‑you cards, and more. The images in this set are adorable and so versatile.

I love making fun‑fold cards, and this design works perfectly on a bendy card. It’s simple to put together, lays flat for mailing and the recipient enjoys how it stands on display.


I began by stamping this cute little image onto copic friendly paper with Memento black ink and colored with my copic markers listed below.  I die cut with one of the dies from the #6045 Scallop Nested Circle die set and then matted on pink cardstock cut with the #5726 Nested Circle die.  

To make card base - Cut a 5 1/2 x 4 1/4" piece of heavy cardstock.  Score and fold in half (valley fold) at 2 3/4".

Also cut a piece of white cardstock using the #6155 Margin die.  I cut the straight edge to make the margin die approx. 1 1/4" wide (high) and then cut a bit off of each side evenly to make it 6" in length with the heart being in the middle.  I trimmed a piece of pink cardstock and glued behind the heart cutouts.  I then scored at 1/4" along each side of this 6" panel.  Fold the 1/4" tabs under and glue to the front side of the card base.  

  Cut two panels of designer paper to fit each half of the card base (2 5/8" x 4 1/8").  Glue one of these to each side of the card base, in between the margin die panel and the card base, covering the tabs of the margin die panel.

For the bendy portion of the card - Cut a piece of pink cardstock at 5" x 4".  Score and mountain fold each at 1/4" and 2" from both sides of the 5" length.  Place liquid glue on each of the 1/4" tabs only and glue to the designer paper (under the margin die panel) centering this onto the base card.  I cut designer paper panels to fit each of the bendy folds leaving a slight border.  

Lastly, adhere the circle image panel to the middle fold of the bendy panel only, otherwise the card will not bend.

Add hearts, ribbon and the word "loved" (from the margin die set) for accents and dimension.

I hope you enjoyed my card today!  Thanks for joining me!
Have a wonderful day and keep creating!

Copics used:  E50, E51, E53,     B000
R20, R22, R81, R83, R85
G20, G21, G24

Monday, April 6, 2026

Another card for the Round & Round Challenge by Sharon Caudle

 Hello AI Fans! 

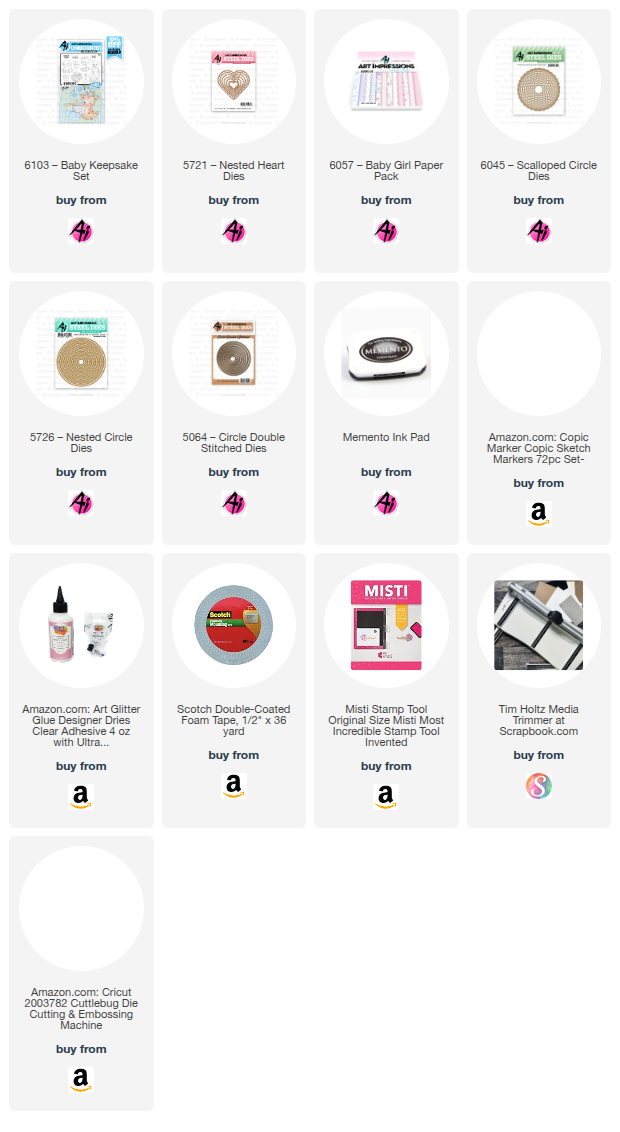
I've got another card today that works for the current Round & Round Challenge that is going on right now. Here's a link so you can enter your project if you haven't already. Just click HERE.  I started out by using the adorable bear from #6103 Baby Keepsake Set. I stamped it onto a Copic friendly paper with Memento Tuxedo Black Ink and then colored it with the markers listed below. Then I just grabbed some circle die sets. So I used #5064 Double Stitched Circle Dies, #5726 Nested Circle Dies, and also #6045 Scalloped Circle Dies. That pretty patterned paper is from #6057 Baby Girl PP. To embellish the card a bit, I used some hearts from #5721 Nested Heart Dies, stamping the sentiment onto the larger white one. I also added a set of those adorable booties from the set as well. 


So that is it for me today! I sure hope you're joining in on the challenge for a chance to win a free stamp set! Thank you so much for stopping by for a visit today and until next time - stay crafty! 


Copic markers used:

E51, 53, and 55

R81 and 83

V12 and 15

RV91, 93, and 95


Thursday, April 2, 2026

Ride the Waves Pup Card by Dori Mendiola

 Happy Thursday AI Friends!

Today I have two cards for you that both fit the Round and Round Challenge.  The first one is an interactive rocking card and the second is more to show you how many ways you can use your dies and stamps, just add some imagination.  

Let's start with the rocking pup:

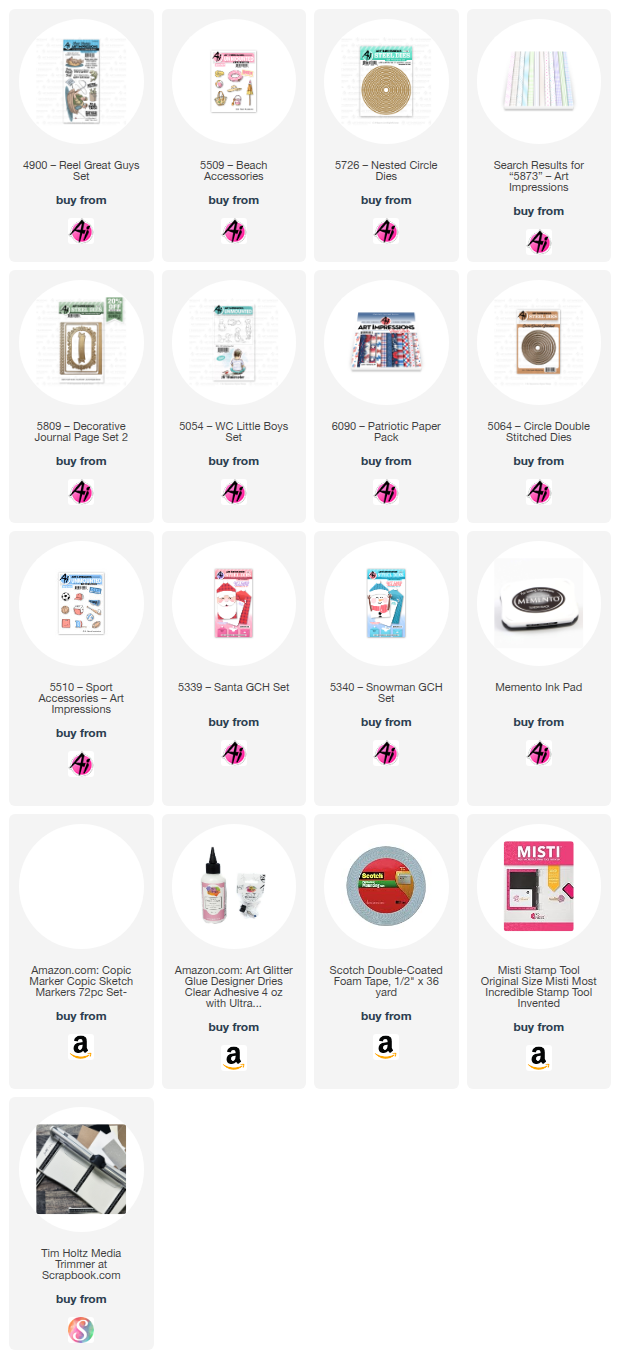
I used the Pup floating in the inner tube from the #4900 - Reel Great Guys stamp set along with the beach toys from the #5509 - Beach Accessories stamp set.


I stamped the images onto copic friendly paper with Memento black ink and colored them with my copic markers listed below.  I die cut the beach toys with the corresponding dies and fussy cut the pup in the inner tube.  I cut off the water beneath the tube since I was making my own water. 

I cut a 5 1/2" circle out of heavy weight cardstock and scored in half to make the base.  I then cut waves with dies I had in my stash.  I positioned the blue waves together and taped the back side.  I die cut these layers with the same round die, lining up the halfway mark of the circle die to the top wave.  I also placed a smaller circle over the waves for the middle circle panel.  I die cut a sand layer using the bottom edge of the circle die.  I glued the outer layers together onto the circle base card. 

To create the middle circle and the mechanism for the pup to rock, I cut a white base panel with the circle die that is just larger than the one used to cut the middle of the waves.  I cut the cloud panel from the smaller circle die used to cut the inner waves.  I punched a dime size hole in the darkest wave and cut two larger circles (approx. 1") from scrap white cardstock, making sure they will be hidden under the pup.  Adhere one of these scrap circles to one side of a pop dot and feed the dot into the hole from the back side of the wave.  Adhere the other scrap circle to the top of the pop dot and then glue the pup onto that disc, hiding it under the pup.  Place foam tape onto the back side of the darker wave, making sure that you don't hinder the disc from moving.  Adhere this layer to the white/cloud panel, matching up the waves to the circle base.  Test it out and see if your pup rocks.  Place foam tape to the next layer, again making sure that it doesn't hinder the pup.  Adhere to the white/cloud panel, matching up to the outer waves.  The lighter blue waves are adhered directly onto the middle blue layer.  Adhere your wave bubbles to the base card and then adhere the white scene panel to the base.  Add your beach accessories, sun and sentiment.  Your card should rock and so should your pup.  See the video below.


Baseball card

This next card was made for my grandson's birthday.  He loves baseball.  
I used the #5054 - WC Little Boys stamp set and flipped him by stamping a mirror image.  I wanted him to be right handed.  😂  To create a mirror image, I stamped him onto a silicone embossing mat that came with my die cutting machine and then placed my white copic friendly paper over the top and pressed.  The image is just as clear as the original stamp.  
  I used the #5510 - Sports Accessories for the cap, bat and ball.  For the ball in his hand, I used a hole punch and a marker to draw the stitches.  
Okay, now for the crazy part, can you guess which die sets I used for the stitches on the larger baseball? 
I should have made this a contest to see if anyone could guess OR maybe I'm not as creative as I think I am.  😂😃  Probably the latter, but I wanted to show you that you can use your dies in soooo many different ways.

First of all, I used the 5064 - Double Stitch circle die for the baseball.  Then for the half circles, I used two of the #5726 - Nested Circle dies together to create the thin circle frame.  Lastly, I used the eyes/brows from the #5339 - Santa and the #5340 - Snowman GCH for the red stitches on the ball.

Now, would it have been easier to draw the ball, probably, but I can't draw.  😂

Well, there you have it!  Thanks for joining me today.  I hope you create something fun for the Round and Round challenge and enter for a chance to win a free stamp set.  We love to see your creations!

Have a great day and keep creating!

Copics used:  Pup - N0, N1,  B0000
                                                 E21, E23, E50, E51, E53  
                                                             B21, B24,   YG21, YG23, YG25  

                                                      Baseball - E00, E01, E11, E51, E53, E55
                                                                      T0, T2, T4   R22, R24,    Y23 
                                               B21, B23, B24