Hello, and welcome back for Watercolor Weekend!

Hello, my
Ai Watercolor friends and fans! On July 4, 2026, the United States will
celebrate its Semiquincentennial—the 250th anniversary of the Declaration of
Independence. I’m old enough to remember the Bicentennial, so it feels extra
special to experience a second milestone celebration in my lifetime. I’ve
always loved the classic red, white, and blue color combination, and today’s
projects are filled with plenty of those festive hues.

America’s
250th Birthday Card:
For this
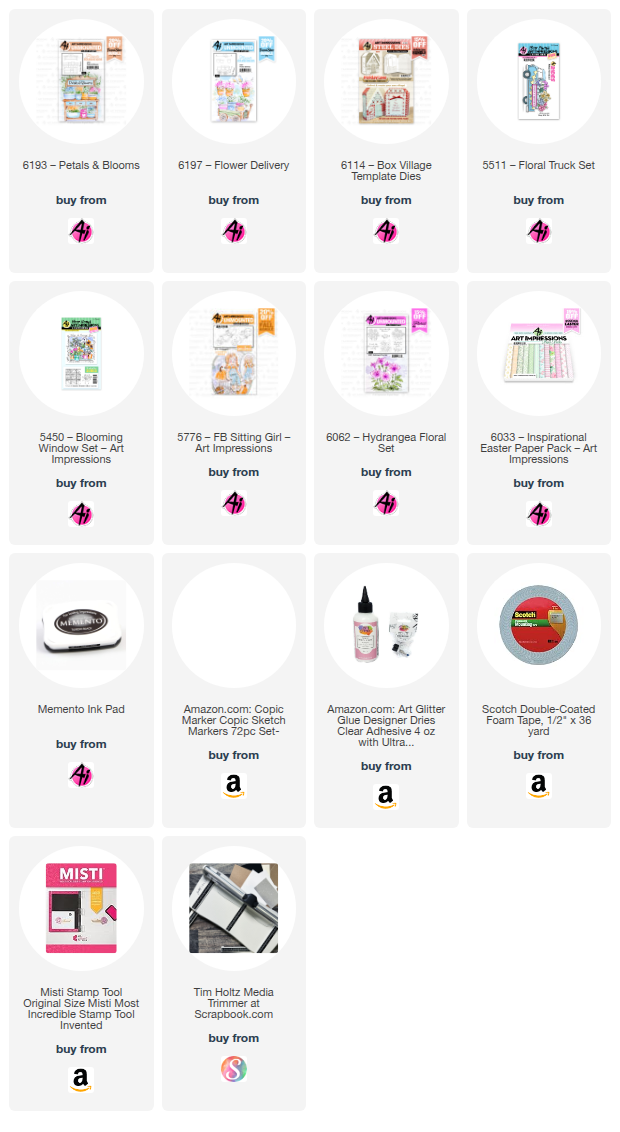
festive celebration card, I used the 5511 – Floral Truck Set and mixed in a few
elements from the 5494 – Front Porch Patriotic Set. To set the perfect
patriotic tone, I chose bold patterned papers from 6090 – Patriotic Paper Pack,
which adds just the right splash of red, white, and blue.

Colors and Supplies Used
Paper: Canson XL Watercolor Paper
Patterned Paper: 6090 – Patriotic Paper Pack
Cardstock: red, white
Brush: No. 4 round brush, No. 0 round brush
Ink: Versafine Smokey Gray Ink
Stamps and Dies:
- 5722 – Birthday Journal Set (dog and cake)
- 5491 – Front Porch Party Set (birthday banner)
- 5562 – Journal Letter Die Set
- LF3799 – Lawn Fawn Build-A-Cake Dies
Tombow Dual Brush Pens:
- Dog: 977, 969, 856 (cheeks and collar)
- Party hat, banner, and numbers: 856, 555, 565
- Cake: 856, 555, 565, 942, 992
- Cake Stand: 451, 565
- Truck body: 856, 565
- Windows: 451
- Tires: N25
- Hub caps and lights: Winsor Newton 14ml Silver Paint
- Flower pots and bunting: 856, 555, 56
- Florals: 856, 555, 993 (red flower center)
- All greenery: 177
- Fireworks bucket: 856, 555, 451, 565, 977
- Flag: 856, 555, 565, 977, Winsor Newton Silver Paint
- Candle flames: 025, 933, 993, and 856
Other: Foam squares, Post-It Tape, Dr. Ph. Martin’s
Bleed Proof White

Once I had all the elements painted, I assembled
the pieces and popped some elements up with foam squares (truck bed, fireworks
bucket, blue flowers pot, red flowers pot, and flag).

I cut a 2 inch by 5.5-inch piece of blue patterned
paper and a 2.5 inch by 5.5-inch piece of red and blue striped patterned paper
and adhered to an A2 red card base. The floral truck and the remaining elements
were glued to the card front. I die cut the scripty Celebrate die (5722 –
Birthday Journal Set) from shimmery white card stock and adhered it to the card
front.

Inside the card, I added die cut numbers using dies from 5911
– Large Number Die Set and chose predominately red, white and blue patterned
papers to die cut 250. I added flames to each number to resemble candles
(flames were die cut using Lawn Fawn Build-A-Cake Dies #LF3799).


For the white mat and pop-up mechanism, I cut a piece of
white cardstock measuring 8 1/8 x 5 1/8 inches and folded it in half. I then
positioned my numbers along the fold where I liked them and marked the center
of their placement with a pencil. Then I used a ruler to draw two cut lines for
each letter about a 1/2 inch long. I used my Fiskars paper trimmer to cut along
the pencil lines from the fold (you could also use a pair of scissors). I then
opened up the folded cardstock and pushed the cuts forward to create the
pop-ups and refolded the card.

I stamped the Happy Birthday sentiment from my stash using Versafine
Onyx Black ink. Before adhering the mat to the card base, I added ¼‑inch strips
of patterned paper to the top and bottom edges for a little extra color and
balance. Finally, I glued the numbers onto their pop‑out openings. It turned
into such a fun, dimensional, interactive card—perfect for celebrating this
historic occasion!

America’s
250th Birthday Gift Tag:
To go along
with the card, I created this adorable gift tag featuring my favorite little
puppy stamp paired with the layered birthday cake from the 5722 – Birthday
Journal Set. It’s a sweet, patriotic accent that ties the whole celebration
ensemble together.
Colors and
Supplies Used
Paper: Canson XL Mix Media Paper
Patterned Paper: 6090 – Patriotic Paper Pack
Cardstock: White
Brush: No. 4 round brush, No. 0 round brush
Ink for stamped images: N52 (cake), 969 (dog), N52 (party
hat)
Stamps and Dies:
- 5722 – Birthday Journal Set (dog and cake)
- 5491 – Front Porch Party Set (birthday banner)
- 5562 – Journal Letter Die Set
Tombow Dual Brush Pens:
- Dog: 977, 969, 856 (cheeks and collar)
- Party hat, banner, and numbers: 856, 555, 565
- Cake: 856, 555, 565, 942, 992
- Cake Stand: 451 and 565
Other: Foam squares, Dr. Ph. Martin’s Bleed Proof
White, glue, red baker’s twine, Spectrum Noir Clear Sparkle brush pen, tag die
and detail scissors.


I painted and die cut numbers for
the cake candles using the numbers dies from 5562 – Journal Letter Die Set. The
dog and cake images were fussy cut with detail scissors. The birthday banner is
from 5491 –
Front Porch Party Set and is popped-up on the tag with foam tape as well as the
dog. The cake and numbers are glued directly to the tag. Dr. Ph. Martin’s Bleed
Proof White was used to paint the candle wicks. For extra sparkle, I added
Spectrum Noir Clear Sparkle brush pen to the banners, the numbers and the white
frosting.

I adhered a plain white tag to the back and stamped
the to/from image from my stash using Versafine Onyx Black ink. To
finish the tag, I added red baker’s twine, looping it through the hole for a
simple, festive touch.

As we look ahead to America’s 250th birthday, it
feels wonderful to celebrate with handmade projects that capture the spirit of
red, white, and blue. I hope these ideas inspire you to create something
patriotic for your own celebration. Until next time, Happy Painting!