Showing posts with label 6033 Inspirational Easter PP. Show all posts

Wednesday, September 16, 2026

Cruisin' Carol birthday card by Dori Mendiola

 Happy Wednesday AI Friends!

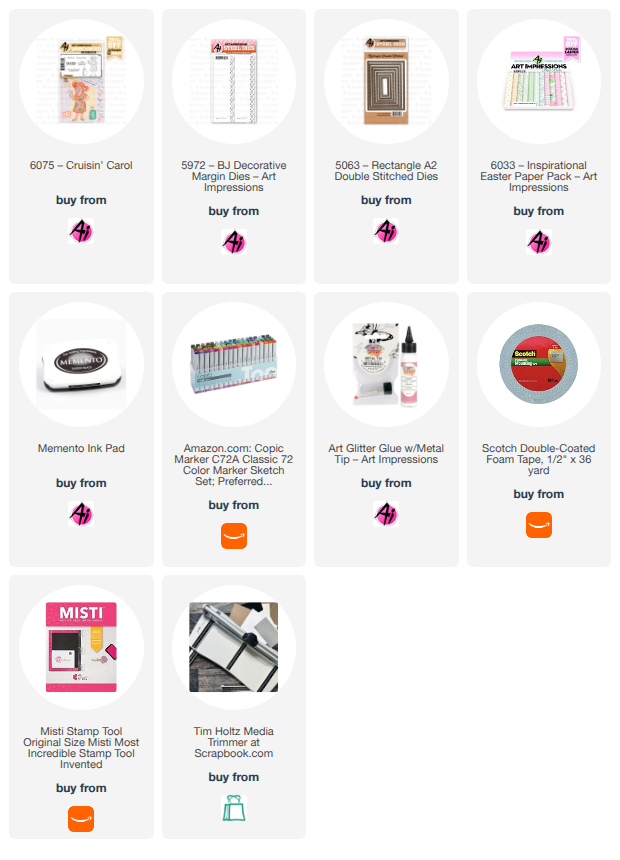
Today I have a card inspired by the current bi-weekly blog challenge - On the Border featuring the #5972 - BJ Decorative Margin dies and Cruisin' Carol - #6075.  I love these ladies from the AI People line. 


I stamped Cruisin' Carol onto copic friendly paper with Memento black ink and colored her with my copic markers listed below.  I then die cut her with the corresponding die that is included in this set.  

I die cut 2 pieces of pattern paper and a white cardstock panel using the #5063 - Rectangle A2 Double Stitched dies.  I also die cut two pieces of mint green cardstock using the #5972 - BJ Decorative Margin die for each side of the image panel.

I placed foam tape onto the backside of the image and popped her up onto the white panel.  The happy birthday word die cut is from my stash.

There you have it - Easy Peasy, Fun and Festive!  Thanks for joining me today!  Hope you join our bi-weekly challenge - On the Border - for a chance to win a free stamp set.  We love to see your creations!

Have a great week and hope you find lots of time to craft!

Copics used:  T0, T2, T4, T6
E00, E01, E11, E21, E23, E25
R20, R22, R24, R27, R29
Y28    YR12, YR14, YR16
B000      V12, V15, V17
Thursday, April 23, 2026

Bunny in Flower bendy card by Dori Mendiola

 Happy Thursday AI Friends!

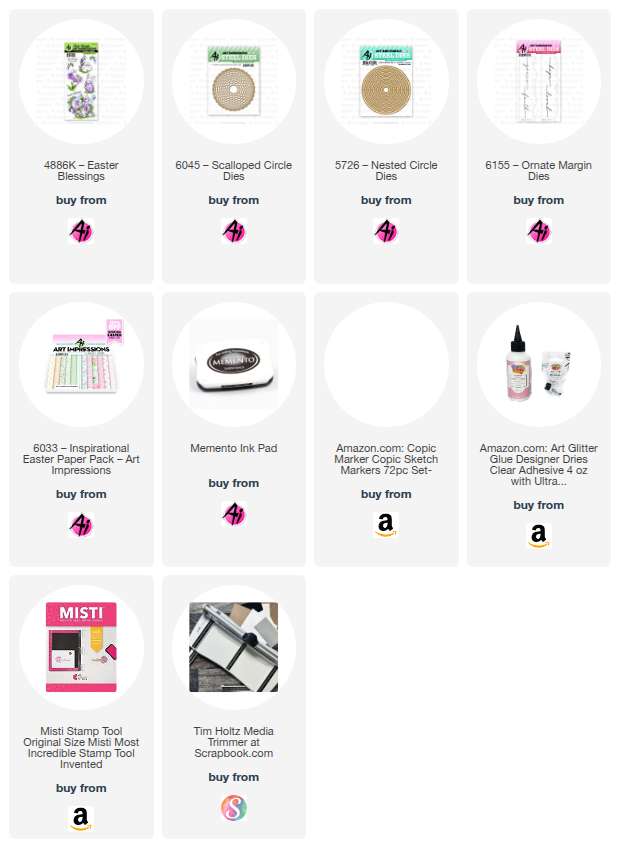
I recently purchased the Bunny set #4886K – Easter Blessings, and I’ve already made so many cards with it. It’s not just for Easter either! I’ve used it for birthdays, spring cards, thinking‑of‑you cards, and more. The images in this set are adorable and so versatile.

I love making fun‑fold cards, and this design works perfectly on a bendy card. It’s simple to put together, lays flat for mailing and the recipient enjoys how it stands on display.


I began by stamping this cute little image onto copic friendly paper with Memento black ink and colored with my copic markers listed below.  I die cut with one of the dies from the #6045 Scallop Nested Circle die set and then matted on pink cardstock cut with the #5726 Nested Circle die.  

To make card base - Cut a 5 1/2 x 4 1/4" piece of heavy cardstock.  Score and fold in half (valley fold) at 2 3/4".

Also cut a piece of white cardstock using the #6155 Margin die.  I cut the straight edge to make the margin die approx. 1 1/4" wide (high) and then cut a bit off of each side evenly to make it 6" in length with the heart being in the middle.  I trimmed a piece of pink cardstock and glued behind the heart cutouts.  I then scored at 1/4" along each side of this 6" panel.  Fold the 1/4" tabs under and glue to the front side of the card base.  

  Cut two panels of designer paper to fit each half of the card base (2 5/8" x 4 1/8").  Glue one of these to each side of the card base, in between the margin die panel and the card base, covering the tabs of the margin die panel.

For the bendy portion of the card - Cut a piece of pink cardstock at 5" x 4".  Score and mountain fold each at 1/4" and 2" from both sides of the 5" length.  Place liquid glue on each of the 1/4" tabs only and glue to the designer paper (under the margin die panel) centering this onto the base card.  I cut designer paper panels to fit each of the bendy folds leaving a slight border.  

Lastly, adhere the circle image panel to the middle fold of the bendy panel only, otherwise the card will not bend.

Add hearts, ribbon and the word "loved" (from the margin die set) for accents and dimension.

I hope you enjoyed my card today!  Thanks for joining me!
Have a wonderful day and keep creating!

Copics used:  E50, E51, E53,     B000
R20, R22, R81, R83, R85
G20, G21, G24

Thursday, April 9, 2026

Flower Box Foundations by Dori Mendiola

Happy Thursday AI Friends!

Today I have a fun fold card with two images from the newest Art Impressions release.  If you haven't seen the release yet, make sure to pop on over to the Art Impressions website to see the six floral stamp sets, Flower Shop book template and two paper packs.  What a fun and adorable bundle!

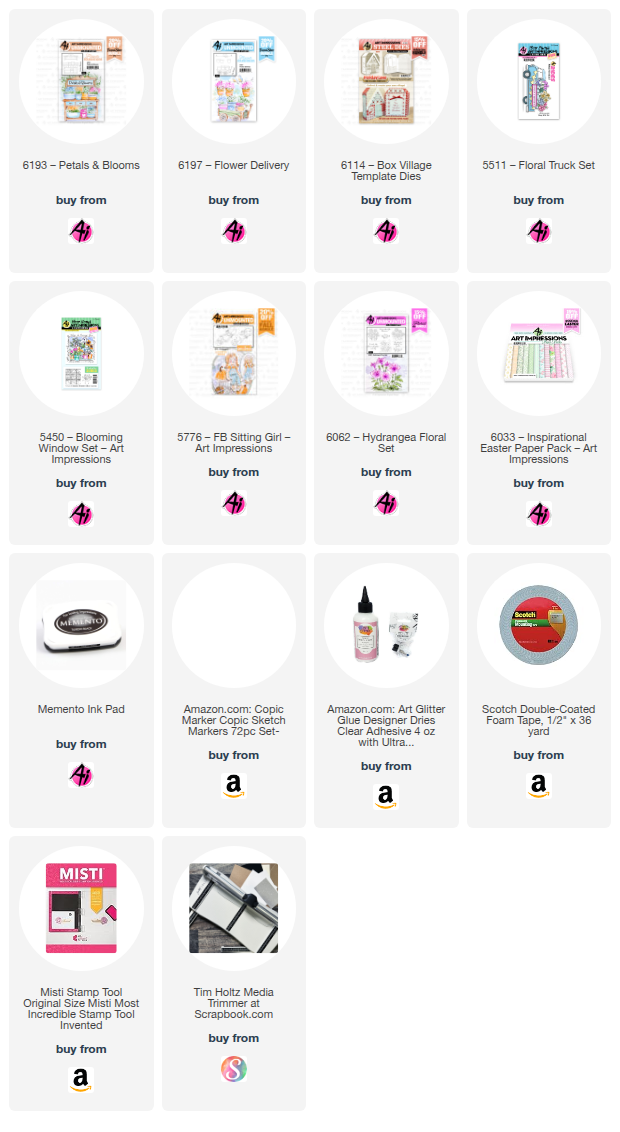
I used two of the stamp sets for my card.  #6193 - Petals and Blooms and #6197 - Flower Delivery along with some flower images from the #5511 - Floral Truck.  I also used the #6114 - Holiday Lane Village Template for the image panels.


I stamped the images onto copic friendly paper with Memento black ink and colored with my copic markers listed below.  I die cut the florals with the corresponding dies.  I cut slits into the pots and trimmed off part of each floral base so that it tucks into the pots with the flowers peeking out the tops. 
I also added some foam tape behind the flowers for dimension.

The fun fold is an A2 Z-fold card.  I cut a piece of heavy cardstock at 8 1/2" by 5 1/2".  Fold and score at 2 1/8" (mountain) and 4 1/4" (valley) along the 8 1/2" side.  For the inside, you will need one piece of cardstock measuring 3 1/2" x 2 1/4".  Score along the 2 1/4" side and mountain fold at 1/2, 1, 1 1/2 and 2".  This inside piece will create a square tube.  Adhere the 1/4" tab to the opposite side creating the tube (see below).  After adhering your matted panels on the inside of the card, adhere this tube to the inside back and left side of fold.


For the inside image panel I colored and fussy cut the wagon part of the #6197 - Flower Delivery stamp set.  I tucked the flowers into the pots like above.  I used the #5776 - FB Sitting Girl as the delivery girl taking a break with her wagon full of flowers.  😀 She fits so perfectly with the wagon.


I adhered this panel to the top level of the tube.  When the card is shut, the card will lay flat for mailing but yet stand up on display when opened.


That's it for me today.  Thanks for joining me!
I hope you have a wonderful day and keep creating!

Copics used:  E51, E53, E55,     B21, B25
G20, G21, G24     Y13, Y15, Y17
YR61, YR65, YR68      R81, R83, R85
T0, T2, T4

Monday, March 23, 2026

Pop up arch card Retired and Rehydrated by Sharon Caudle

 Hello AI Fans!

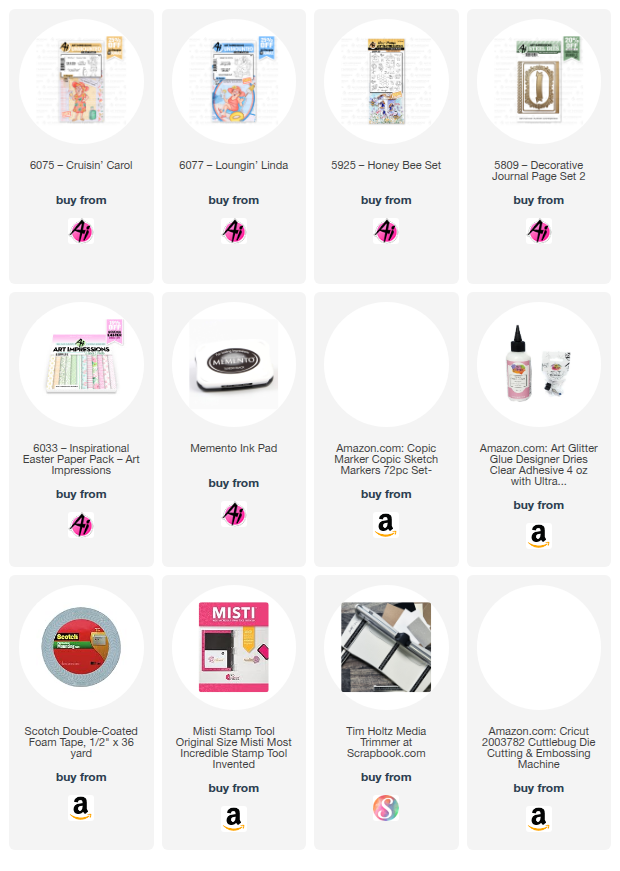
So I have almost reached my one year retirement and I will just say that I do love a good cocktail! HAHA  So I had a blast making this card. It's a dimensional card that lays flat so it's easy to put in the mail. To start with, I stamped #6075 Cruisin' Carol onto a Copic friendly cardstock. After coloring her, I cut her out with the included die. A few daisies from #5925 Honey Bee Set framed her nicely with a strip of grass and a few clouds. The sentiment from #6077 Loungin' Linda fit perfectly on the banner from #5809 Decorative Journal Page 2. It's actually my favorite banner die. The printed papers are from #6033 Inspirational Easter PP. The margarita glasses are just dies I had in my stash, but I thought they went perfectly with the card.


To create this card, you just want to create as many different size layers of your arches (or any shape) and then attach them with an open ended box like you can see in the picture below. You just want to make sure they aren't wider than the panel you're attaching to the front of it. So with these arches, I cut one panel that measured 3 1/4" x 3 1/4".  The second piece was cut to 3 1/4" x 2 1/2. Both pieces were scored at 3/4", 1 1/2", 2 1/4", and 3". fold into a long box by adding adhesive to the 1/4" flap. 


This shows how it folds flat to fit into an envelope. 


So that's it for me today. Thanks so much for stopping by for a visit today and until next time - stay crafty! 


Monday, May 19, 2025

Birdhouse Village by Sharon Caudle

 Hello AI Fans!!

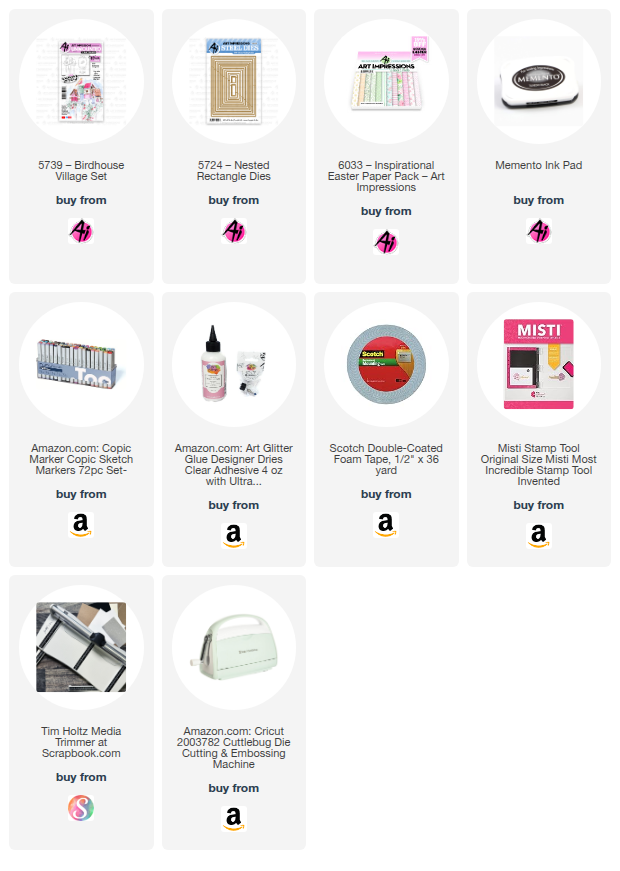
You still have time to enter the current challenge "Show Mom She's Special"! I created this card without a sentiment so you could use it for anything you want! It's always good to have cards like this in your stash for times when you need a card quickly. It would work perfectly for the challenge, don't you think? I stamped the images onto a Copic friendly paper and then colored them with the markers I've listed below. Those cute flowers are in the set too, and I just stamped a bunch of them and fussy cut them out to place around the birdhouse bases to ground the image. Of course I popped some of them up for dimension. LOL  For the background paper, I used a beautiful piece from 6033 Inspirational Easter PP. 


So that's it for me today! Thanks so much for stopping by for a visit and until next time - stay crafty!!


Copic markers used:

RV91 and 95
R81, 83, and 85
G12 and 24
Y35 and 38
E11, 13, 33, 51, 53, and 55
B00 and 01


Sunday, April 20, 2025

May the Joy of Easter be Yours and Happy Mother's Day Cards by Diane Mason

 Hello, and welcome back for Watercolor Weekend!

Happy Easter, Ai Watercolor Friends! I hope you are having a joyous weekend. I have two watercolor cards to share with you today. The first is an Easter card and the second is a Mother’s Day card.

May the Joy of Easter be Yours Card:

Recently, I’ve seen multiple versions of Cross Pop-up cards online, but none yielded an A2-sized card. So I decided to create my own. Since it is Easter Sunday, you probably won’t be creating this card today, but maybe an idea for next year? I think this design would also make a lovely Confirmation or Sympathy card. If you like this design, you can bookmark this page and save it for future reference.

To create an A2-sized card, I used the following measurements, shown in the photo below, for the pop-up. All of the elements will get attached to an A2 card base (8 ½ x 5 1/5 inches, folded in half).


As shown above, I cut a piece of light purple cardstock, sized 5.5 inches by 5.25 inches. Using a scoring board, I scored the cardstock at 1.5, 2, 3.25, and 3.75 inches to create the pop-up piece. Next, I adhered the patterned paper pieces (6033 – Inspirational Easter Paper Pack) to the pop-up base, leaving an even border in each section. I folded the pop-up piece on the score lines to create the raised area in the center. Then I adhered the pop-up base to the front of the card base. I started on the left side and lined-up the left edge with the fold of the card base, and continued across the card. To maintain the pop-up, I matched the right edge and adhered it in place. I then pressed the pop-up flat to be sure it would lie flat to fit in an envelope. I then adhered the patterned paper to the cross piece (3.25 by 1.25 inches cardstock piece). I waited to adhere this piece to the pop-up until my painting was finished, die-cut, and matted.

The image of the pot of Easter Lilies is from the recently released 6029 – Easter Lilies Set. I inked the pot with 603 and the lilies and leaves with 177 and stamped them onto my Canson XL watercolor paper. I pulled some color from the leaves and added more 177 from my palette. For the highlighted areas of the leaves, I applied a mix of 173 and 177. I used 565 to shade the white flower petals and added 173 to the centers. Once dry, I painted in the flower stamens (177 for the filaments and 925 for the anthers) with a 0-round brush. I painted the pot with 603, leaving the center lighter to give the pot a rounded shape. Shadows were added with more 603 and 565. White stripes were added to the pot, using Dr. Ph. Martin’s Bleed Proof White. I brushed in a watery mix of 407 for the background and 565 for the shadow under the pot.

I die-cut the painting and mat with dies from 5065 – Oval Double Stitched Dies and 5727 – Nested Oval Dies. I then adhered the cross piece to the back of the center of the ovals. I pressed the pop-up flat to the right, lined up the edge of the cross piece with the edge of the card, and adhered it in place. When adhered properly, the card will lie flat and fit perfectly into an A2-sized envelope. I inked the Happy Easter (6029) sentiment with Versafine Onyx Black ink and stamped in the bottom right of the card.

For the interior of the card, I inked the “May the joy of Easter be yours” sentiment (6029) with 603, and stamped a couple of times to darken, using a stamp platform. I did the same with the flowers from 6025 – Fear Not Set.

With Joy on my mind, I decided to create a little bookmark to tuck into the card. I die-cut the decorative cross (5909 – Crosses Die Set) three times from metallic gold cardstock and adhered them together to give the cross some thickness. I die-cut the Joy die (5986 – Jesus & Joy Dies) twice from light purple cardstock and adhered it to the cross with glue. I looped a piece of white and gold baker's twine through the hole at the top of the cross and tied the two ends together to form a tassel. I tucked the cross into the card and temporarily attached it to the card with a glue dot. And to be a little extra, I die-cut a tiny gold cross (5987 – Bible Journal Icon Die Set) and adhered it to the back of the card.


 “Happy Mother’s Day” Card:


For this whimsical Mother’s Day card, I used the stacked teacup image from the recently released 6024 – Tea Time Set. I inked the image with N52 and stamped it onto watercolor paper. Here is a list of colors I used for each cup, starting from the top down:

Pink Polka Dot Tea Cup: 703 and Dr. Ph. Martin’s Bleed Proof White
Yellow Tea Cup:  993, Bleed Proof White, and Yellow Gold Gansai Tambi paint
Green Tea Cup:  249 for the cup and floral design
White Tea Cup:  565 for shadows and Yellow Gold Gansai Tambi paint
Orange Tea Cup:  925 and Bleed Proof White
Pink and White Floral Tea Cup:  725 for lip, handle and base, 565 for shadows, 249 for vine and 993 for flower

* 565 was used to shade all of the teacups and for the shadow under the cups.


I had planned to use a gold gel pen to add the gold accents to the cups, but sadly, my pen had dried up. So instead, I remembered I had some beautiful metallic Yellow Gold Gansai Tambi watercolor paint. I used that for the accents and also painted the frame of my die-cut piece (5588 – Journal Oval Frames Die Set). For the card front, I used patterned paper from 6036 – Easter Bunny Paper Pack. I popped the green striped piece up with foam tape and adhered the painting to the popped-up piece.


For the interior of my card, I stamped the “Happy Mother’s Day” sentiment and floral vine from 6024, in Versafine Onyx Black ink. I painted the vine with 249 and the flowers with 993. I adhered a leftover strip of patterned paper to the bottom edge of the card to make it “fancy”.

I had a great time dreaming up fun designs for the teacups. Drawing colors from the patterned paper really helped the composition come together nicely. I think this same design would make a lovely birthday, hello friend, or just because card too! I would love to see some variations of this card. If you make this card, be sure to tag us on social media – we’d love to see your work!

That’s all for now, thank you for stopping by for Watercolor Weekend. Until next time, Happy Painting!