Showing posts with label 6062 - Hydrangea Floral Set. Show all posts

Sunday, July 19, 2026

Birds, Blooms & Dimensional Designs by Simone Carr


Hello Crafty Friends!

Art Impressions has some really beautiful patterned paper packs, and I feel like the designs get better and better with each new release. Some of the patterns are simply too pretty to hide behind layers, so I wanted to create a card that showcases both the patterned paper and my watercoloring. I've admired eclipse-style cards for a long time but had never made one myself, so I decided to give it a try!

I started with a 5" × 5" card base and cut the top layer to 4⅞" × 4⅞". Next, I cut a piece of cardstock measuring 4¾" × 4¾", along with five strips of patterned paper measuring ½" × 4¾". Be sure to keep the strips in order so the pattern stays aligned.

I adhered the first strip directly to the cardstock. For the second strip, I added 2 mm foam tape before placing it next to the first strip. I continued alternating between adhesive and foam tape until all five strips were attached, creating the eclipse effect.

Next, I cut another piece of cardstock measuring 2⅛" × 4¾" and a piece of Strathmore Bristol Smooth Paper measuring 2" × 4⅝". After adhering them together, I placed the panel into my stamping platform.

I stamped the image using Distress Ink Lost Shadow and the sentiment using Versafine Clair Twilight. Once the ink was dry, I colored the image using the Tombow markers listed in the materials section below.

To finish the card, I added 2 mm foam tape to the stamped panel and adhered it beside the patterned paper strips. After attaching everything to the card base, I finished the design with a few embellishments for a little sparkle.

The finished card measures 5" × 5".


Materials Used

Stamps

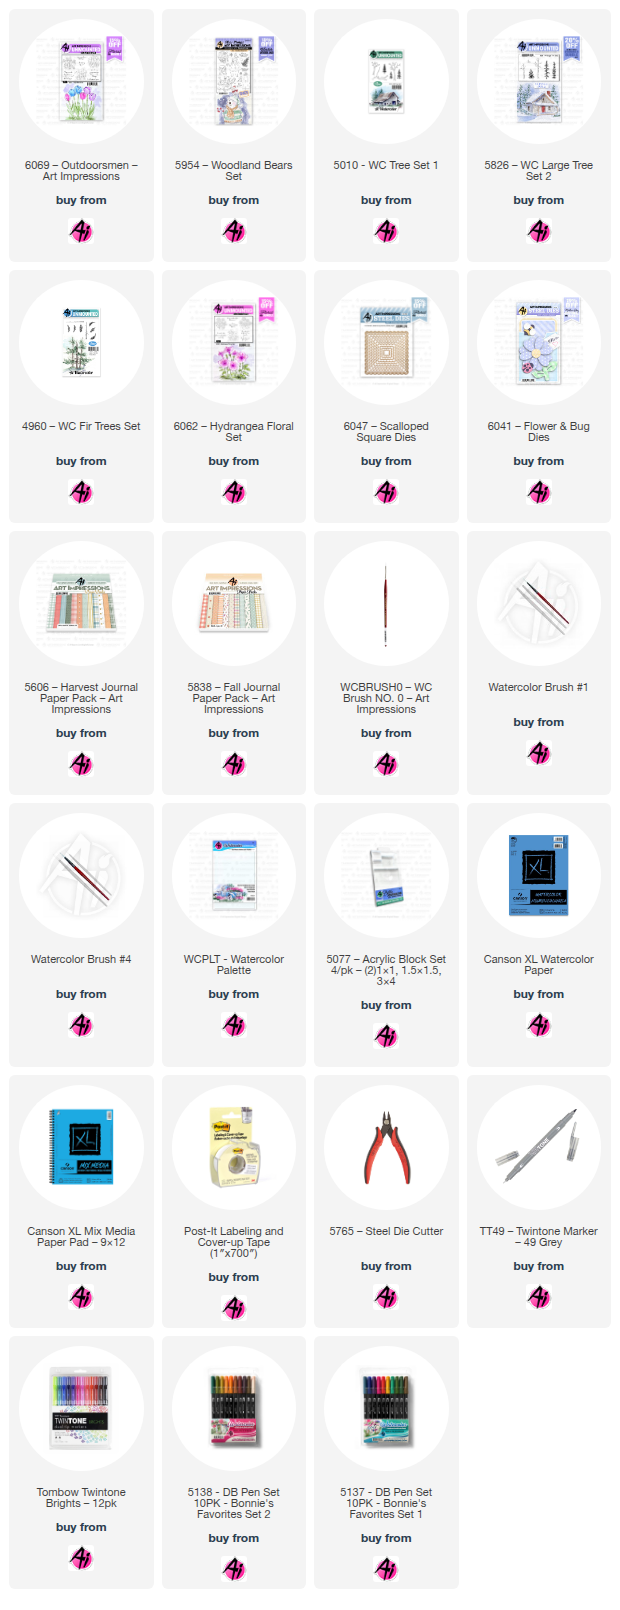
• 6216 – Mercy Set
• 6061 – Tulip Floral Set

Paper

• 6082 – Bible Journaling S1 Paper Pack
• Strathmore Bristol Smooth Paper

Inks & Mediums

• Distress Ink – Lost Shadow
• Versafine Clair – Twilight
• Pitt Artist Pen – Black
• TwinTone Marker – Brown
• 2 mm Foam Tape

Tombow Markers

• 947, 969, 985 – Bird
• 528, 565, 177, 985 – Flower
• 526, 565 – Sky

For my second card, I reached for one of my favorite products—the Story Tile Die. While there are currently four stamp sets designed specifically for this die, it's also a wonderful way to showcase many of your other Art Impressions stamps.

I started by die cutting the tiles from Canson Watercolor Paper. Before stamping, I arranged the images on the tiles to determine the layout I wanted. Once I was happy with the placement, I stamped the images using Distress Ink Lost Shadow.

After everything was stamped, I colored the images using the Tombow markers listed in the materials section below.

Next, I selected a patterned paper from the Woodland Christmas Paper Pack that complemented the scene and die cut it using the Story Tile Die. I adhered the patterned paper frame to a second frame cut from watercolor paper for added stability and dimension.

To finish the card, I adhered the layered frame to an A2 card base and glued each watercolor tile back into place. I stamped the sentiment using Versafine Clair Nocturne to complete the design.

I hope these two cards inspire you to look at your stamps and dies in new ways and create something uniquely your own. Thanks for stopping by, and happy crafting!


Materials Used

Stamps & Dies

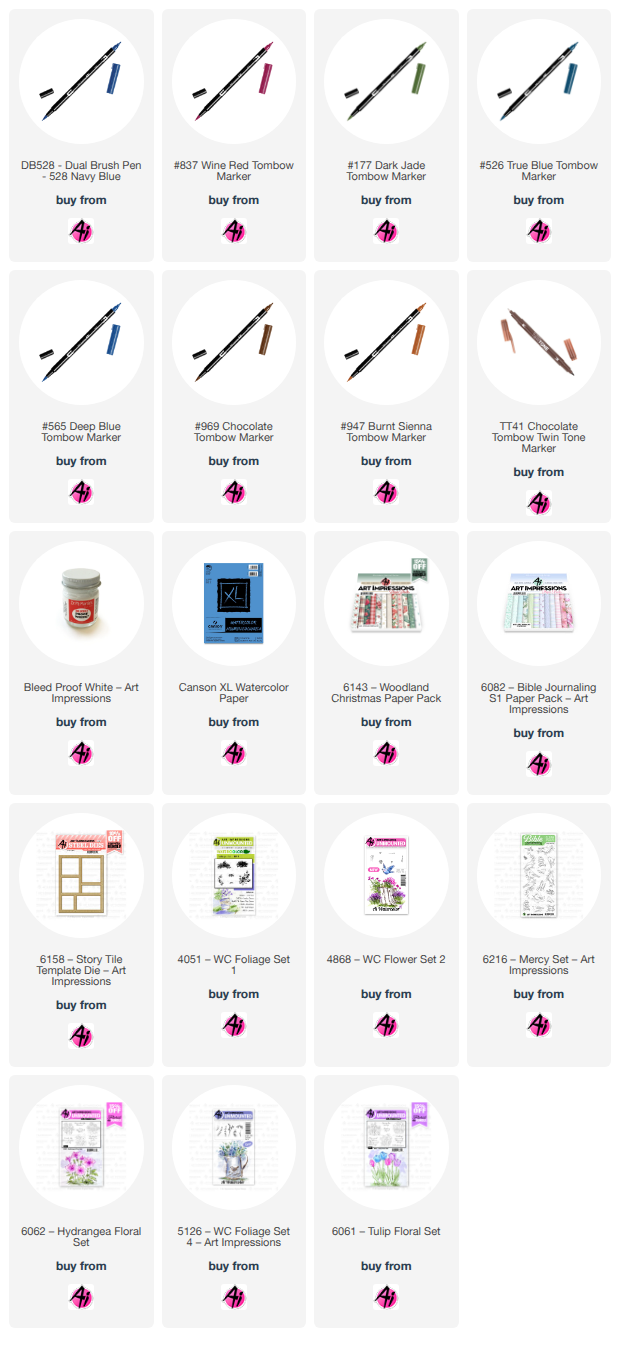
• 6158 – Story Tile Die
• 6216 – Mercy Set
• 6062 – Hydrangea Flower Set
• 4051 – Foliage Set 1
• 5126 – Foliage Set 4
• 4868 – Flower Set 2

Paper

• 6143 – Woodland Christmas Paper Pack
• Canson Watercolor Paper

Inks & Mediums

• Distress Ink – Lost Shadow
• Versafine Clair Nocturne
• Pitt Artist Pen – Black
• TwinTone Markers – Brown, Purple
• Dr. Ph. Martin's Bleed Proof White

Tombow Markers

• 947, 969, 985 – Birds
• 985 – Daisies
• 837 – Small Flowers
• 606 – Petunia
• 177 – Leaves, Grass
• 401 – Water in Leaf
• 526 – Sky
• 565 – Shadows


Saturday, April 11, 2026

Spring Front Porch & Easel Card with Guest Designer Kristen Brown

 Hello Ai fans!

Today we have a special treat for you...

Guest Designer Kristen Brown.
She's filling in for Diane Mason who needed the day off.

She created two GORGEOUS Spring cards to inspire you.

Please enjoy...


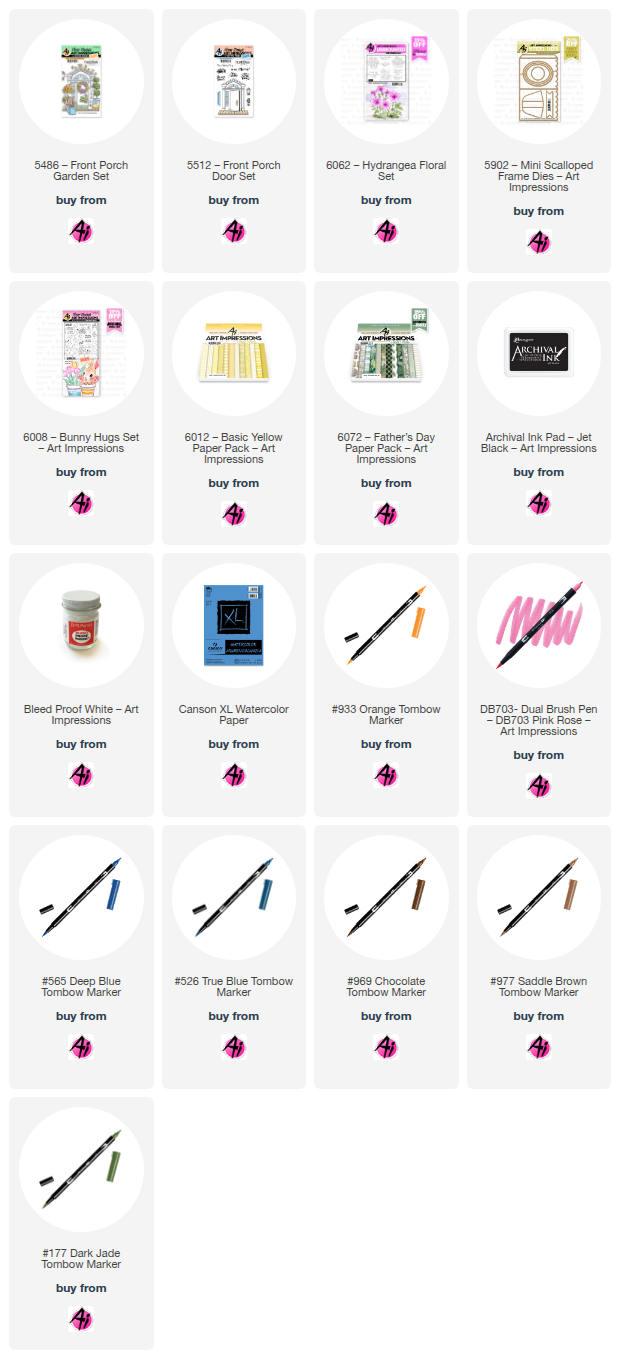
I love using the front porch sets, they are so easy to use. I just stamp, color, die cut, arrange and then attach with any adhesive handy.  The stamp sets I used are 5486 and 5512 and the sentiment is from 6062. The Tombow pen colors I used are 177, 977, 969, 526, 703, 025 and 933. The brick paper is from the 6072 Father’s Day paper pack.


Very quick project using the mini scalloped frame die set #5902 and the hydrangea floral set #6062 for the daisies and sentiment. I used only three Tombow pen colors #177, #565 and #933 and the paper is from the Yellow paper pack #6012. Butterfly is from #6008.

Thursday, April 9, 2026

I See Right Through You Challenge #425 Week #1

 Hello Ai fans and welcome to our

"I See Right Through You" challenge.

We want to see your cards that you can "see through."
Cards with cut outs, cards with acetate, snow globes and shakers...
Window cards
(Windows you can't actually see through are fine...Windows to the World)
Anything you can see through.

I'm the Featured Designer this week and I created a snow
globe card that you can see all the way through.

I've been wanting to try this for a while and I have a picture tutorial 
for how I created it. Have a look and then,
check out who won our last challenge.


I tried my best with the photos.
It's difficult to photograph the snow globe domes without a glare.

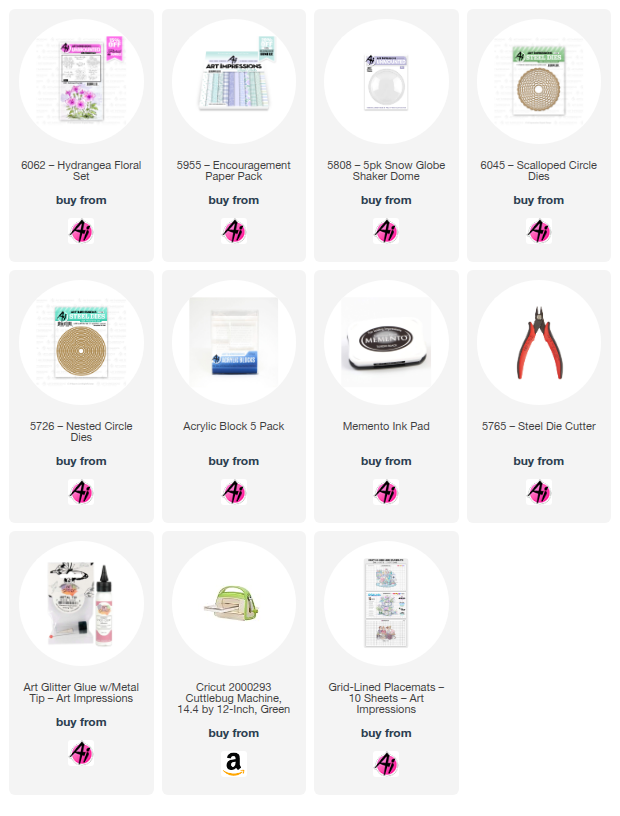
I started by cutting the rings that will go outside of the dome on the front of the card.
Next, I lined up the inside and outside Designer Paper with the card front and ran it
through my Cuttlebug so that all three openings would line up perfectly.


Next, I glued the inside piece with the cut out, the paper for the right side and I 
stamped the flowers and cut their mats out. Next I distressed the two pieces for
the front. You can see how I cut the purple piece in a later
photo so that I didn't have to worry about lining up one more circle.


My next step was to color the flowers and mount them on the circle mats. (not photographed)
Then, I lined up the flowers with the window and glued it onto the inside panel. After that,
I glued the acetate over the window opening.


After gluing the acetate on I added the purple panel. You can see that I cut a rectangle out of it.
This gave me a panel to use on a future card, cut down on the weight of this card and allowed
me not to have to worry about lining up another circle. After that, I dropped a few fun bits on
the acetate and adhered the snow globe dome. Be sure to peel of the protective plastic on it first.


Now we're ready to put the front paper on and then add the circles around the dome.


You can see what it looks like from the inside.


I love the tiny little leaves inside the dome. They remind me a bit of hydrangea leaves.


All of my printed papers are from the same paper pack which makes them super easy to coordinate.


Copics used:

YG23, YG45, V0000, V01, BV11, B0000, B000, B91


I hope you've enjoyed my card and that you'll give our challenge a try.
I can't wait to see what you make.


Now, let's see who won our Round & Round challenge.

 For our Top Spot we selected: Cynthia O.


Please contact Leah at Feedback@artimpressions.com
to claim a free stamp set of your choice!!

Be sure to grab your winner's badge to display on your social media.


Our Lucky Random Winner was: #17 Dawn W.


Please contact Leah at Feedback@artimpressions.com
to claim a free stamp set of your choice!!

Be sure to grab your winner's badge to display on your social media.

Congratulations to both of our winners!
We love how funny Cynthia's card is and how beautiful Dawn's glass vases are!


Now for our new challenge!

 ✻ Please make a new card or handmade crafty creation using either stamps, dies and or designer paper from Art Impressions. You can make any item you wish; this is not limited to cards! (unless specified)

✻ Limit two submissions per person.
✻Top Spot Winner and Lucky Random Winner each receive a free stamp set from Art Impressions
 ✻Please include your first name and last initial on your submission. You may include your entire last name, but it's not necessary.
✻We love to comment on your entries, but keep in mind if you use a private group or a platform that you need to sign up for, we probably won't be able to.
✻ The Ai Challenge is open to everyone, international submissions are welcome!
✻ Include a link back to the Ai Blog or grab our button on the top right of our sidebar!
✻ Share the Ai love if you can, by clicking and commenting on your fellow crafters.
✻ Make sure to get your link up by the deadline to enter your creations.
✻ Good luck and happy stamping! 

You are invited to the Inlinkz link party!

Click here to enter

Flower Box Foundations by Dori Mendiola

Happy Thursday AI Friends!

Today I have a fun fold card with two images from the newest Art Impressions release.  If you haven't seen the release yet, make sure to pop on over to the Art Impressions website to see the six floral stamp sets, Flower Shop book template and two paper packs.  What a fun and adorable bundle!

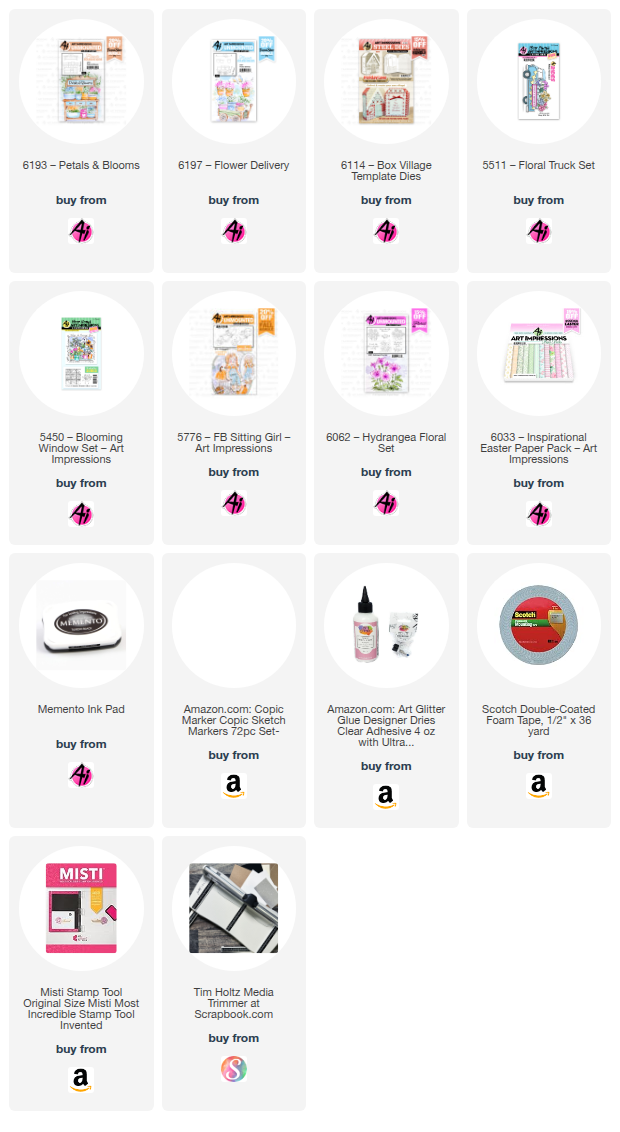
I used two of the stamp sets for my card.  #6193 - Petals and Blooms and #6197 - Flower Delivery along with some flower images from the #5511 - Floral Truck.  I also used the #6114 - Holiday Lane Village Template for the image panels.


I stamped the images onto copic friendly paper with Memento black ink and colored with my copic markers listed below.  I die cut the florals with the corresponding dies.  I cut slits into the pots and trimmed off part of each floral base so that it tucks into the pots with the flowers peeking out the tops. 
I also added some foam tape behind the flowers for dimension.

The fun fold is an A2 Z-fold card.  I cut a piece of heavy cardstock at 8 1/2" by 5 1/2".  Fold and score at 2 1/8" (mountain) and 4 1/4" (valley) along the 8 1/2" side.  For the inside, you will need one piece of cardstock measuring 3 1/2" x 2 1/4".  Score along the 2 1/4" side and mountain fold at 1/2, 1, 1 1/2 and 2".  This inside piece will create a square tube.  Adhere the 1/4" tab to the opposite side creating the tube (see below).  After adhering your matted panels on the inside of the card, adhere this tube to the inside back and left side of fold.


For the inside image panel I colored and fussy cut the wagon part of the #6197 - Flower Delivery stamp set.  I tucked the flowers into the pots like above.  I used the #5776 - FB Sitting Girl as the delivery girl taking a break with her wagon full of flowers.  😀 She fits so perfectly with the wagon.


I adhered this panel to the top level of the tube.  When the card is shut, the card will lay flat for mailing but yet stand up on display when opened.


That's it for me today.  Thanks for joining me!
I hope you have a wonderful day and keep creating!

Copics used:  E51, E53, E55,     B21, B25
G20, G21, G24     Y13, Y15, Y17
YR61, YR65, YR68      R81, R83, R85
T0, T2, T4

Tuesday, March 24, 2026

Easter Bunnies for the 3D challenge by Reneé Matarese

 Hello Ai fans!

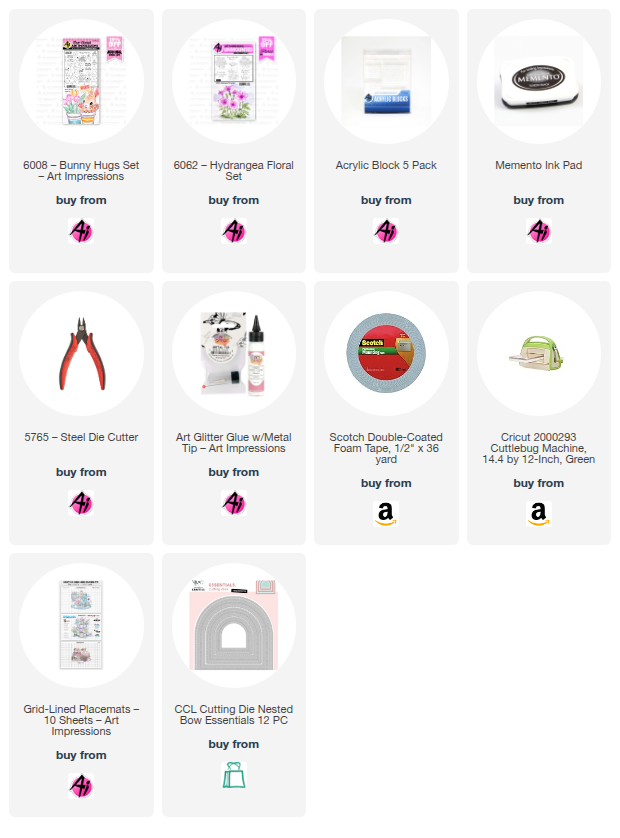
I made this Easter card with the current
3D challenge in mind.

It has lots of layers and images popped up.

I hope you enjoy it.


I like the way the neutral paper in the background
makes the sweet bunnies and flowers kind of pop.


Here you can see how all of my layers are popped
up for the 3D challenge. Be sure to enter soon! The challenge ends
tomorrow. You don't want to miss out on the chance to win a free stamp set.


Sunday, June 8, 2025

Spotlight on Dad and Beautiful Blooms by Gennette Houghton


Welcome to Watercolor Weekend! I am loving all of the new releases that Art Impressions has come out with lately. From the masculine sets that are perfect for Father’s Day coming up, to the beautiful florals that are great for any occasion. The 6069 Outdoorsman set was originally released as the May Throwback, but due to popular demand it was added into the everyday line. Since I have both hunters and fisherman in my life, I chose this set for my first card.


I first stamped in the fisherman in N49, stamping off once, on watercolor paper. I then created a mask before stamping in the scene.  Since this set is rubber I used my stamping platform and a piece of acetate to help me position the scene where I needed it. After getting it lined up where I wanted it, I then inked it in N49, stamping off once before adding it with the fisherman.  Bonnie did a wonderful tutorial on this set in monochromatic, I was trying to decide how I wanted to color this. Then I came up with the idea to do both monochromatic and color, highlighting the fisherman.  Using a template that is 2 3/4 x 4 1/4 I traced in my guidelines and masked off the edges with post-it tape. I used a mixture of 565 and 969 throughout the monochromatic scene, using different strengths of colors. For the pine tree in the foreground to the right I used the 5954 Woodland Bears Set. For the smaller pine trees in the background I used 5010 WC Tree Set 1, I used full color on the ones in front and for the ones in back I stamped them off once before adding them to the scene.  I also used 5826 WC Large Tree Set 2 for the grass, and 4960 Fir Tree Set for the largest pine, using the largest 2 of the pine boughs. I then went over any of the stamped foliage with a damp brush to blend and soften.  


Now to spotlight the fisherman in color. For the hat I used 228 and 969. 879 for the hair. 992 for the vest. The shirt I shaded with 565 first, then I used 177 to put in the vertical and horizontal lines, I filled in every other square to create a plaid look.  For the pants I used 977, and the boots I used 249 with a little 947. The brown Twintone was used on the fishing pole, however, a stuff toucher had taken off with my pencil and instead of looking for it I grabbed the gray Twintone for the line. It’s a little thicker than I would like, but still works.  Don’t worry, I found my pencil and dutifully chastised the offender. LOL! Honestly, I am just glad it wasn’t my scissors!! (I’m not laughing, you are laughing!) I then matted my card with paper from the 5606 Harvest Journal Paper Pack, and matted my image with 2 different shades of green to finish off my card. 


For my 2nd card I used several new sets, first I used 6062 Hydrangea Floral Set. Black-eyed Susan are one of my favorite wild flowers here, I always look forward to seeing them scattered throughout our fields.  I am so happy to see green here again and all of the beautiful florals after a pretty cold winter.  I stamped my image again in N49, stamping off once, on watercolor paper. For the pedals I used 055 first, starting from the center I then added in 025 and pulling up into the pedal. 026 was used for the shading.  For the center I started with 947, and going around the outside with 969. I used 879 to shade around the edge and to define the center from the pedals.  126 and 177 was used on the stems and leaves, darkening the areas under the flowers and behind overlapping leaves.  526 was used in the background. 


For the large flower I used the recently released 6041 Flower and Bugs Dies, it is a great stand alone set as well as it’s intended purpose for decorating the 5811 Gift Card Pocket. I cut out 2 sets of pedals, the center, and the elements for the bee, and the tag, all out of mixed media paper.  I colored both sets of pedals with 055 and 025. For the one that would be going on top, I darkened the center with 947. For the center piece of the flower I used 947, 969, and 879.  The bee I colored the main body with N15, the yellow stripes I used 055 and 025, shading the sides on both to give it dimension. I shaded the wings with 565.  I then stamped the sentiment from the same floral set onto the tag with black ink.
 

I matted my card base with paper from 5838 Fall Paper Pack. Taking some solid card stock in green and dark rust, and some vellum, I used the new 6047 Scalloped Squares. I used the largest die on the green card stock, and cut down my die cut piece to fit up in the corner. Counting from the largest down, #4 was used to cut out a piece of vellum, #5 for the rust colored cardstock, and #6 to cut out the floral image.  I also used a flower shaping kit to round out the pedals, center, and the bee.  I then assembled everything together and mounted them on my card. I used foam tape on the bee and the top layer of the flower under the pedals to give some dimension, and the center piece. On the tag I also used some copper ink around the edges and used a lacey ribbon. I wanted the ribbon to lay flat, so I attached it with a stapler.  Thank you for joining me today, and I hope you enjoyed my cards! Until next time, Create….Share….Inspire!