Showing posts with label 6164-Peony Margin Set. Show all posts

Saturday, May 9, 2026

Pretty Peonies by Janet


I love peonies. They are so pretty but unfortunately so fleeting. They bloom for such a short time, usually no more than about 2 weeks. Yet peonies have captured our imaginations. That's pretty amazing for a flower that comes and goes so quickly. Good thing we can make the magic and beauty of peonies last a long time in images like the 6164 Peony Margin Set from Art Impressions!

I made my card by stamping the ornate and beautiful margin stamps on a single piece of alcohol friendly cardstock. I left enough room in the middle so that I could put the golden words of loved and grace in the center. These beautiful scripted words come from the 6155 - Ornate Margin Dies set. 

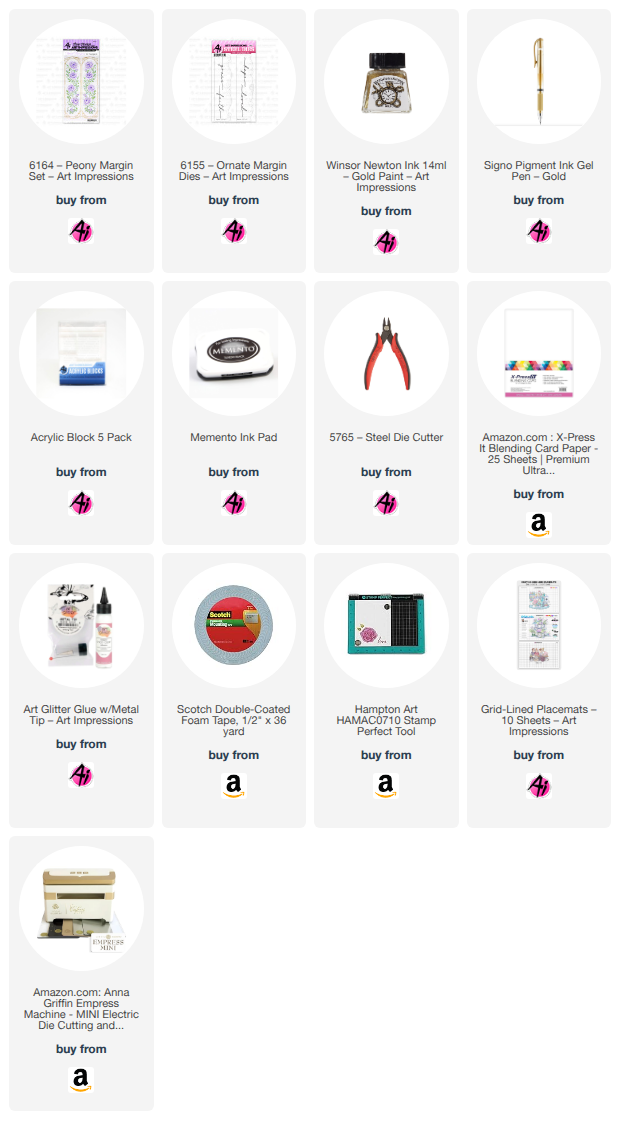
I colored the peonies in dark pinks and reds. I filled in the delicate scrollwork around the peony images with a gold Signo Pigment Ink Gel Pen from the Ai Store. Then I used the most pale pink marker in my collection to create the light pink background on the panel. I used a very pale blue marker to apply the background surrounding the peonies. 

Although lovely, I thought a splash of gold over the panel was a nice final touch. To do that, I added water to Winsor Newton Gold Ink and flicked it on the panel with a brush. After drying, I cut out the words from gold metallic cardstock and applied them in the middle. I used the same gold cardstock as a mat as well and then applied the two pieces on my dark pink card base. Finally, I used a white Signo Pigment Ink Gel to add highlights to the peonies. I used it liberally and it makes the flowers seem to glisten. 

Thanks for joining me on the blog today. As always, find your favorite stamps, dies, papers, and accessories at the Ai Store!

Happy Crafting!

Monday, May 4, 2026

I'll always be here for you by Sharon Caudle

 Hello AI Fans! 

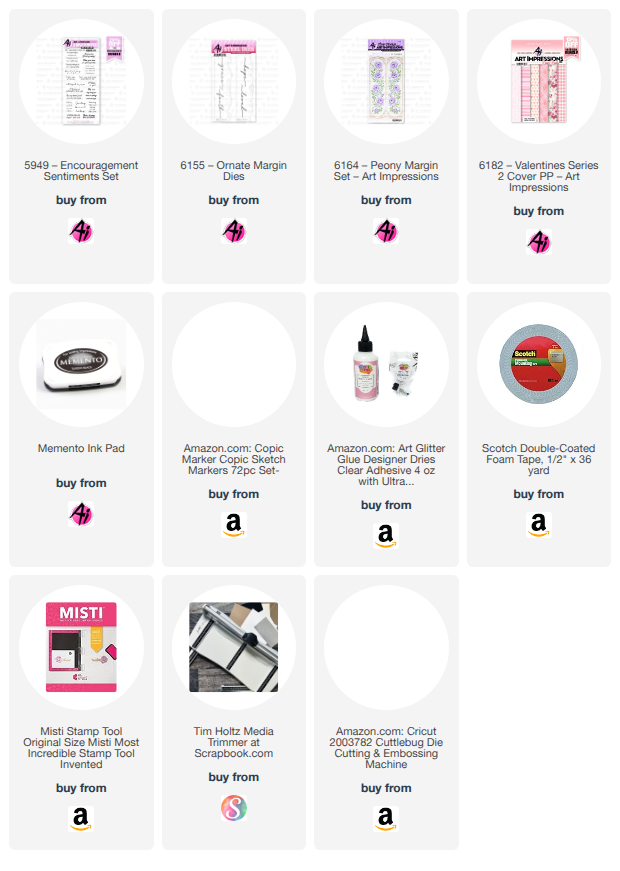
I'm here today to show you a card I made using #6155 Ornate Margin Dies along with #6164 Peony Margin Set. I created a slimline trifold along with a belly band to hold it closed. I created the belly band by stamping the Peony Margin Set onto a Copic friendly paper and coloring it with Copic markers. I then used a paper trimmer to cut it down to size and folded it around the card to make sure it fit. After adhering the ends together, I added a white silk bow to finish it off. Those gorgeous papers are from #6182 Valentines Series 2 Cover PP and the beautiful sentiment is from #5949 Encouragement Sentiments Set. 


So that's it for me today! Thank you so much for stopping by for a visit and until next time - stay crafty!


Tuesday, April 21, 2026

Peonies and Hope by Reneé Matarese

Hello Ai fans!

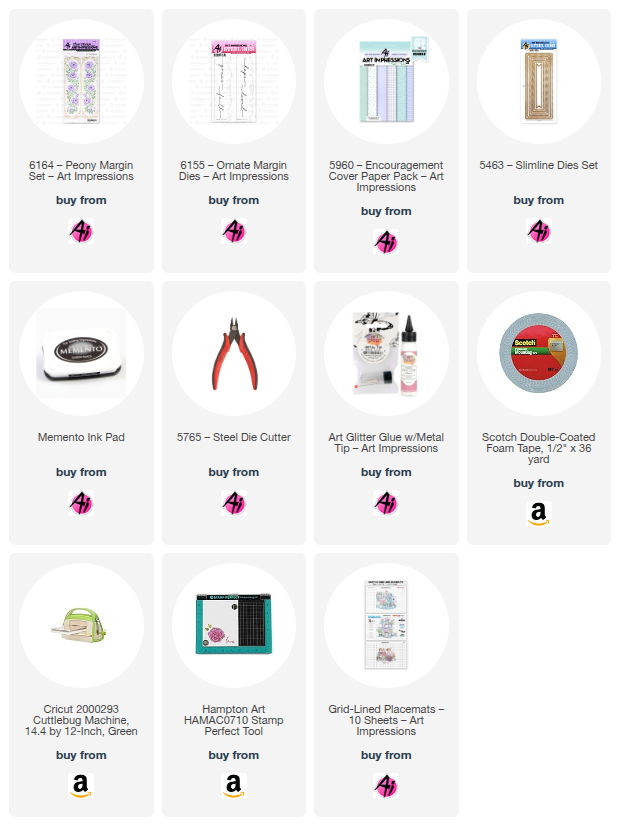
Today I've created a slimline card using the new Margin stamps and dies.
I love how romantic these new sets are.
Perfect for a wedding, anniversary, baptism, anytime you need a spiritual card.
They're just so beautiful.


Don't you love the stitching on the dies?
And, hearts are always a win in my book.


I popped up the tag and hearts for dimension.


Tuesday, April 7, 2026

Focus on Faith Ornate Gatefold Card by Sara Furr

Blessings Crafty Friends, and welcome to my Focus on Faith.
I can't believe it is April already!
Christ is Risen, and Spring is finally here!
Hallelujah!


Today, I have a pretty gatefold card for you using the brand new "Ornate Margin Dies"
and the new "Peony Margin Set" along with some older Art Impressions products.


I started out by creating my Gatefold card base. I cut a white base 10x7in. and then scored at 2.5in from each end (Landscape) to create the 2 side flaps that fold in. I then 2 pieces out of white cardstock that were 2 1/4x6 3/4in., and on those 2 I stamped the Peony Margin stamps in Gold metallic Encore ink, after treating my cardstock with an antistatic powder to prevent getting embossing powder where I didn't want it. I then applied my gold embossing powder, tapped off the excess, and heat set it with my heat tool. Once cooled, I distressed the edges of both panels and adhered them to the 2 flaps of the Gatefold card base with tape runner.


Next, I created my center panel with a bottom layer of gold mirror cardstock, then a layer of white, and then a layer of the gorgeous purple floral dsp from the Bible Journaling S1 paper pack. Before I adhered them I took the gold mirror cardstock and from the center of it I die cut my 3 words "Faith", "Hope", and "Grace". No sense in wasting more expensive cardstock when I can use the real-estate hidden behind other layers of cardstock, right? Waste not, want not!
I then distressed the edges of the white and dsp layers with the edge of a scissors to give them that frayed edge look to give them some lovely texture. I then adhered them together with tape runner, then down to the center of the Gatefold card base.

I then created a focal point layer that will be popped up in the center. Starting with another layer of gold, then white, and then a purple and teal cross and finally the gold "grace" die cut that I cut from the gold Base. I adhered those all down with a thin layer of liquid glue to the white panel and then distressed the edges, and adhered that panel to the gold, and then popped up that whole focal piece with foam tape in the center of the pretty dsp panel.


I then created a Bellyband for my card to keep it shut and make the front look pretty. I cut two of the "Ornate Margin dies", (the one without the heart) and glued them together just slightly overlapping, and then cut them down to be 5in. I used the left over strip of my pretty floral dsp that was absolutely perfect to fit in the center. I cut that down to 5in also and distressed the edges and adhered it in the center of the 2 Ornate Dies to hide the seam! Clever right? Haha. I then made a bellyband that wrapped around my card and joins in the back behind the die cut focal piece. I cut 2 more Crosses and adhered them down with liquid glue and then added the gold die cut word "faith". 


As a bonus project, I created a book mark out of the Decorative Journal Page 1 die set cut from white cardstock. I added another purple cross with a bookmark tassel at the top, and then I added the last gold die cut word "hope".
I hope you will try a Gatefold card if you never have. They are super easy, and fun to make. They stand up nice and look beautiful on display!


Thank you for joining me today. I hope you enjoyed my project and are inspired to create a Faith filled project of your own!

With love and crafty blessings,
Sara Furr- The Crafty Farm Chick 


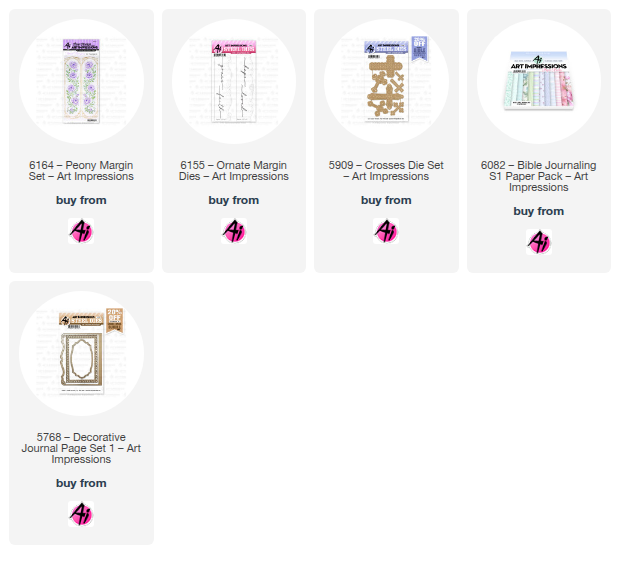
Art Impressions supplies:
6155- Ornate Margin Dies
6164- Peony Margin Set
5909- Crosses Die Set
6082- Bible Journaling S1 paper pack 
5768- Decorative Journal Page 1 Die Set

Other supplies:
Misti Stamping Tool
Die cut machine
Antistatic powder
Gold embossing powder
Heat tool
Gold Mirror cardstock
White cardstock
Purple cardstock
Teal fine glitter cardstock
Scissors
Bookmark tassel
Liquid adhesive 
Tape runner
Saturday, April 4, 2026

Peony Grace by Janet

I am very much enjoying the new Bible Journaling Margin sets that are recent releases at the Ai store. I've made several cards with the beautiful margin stamp sets and they pair so well with the 6155 Ornate Margin Dies. Today, I've used the 6164 Peony Margin Set and the Margin Dies to create an elegant card with a flap closure. This card also fits the Round and Round challenge on the Ai blog thanks to the round jewel bling used on it.

To start this card I stamped and colored the Peony margin image with red and green copic markers. Inside the border I used a pale pink marker and then used a Gold Signo Pigment Ink Pen to add gold dots for additional interest. Once complete, I trimmed the piece into a rectangle and rounded the corners. 

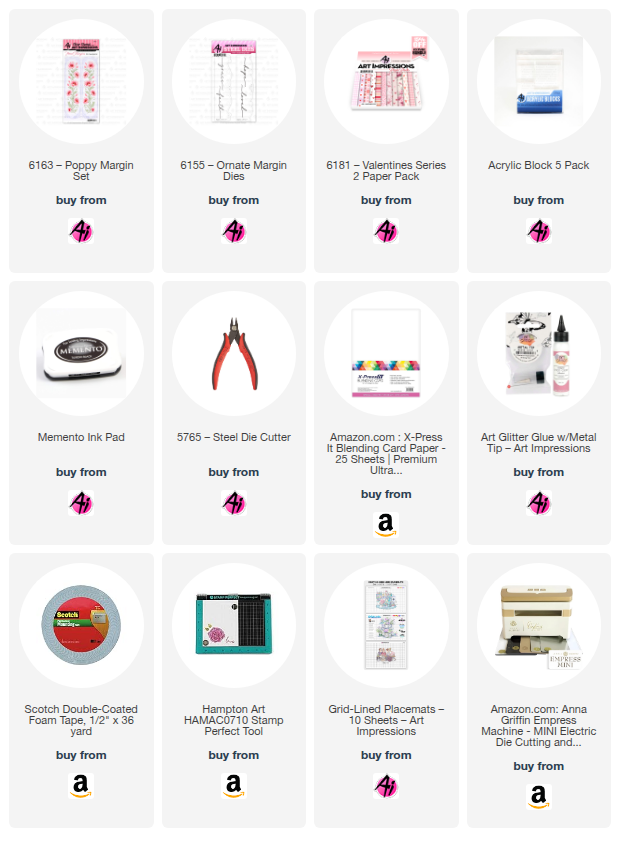
To form this card, I started with a pink A2 card base, I added a red long rectangle piece that I embossed with a folder. Then I used the heart Ornate Margin die on a piece of rose patterned paper from the 6181 Valentine Series 2 Paper Pack. I ran the long edge of this die off of the cutting plate so that I could then trim the right edge so that it was 1/2" wider than it would normally be if I cut it as it intended. This gave me a little extra length to score and then I could glue it to the back of the card base to create a flap. Before I glued it in place, I inked the left edge to show off the stitching in the paper and help it stand out. To secure the flap, I installed two round green and clear gems so that only half is attached to the card front. The other remaining half allows the flap to be tucked under and stay in place. The result is an elegant card with a unique flap closure.

Thanks for joining me on the blog today. As always, find your favorite stamps, dies, papers, and accessories at the Ai Store!

Happy Crafting!

Janet YouTube - Blog - Facebook - Instagram - Pinterest