Showing posts with label Winsor Newton Gold Paint. Show all posts

Tuesday, May 19, 2026

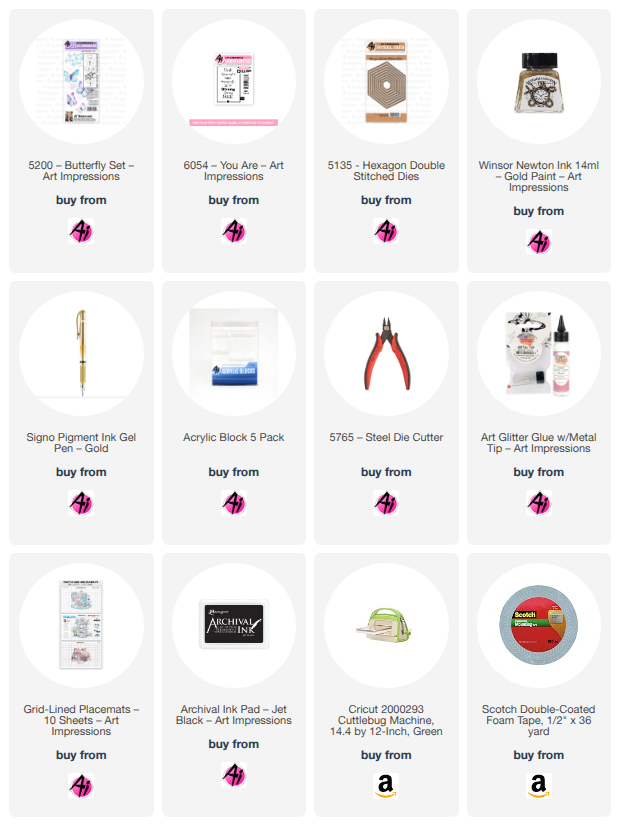
You Are...by Reneé Matarese

 Hello Ai fans!

Though Mother's Day has passed, I still wanted to share the card that I made for my mom.

I feel like it's appropriate for so many other occasions.

I love these little butterflies and have used them often.
This time, I paired them with a sentiment stamp that sums up my mom perfectly.


I used the hexagon die to cut it out and mounted it on foam tape to add some dimension.
I also popped up the butterfly wings to give the illusion that they're flying.


I used some little dots of gold gel pen and spattered some gold paint on it as well.


Saturday, May 9, 2026

Pretty Peonies by Janet


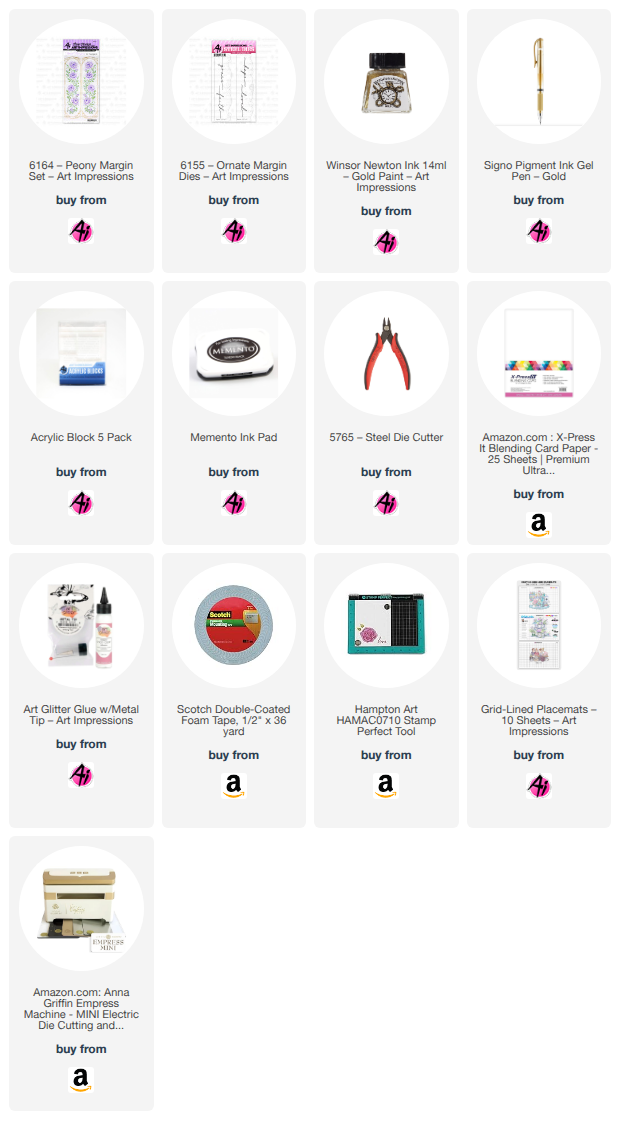
I love peonies. They are so pretty but unfortunately so fleeting. They bloom for such a short time, usually no more than about 2 weeks. Yet peonies have captured our imaginations. That's pretty amazing for a flower that comes and goes so quickly. Good thing we can make the magic and beauty of peonies last a long time in images like the 6164 Peony Margin Set from Art Impressions!

I made my card by stamping the ornate and beautiful margin stamps on a single piece of alcohol friendly cardstock. I left enough room in the middle so that I could put the golden words of loved and grace in the center. These beautiful scripted words come from the 6155 - Ornate Margin Dies set. 

I colored the peonies in dark pinks and reds. I filled in the delicate scrollwork around the peony images with a gold Signo Pigment Ink Gel Pen from the Ai Store. Then I used the most pale pink marker in my collection to create the light pink background on the panel. I used a very pale blue marker to apply the background surrounding the peonies. 

Although lovely, I thought a splash of gold over the panel was a nice final touch. To do that, I added water to Winsor Newton Gold Ink and flicked it on the panel with a brush. After drying, I cut out the words from gold metallic cardstock and applied them in the middle. I used the same gold cardstock as a mat as well and then applied the two pieces on my dark pink card base. Finally, I used a white Signo Pigment Ink Gel to add highlights to the peonies. I used it liberally and it makes the flowers seem to glisten. 

Thanks for joining me on the blog today. As always, find your favorite stamps, dies, papers, and accessories at the Ai Store!

Happy Crafting!

Tuesday, April 21, 2026

Focus on Faith: Tree of Knowledge card by Sara Furr

Blessings Crafty Friends, today I am sharing with you a card created using the new "Wisdom" Bible Journaling stamp sets.


I started by die cutting 3 Scalloped Ovals; the largest from a Teal colored 2 tone cardstock, the next largest from a piece of dsp from the "Bible Journaling S1 paper pack, and the smallest from Watercolor cardstock. After cutting the smallest scalloped Oval, I left the watercolor paper in the die and ink blended some blue at the top for sky, and some green at the bottom for grass. I then placed it in my MISTI stamping tool and lined up the tree of life stamp in the center of the oval, picked it up with the door, and inked it up with a brown marker, and stamped it onto the watercolor paper. (* Make sure you do not remove the stamp from the MISTI.)  I then pulled color from the lines with a damp brush, making sure to leave some white space in the center to make the tree appear round. I added in a bit more brown to the edges to darken them.  I then added 3 different shades of green "leaves" to the tree, working lightest to darkest, using a pouncing and smudging motion. I then added some more ground beneath the tree with a wash of light Grey and green. 


When that was all dry, I placed the oval back into my MISTI in the same position I had stamped it before, and inked up my stamp with Winsor Neuton gold paint and immediately stamped over top of the tree to give the outline of the tree a gold shimmer and make it appear "magical" as I imagine the Tree of Knowledge in the Garden of Eden must have appeared to Adam and Eve. This is very hard to capture in the photo, but in real life it shows up really well when you tilt it in the light!


Lastly, I stamped the sentiment "Seek Wisdom" from the "Wisdom set 2" with black Versafine ink. I popped that focal point up with foam tape and applied a nest of DMC gold metallic thread behind that focal piece before adding it to the dsp oval. I added more foam tape behind that oval before adding it to the largest oval. I then set that focal piece aside to work on my base.

 I created a 6x6 card base out of a 2 tone Teal cardstock. I used the square of the same cardstock that I had cut the largest Scallop Oval out of (that will be hidden behind my embossed panel and no one will know I took it! Waste not, want not!). I created a slightly smaller panel from white cardstock that I dry embossed with a Spellbinders embossing folder. I distressed the edges of both of those 2 panels and adhered them together. Before adding that to my base, I tied a crinkle bow, that I had hand dyed from seam binding and a Light purple reinker, around those 2 layers off to the right hand side, and then added it to my base. I then added my focal piece ovals off to the left side over the ribbon. As a final touch, I added some self adhesive gold pearls to draw your eye around the card.


For the inside, I used the piece of dsp that I had cut my dsp Scalloped Oval from ( again it will be hidden from view and no one will know I took it!) I followed that with another layer of the Teal dsp and a white oval cut with the largest Scalloped Oval die. I placed that into my MISTI and positioned the 2 florals from the Wisdom set 1 at the top and bottom and the sentiment from the Wisdom set 2 positioned in the middle. I picked them up with the door and then applied an antistatic powder to the oval so I could do some heat embossing.  I inked up the stamps with Versamark ink and stamped them. I applied gold embossing powder and heat set the images. When that was cooled I added it to the center of the inside.


I thought the gold embossing on the inside helped tie together the gold elements I used on the front.

That finishes my card for today, I hope you like it and that you got inspired to get these 2 wonderful sets to create some of your own Faith inspiring projects. Thank you so much for joining me today.

Many blessings to you all, 
Sara Furr- The Crafty Farm Chick

These are all the supplies I used:
Art Impressions products:

Other products used:
MISTI stamping tool
Paper cutter
Die cutting machine
Scissors for distressing edges of cardstock
Paint brush
Water
Antistatic powder
Versafine Onyx black ink
Versamark ink
Gold embossing powder
Heat tool
Embossing folder
DMC gold metallic thread
Gold pearls
Foam tape
Adhesive
Seam binding ribbon
Blending brushes
Dye ink markers
Blue and green ink pads


Saturday, April 18, 2026

Vine Wreath and Dear Friend by Gennette Houghton


Hello, and Welcome to Watercolor Weekend. One of the hardest parts of the time between winter and spring is all of the muddy brown, weather permitting, which sometimes doesn’t happen here right away, I so look forward to things turning green again. I rejoice in seeing leaves and flowers, signs of things coming to life again.  Warmer days and sunshine usually mix with cold, gray, and snow in April.  So, my projects today are all about the things I am wishing for right now, green, that first spot of yellow, bees looking for their first food of the season.  Spring fever hit me hard this year.

My first card is a simple wreath, perfect for those times when you may need a quick card.  There are so many ways to change this up just by adding a secondary color.  Blues, yellows, or add in some browns and oranges for a fall vibe. Add red berries and you could make a Christmas wreath as well.  Just by changing the sentiment, this is great for any occasion.  

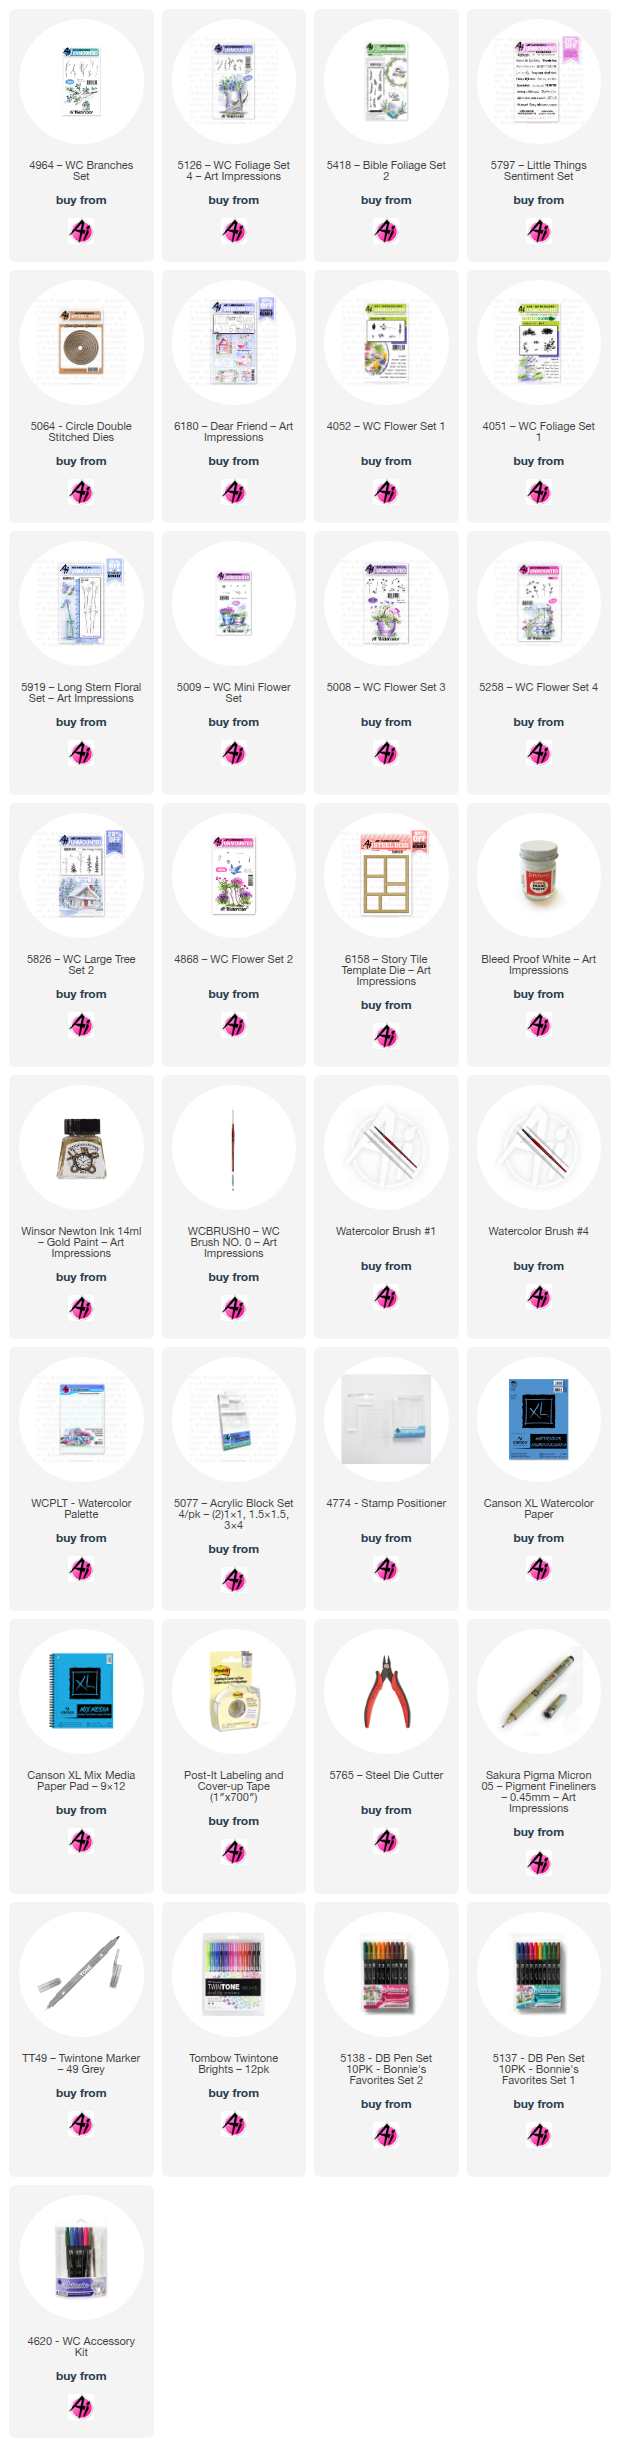
I started with 5064 Circle Double Stitched Dies and used the 2nd to largest, tracing the inside for a circle guide.  I then used a kneaded eraser to lighten the line so it was just barely there but still give me a guide.  4964 WC Branches Set, using the 2nd to smallest branch with 969, I started stamping around the circle.  Alternating the direction and stamping multiple times, shifting back and forth over the circle guide, giving more fullness. I then used the leafy branch from 5126 WC Foliage Set 4, inking in first 126 and then pulling a line through each section with 177.  I literally just drew a line up the stamp with the 177, nothing specific, just to add a two tone look to the leaves.  I did not ink the end of the stem, just the area with the leaves.  Then following the branches, also stamping several times, I then softened with a damp brush, pulling color out into the more blank areas around the wreath.  I then used a soft wash of 177 inside the wreath leaving the center alone.  Once dry, with 026 I added in some golden dots with 5418 Bible Foliage Set 2, (also known as Kendra dots), stamping multiple times around the wreath. I then used the Winsor and Newton Gold Ink, and the leafy branch, I painted a leaf on each side of the stamp at the widest part and stamped these in, re-inking the stamp each time going around the wreath. Using my stamp platform, I stamped in my sentiment from 5797 Little Things Sentiment Set in Distress Ink Forest Moss.  I cut down my watercolor paper to 4 ¼ by 5 ½ and matted it to my card base, creating a quick and easy card.   


For my 2nd card, I used 6180 Dear Friend Set with the coordinating die 6158 Story Tile Template.  The die can be used with so many different stamps, but there are currently 4 sets that were created to use with it.  I have seen some pretty amazing creations used with this die, with the sets and without.  I started with using a cutout of the template that I use to trace the boxes on my watercolor paper after cutting it down to 4 ¼ by 5 ½.  Since the sets are created with the different size boxes in mind, it is pretty simple to layout.  After getting my boxes outlined, I stamped each image in Distress Ink Pumice Stone, stamping off once, and then stamping into each of the boxes.  For the sentiment, I used my stamping platform and Versafine Clair in Nocturne, just in case that I would need to stamp it again.  Once all of my images were stamped in, I started with the main images and then built them up with foliage and flowers, masking images as needed.  I actually used quite a few sets with this, here is what I used.

4052 WC Flower Set 1

4964 WC Branches Set

5126 WC Foliage Set 4

4051 WC Foliage Set 1

5919 Long Stem Floral

5009 WC Mini Flower Set

5008 WC Flower Set 3

5258 WC Flower Set 4

5826 WC Large Tree Set 2

4868 WC Flower Set 2


The Tombows I used are:

027, 192, 565, 947, 249, 603, 969, 526, 076, 879, 856, 403, 177, 126, 025, 026, and 606.


I hope you enjoyed my projects today and thank you for joining me.  Until next time, Create….Share….Inspire!


Tuesday, December 2, 2025

Blue Woodland Barn Scene by Reneé Matarese

 Hello Ai fans!

If you haven't already seen them, you need to check out the new
Woodland Scenes from the Holiday Lane collection.


My card fits with our current
Flurries Forecasted
challenge. Use any form of snow on your project.
Embossing folders, stamps, dies, embellishments, snowbanks, spattered snow. Etc.

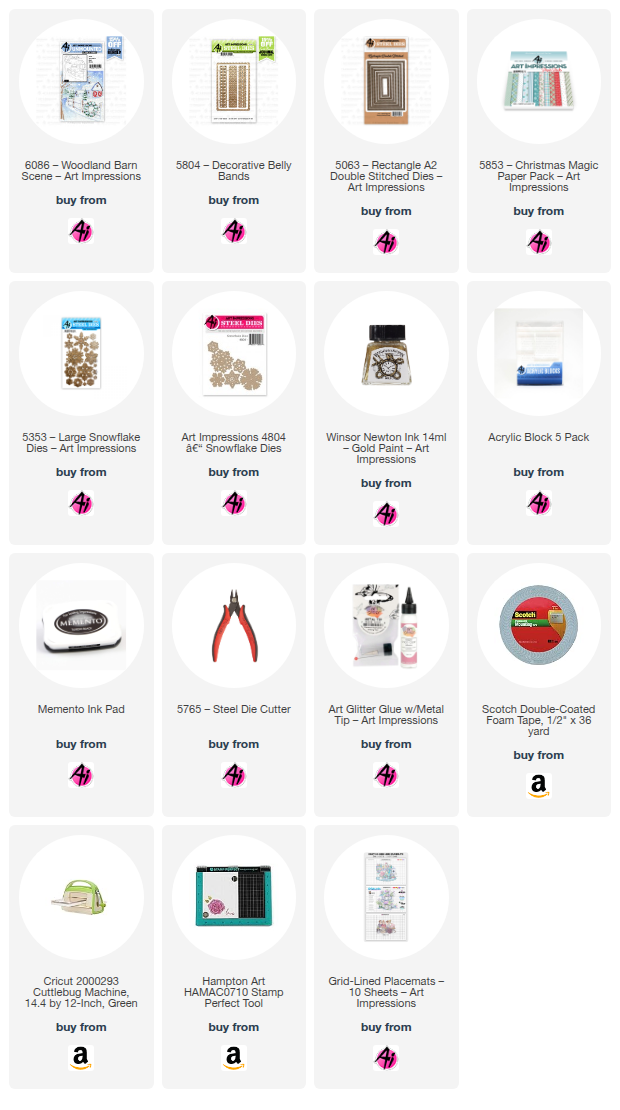
For my card, I chose to use 6086 – Woodland Barn Scene.
I absolutely love old barns so I fell in love with this image the second I saw it.

The beautiful matte around it comes from 5804 – Decorative Belly Bands.
That's framed with 5063 – Rectangle A2 Double Stitched Dies.
The beautiful papers are from 5853 – Christmas Magic Paper Pack and the snow
flakes are from 4804 – Snowflake Dies and 5353 – Large Snowflake Dies.
I cut them out of plain white cardstock that I had painted gold using
Winsor Newton Ink 14ml – Gold Paint.


I used a combination of Copic markers, Micron pens and a pencil to add details and
color to the images.
Copics:
C00, C0, N2, T4, E31, E34, Y11, R29, B01,
B91, BG02, BG10, BG11

Microns:
Sepia 0.01, 0.005


Tuesday, September 2, 2025

Tonight We Fly! by Reneé Matarese

 Hello Ai fans!
Who is a fan of all things spooky like I am?
I start work back at school today so for me, summer is officially over and fall is here.
I was inspired by a black lacy butterfly adorned with jewels in the Michael's Halloween Dept. and came up with this card.


I used lots of sets from Art Impressions to create my card and you can find everything linked below.
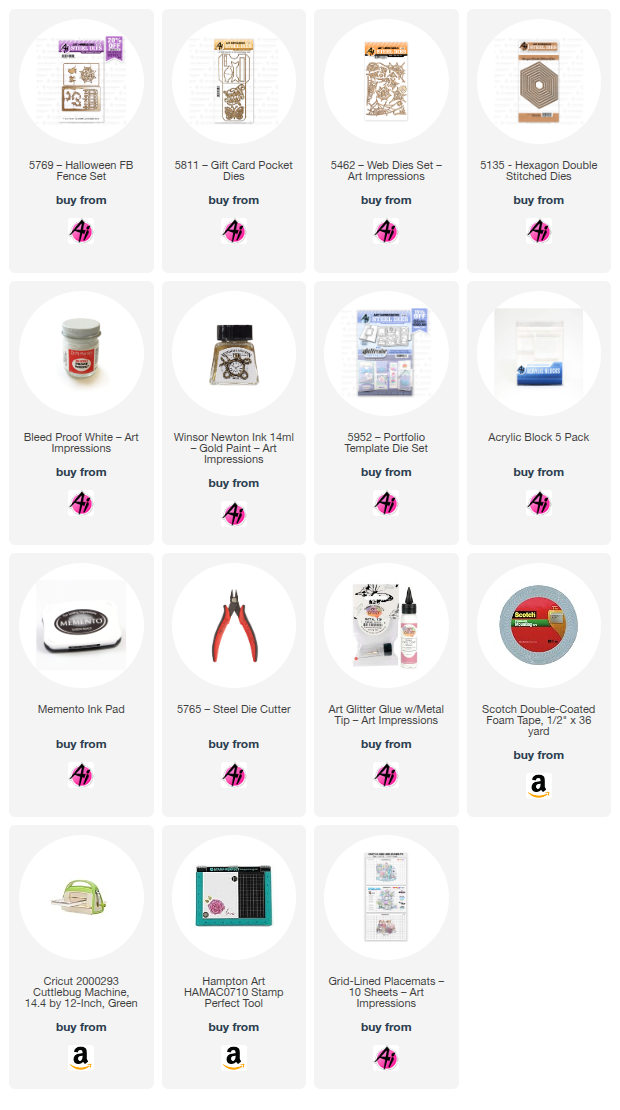
The matte for the butterfly was made using the double stitched hexagons. The butterfly is from the Gift Card Pocket Dies.


I used other things that "fly" on my card too. The raven, bats, web and spider are from the Halloween Front and Back Fence set. Although spiders don't technically fly, if you Google "flying spiders," you'll see plenty of them. Eek and GAG!

Tonight We Fly is from the Halloween Sentiments Set and it's stamped on a banner from the Portfolio Dies Set.


One last thing...paint.
I used the Winsor & Newton Gold paint to paint some cardstock that I then cut a matte for using the butterfly to trace. I wanted his wings to really pop so I added the gold under them. I also used Dr. Ph Martin's Bleed Proof White to paint the silk strand that the spider is dangling from.


Tuesday, July 29, 2025

Let Them Eat Cake! by Reneé Matarese

Hello Ai fans!

You have about 24 hours left to enter into the Let Them Eat Cake challenge for your chance to win a free stamp set from Art Impression.

For my card, I went with a patriotic color scheme since it's July.


I used the new gold paint to add little dots to the inside of the flowers, flames, the two frames and the cake stand. I also spattered some Dr. Ph Martin's on the embossed panel as well.


Saturday, July 12, 2025

I'm Your Love Bug by Janet

Hello everyone! I hope your weekend is off to a great start. This week, I dove headfirst into the "Spritz, Splatter AND PAINT!" challenge on the Ai Blog, and let me tell you, I was thrilled! There's nothing I love more than making a creative mess, especially when it's for a good cause – like winning free stamps!

My card is a vibrant message of love, centered around an adorable ladybug from the 6041 - Flower and Bug set. She's perched on a beautifully stacked and layered heart, crafted from seven layers of pink and navy cardstock using the 5721 - Nested Heart Dies. Building it up with foam tape really makes this heart pop right off the card, creating a bold statement. In the four corners, I spelled out "LOVE" using gold cardstock letters from the 5910 - Large Letter Die Set, placing them strategically above and below the prominent heart.

Before adding these elements, I had some serious fun creating the background. The colorful mat started with a three-layer stencil, blending cheerful blue and pink Oxide inks. For the dazzling third layer, I painted it with Winsor Newton Gold paint from Art Impressions – pure metallic magic! Once that was done, I watered down some blue watercolor paint and generously splattered it across the panel. Then, I followed up with simple water droplets. Because the bright pink and blue inks are water-reactive, these drops created a fantastic bleached-out, textured effect where they landed. To push the texture even further, I ran the whole panel through an embossing folder.

After arranging and gluing all the pieces, I felt it needed one final touch. A sweet pink and white polka dot bow, complete with a heart gem in the middle, was the perfect complement to the main heart and ladybug.

I truly hope you'll join in on the "Spritz, Splatter AND PAINT!" challenge! It's a fantastic excuse to play and create, and you'll get a chance to win free stamps just by uploading your creation to the challenge post on the blog. I can't wait to see what amazing things you create!

Thanks so much for stopping by today! Don't forget to find your favorite stamps, dies, and accessories at the Ai Store! Make a visit today.

Happy crafting!

Janet - YouTube - Blog - Facebook - Instagram - Pinterest 

Thursday, July 10, 2025

Spritz, Splatter AND PAINT! Challenge Week #2

 Hello Ai fans and welcome to week #2 or our
Spritz, Splatter AND PAINT! challenge!

The reason behind this fun new challenge?
There is amazing new gold paint available at Art Impressions!


You can splatter this on your projects, add highlights, paint paper, stamp with it...yes, you heard me...It is SO gorgeous and versatile.

To enter our challenge it doesn't have to be gold. You can use the ever popular Dr. Ph Martin's Bleed Proof White, some spritzes you may have on hand or any other paint that you like to craft with.

Last week I was the Featured Designer.

Read my post to hear all about it.


Now let's see what the other Design Team members created for you.


Next, we have Janet's fun card using

You can find Lynn's lovely card and tutorial HERE.


Dori's darling card is HERE.


Sharon's sweet card is HERE.


I made a second card for the challenge and you can find that HERE.


We hope you've enjoyed our DT inspiration.

Now onto our challenge!
Go ahead and try out some paint on your projects! It doesn't have to be gold. You can use the ever popular Dr. Ph Martin's Bleed Proof White, some spritzes you may have on hand or any other paint that you like to craft with.

Be sure to enter your creation for the chance to win a free stamp set from Art Impressions. 
We award one Top Spot and one Lucky Random Winner and each will win a free stamp set from Art Impressions.

✻ Please make a new card or handmade crafty creation. You can make any item you wish; this is not limited to cards! (unless specified)

✻ Limit two submissions per person.
 ✻Please include your first name and last initial on your submission. You may include your entire last name, but it's not necessary.
✻We love to comment on your entries, but keep in mind if you use a private group or a platform that you need to sign up for, we probably won't be able to.
✻ The Ai Challenge is open to everyone, international submissions are welcome!
✻ Include a link back to the Ai Blog or grab our button on the top right of our sidebar!
✻ Share the Ai love if you can, by clicking and commenting on your fellow crafters.
✻ Make sure to get your link up by the deadline to enter your creations.
✻ Good luck and happy stamping! 

You are invited to the Inlinkz link party!

Click here to enter