Showing posts with label 5949 Encouragement Sentiment Set. Show all posts

Monday, August 3, 2026

I'll always be here for you by Sharon Caudle

 Hello AI Fans!

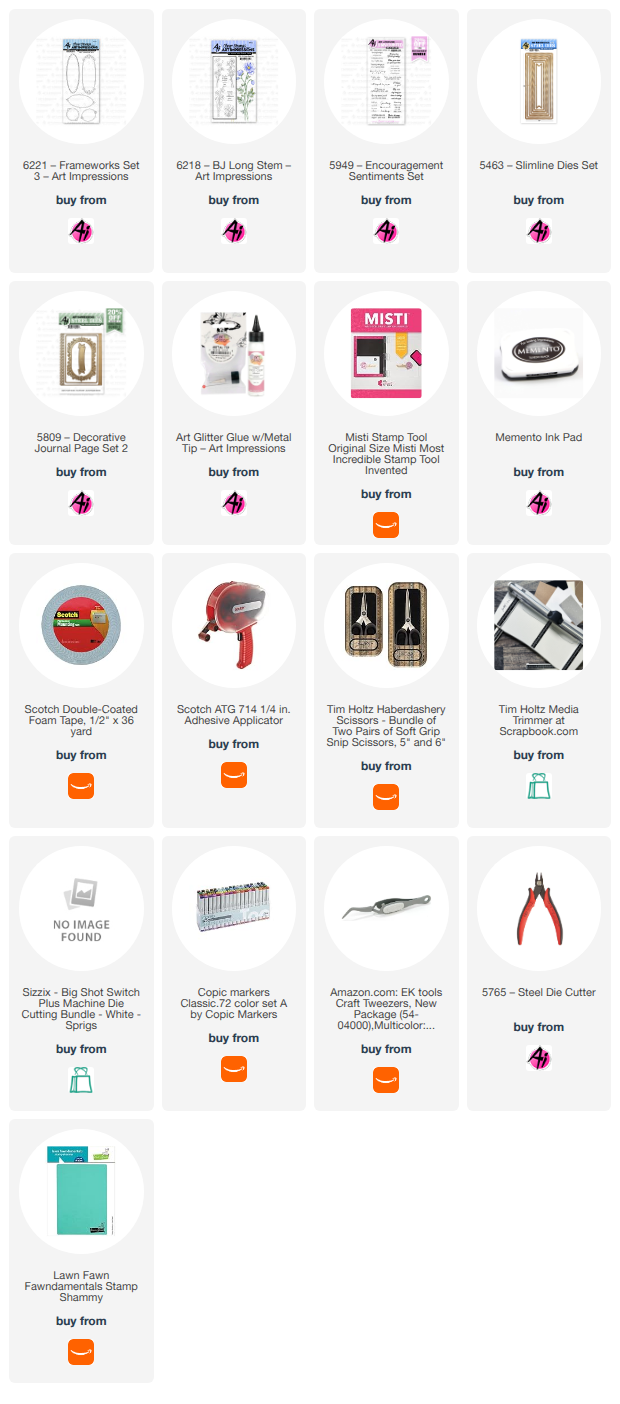
My card today features a couple of new releases by Art Impressions, #6221 Frameworks Set 3 & #6218 BJ Long Stem flowers. I have always loved daffodils (maybe because they're yellow?? LOL), so I was excited to see these! I thing the flowers fit beautifully inside the new frames, so they're a perfect match in my book! I stamped them onto a Copic friendly cardstock using Memento Tuxedo Black ink and then colored them up. I used one of the slimline dies to die cut it as I love the stitched edges. For the sentiment, I used the beautiful banner from the Decorate Journal Page 2 set. 

That's it for me today! Thanks so much for stopping by for a visit and until next time - stay crafty!


Monday, May 4, 2026

I'll always be here for you by Sharon Caudle

 Hello AI Fans! 

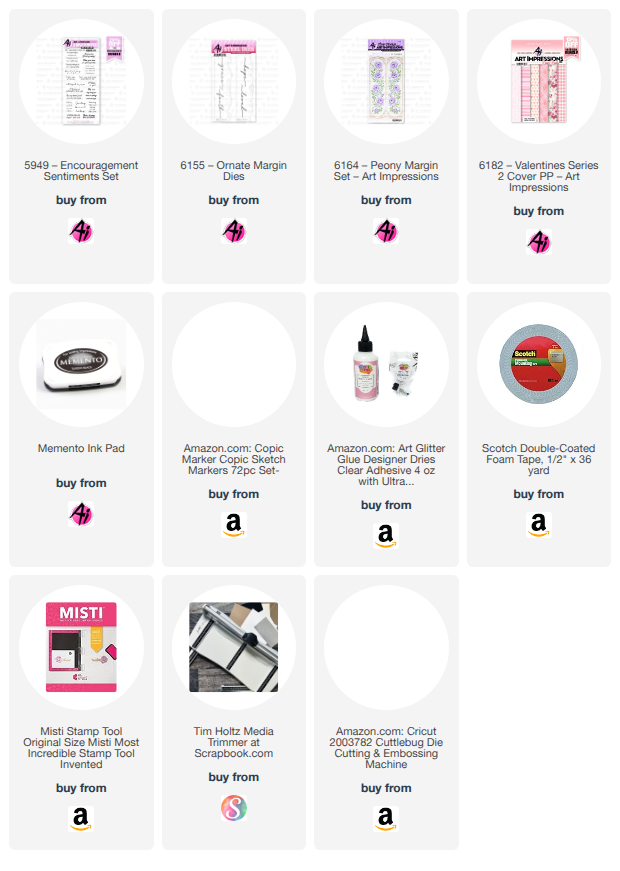
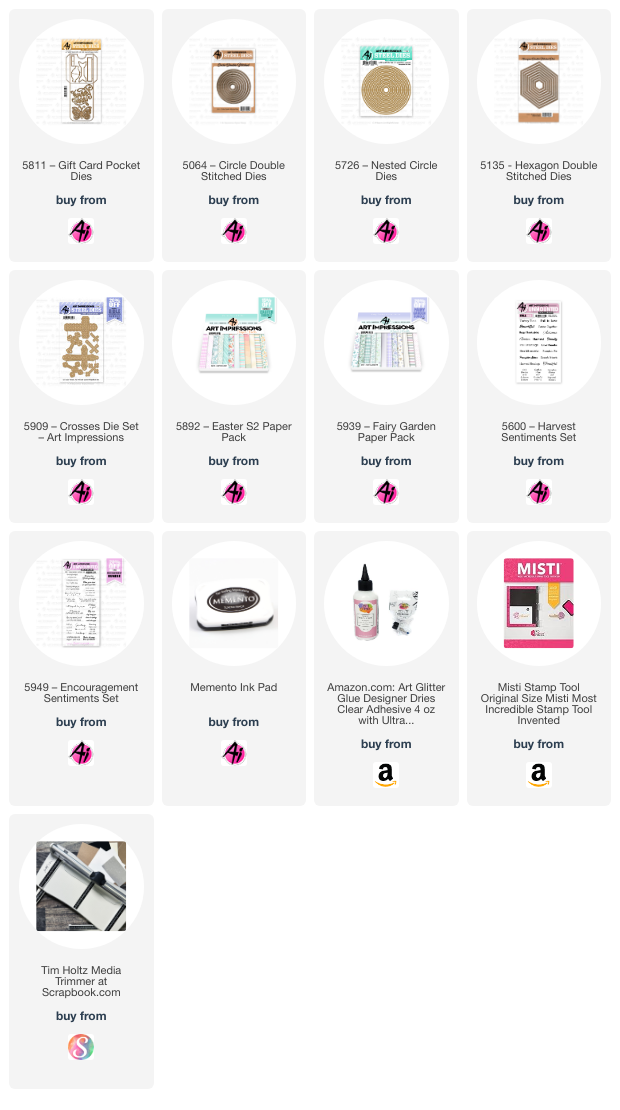
I'm here today to show you a card I made using #6155 Ornate Margin Dies along with #6164 Peony Margin Set. I created a slimline trifold along with a belly band to hold it closed. I created the belly band by stamping the Peony Margin Set onto a Copic friendly paper and coloring it with Copic markers. I then used a paper trimmer to cut it down to size and folded it around the card to make sure it fit. After adhering the ends together, I added a white silk bow to finish it off. Those gorgeous papers are from #6182 Valentines Series 2 Cover PP and the beautiful sentiment is from #5949 Encouragement Sentiments Set. 


So that's it for me today! Thank you so much for stopping by for a visit and until next time - stay crafty!


Friday, June 6, 2025

Thinking of You card by Tasha

 Happy Friday, Art Impressions Friends!

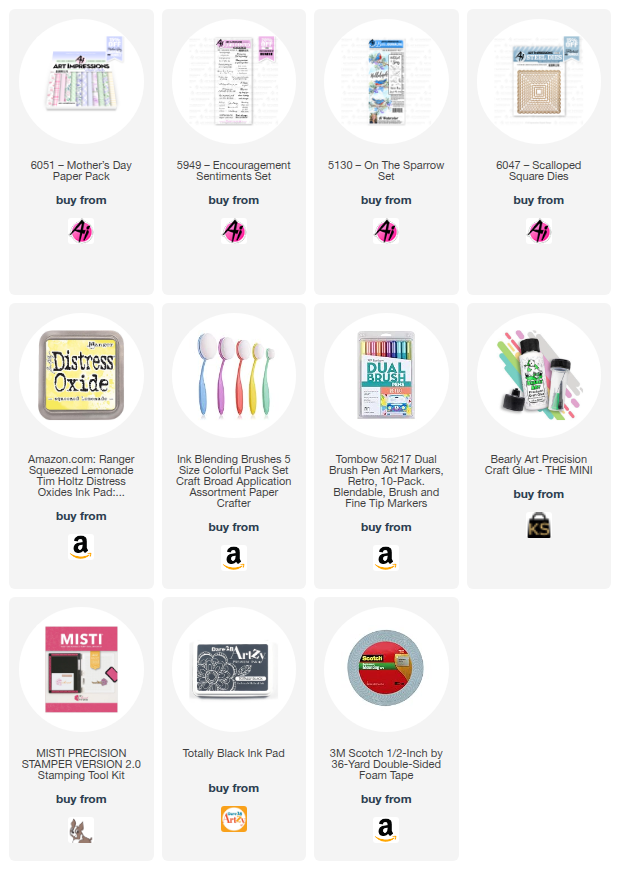
Tasha here sharing a fun and cheerful card featuring the lovely 5130-On The Sparrow Set and the brand new 6047-Scalloped Square Dies!

Although the On The Sparrow set is from the Ai Bible Journaling collection, it’s such a versatile stamp that it can be used on all types of projects; cards, journals, bookmarks, you name it! I love the peaceful vibe of the birds and floral branches; it’s such a gentle, uplifting image to work with.


To begin, I stamped the two sweet birds using black hybrid ink, then brought them to life with markers. I used the small included stamps to build up the flowering trees around them; so fun! The pink and purple blossoms really pop next to the pretty blue tones I used for the birds. It’s such a dreamy spring combo!

For the background, I wanted to add something light and happy, so I grabbed a stencil and blended in some yellow Distress Oxide ink to create soft, puffy clouds. The yellow gives everything a sunny, cheerful feel; just perfect for this card!

Next, I stamped a sentiment from the 5949-Encouragement Sentiments Set. This set is packed with thoughtful and beautifully designed sentiments in a variety of fonts and styles. It’s one of my go-to sets when I need just the right words!

To finish the card, I framed the design using the new Scalloped Square Dies and cut it from a metallic purple cardstock; I love the shine! Then I layered it with pink, white, and gray cardstock and added a panel of patterned paper from the Art Impressions collection. A few tiny pearls were the final touch to complete the look.

I hope you enjoyed today’s card and feel inspired to try mixing your Ai Bible Journaling stamps into everyday projects. It’s such a great way to stretch your stash!

Wishing you a wonderful weekend!


Thursday, March 6, 2025

"Case" a design - Split Window card by Dori Mendiola

 Happy Thursday AI Friends!

The current challenge this week on the Art Impressions blog is "Case That Card".  What a fun idea!  I decided to recreate a split window card by Jennifer McGuire.  See below for her card and a link to her video/blog post. 

I started making Thank You cards and then decided to make a few more variations of this style.  I did find one suggestion to make them easier and create layers on the inside.  Before you adhere the sentiment panel down (circle), I recommend placing your layers (mats) on the inside first.  Then place the sentiment panel down over the mats.  Easier to cut a rectangle panel then to cut a partial circle into it and get it even.  You could even place a full panel down on the inside and then adhere the left side down.  This will create a sturdier and more finished card.

Here are a couple other versions.  I used stickles on the butterflies.  I like the look on kraft paper.  Makes it look bronze.


Below are Jennifer McGuire's cards that inspired me.  Here is the link to her video - Split Window cards


I hope you enjoyed my cased cards today.  I also hope you play along with the challenge.  See tab above for details and a chance to win a free stamp set.

Have a great day and Happy Creating!

Tuesday, February 11, 2025

Keep your head up by ReneƩ Matarese

 Hello Ai fans!

Welcome to my second Highlights Challenge card post.

This time I have a sweet fox card.


She fit nicely in this frame with the exception of her tail so I used some scissors to trim up either side of her tail so that I could slide the frame under it. This way, the frame cuts around her but doesn't cut her tail off.


Once she was die cut, I created a mask for her. I splattered gold paint around her to give it some shimmer.


I also tried my hand at making a wax seal to go on my card. It started out being three colors to match lil miss fox. Unfortunately, it took me about 7 tries to get one I was happy with, therefore it wound up being one solid color. I really liked this color with the fox so this one was a winner.


This was one I wasn't initially happy with but the organic look is growing on me.


While I had my supplies out, I decided to try another snowflake that I have. I liked this one on the first try and it's stashed away for another day.


I watched a video that said keeping your wax supplies iced during the process helps the wax release easier. It seemed to really work for me so I'll continue to do this in the future.


I added some sentiments and more foxes to the inside of my card. I liked the "keep your head up" verse because of the image on the front.


I thought it would be sweet to place a tiny snowflake on her nose. My snowflakes all have some Diamond Stickles on them to give them some snowy sparkle.


My card was made for the current Highlights challenge. You can enter your crafty project using a white gel pen or white paint for the chance to win a free stamp set from Art Impressions.


Sunday, January 12, 2025

Brighter Days Are Coming by Gennette Houghton


Happy New Year and welcome to Watercolor Weekend! I hope you all had a wonderful holiday! 

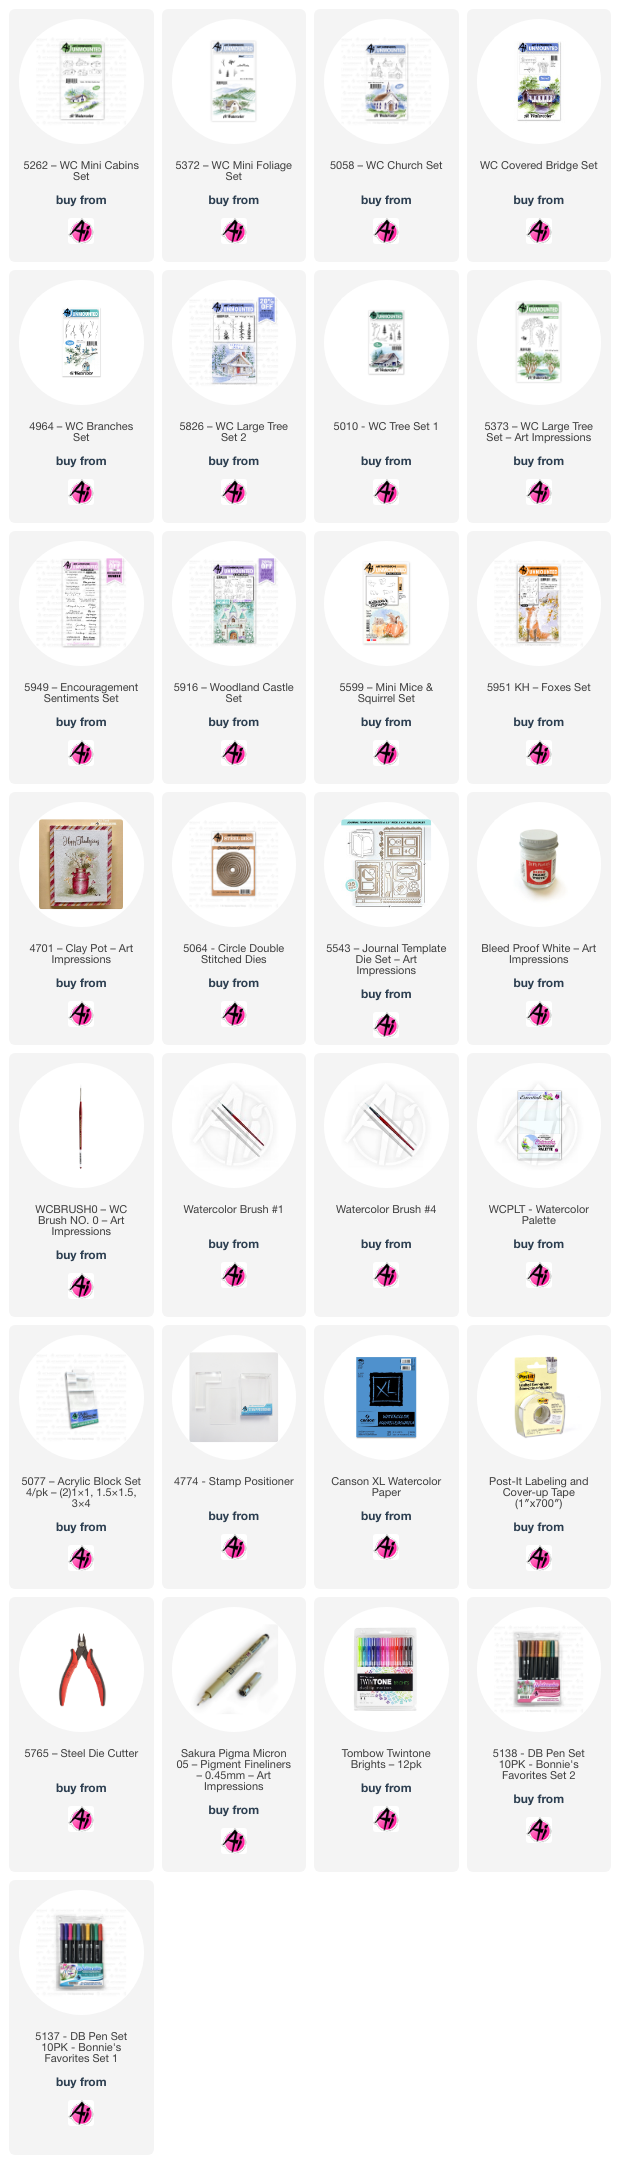
I love red barns in a winter scene, there is just something about red surrounded by white.  I started out using a ruler to create guidelines for a strip on my watercolor paper and then masked the edges with post-it tape. Using 5262 WC Mini Cabins Set, I stamped one of my favorite barns in, close to the middle and slightly offset, using 565/969 and stamping off once. I then used a pencil to create guides for the hillside behind the barn.  I put a wash of color in 177, and above in N52, for some texture I used the tree foliage from 5373 WC Large Tree Set. Over the 177 I added some 249, and over the N52 I used N49 with the foliage blending it out with some water. 5372 WC Mini Foliage pine tree was used throughout the background. Over the N52 background I used 228, and the rest I used 249 and softened them with water. Around the barn I used the pine tree from 5010 WC Tree Set 1 in 249. I used both of the small trees from 5372 Mini Foliage, and one from 5058 WC Church Set, using 228 on the first two and N49 on the third one.  

After pulling the color out on the barn, I used a mix of 856 and 969 for the walls, 969 in the doorways, windows and under the eaves.  Adding 565 for the shadows. I then stamped in the single tree from 4808 Covered Bridge Mini Set in the front, to the left in 879, and a small branch from 4964 WC Branches Set to the right for a sapling also in 879.  I used a light wash of 177, 947, and 526 on the ground around the trees in the foreground. I then stamped the grass from 5826 WC Large Tree Set 2 in N57, softening it slightly with water, also adding in some 565 over the ground area to create a snow effect. I then used Dr. Martin PH Bleed Proof White on the barn, trees and ground areas adding a touch more 565 to give the “snow” more definition.  I also added 526 in for the sky. After erasing all my pencil lines, I decided to use my ruler and the gray Twintone marker along the edges of the strip and blended it out slightly with water to make it stand out more.   Finishing it off by adding a sentiment from 5949 Encouragement Sentiment Set in black ink.


For my next card I used 5916 Woodland Castle Set in 565/969, leaving off part of the door frame and door knob, and stamped it off once. Using the stamp positioner, and masking the side of the door, to place in the mouse from 5599 Mini Mice and Squirrel Set with 565/969 in the doorway after stamping off once.  I then added the second mouse to the left, also in 565/969, after stamping it off once.  I used a pencil to sketch in some shingles on the roof and window panes on the windows without any.  For the house trim and window frames I used 969. 565,526,969 was used on the roof. 565 was used for the shadows under the roof line and window sills. 947 was used to create the look of bricks. 055,025,026 for the glow in the windows. N49 and a black micron on the mice with a touch of 025 on the back of the one in the doorway.  I used N52 and 947 on the chimney. I then added in the sky using a mix of 565 and 249. Masking off the house, I stamped in the branch from 4964 WC Branches Set in 879 on both sides, adding some leaves in 027, 947, and 969 from KH5951 Foxes Set.  

I then stamped in the dried flower from 4701 Clay Pot Set with 027.  I added in the grass from 5826 WC Large Tree Set in 027.  I pulled a little bit of the color out of the flowers and grass, leaving the leaves alone, and added some 969 for a path to the doorway.  A little 565 was used around the base of the house and then added some Dr. Martin’s Bleed Proof White throughout the scene for snow, defining it with additional 565.  The largest die from 5064 Circle Double Stitched Dies was used to cut the image out. Heat embossing the sentiment in white from 5949 Encouragement Sentiment Set, and then used a die from 5543 Journal Template Die Set to cut it out, mounting it with foam tape to complete the card. All other dies used were from my stash.  Thank you for joining me today, and I hope you enjoyed my cards! Until next time.  Create….Share….Inspire!