Showing posts with label 6195 Love Blooms. Show all posts

Saturday, August 1, 2026

Summer Vibes by Gennette Houghton


Hello, and Welcome to Watercolor Weekend!  Ah….August….the hurrah before fall.  Don’t mind me while I sit in the air conditioning until fall arrives.  LOL!  However, I do love all of the green and flowers, and I’m in no hurry for the cold I know is coming.  I am a mid-temp kind of gal.


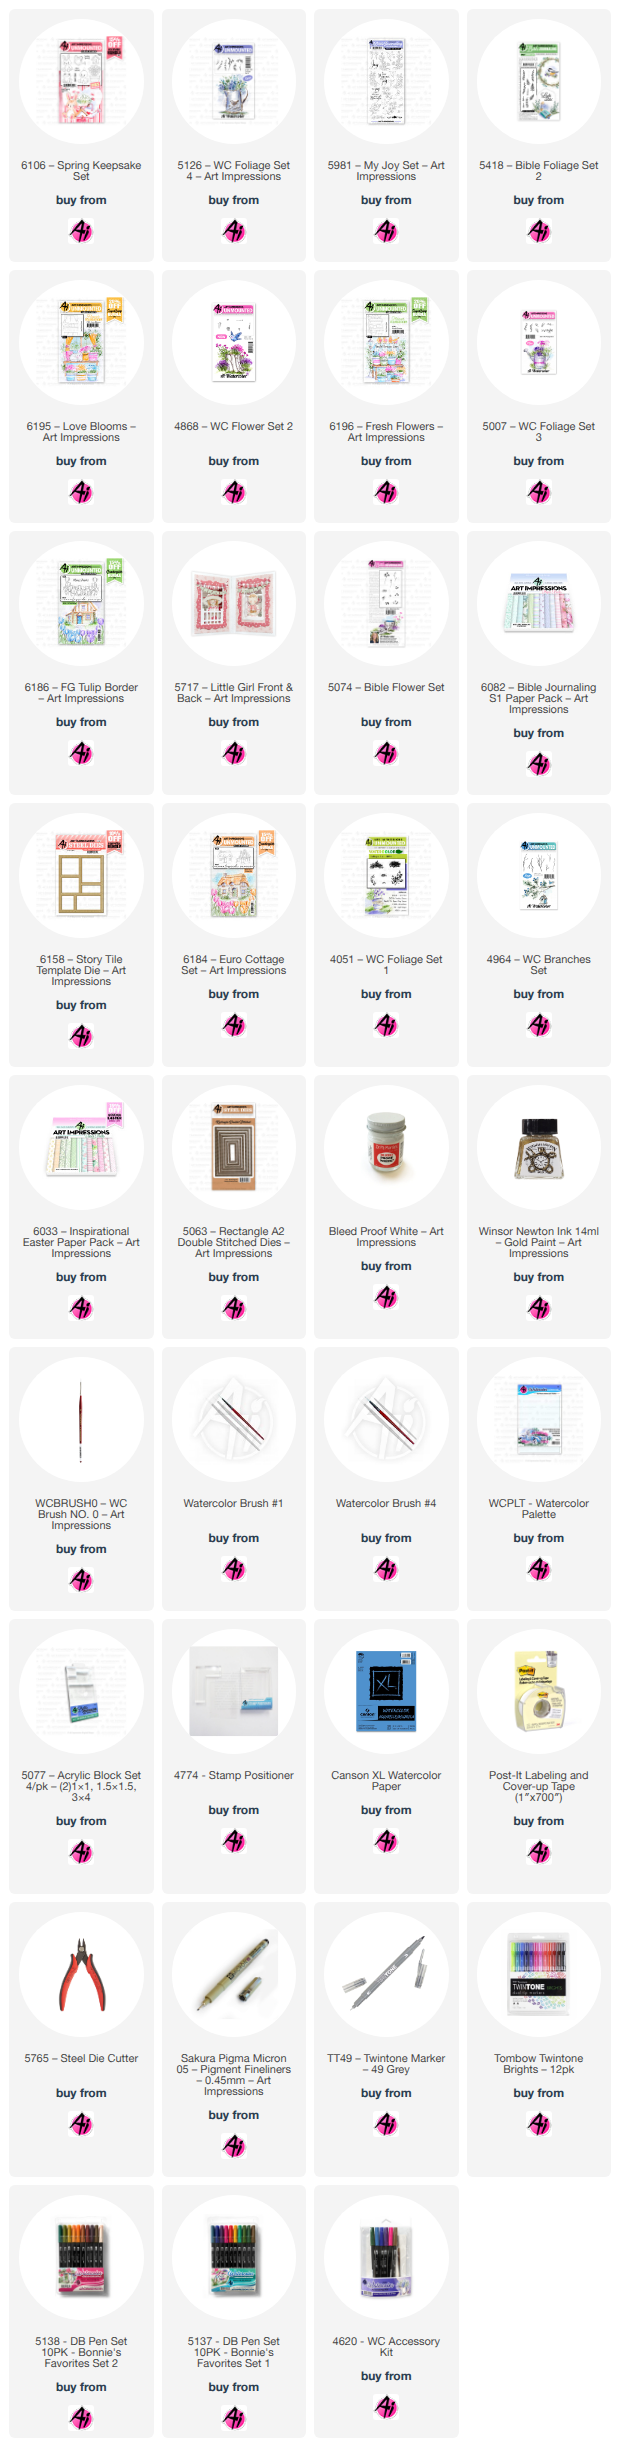
 For my 1st card I decided to go with several sets using the 6158 Story Tile Template.  The possibilities with this die is never ending.  I started off cutting down my watercolor paper to 4 ¼ by 5 ½, I keep a cutout of the template with my die that I use to trace the outline of the boxes on my paper.  I then stamped in all of my images with Distress Ink Pumice Stone, and then stamped them off once before placing them on my project, masking off the guides where needed.  I used 6106 Spring Keepsake Set for the birdhouse, and used a pencil to create a guide for the hanging line.  A mix of 565 and 969 for the wood, mixing these creates a more weathered look to the wood.  I then added 403 to the main part of the birdhouse, decorating with Bleed Proof White with a touch of 025 for the centers of the flowers.  526 was used on the sky before adding in the leafy branch from 5126 WC Foliage Set 4 in 126 and 177.  I also used a mix of 565 and 969 to the hanging line.  5981 My Joy Set was used for the Black-eyed Susans, I started with 126 on the leaves and contoured with 177.  For the petals I started with a base layer of 055, adding contours with 025.  I use a small amount of 026 for the deeper shading.  The centers I use 947 and shade with 969, also adding a couple of dots with 969 on each center.  For the background I used 403, and then added some gold dots with Winsor & Newton Gold Ink with 5418 Bible Foliage Set 2.  For the next section I used 6195 Love Blooms Set with a stamp positioner to make sure I had it centered where I wanted it.  A pencil and ruler was used to map out the guidelines for the windows before I started coloring.  For the windows I used a mix of 526 and 565, shading with more 565 along the edges.  For the wood I did a mix of 565 and 969 for this one as well.  Darkening around the bases of everything sitting on the bench.  For the curtains I used 025, and the tie backs I used 403.  For the pillow on the right I used 676 and 947 for the button, the left pillow I used 403 and 969 for the button.  I colored the left pot with 905, adding stripes and dots, and then shadowed with 947.  The right pot I used 126 and also shaded this with 947.  I started with adding in the shadows on the cat with 565 and then colored him in with N15.  I used a black micron on his facial features and a pencil for his whiskers.  I added in the foliage with 5126 WC Foliage Set 4, vines, in the right pot with a mix of 126 and 177.  For the left pot, I used 4868 WC Flower Set 2 in 676 and 177.  I also added in some Bleed Proof White for flowers on the vine.  For the birds, I used the 6196 Fresh Flowers Set.  A black micron was used on the eyes, beaks, and feet before coloring.  I extended the line across the opening with a pencil as well, to create a ledge that I colored with a mix of 565 and 969, adding some extra 565 for the shadows.  For the birds I started with 526 and 905, but then decided to add additional color with 565 and 856 because I felt they were too light.  403 was used for the sky, and then I added the little leafy branch from 5007 WC Foliage Set 3 with 249.  Adding in some flowers with Bleed Proof White.  

The FG Flower Borders are so useful in so many ways, so I used the 6186 FG Tulip Border for my next section.  For the leaves and stems I started with a base layer of 126 and then shaded and contoured with 177.  For the tulips I used: Purple – 676 and 947, Blue – 403 and 407, Yellow – 055 and 025, and Peachy Red – 905 and 947, making sure I deepened the colors in the more shaded spots.  I hate to admit this, but this is the very first time I have used the little girl from 5717 Little Girl FB Set.  For her hair I used 947.  For the skin I used 850 as the base, contouring with 910, and shadow with 912, with just a touch of 772 on the cheeks.  I used a black micron for her eyes, and 912 to define her nose and mouth with a touch of 947 on her eyebrows.  I decided to go all fancy with her dress and used a pencil to map in the guides for the checkered pattern, and used 905 on her hat, buttons, and dress.  I don’t know what it is about this color, but I love it.  It can be a strong orange/red, or when it’s watered down can be a peachy pink.  I used some 565 for a shadow under the brim of her hat.  969 was used on the basket, and then created a mask before adding in the daisy bunch from 5074 Bible Flower Set in 403.  I also added in the vines from 5126 WC Foliage Set 4 in a mix of 126, and 177, adding in some Bleed Proof White.  I shaded the arms and basket on the apron with 565.  I decided to add boards behind her with a pencil and ruler, using a mix of 565 and 969 to add definition, plus added a shadow behind the girl with 565.  Using the 6158 Story Tile Template I cut out the frame from 6082 Bible Journaling S1 Paper Pack, mounting this over my images and assembling my card. 


 For my 2nd card I used 6184 Euro Cottage Set with Distress Ink Pumice Stone after stamping off once and then stamped onto my watercolor paper. I also created a mask for later.  I started with 947 on the roof, adding a bit of 969 for the darker areas and added shading with 565.  I used a mix of 565 and 969, with a touch of 249 on the chimney, door frame, and steps, shading these with 565.  For the walls I watered down some 969 just to give them a bit of tint, and then darker for the suggestion of bricks.  For the trim around the windows I used 947 and a bit of 969.  526 and 565 was used on the windows, and then I used some 969 for the panes.  I used 969 on the door, shading with 565, and then used 947 for the door knob.  For the lantern, I started with 526 for the glass, and finished it off with 026.  

I then used the mask I created and masked off the cottage to add in the foliage for the trees.  4051 Foliage Set 1, the large foliage, I covered the stamp with 126 and then added 177 in random areas, stamping and re-inking multiple times for both sides.  I softened this with a damp brush before adding in the branches.  I used one of the larger branches from 4964 WC Branches Set in 977, using the stamp positioner to figure out where I wanted the branches of the trees to be.  I then added in some 526 for the sky.  Removing the mask, I then used one of the smaller branches from the same set for the vines going up around the house.  From 4051, I used the small grass in 177 along both sides of the house, and then used 5126 WC Foliage Set 4 and the vines in 126 and 177.  I also softened the vines and grass with a damp brush, before adding in some Bleed Proof White.  Just a touch of 969 for the path for the door.  I cut out my image with the 3rd from largest die from the 5063 Rectangle A2 Double Stitched Dies.  After matting my card base with paper from 6033 Inspirational Easter Paper Pack, I matted my image with a darker green and then silver, before assembling my card.  Thank you so much for joining me today, and I hope you enjoyed my cards!  Until next time, Create….Share….Inspire!


Tuesday, May 26, 2026

Love Blooms Here by Reneé Matarese

 Hello Ai fans!

The current challenge is YELLOW and I couldn't be happier about that.


Yellow isn't my favorite color, however, I do feel it's the most CHEERFUL color there is.

Today I'm sharing a card with a cat sunning himself amongst some beautiful flowers.
This is a new release, 6195 – Love Blooms, and part of the Holiday Lane series.
These little scenes make putting a card together so easy. No figuring out placement or perspective. The work is done for you. You just fill in the blanks and personalize it.


Be sure to enter your project using yellow and you just might win a free stamp set. Click the photo below to be taken to the challenge.


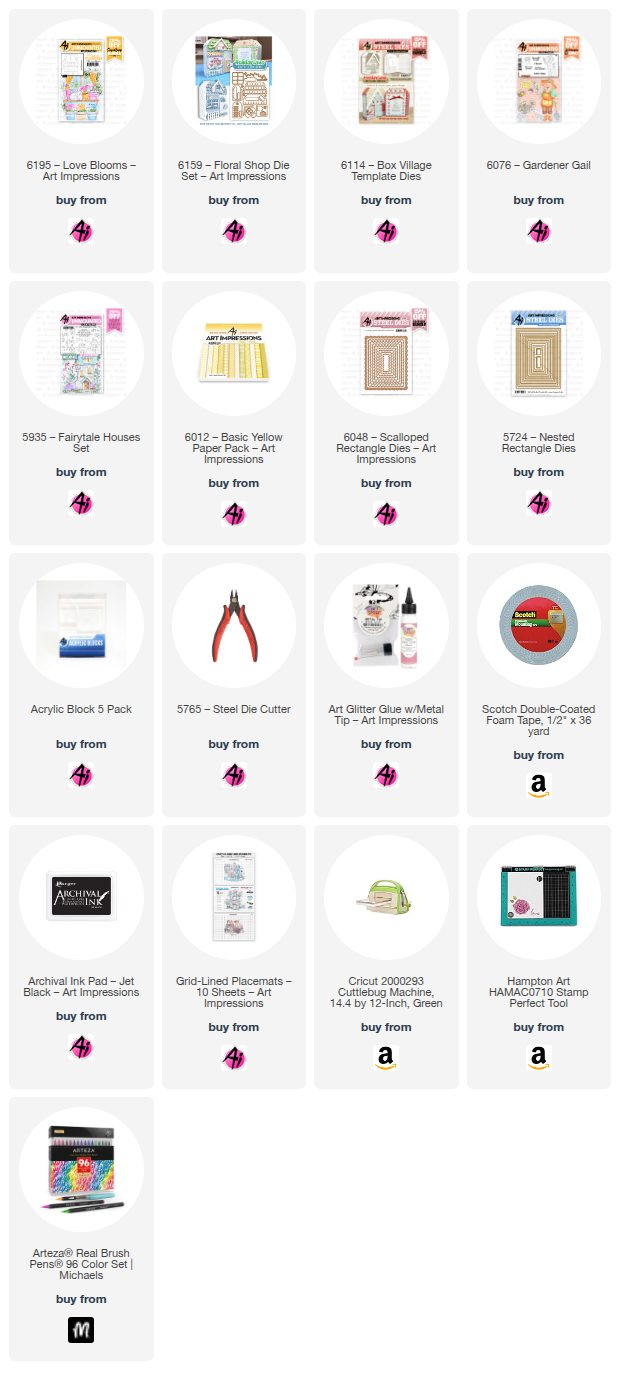
Arteza Real Brush Pens:
Ice Blue
Bubble Gum Pink
Chocolate
Pea Green
Arctic Blue
Spearmint Blue
Sunset Yellow Honey
Pale Skin
Acid Yellow

Monday, May 18, 2026

Love Blooms from Holiday Lane Floral Shop by Sharon Caudle

 Hello AI Fans!

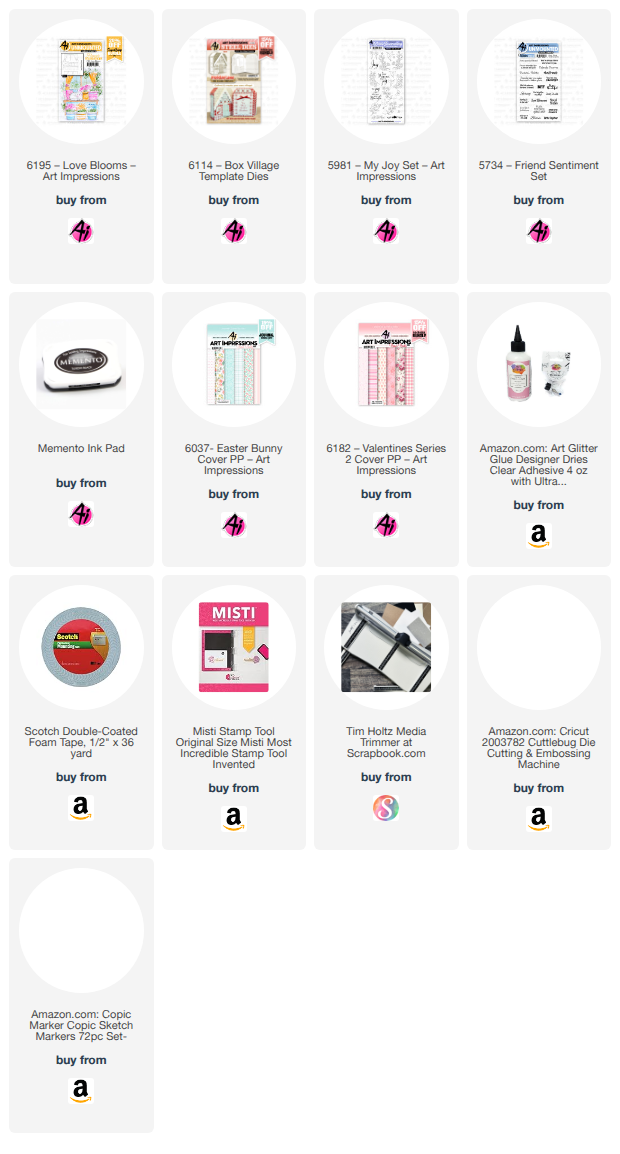
Today I have a page in the book I created using the Holiday Lane Series Floral Shop! These stamps and dies are so beautiful and I just LOVE how they turned out, even if I don't watercolor! I stamped out the images and just used my Copic markers to create it. I hope you get inspired to give it a shot yourself if you don't watercolor either! Here is one of the pages in the book using #6195 Love Blooms along with #6114 Box Village Template Dies. The butterflies are from #5981 My Joy Set and the sentiment is from #5734 Friend Sentiment Set. 


That's it for me today! Thanks so much for stopping by for a visit and until next time - stay crafty!!


Wednesday, April 8, 2026

Love Blooms Here by Lynn Dionne

Happy Wednesday Ai Fans!!!


Watch video tutorial here!

Today we will be using the brand-new Ai Love Blooms (6195) Set. This new set is part of the wonderful watercolor "Foundation Sets" series; however, I want to show you how you can modify these sets to fit your style and comfort level. The best part is that there are 5 more sets in this brand-new "Floral Shop" series.

For today's card, we will stamp the little front window scene, however, we will only stamp the top portion of the image (not including the 3 pots at the bottom). Let's also stamp a few items from the Ai Front Porch Garden Set (5486), to include the floral vine and potted flowers. This way we can easily fill the containers with the flowers from the Front Porch Set and easily add the floral vine around the window.

Now we can color, fussy cut and die cut the images. All of the coloring will be done using the Zig Clean Color Real Brush Pens in the following colors: Blender, Sugared Almond Pink, Pink, Lilac, Ice Blue, Lt Green, Dk Green, Orange, Yellow, Lt Gray, Beige, Platinum Brown.

Next, let's assemble the little scene and add a few bits of interest using our white gel pen! This scene will now get popped up on the card front.

But first, we need to cut some pretty patterned papers from the Ai Mother's Day PP (6051) using the Ai Nested Square Dies (5725) for the pink polka dotted paper and the multi-colored plaid paper. For the back layer of gingham paper, we will cut a simple rectangle to the full length of the square card base. On this rectangle we will stamp the "Love Blooms Here" sentiment from this same set.

Let's again add some more dimension by popping up the entire rectangle panel, but before we do that, we will need to wrap some pretty pink twine around this panel and tie a bow!

And for a finishing touch, we will add some sparkly gems in clear, pink and green!

These new sets will be a wonderful addition to your watercolor collection; however, you can see how easily you can use them is a brand-new way! Just have fun!

Thank you so much for joining me today!  Have a fun and crafty day!

Ai Love Blooms (6195)

Ai Front Porch Garden Set (5486)

Ai Friend Sentiments Set (5734)

Ai Nested Square Dies (5725)

Ai Mother's Day PP (6051)