Showing posts with label 5935 Fairytale Houses. Show all posts

Tuesday, May 26, 2026

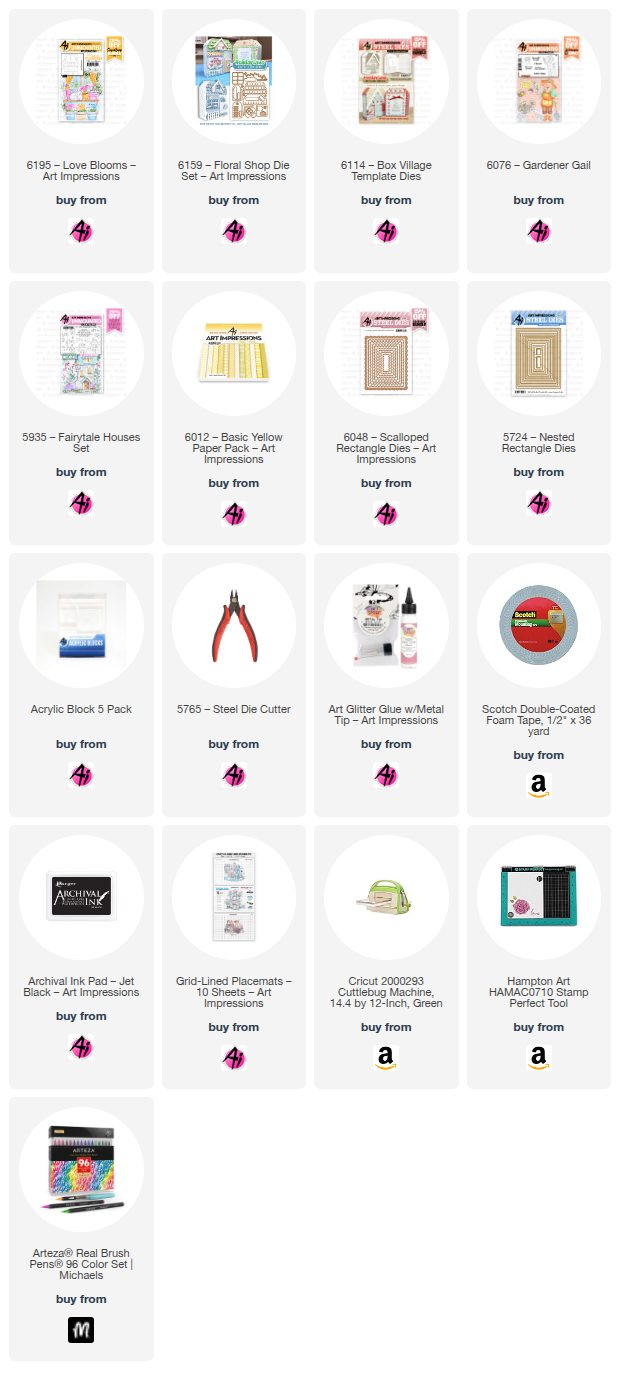
Love Blooms Here by Reneé Matarese

 Hello Ai fans!

The current challenge is YELLOW and I couldn't be happier about that.


Yellow isn't my favorite color, however, I do feel it's the most CHEERFUL color there is.

Today I'm sharing a card with a cat sunning himself amongst some beautiful flowers.
This is a new release, 6195 – Love Blooms, and part of the Holiday Lane series.
These little scenes make putting a card together so easy. No figuring out placement or perspective. The work is done for you. You just fill in the blanks and personalize it.


Be sure to enter your project using yellow and you just might win a free stamp set. Click the photo below to be taken to the challenge.


Arteza Real Brush Pens:
Ice Blue
Bubble Gum Pink
Chocolate
Pea Green
Arctic Blue
Spearmint Blue
Sunset Yellow Honey
Pale Skin
Acid Yellow

Tuesday, May 12, 2026

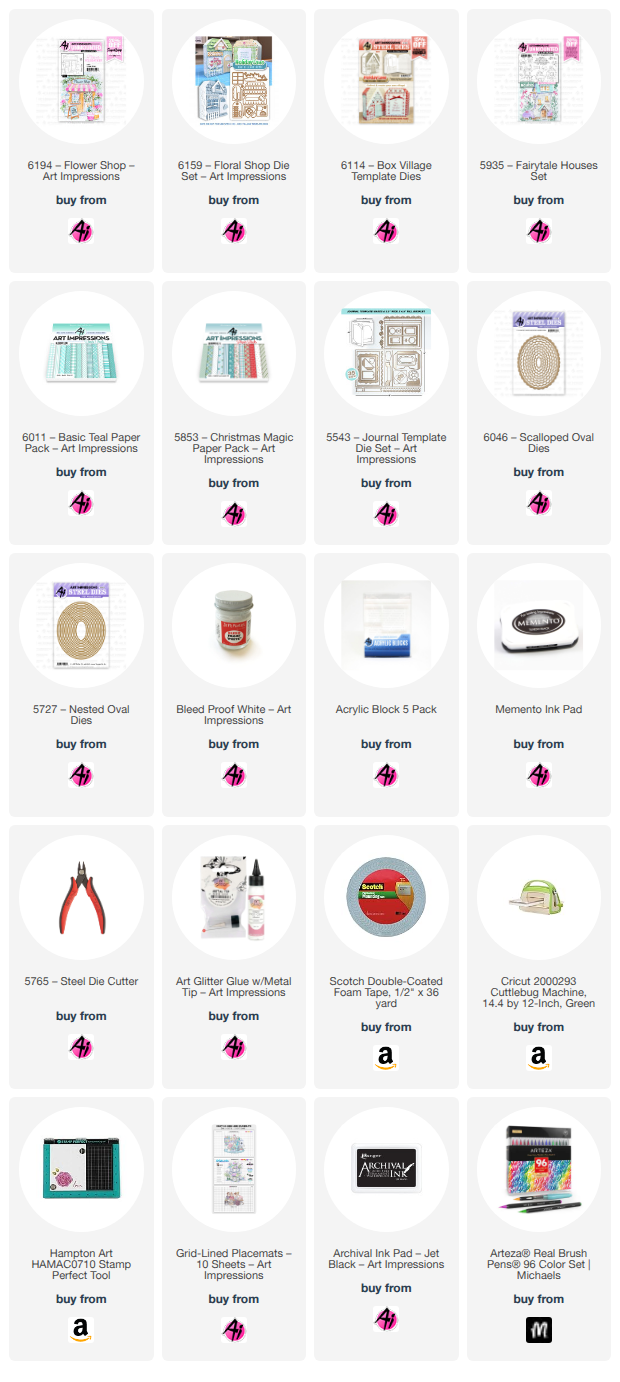
Pretty Little Flower Shop by Reneé Matarese

 Hello Ai fans!


I created this card for our current Mix & Match challenge.
Use at least two different stamp/die sets on your card.


I used 2 stamp sets, 5 die sets and 2 paper pads on my card.
Variety is the spice of life, right?

I used my Arteza Real Brush Pens which are sort of between a marker and watercoloring the Art Impressions way.  Since I don't watercolor often, I decided to use die cut flowers and flowers painted with Dr. Ph Martin's Bleed Proof White Paint. I like the way they turned out.


The 6194 – Flower Shop is part of the new Holiday Lane series.


Arteza Real Brush Pens:

Sapphire Blue
Spearmint Blue
Turquoise
Pea Green
Tawny
Ginger
Honey
Currant Red
Ice Blue
Smoke Gray


Monday, May 11, 2026

Sending you a smile by Sharon Caudle

 Hello AI Fans!

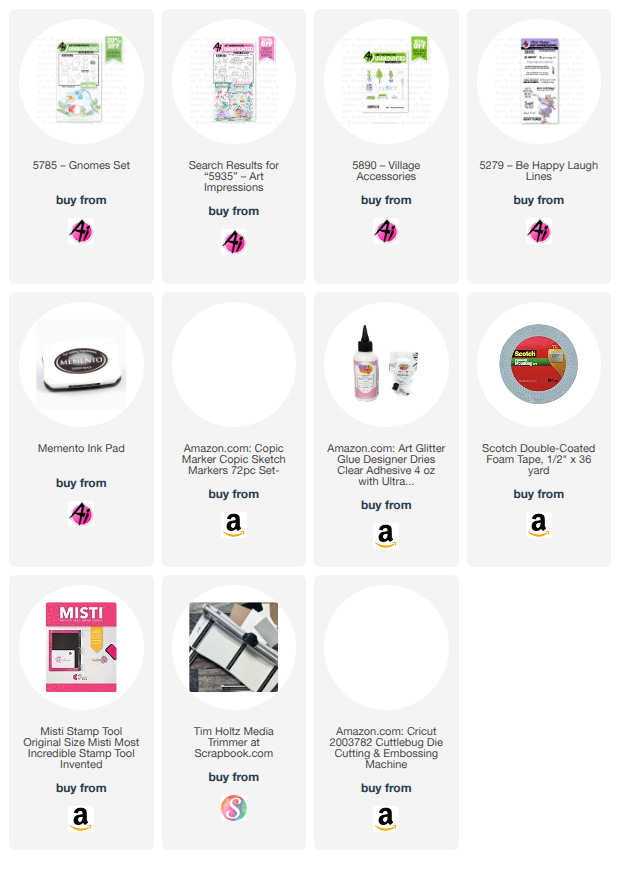
I have a fun card to show you today that I hope makes you smile! I truly love mixing and matching Art Impressions stamp sets, so our current challenge was a breeze for me! It's a rare occasion that I only use one set!!  So many of their sets have awesome accessory stamps that can be combined with others!! I used four different sets to create this card. I stamped out several of the cute Fairytale Houses from #5935 and colored them with Copic markers and then I positioned a few of the trees and bushes from #5890 Village Accessories in between them to make it look like a cute little neighborhood. After creating a sidewalk in front of them by coloring a strip of gray, I stamped, colored, and die cut one of the cute gnomes from #5785. I just think he emits so much joy and was perfect to send a hello greeting to a friend.


I added a few die cut clouds and a sentiment from #5279 and it was all done! 


So that's it for me today! Thanks so much for stopping by for a visit and I hope you're entering our Mix and Match challenge for a chance to win a free set!! Until next time - stay crafty!!

Copic markers used for coloring:
E000, 00, 11, 31, 33, 35, 41, and 43
V20, 22, and 25
BG10, 11, 70, 72, and 75
Y00, 02, 21, and 23
G20, 43, and 46
YG13, 17, and 21
RV91, 93, and 95
BV000, 01, and 02
T1 and 2
C1 and 2
N2 and 4


Thursday, April 16, 2026

Rain or Shine by Dori Mendiola

 Happy Thursday AI Friends!

Have you entered the latest blog challenge - "I See Right Through You"?  Anything that you can "see through" will qualify (ie windows, globes, shakers, etc.).  Make sure to enter for a chance to win a free stamp set.

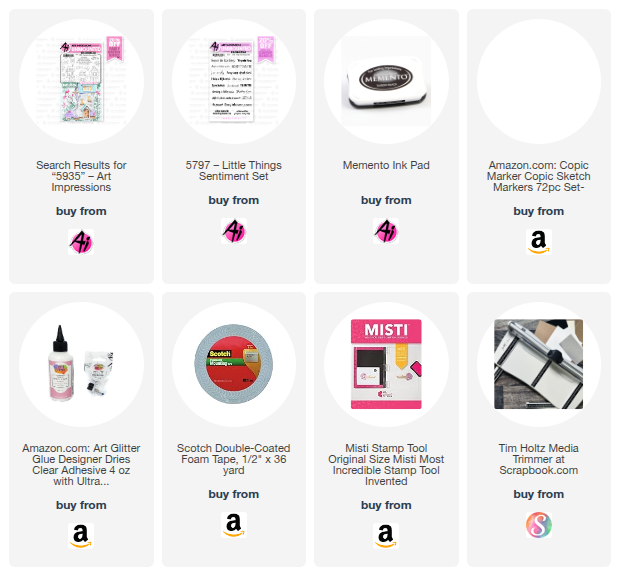
I chose to use two of the freebie bears along with the fence and daisies from the #5935 - Fairytale houses.  I made an acetate window with raindrops for the front with the umbrella freebie bear and then a sunshine scene on the inside with the freebie holding a daisy.


I stamped the bears and daisies with memento black ink and colored with my copic markers listed below.  I then fussy cut the bears and used the coordinating dies with the daisies.
To create the raindrop window, I inked blended two panels the same.  I used the MFT Falling From the Clouds die set.  I then cut a piece of acetate large enough to fit the opening.  I made some score marks diagonally and then dropped some glossy accents onto the acetate along the score marks to resemble rain.  Let the glossy accents dry and then glue to the back side of the opening.  I cut another window frame to cover the acetate edges on the inside. 


I decorated the inside with the daisies, fence, sun and bear.  I shut the front of the card and adhered the rain bear to cover the daisy bear from the front.  I also placed clouds over the front to cover the sun on the inside.  The daisies will be seen through the window.  I added a few little white hearts to the corners and grass to the bottom of the fence posts.  The front sentiment is from the #5797 - Little Things Sentiments and the inside sentiment was just made up to fit the scene.

That's it for me today!  Hope you enjoyed!
Make sure to play along and enter the blog challenge for a chance to win a free stamp set.
Have a great day and keep creating!

Copics used:  E50, E51, E53, E55
B000, B12, B14
R20, R22, R24
Y13, Y15, Y17, Y21
G20, G21

Thursday, March 5, 2026

Friends are Flowers by Dori Mendiola

 Happy Thursday AI Friends!

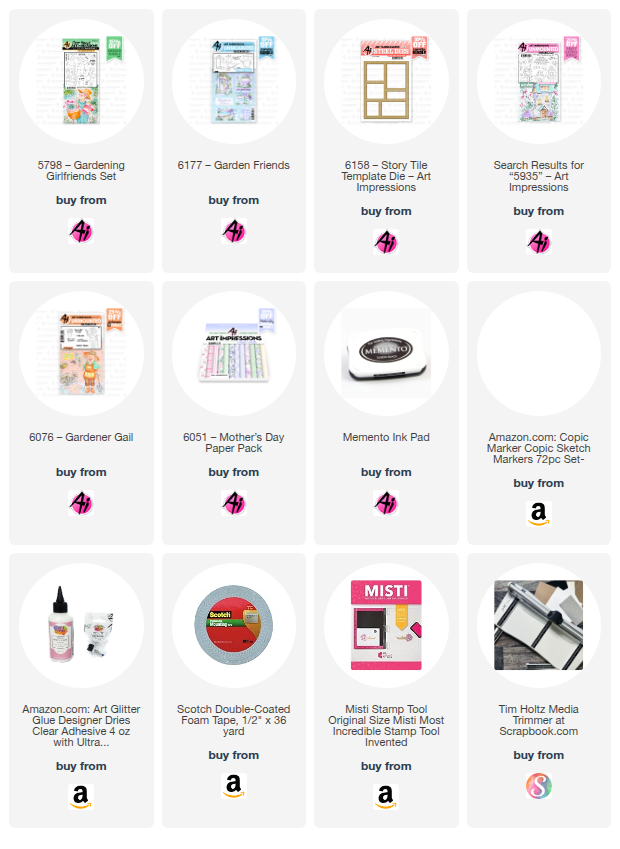
Oh Man, I had such a fun time making this card.  My inspiration came from a combination of the newly released Story Tile sets and die as well as the current blog challenge "The People In Your Neighborhood".  For my card, I used the #5798 - Gardening Girlfriend set, the #6177 - Garden Friends set and the #6158 - Story Tile Template Die as well as a few accessories from some other sets that are listed below.  


I started by stamping all of the images onto copic friendly paper with Memento black ink and colored with my copic markers listed below.  I decorated some of the images with my white marker (you can also use the Dr. PH Martin white paint).  I fussy cut the girl as well as the story tile garden images.  

I cut the story tile window frame from a piece of pink cardstock and a piece of pattern paper from the #6051 - Mother's Day PP.  I layered the pattern paper over the pink cardstock and shifted it slightly to the right and upwards so that the pink showed through the window slightly.  This provided a nice little contrast and helped pop up the images as well as the pattern papers underneath.  Then a die cut some other pattern papers from this paper pack with the story tile die and placed them behind the pink frame.

I stamped the sentiment from the Garden Friends set and adhered behind the narrow window.  I popped up each of the images with foam tape into the other windows and decorated the pots and boots with flowers from the #5935 - Fairytale houses set and the #6076 - Gardener Gail set.  To finish off the card, I colored a few bees from the Fairytale Houses set and placed them near the flowers. 

Make sure to check out the newly released sets and also the bi-weekly blog challenge for a chance to win a free stamp set of your choice.  We love to see your creations!

Thanks for joining me today!  Have a wonderful day and keep creating!

Copics used:  E00, E01, E11, E21, E23, E25
R20, R24,      C1, C3, C5
Y32, Y35, Y38,   YG41, YG45
B91, B93, B95,    RV52, RV55

Thursday, February 26, 2026

The People In Your Neighborhood Challenge #422

 Hello Ai fans!

Welcome to the new challenge here on the Art Impressions Challenge Blog.


We want to see your crafty projects using stamps with PEOPLE.
Enter your handmade project using something from Art Impressions and featuring people!
You just might win a free stamp set.

Our amazing Featured Artist this week is Sharon.
After you look through her lovely photos and tutorial, be sure to
scroll down to see who won our 'It's in the Mail' challenge.

--------------------------------------------------------------------------------------------------------------------------

 Hello AI Fans! 

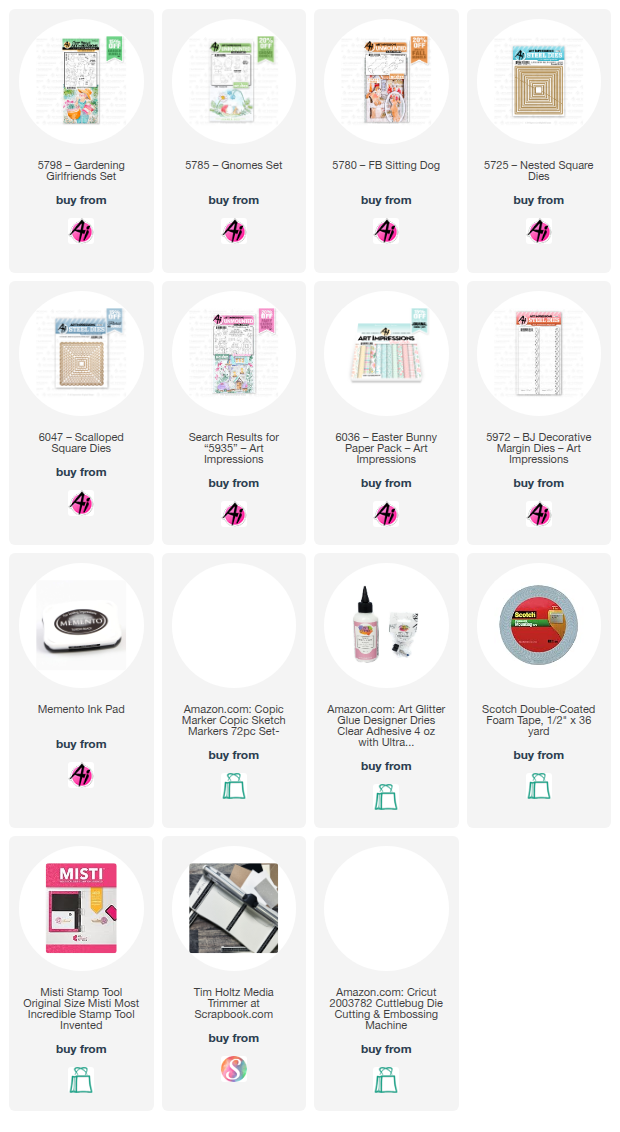
If you know me, you know how much I LOVE all the amazing people characters that Bonnie creates for us! So I'm super excited to have a feature for our new challenge "The People in Your Neighborhood". I wanted to show you a fun fold card today, so lets get busy. I have a ton of pictures and measurements for you, so grab your favorite drink! I started by grabbing #5798 Gardening Girlfriends Set and stamping her onto a Copic friendly paper. To be honest, I was originally planning on putting flowers into those baskets she's carrying. But as you can see, my plans changed. LOL! I really can't even remember why I thought about putting the Gnomes into the baskets. I was stamping and coloring with Dori, so she very well might have had something to do with it. LOL! But I tried fitting them in there and they fit perfectly! All I could picture was her going out to her garden to gather vegetables, and found Gnomes instead. I couldn't stop giggling while I was creating it! After adding the Gnomes into the baskets, I just HAD to add the curious pup that wants a Gnome for him/herself. The Copic colors I used to color them are listed at the bottom of this post. First, here's a picture of the completed card. 


So anyway, on to how to create this card. I started with a piece of cardstock measuring 5 1/2" by 7 1/2". With the longer side on the top of your score board, score at 3 1/4" and 6 1/2". Create a Z fold by folding the 3 1/4" flap away from you creating the card base, then fold the 1" piece towards you so it looks like the picture below this next one. 


You will then want to cut your mats. I created my mats using another layer of cardstock and then a layer of pattern paper. I did this because the cardstock I was using was quite thin. If you don't want to create another layer of cardstock, just cut your pattern paper to the cardstock sizes listed below and eliminate the 3rd size. You can go ahead and glue the pattern paper mats into place, but don't glue your sentiment panel into place yet.

colored cardstock - 3 pieces measuring 5 3/8" x 3 1/8"
                               1 piece measuring 7/8" x 5 3/8"
pattern paper:  2 pieces measuring 5 1/4" x 3"
                        1 piece measuring 3/4" x 5 1/4"
white cardstock: 1 piece measuring 5 1/4" x 3"


After getting my card base completed, I turned my attention to my colored image. I pulled out #5725 Nested Square Dies and #6047 Scalloped Square Dies and picked the ones that fit it best. I die cut the image with the Nested Square Dies, then used another piece of cardstock to cut out the coordinating mat for the image, then glued them together. 


I wanted to stamp a sentiment onto the image panel before putting it on the card. Both the front and inside sentiments are from #5935 Fairytale Houses Set. I thought finding Gnomes in your garden was pretty magical. 


Once that was done, I put foam tape only on the right side of the back of the image. You only want to adhere it to the 1" flap. 


Figure out where you want to place the image on the card and go ahead and adhere it into place. Also glue your sentiment panel into place. 


A view from the top...

I wanted to add something else to the front, so I pulled out #5972 BJ Decorative Margins Die Set and created a small strip for the top and bottom of the front panel and added a little bow. I was quite surprised and how quickly and effortlessly this card went together. 

So that's it for me today! I hope you play along with the challenge for a chance to win a free set from Art Impressions! Thanks so much for stopping by for a visit and until next time - stay crafty!!


Copic markers used:
E000, 00, 11, 31, 33, 35, 41, 42, 43, 44, 50, 51, 53, 55, 57, 95, 97, and 99
YG11, 13, 17, and 21
B00, 91, 93, and 95
R12
C1 and 2
Y32, 35, and 38

Now, let's see who won our It's in the Mail challenge.

For our Top Spot we selected:

Michelle Hoskins

She used a wide variety of Art Impressions stamps from the more whimsical series like the mushrooms and gnomes.


Please contact Leah at Feedback@artimpressions.com
to claim a free stamp set of your choice!!

Be sure to grab your winner's badge to display on your social media.

Our Lucky Random Winner was:

#13 Andrea W.


Please contact Leah at Feedback@artimpressions.com
to claim a free stamp set of your choice!!

Be sure to grab your winner's badge to display on your social media.

Congratulations to both of our winners!

Now for our new challenge!


 ✻ Please make a new card or handmade crafty creation using either stamps, dies and or designer paper from Art Impressions. You can make any item you wish; this is not limited to cards! (unless specified)

✻ Limit two submissions per person.
✻Top Spot Winner and Lucky Random Winner each receive a free stamp set from Art Impressions
 ✻Please include your first name and last initial on your submission. You may include your entire last name, but it's not necessary.
✻We love to comment on your entries, but keep in mind if you use a private group or a platform that you need to sign up for, we probably won't be able to.
✻ The Ai Challenge is open to everyone, international submissions are welcome!
✻ Include a link back to the Ai Blog or grab our button on the top right of our sidebar!
✻ Share the Ai love if you can, by clicking and commenting on your fellow crafters.
✻ Make sure to get your link up by the deadline to enter your creations.
✻ Good luck and happy stamping! 

You are invited to the Inlinkz link party!

Click here to enter

Tuesday, February 24, 2026

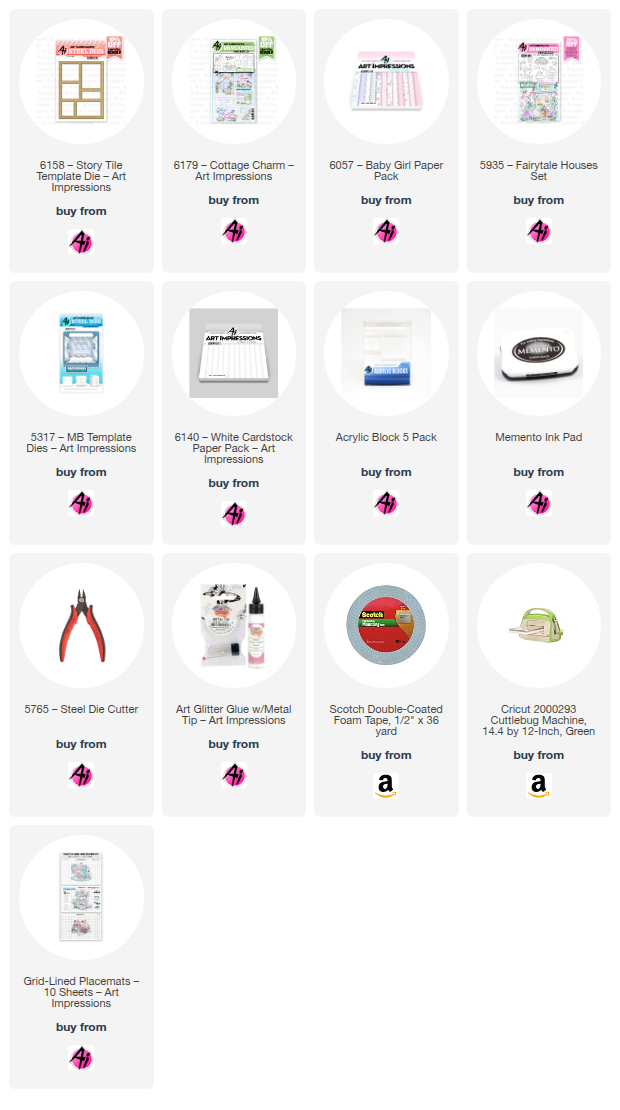
Thinking of You by Reneé Matarese

 Hello Ai fans!

There is a wonderful new die available from Art Impressions!
It can be used vertically or horizontally depending on what
stamps you decide to put inside of each panel.

Remember, the current challenge on the Art Impressions Challenge Blog 
is called It's in the Mail. You can click on the banner to be
taken to the challenge to enter your postal themed card. 
(Stamps, mailboxes, envelopes etc.)

There are 4 brand new sets made to coordinate with the die, 
but the great thing is that you can use any stamp, die cut 
or sentiment that will fit inside each rectangle.
 The possibilities are endless.
I chose to use the cottage scene because I love the bike.


One cool thing I discovered was that the window die from the MB Template fits perfectly inside the space for the window on the cottage. The intent is that you will paint or draw in the panes but I love the look of die-cutting the window panels out. So cool!


Copics used:
YG11, Y11, Y18, B01, B34, N2, E33, E40, E55