Showing posts with label 6106 Spring Keepsake. Show all posts

Saturday, August 1, 2026

Summer Vibes by Gennette Houghton


Hello, and Welcome to Watercolor Weekend!  Ah….August….the hurrah before fall.  Don’t mind me while I sit in the air conditioning until fall arrives.  LOL!  However, I do love all of the green and flowers, and I’m in no hurry for the cold I know is coming.  I am a mid-temp kind of gal.


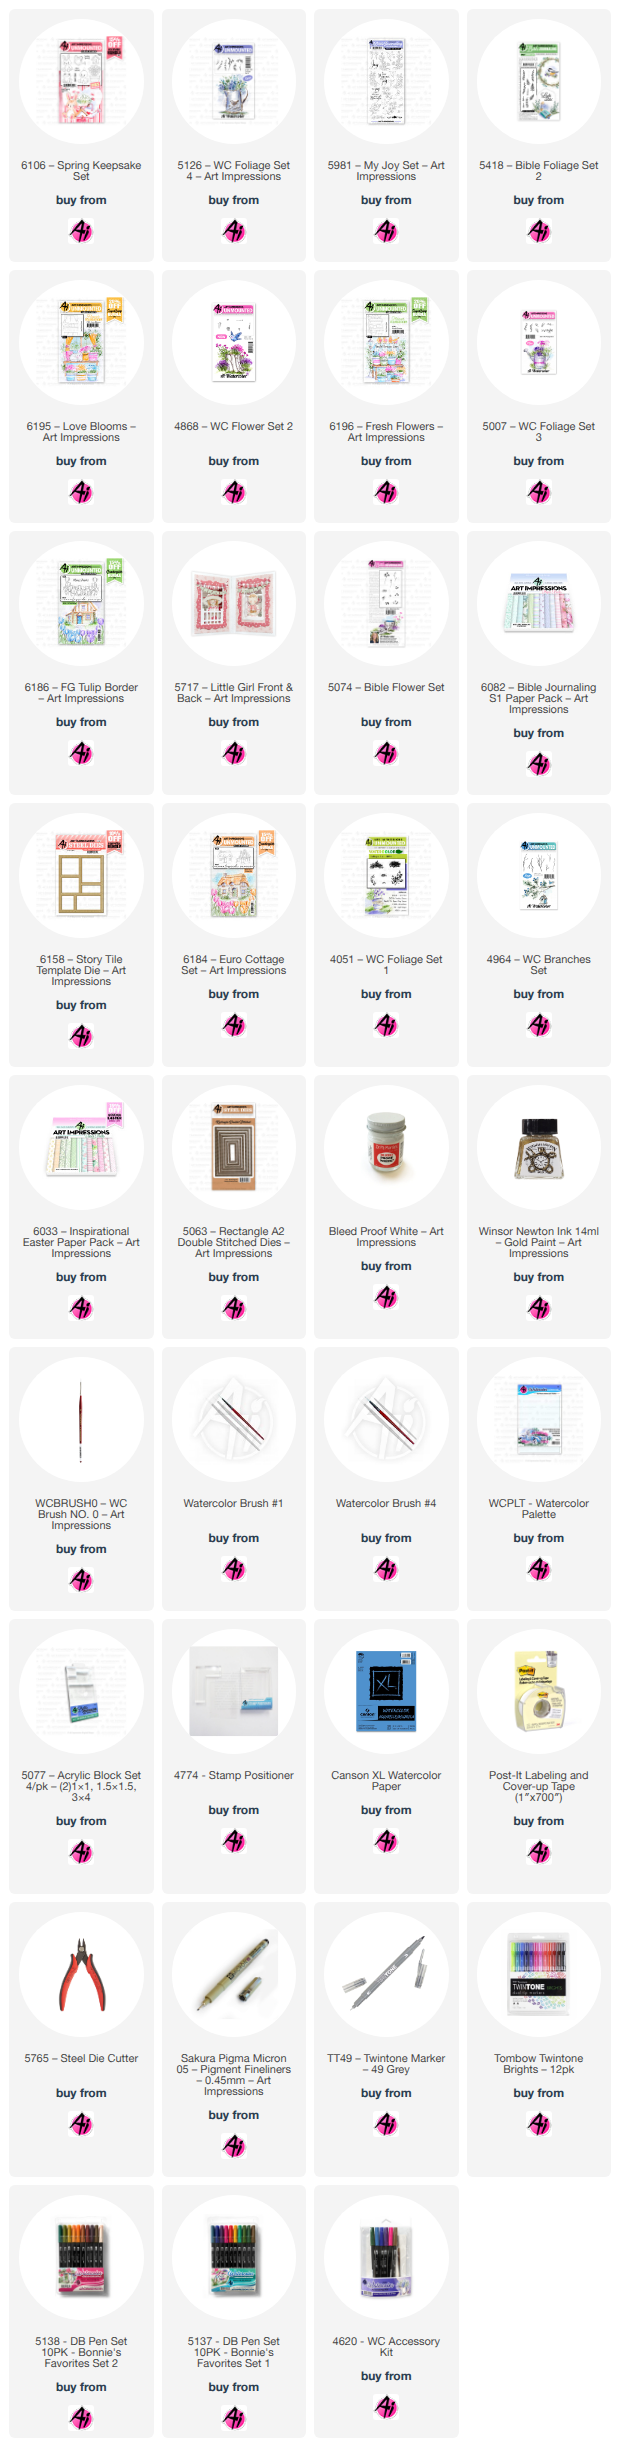
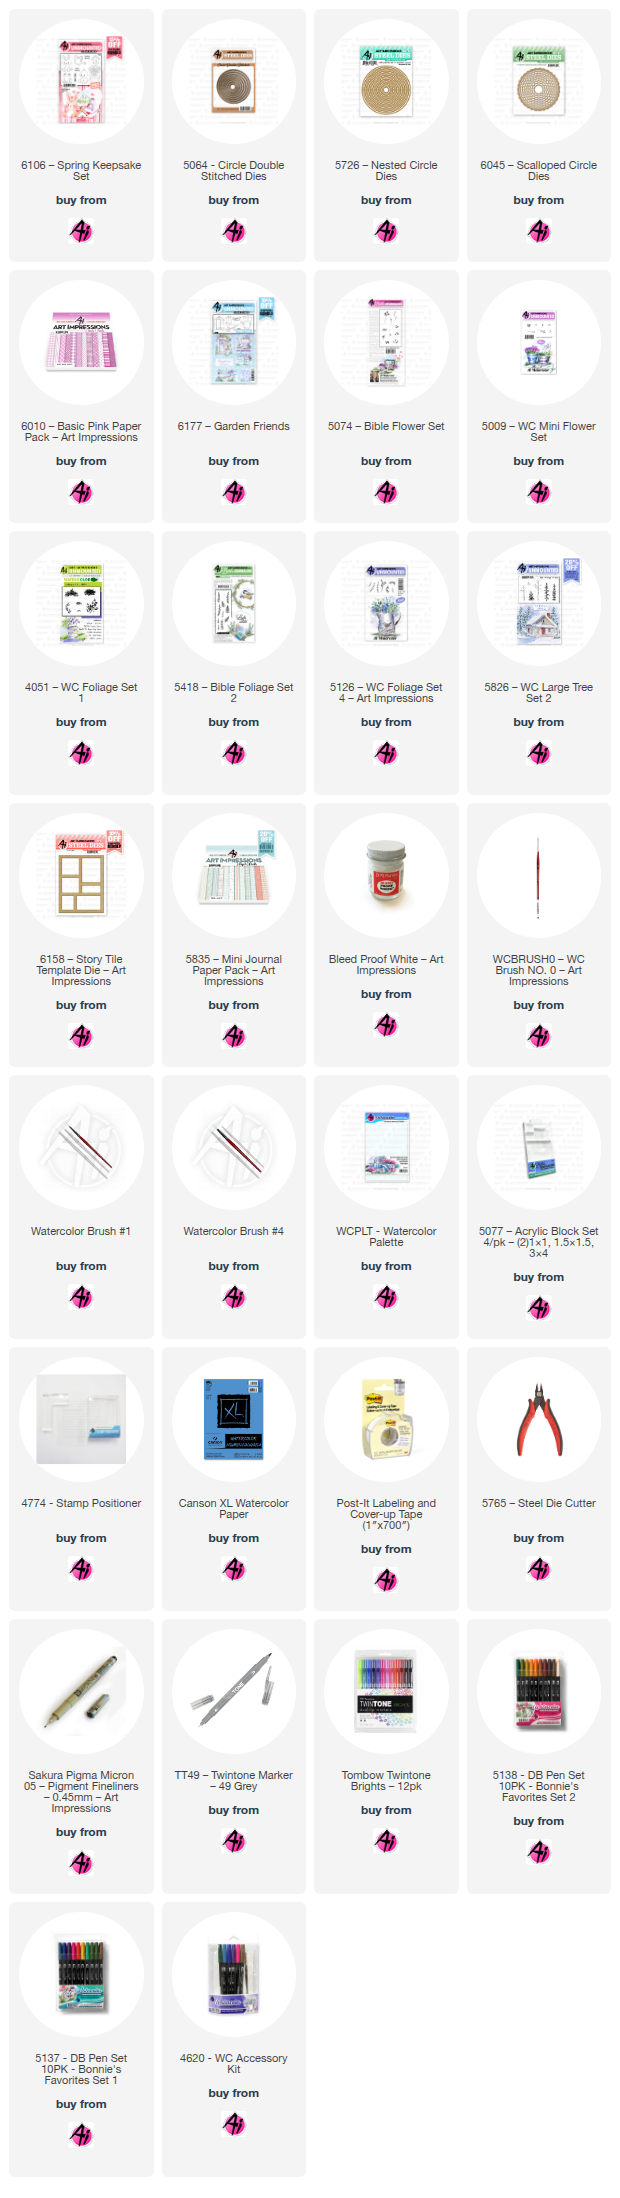
 For my 1st card I decided to go with several sets using the 6158 Story Tile Template.  The possibilities with this die is never ending.  I started off cutting down my watercolor paper to 4 ¼ by 5 ½, I keep a cutout of the template with my die that I use to trace the outline of the boxes on my paper.  I then stamped in all of my images with Distress Ink Pumice Stone, and then stamped them off once before placing them on my project, masking off the guides where needed.  I used 6106 Spring Keepsake Set for the birdhouse, and used a pencil to create a guide for the hanging line.  A mix of 565 and 969 for the wood, mixing these creates a more weathered look to the wood.  I then added 403 to the main part of the birdhouse, decorating with Bleed Proof White with a touch of 025 for the centers of the flowers.  526 was used on the sky before adding in the leafy branch from 5126 WC Foliage Set 4 in 126 and 177.  I also used a mix of 565 and 969 to the hanging line.  5981 My Joy Set was used for the Black-eyed Susans, I started with 126 on the leaves and contoured with 177.  For the petals I started with a base layer of 055, adding contours with 025.  I use a small amount of 026 for the deeper shading.  The centers I use 947 and shade with 969, also adding a couple of dots with 969 on each center.  For the background I used 403, and then added some gold dots with Winsor & Newton Gold Ink with 5418 Bible Foliage Set 2.  For the next section I used 6195 Love Blooms Set with a stamp positioner to make sure I had it centered where I wanted it.  A pencil and ruler was used to map out the guidelines for the windows before I started coloring.  For the windows I used a mix of 526 and 565, shading with more 565 along the edges.  For the wood I did a mix of 565 and 969 for this one as well.  Darkening around the bases of everything sitting on the bench.  For the curtains I used 025, and the tie backs I used 403.  For the pillow on the right I used 676 and 947 for the button, the left pillow I used 403 and 969 for the button.  I colored the left pot with 905, adding stripes and dots, and then shadowed with 947.  The right pot I used 126 and also shaded this with 947.  I started with adding in the shadows on the cat with 565 and then colored him in with N15.  I used a black micron on his facial features and a pencil for his whiskers.  I added in the foliage with 5126 WC Foliage Set 4, vines, in the right pot with a mix of 126 and 177.  For the left pot, I used 4868 WC Flower Set 2 in 676 and 177.  I also added in some Bleed Proof White for flowers on the vine.  For the birds, I used the 6196 Fresh Flowers Set.  A black micron was used on the eyes, beaks, and feet before coloring.  I extended the line across the opening with a pencil as well, to create a ledge that I colored with a mix of 565 and 969, adding some extra 565 for the shadows.  For the birds I started with 526 and 905, but then decided to add additional color with 565 and 856 because I felt they were too light.  403 was used for the sky, and then I added the little leafy branch from 5007 WC Foliage Set 3 with 249.  Adding in some flowers with Bleed Proof White.  

The FG Flower Borders are so useful in so many ways, so I used the 6186 FG Tulip Border for my next section.  For the leaves and stems I started with a base layer of 126 and then shaded and contoured with 177.  For the tulips I used: Purple – 676 and 947, Blue – 403 and 407, Yellow – 055 and 025, and Peachy Red – 905 and 947, making sure I deepened the colors in the more shaded spots.  I hate to admit this, but this is the very first time I have used the little girl from 5717 Little Girl FB Set.  For her hair I used 947.  For the skin I used 850 as the base, contouring with 910, and shadow with 912, with just a touch of 772 on the cheeks.  I used a black micron for her eyes, and 912 to define her nose and mouth with a touch of 947 on her eyebrows.  I decided to go all fancy with her dress and used a pencil to map in the guides for the checkered pattern, and used 905 on her hat, buttons, and dress.  I don’t know what it is about this color, but I love it.  It can be a strong orange/red, or when it’s watered down can be a peachy pink.  I used some 565 for a shadow under the brim of her hat.  969 was used on the basket, and then created a mask before adding in the daisy bunch from 5074 Bible Flower Set in 403.  I also added in the vines from 5126 WC Foliage Set 4 in a mix of 126, and 177, adding in some Bleed Proof White.  I shaded the arms and basket on the apron with 565.  I decided to add boards behind her with a pencil and ruler, using a mix of 565 and 969 to add definition, plus added a shadow behind the girl with 565.  Using the 6158 Story Tile Template I cut out the frame from 6082 Bible Journaling S1 Paper Pack, mounting this over my images and assembling my card. 


 For my 2nd card I used 6184 Euro Cottage Set with Distress Ink Pumice Stone after stamping off once and then stamped onto my watercolor paper. I also created a mask for later.  I started with 947 on the roof, adding a bit of 969 for the darker areas and added shading with 565.  I used a mix of 565 and 969, with a touch of 249 on the chimney, door frame, and steps, shading these with 565.  For the walls I watered down some 969 just to give them a bit of tint, and then darker for the suggestion of bricks.  For the trim around the windows I used 947 and a bit of 969.  526 and 565 was used on the windows, and then I used some 969 for the panes.  I used 969 on the door, shading with 565, and then used 947 for the door knob.  For the lantern, I started with 526 for the glass, and finished it off with 026.  

I then used the mask I created and masked off the cottage to add in the foliage for the trees.  4051 Foliage Set 1, the large foliage, I covered the stamp with 126 and then added 177 in random areas, stamping and re-inking multiple times for both sides.  I softened this with a damp brush before adding in the branches.  I used one of the larger branches from 4964 WC Branches Set in 977, using the stamp positioner to figure out where I wanted the branches of the trees to be.  I then added in some 526 for the sky.  Removing the mask, I then used one of the smaller branches from the same set for the vines going up around the house.  From 4051, I used the small grass in 177 along both sides of the house, and then used 5126 WC Foliage Set 4 and the vines in 126 and 177.  I also softened the vines and grass with a damp brush, before adding in some Bleed Proof White.  Just a touch of 969 for the path for the door.  I cut out my image with the 3rd from largest die from the 5063 Rectangle A2 Double Stitched Dies.  After matting my card base with paper from 6033 Inspirational Easter Paper Pack, I matted my image with a darker green and then silver, before assembling my card.  Thank you so much for joining me today, and I hope you enjoyed my cards!  Until next time, Create….Share….Inspire!


Saturday, July 18, 2026

Flower Power by Gennette Houghton


Hello and Welcome to Watercolor Weekend!  Bonnie has been outdoing herself with the newest releases, because these are so beautiful!  You can go simple and create little notecards to have on hand or you can add them to full scenes.  They also come with sentiments that you can use, or mix and match.

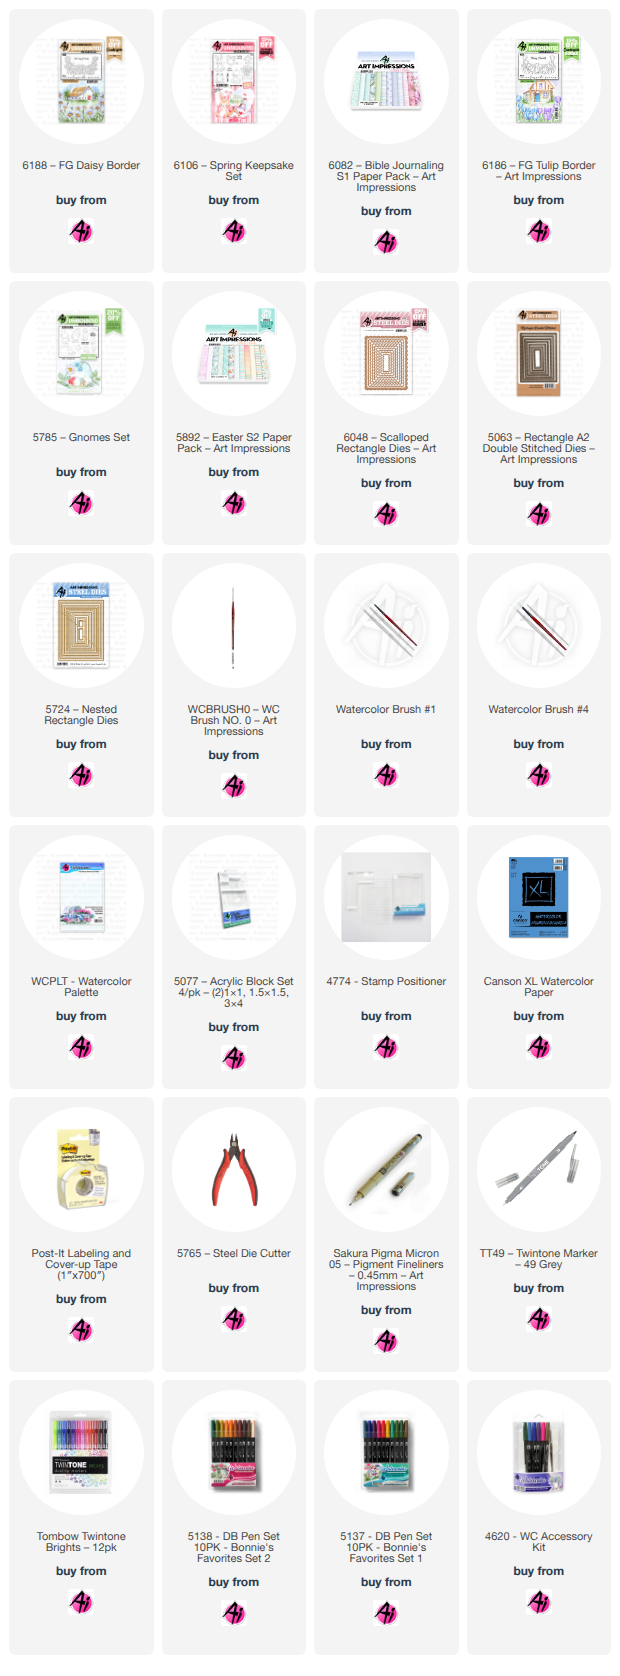
I used 6188 FG Daisy Border for this card and added the frog from 6106 Spring Keepsake Set.  The frog is absolutely a favorite!!  I started off with stamping the daisies onto my watercolor paper with Distress Ink Pumice Stone, after stamping off once.  My original plan was to do white daisies, but I really love black eyed susans, so that is what I went with.  I started with the stems and leaves with 126 as the base, and then 177 to add shading and dimension. I really like this combo and use it often.  For the petals, 055 for the base and then adding in some 025 for the contours, with some 026 for shading.  026 can be a strong color so I use it sparingly. The centers I started with 947 and shaded those with 969.  I decided at this point to choose what die I was going to use, and I went with 5724 Nested Rectangle Die Set and used the 6th from the largest.  Using a pencil to trace a guide, I then added 403, heavily watered down for the sky, adding a few extra layers in areas and allowing it to dry in between.  I then cut my scene out with the same die I used as my guide.  I had room on the left over watercolor paper to stamp the frog with Pumice Stone, also stamping this off once.  126 was used as the base layer, and darkening the sides and shadowed areas with 177.  I then went over the center of the face, belly and the very top over the eyes with 055 to brighten these areas just a bit more.  I then took some 346 in small amounts into the darkest areas.  For the eyes I used N15 on the pupils and a light touch of 565 on the outer sections of the eyes to give them a bit more dimension.  I also went over the nose and mouth with pencil.  I picked a piece of paper from 6082 Bible Journaling S1 Paper Pack and matted my card base.  I matted my main scene with the daisies using the 5063 Rectangle A2 Double Stitched Dies, 3rd from the largest.  After adhering these together, I then matted this with 6048 Scalloped Rectangle Dies, 2nd from the largest.  Once these were glued together I then centered them onto my card base, and used the included die to cut out the frog and attached him in the bottom corner with foam tape.  I chose the banner die from the 5543 Journal Template Die for the sentiment and attached that up in the corner, with glue on the ends and foam tape under the raised center, completing my card.  I really love how this turned out, that little frog is just so cute!!


For my 2nd card I used 6186 FG Tulip Border and 5785 Gnomes Set.  Both were stamped in Distress Ink Pumice Stone and stamped off once, on watercolor paper.  I created a mask for the tulips with post-it tape before using a positioner to place the gnome.  I started with the stems and leaves using 126 as the base color and then 177 to contour and shade, darkening areas that overlap and below the flower heads.  Before working on the flowers I decided to work on the gnome first. You can just see a hint of his boot and pants so I colored the boot in 969 and the pants in 565.  I added a bit of cross hatching in the pants for a little extra texture using the same color.  For his shirt I used 026, adding extra layers to any area that would be shadowed.  For the skin tone, I start with a base layer of 850, and then I contour with 910.  912 was used for the more shadowed areas.  Instead of 565, I decided to use N52 to contour and shadow his beard and to darken under his cap and around his nose.  I used a combo of 403, and 407 on his hat.  For the petals I started with 725, adding extra layers in the darker zones, and then added a bit of 676 to deepen the darker areas.  I then added a wash of 526 for the sky.  I cut out my image with 5724 Nested Rectangle Dies, 6th from the largest and matted it with dark purple cardstock using the 5063 Rectangle A2 Double Stitched Dies, 3rd from the largest.  I then matted this with some silver cardstock.  5892 Easter S2 Paper Pack was used to mat the card base.  Before placing my image, I put the card base in my stamp platform and stamped in the sentiment with Versafine Clair Nocturne.  I then assemble the card together.  I am really loving these sets, I need to try one with a circle die!  Thank you for joining me today, and I hope you enjoyed my cards!  Until next time!  Create….Share….Inspire!


Monday, June 1, 2026

June 2026 Monthly Challenge with Guest Designer Debbie Hedges

Happy June everyone and welcome to our Monthly Challenge!

As always, this challenge has no theme, so anything you want to create is fine as long as you use something from Art Impressions on it. You might be the next winner of a free stamp set from Art Impressions. Winner is chosen randomly so all skill levels have a fair chance of winning. Two lucky winners will also receive a freebie from me.  (Renee)

Now let's see what Debbie created to inspire you.

Father’s Day is only a couple weeks away and then it will officially be summer! 


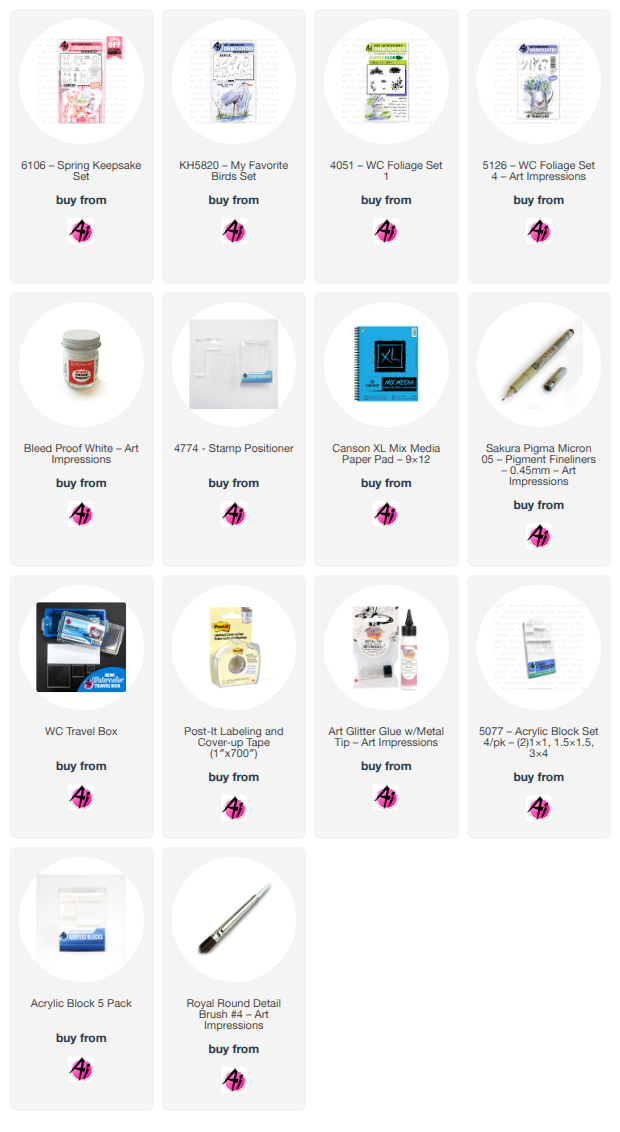
 For my June project, I created a tag with the adorable frog from the Spring Keepsake Set (#6106). I inked the little frog with Pumice Stone Distress ink, stamped off once on watercolor paper and then stamped him on Canson Mixed Media paper. I painted him mainly with lt. green (#11) and then olive green (#15) for the shading. Using the fine-tip, I added dots in olive green (#15) and then touched my brush to them to soften the color. Using a black Micron pen, I darkened his eyes, leaving a white spot for a highlight. I then cut out the frog on a scrap piece of paper and used that as a template to line up the die over my painted frog. Once I had it in position, I secured it with Post-it tape and ran it thru my Cuttlebug. My next step was to cut a stitched tag with Canson Mixed Media paper. I wanted the little frog to be sitting on a river bank, so I sketched a line for the water and then sketched another line for the bank. Using steel blue (#17) from my palette, I added water on the bottom portion of the tag, starting with a darker line where my pencil line was and then making sure I had light and dark areas. I then used sepia (#45) to do the same with my bank. I added my sky next, leaving light and dark areas with sky blue (#75). With my teeny tiny grass (#4051), I stamped grass in a repeat on the left side of the bank to almost the middle of the tag. I wanted wild grass along the bank in more than one height, so I used a tall cattail from Kim’s bird set (KH5820) and a tall grass from Foliage Set 4 (#5126). With the fine tip of my violet marker (#8), I added some dots to the tops of the grass stems for a few wildflowers. Then with Dr PH Martin’s white, I added daisies and some dots for wildflowers. I also added some white lines in my water to look like ripples. Once the daisies were dry, I added centers with the fine tip in brilliant yellow (#43). In the left upper corner of the tag, I stamped leaves to give the impression of a tree using Foliage Set 4 (#5126). I used an embossing folder to emboss the blue paper for the top of my tag. I then used the same tag die to cut the top of the tag and then a border die to cut the decorative edge. I used Art Glitter glue and glued the tag to my card base and then positioned the frog so he was just off the right edge of the tag, giving him a 3-D look. I glued him to the tag and also glued the heart button. I still use Marvy Le Plume markers for my projects.  Most of these can be converted to Tombow colors, but choose colors that work for you. These just happen to be 
some of my go-to colors for any project I work on. 

Here is the link for the Tombow conversion chart:

 https://www.artimpressions.com/shop/art-impressions-most-loved-color-conversion-chart/


 I hope you’ll give this project a try and please be sure to post your project so we can all enjoy it! I adore this little frog! Also, don’t forget to enter the Monthly Challenge for a chance to win a free stamp set! Enjoy the beginning of summer and happy stamping! 


Now let's see who won our May Challenge!


Our Lucky Random Winner was: #4 Diane Z.


Please contact Leah at Feedback@artimpressions.com
to claim a free stamp set of your choice!!

The first winner of a freebie from me is #17 Licia B.

The second winner of a freebie from me is #9 Pat S.


Please email me at Renee@artimpressions.com
with your full name and address and I'll send you a photo of the freebies I have available for you to choose from.

Now for our new monthly challenge, here are the rules.

 ✻ Please make a new card or handmade crafty creation using either stamps, dies and or designer paper from Art Impressions. You can make any item you wish; this is not limited to cards! (unless specified)

✻ Limit two submissions per person.
One random winner will receive a free stamp set from Art Impressions and one random winner will receive a freebie stamp from me.
 ✻Please include your first name and last initial on your submission. You may include your entire last name, but it's not necessary.
✻We love to comment on your entries, but keep in mind if you use a private group or a platform that you need to sign up for, we probably won't be able to.
✻ The Ai Challenge is open to everyone, international submissions are welcome!
✻ Include a link back to the Ai Blog or grab our button on the top right of our sidebar!
✻ Share the Ai love if you can, by clicking and commenting on your fellow crafters.
✻ Make sure to get your link up by the deadline to enter your creations.
✻ Good luck and happy stamping!

You are invited to the Inlinkz link party!

Click here to enter

Thursday, May 21, 2026

Yellow! Challenge #428 Week #1

Welcome to our newest challenge!

I feel like this one is pretty self explanatory. Use yellow on your project.
The second I decided to do a yellow challenge, I knew that I wanted it to be Sharon's feature.
Her favorite color is and always has been yellow. After you check out her adorable interactive card, be sure to scroll down and find out who won our last challenge.

Also, don't forget you have one more day to apply to our Design Team call.
Details are below.

 Hello AI Fans! 

If you know me, you know my favorite color is yellow. Just ask my sister, she still hasn't forgiven me for making her wear yellow in my wedding in the 70's. HAHA Oops...I just gave my age away, didn't I. LOL! Anyway, I am super excited to get to introduce our new Challenge #428 Yellow! Whoot Whoot!! I can't wait to see all your amazing creations using the beautiful color of yellow! For my feature, I created a slider card where an adorable frog surprises the birthday girl by popping up out of her birthday cake! First a look at the finished card...


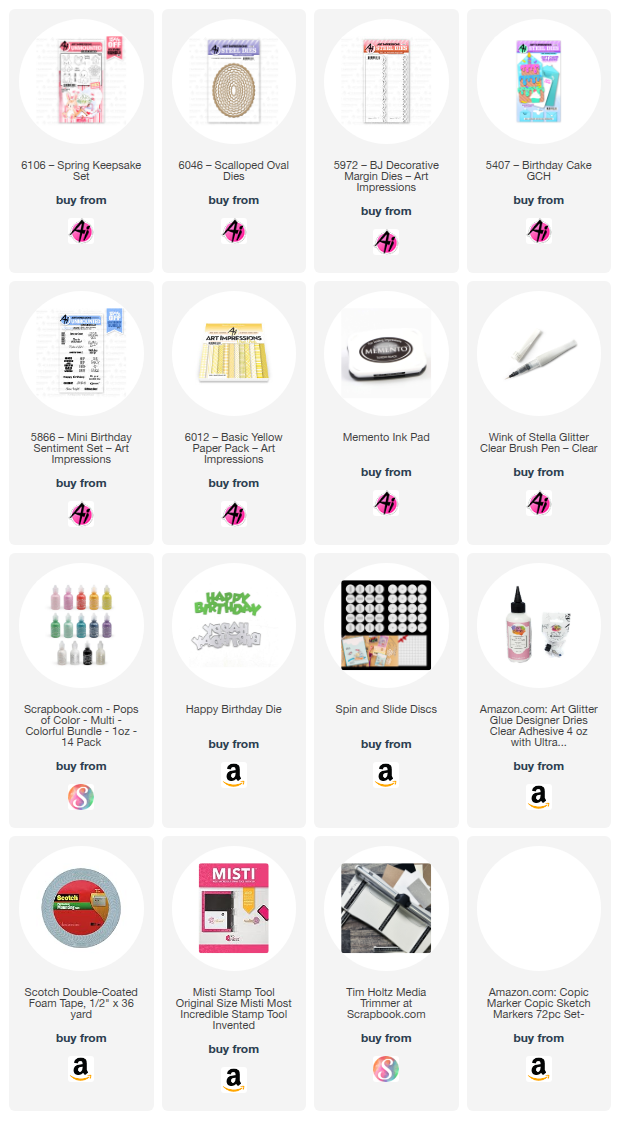
So to make the card, I started with #5407 Birthday Cake GCH. This cake die can be used for so many things!! I cut the pieces using #6012 Basic Yellow PP and then inked the edges to give it a little depth. 


After assembling the cake, I grabbed #6046 Scalloped Oval Die Set and chose the correct sizes so the cake and frog had enough room. If you have a channel die, you can use that. If not, you can also cut a slot with a ruler and your craft knife. I wanted a larger channel than what my die provided so I improvised. Once I cut the one slot, I lined the die up and cut it again to the length I needed as shown in the pics below. You want a slot that is long enough to allow your image to be hidden behind the cake and also reveal it once it's pulled up. 


I cut a pull tab twice out of heavy cardstock and glued them together so they would be strong enough to hold up to the pushing and pulling it was going to receive. (I always play with the interactive cards I create!)


It really helps to keep the pull tab on track if you create a little sleeve for it to slide through. Just take a light weight paper and cut a strip around 1/4" wide and fold it loosely around the pull tab. Glue it down to the back of the card. 


I wanted the frog to "talk" when he jumped out of the cake, so I die cut a word bubble and used a sentiment from #5866 Mini Birthday Sentiment Set. I die cut both the word bubble and the frog 3 times and glued them together for stability. Then, to attach it to the frog, I just cut a small strip of acetate and doubled it up for strength. 


After lining up the pull tab with the channel, I used a strong glue to attach a slider disc to both the pull tab on the back side and the frog on the front side. Be sure to use a strong glue and allow lots of time for drying. You don't want it separating from either of them after you've assembled the entire card!! 


I used two layers of foam tape on the back of green and white slider panel as well as the cake that goes over the top of the slider to give plenty of room for the frog to slide. I added some dots from Scrapbook.com Pops of Color and some of those cute candles that are in the set with the cake. For a touch of sparkle, I went over the Happy Birthday die cut and candle flames with Wink of Stella and then popped a bow on there. I do love interactive cards, so I hope the person that ends up with this enjoys it as much as I enjoyed making it. 


So that's it for me today! Thanks so much for stopping by for a visit, and I can't wait to see what yellow creations you'll be making for the challenge. Until next time - stay crafty!!! 

I knew Sharon would have fun with this challenge. What an adorable card! That frog is just TOO CUTE!!

Now for the winners of our Mix & Match challenge.

For our Top Spot we selected Neema M.


Please contact Leah at Feedback@artimpressions.com
to claim a free stamp set of your choice!!
Be sure to grab your winner's badge to display on your social media.


Our Lucky Random Winner was:


Please contact Leah at Feedback@artimpressions.com
to claim a free stamp set of your choice!!

Be sure to grab your winner's badge to display on your social media.

Congratulations to both of our winners and thank you
Sharon for the amazing inspiration for the new challenge!


If you're interested in applying for our Design Team please view all of the details below.


Now for our new challenge!


 ✻ Please make a new card or handmade crafty creation using either stamps, dies and or designer paper from Art Impressions. You can make any item you wish; this is not limited to cards! (unless specified)

✻ Limit two submissions per person.
✻Top Spot Winner and Lucky Random Winner each receive a free 
stamp set from Art Impressions
 ✻Please include your first name and last initial on your submission. You may include your entire last name, but it's not necessary.
✻We love to comment on your entries, but keep in mind if you use a private group or a platform that you need to sign up for, we probably won't be able to.
✻ The Ai Challenge is open to everyone, international submissions are welcome!
✻ Include a link back to the Ai Blog or grab our button on the top right of our sidebar!
✻ Share the Ai love if you can, by clicking and commenting on your fellow crafters.
✻ Make sure to get your link up by the deadline to enter your creations.
✻ Good luck and happy stamping! 

You are invited to the Inlinkz link party!

Click here to enter

Saturday, April 4, 2026

Dreaming of Spring by Gennette Houghton


Hello, and Welcome, to Watercolor Weekend!  Technically, it is Spring, but the weather says otherwise. It’s coming, but the tug-of-war continues, we call these the yo-yo months, it is enough to drive one batty when you just want warmth and sun! (Yes, yes, I know…..I will be complaining of it being too warm soon enough!  LOL!) I can not tell you how happy it makes me to create colorful creations right now, I may enjoy a good snowman, but I do love when things start coming back to life! 

Daffodils are usually one of our first flowers to show up here, there is something about that pop of bright sunny yellow after months of gray days.  The irony of them getting covered in snow is not lost on me.  The 6106 Spring Keepsake Set was a big hit for the frog alone, he is cute isn’t he! I started out with a piece of watercolor paper and stamped in the frog with Distress Ink Pumice Stone after stamping off once.  I created a mask and covered him, and then using a stamp positioner I stamped in the pot like I did the frog.  I then masked the pot and stamped in the flowers.   Starting with the frog, I used 126 as the base color, adding in 177 especially around the edges and shadowed areas.  N15 for the pupils, with a touch of 565 along the edges of the white. This really helps the eyes to pop! For the tulips I used 725 and shaded with 676 for more dimension.  The daffodils I started with 025 and then used 026 for some depth, with 947 for shading.  I added a couple of dots of 969 right in the centers.  The stems and leaves I used 126 as the base and contoured with 177.  For some of the areas farther back I also used a bit of 249.  I added some 969 inside the pot, darkening the back edge for dimension.  For the pot itself I used 636, darkening the sides and leaving a highlight in the middle which helps make the pot look rounded.  I also added a stripe with the same color.  The sky I used 526, and put a light wash of 969 for the ground.  Using my favorite grass from 5826 WC Large Tree Set 2, I masked off the frog again to place the grass behind him and on the other side of the pot using 177 with two small spots of 969 towards the bottom and then used a damp brush to soften.  Bleed Proof White was used for the little flowers.  I added a bit more 969 for the shadows at the base of the pot and frog.  5064 Circle Double Stitched Die, 2nd from the largest, was used to cut the image out. I then matted this with silver cardstock using dies from my stash, and then backed this with a dark purple solid cardstock, cut out from the 2nd largest 6045 Scalloped Circle Dies.  I matted my card base with paper from the 6010 Basic Pink Paper Pack.  Before attaching my image, I stamped in the sentiment in the bottom corner with Versafine Clair in Nocturne.  I then added my image to finish off the card.  I still can’t get over how cute this frog is!!  Ah, Spring, I am waiting for you!


 For my 2nd card I used 6177 Garden Friends from the new Story Tile Series. There are currently 3 other sets in this line, and boy are they good ones! I made a card using the 6179 Cottage Charm, and kept that one pretty simple, you haven’t seen this one yet, but it is coming. I did, however, learn a valuable lesson making that card. Not thinking, I traced my openings using the die on my watercolor paper with the cut side up. I figured out pretty fast my mistake when I cut out the template. (Opps!) This time I made a template for tracing with heavy cardstock that I now keep with the die and use that instead.  The beautiful thing about these sets is that you can mix and match to create different versions. 6158 Story Tile Template Die can be used with any number of sets as well.  I am so looking forward to what Art Impressions has in store for this series! With the foliage and flower sets there are so many things you can do to change the look of this set, your only limitations are your imagination.  Bonnie, however, made some beautiful samples that are on the stamp cards to get you started.  After cutting down my watercolor paper to 4 ¼ x 5 ½, I used my cut out template to trace the openings with a pencil. I then used the stamp positioner to stamp my images where I wanted those, using Distress Ink Pumice Stone, and stamping off once. Here are the other sets I used throughout this project.

5126 Foliage 4 – small vine

4051 Foliage Set 1 – small grass, large foliage

5826 Large Tree Set 2 – grass

5418 Bible Foliage Set 2 – dots

5009 Mini Flower – 4 flowers

5074 Bible Flower Set  – daisy bunch

 Tombow colors used: 565, 969, 312, 947, 025, 026, 177, 676, 555, 526, 126, 249, N15. Also Bleed Proof White. 

I used paper from 5835 Mini Paper Pack for the Story Tile Template and adhered it to my watercolor paper after erasing the pencil lines. Mounting this on my card base. (This time in the right orientation!!) Thank you for joining me, I hope you enjoyed my cards, until next time!  Create….Share….Inspire!