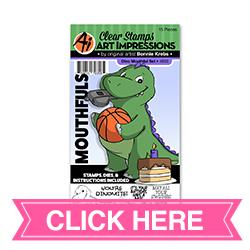
Showing posts with label Clear stamp sets. Show all posts

Friday, October 29, 2021

Cat Themed Birthday Card by Tasha

Hi Ai Fans!
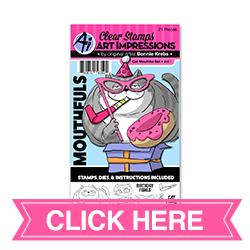
Tasha here sharing a fun birthday card created with the 5369 - Feline Set from Art Impressions!
The Feline Set includes a variety of cat images, but this one is my favorite!
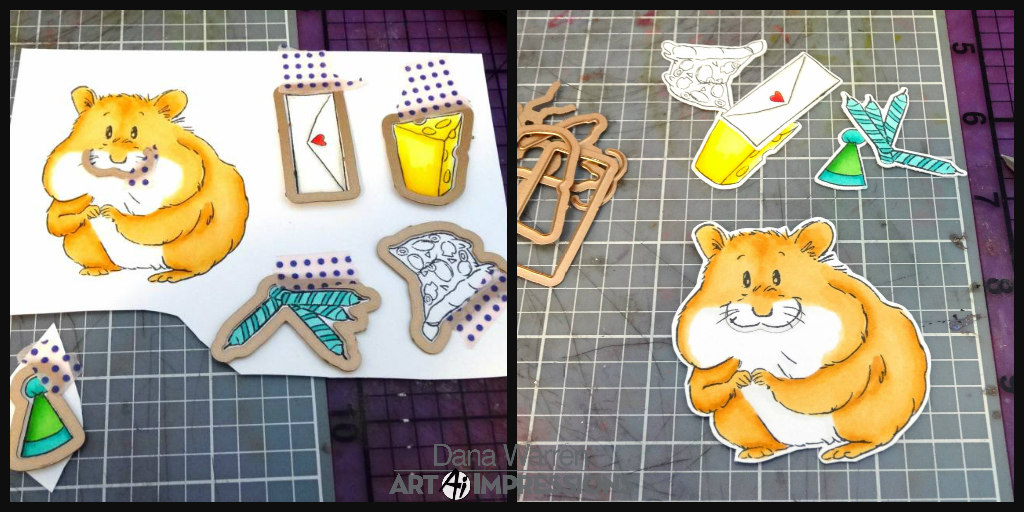
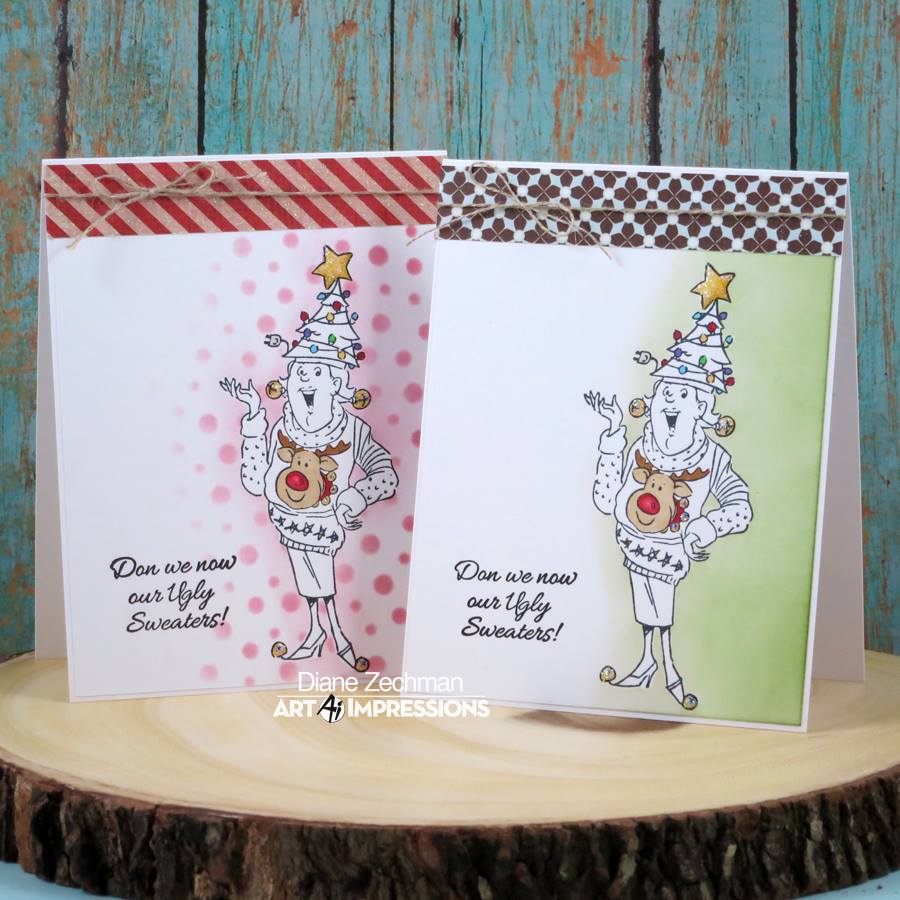
This birthday-themed cat is so fun and I just love the expression on his face; naughty kitty! I colored the image with Copic Markers and added Distress Oxide Ink around the edges to frame the cat. It looks like a spotlight on the cat and I love this golden color!


This set also includes several sentiments to mix and match with the images, but how fun is this one! This cat knows exactly what he is doing! 


Lastly, I added some yellow enamel dots and blue glitter paper before attaching the card to a deep yellow card base. I think this card is super fun and would be great to give to anyone on their special day!


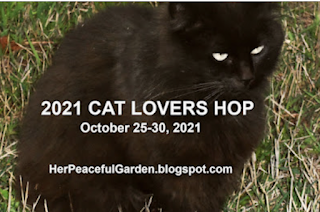
Thank you so much for checking out my card today and I hope you are inspired to create a cat themed birthday card! Be sure to check out the new Ai Challenge and the 2021 Cat Lovers Hop!


Thursday, November 30, 2017

NEW Mouthfuls Stamp & Die Sets! PLUS Challenge 222 Funny & Punny!

Hello, Ai Fans!
New Mouthfuls_
You will have your hands full with our NEW Mouthfuls! This new line of clear stamps & dies features a fun animal with corresponding images to tuck into their mouth or hand, along with unique birthday sentiments! Kangaroo Mouthful includes a little joey and party favors that fit in the mama's pouch! Send hilarious birthday greetings with our Hamster Mouthful set, featuring cute accessories like pizza, with phrases like "Age only matters if you're a cheese"! Our Dino Mouthful is adorable for that young athlete's birthday, or makes for a playful card for your older sports lover! We cannot forget about our dog and cat lovers! Say "Happy birthday from the dog" in our Dog Mouthful set, which includes a slobbery gift, bone, and more! "Cattitude is everything" in our Cat Mouthful, as our feline dons fabulous accessories such as cat-eye classes and a huge donut! Projects are fun and easy, since each set includes dies which cut out the accessories, as well as a slit for the mouth, hand, or pouch to place them in! See these sets in action in our video from Creativation! Grab your Mouthfuls today at artimpressions.com!
Kangaroo Mouthful Hamster Mouthful Dog Mouthful Dino Mouthful Cat Mouthful


Dana is here to share her adorable creation with our Hamster Mouthful
Hello AI fans!! 
These new Mouthfuls are so adorable!! My tutorial features the Hamster Mouthful set. I started by stamping the images on white cardstock and coloring them with my Spectrum Noir Markers. I used AG1, AG3, AG5, CT1, CT4, GY2, GY5, IB2, IB3, TN2, Blender. As I was coloring I decided what images I would use with the Hamster, so ended up only coloring them.


Next, I held the dies in place with washi tape and ran it through my die cutting machine. With sharp scissors, I fussy cut out the hamster. The hamster has two dies, one you can cut a slit for his mouth like I did or the other cuts a slit above his hands. Tip #1 I also when ahead and cut the ones I didn't end up coloring for use at a later date!! And tip #2, I never had a hamster so was very unsure of the coloring, after looking at Google the options where overwhelming! So I just copied how the packaging colored him and kept it simple!!


With a little bit of glue, I adhered the candles to his face, sliding it under the die cut slit. This way it looks like he is eating the candles.


For a background, I die cut a stitched rectangle from watercolor card stock and with an ink applicator added Distress Oxide Cracked Pistachio. Then I splattered water all over the panel and let that dry. Next, I added some water to some Frayed Burlap Distress Ink and splattered it over the panel.


While my splatters where drying I cut a strip of grey cardstock and stamped the What Cake? in brown ink. I adhered the green panel to a grey card base when it was dry and then I played around with the placement of the sentiment, hamster, cheese and his hat.


When I was happing with the placement I adhered the grey strip and added foam tape to the hamster and cheese.


A quick shot of it all put together. 


These stamp sets have lots of uses with different sentiments and images that you can mix and match! And what's really nice is being able to customize where the accessory image can be tucked into to!!!


Thanks for stopping by!! Happy Stamping!!


TOO CUTE, Dana! Love how your hamster is all ready for some birthday festivities!
Well folks, a new release means a new challenge! This 2-week challenge is called "Funny & Punny" and we want - of course - some hilarious cards! That's right, grab your sentiments, creativity, and perhaps a funny image or two and share a chuckle with us!

Here are the Challenge Rules:
✻ Please make a new card or creation. You can make any crafty item you wish; this is not limited to cards!
✻ Limit two submissions per person. You will receive extra votes if you use Art Impressions stamps!
✻ The Ai Challenge is open to everyone, international submissions are welcome!
✻ Include a link back to the Ai Blog or grab our button on the top right of our sidebar!
✻ Share the Ai love by clicking and commenting your fellow crafters.
✻ Make sure to get your link up by Wednesday, December 13 at 5:00 p.m. PST to enter your creations.
✻ Good luck and happy stamping!


Thursday, November 23, 2017

Happy Thanksgiving! PLUS, Michaels Exclusives Now Available!

Happy Thanksgiving, Ai Fans!
The blog is closing for the next few days so our design team can enjoy a Thanksgiving break! Today we have a bit of inspiration to tide you over! You can now find FOUR new Art Impressions clear sets, produced by Hampton Art, at your local Michaels!
 Introducing TWO new Holiday PopCards, Santa PopCard and Reindeer PopCard! These new sets contain clear stamps and metal dies, and assemble the same way as our previous PopCards to make unique 3-D cards! Make spirits bright with our TWO Christmas Girlfriends clear sets, Ugly Sweater and Merriest! These four sets are EXCLUSIVE to Michaels, so find a store near you to grab them up!

Inspiration time! Check out what our designers created with these exclusive sets! Click the designer's name to view more details on their personal blog, and click the set they used to view it at Michaels.com to find store availability by your zip code!


Dana with Merriest


Renee with Reindeer PopCard and Window Die 

Sharon with Ugly Sweater

Thank you for your bright and shiny cards, designers! Enjoy a week break for Thanksgiving! We are thankful to you!

Before we go, let's celebrate the winners of our previous Tag It Challenge!

Top Spot goes to...

Funtography!
Congrats! We love your sweet bracket tag featuring our Santa Paws puppy! Such festive colors and details! Email annelise@artimpressions.com with your address to claim your prize pack!

Honorable Mentions go to..

Irene Rhodes!

Melissa O!
Congrats, you two! The reindeer theme is really working! Irene, your handmade "ugly sweater" tag with our Reindeer Mini Shaker is just such a cute idea! We can't resist! And Melissa, your bold Reindeer Games tag is just divine! Email annelise@artimpressions.com with your address and choose a stamp set of your choice for a prize!

We had really wonderful tags for our challenge! Our next challenge will not start until November 30th, but we will give you a clue: laughter!

Happy Thanksgiving! We are thankful that you spend time with us here on the blog! Stay tuned tomorrow for a blog post about our Black Friday special! If you aren't already signed up for our Retail Newsletter, you may want to hop over and subscribe so you don't miss out! It's a big one!

Happy Stamping!

Wednesday, August 2, 2017

Watercolor Background by Dana Warren

Hello AI fans!!

Dana, here with two cards featuring the His & Hers Gardeners! I created a watercolor color background for each card and it was really easy!! If you already create with AI's Watercolor stamps you have the supplies to make your own watercolor background!!


I started by stamping most, if not all of the images from the His & Hers Gardeners clear set on white cardstock. With my Spectrum Noir markers, I colored them and then fussy cut them all out.


 For the Guy Gardner card, I used AP1, AP3, AP5, FS2, FS6, FS9, GY1, GY2, GY5, IG1, IG2, IG5, IG6, TN2. The Girl gardener I used in addition to the above AB1, AB2, AB3, TN9, TN8.


Next, I trimmed to panels of watercolor cardstock that would fit the card bases. With my images cut out, I could move them around on the panels to plan out what I wanted to paint and where.


For both, I started with the grown and worked my way up. The Guy Gardner got a tree, a bush and a little bit of grass along with a nice blue sky for the background of the scene. When it was dry I stamped the Howdy-hoe sentiment and added my colored images with foam tape. 


For the Girl Gardner, I did a few bushes and the sky of course! I kept her background a little bit more simple because I was adding more colored images. I stamped the sentiment and the dot swirl and then added everything else with foam tape.


Last, both panels adhered to white card bases. The Girl Gardner card I did more simple (less layering/shading) and for the guy made it a little involved with the shading! Regardless of your skill level, any water coloring looks good!!

Thanks for stopping by! Happy stamping & wateroloring!!