It's the season for Christmas cards!! Today's card is another one from the 2018 Christmas release, Sleigh Bells Set!
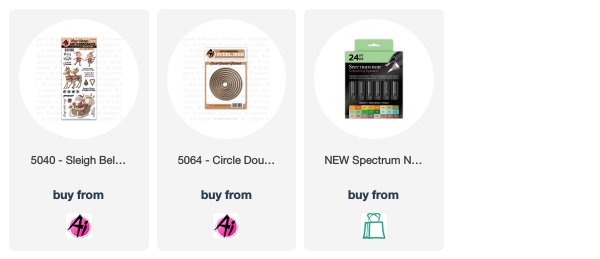
I started by stamping Santa and his reindeer, but separately, then I cut the Santa with AI's Double Stitched Circles. The reindeer's were fussy cut. I used my Spectrum Noir Markers to color everything up. I used: CT4, DG2, DG4, DR4 DR5, DR6, EB1, EB2, EB5, EB6, GB8, IG1, IG2, IG7, IG10, MB1.
From Echo Park Place Season's Greetings I picked out a couple pattern paper. I added one to a white card base, the other I cut into a wide strip and added it to the card.
Below the strip at the right side I stamped the Santa is Coming to Town sentiment. Then I added the Santa circle and reindeer with foam tape.
I can't beleive it's December already!! That means Christmas is right around the corner!! My card today features the new Sleigh Bells stamp set!!
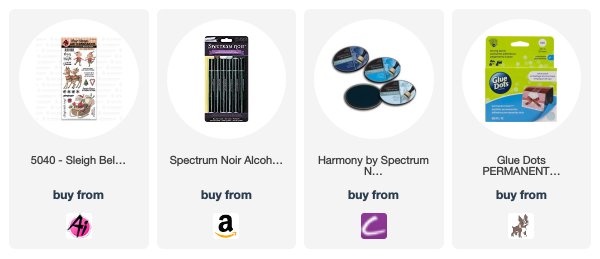
I started with a small panel of cardstock and used my Spectrum Noir Inkpads to ink a blue sky, I was going for night and in hindsight could have added a little black! But I like it anyway!! Once I had it all inked I set it aside to try while I stamped and colored my images.
I stamped the santa and reindeer images on white cardstock and used my Spectrum Noir Markers to color them. I used: CG3, CG4, R4, DR5, DR6, DR7, EB1, EB2, EB5, EB6, GB4, GB5, GB8, IG6, IG10. Then I fussy cut out the images.
Next, I adhered the inked panel to a navy blue cardbase and then added the Santa directly to the panel. For the reindeer I added them with foam tape.
To add a little sparkle I adhered a few snowflakes from Trinity Stamps Blizzard Shaker Embellishment mix! Last, I stamped the Santa Clause is Coming to Town in the bottom right corner
Happy Thanksgiving!! I hope everyone has a wonderful and safe holiday!! My card features the new Grateful Hearts stamp set!
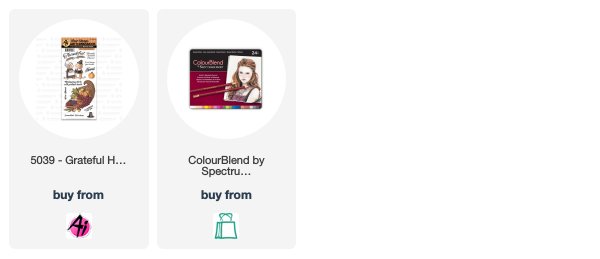
I stamped the cornucopia on white card stock, then I used stitched rectangle dies to cut it and some pattern paper. This was made with Lawn Fawn stitched dies, but Art Impressions has since made their own double stitched dies, you can check them out here!
Next, I colored the image with my Spectrum Noir ColourBlend Pencils. I don't have the list of colors any more, but I used like almost every pencil! Or at least it seamed like it!! Lol!!
I stamped the sentiment Bountiful Blessings on a strip of card stock and then notched one end. Then I added the colored image to the light yellow pattern paper and then to some Kraft card stock and finally a card base. Last I added a couple wood dots.
Today I have a card featuring the new Autumn Window! It seams like once Halloween was over the world went straight to Christmas!! Figured I better share this card while it's still fall!!
I started by stamping the image and then using one of AI's Stitched Square dies to cut it out. I used a bigger square die to cut some pattern paper that looks like brown canvas.
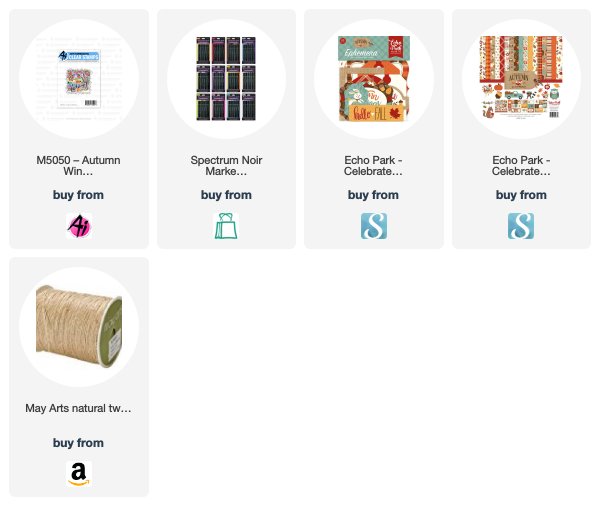
Next, I used my Spectrum Noir Markers to color the Window. I used BO2, BO3, BO4, CG1, CG3, DP4, DP6, IG2, IG4, LG1, LG3, OR2, OR3, PL1, PL3, RB1, RB3, RB4, YG1, YG2, YG3.
I adhered the colored square on top of the canvas pattern square. Then I added the apple pattern paper to a white cardbase. I used the Celebrate Autumn collection from Echo Park Paper Co.
From the Ephemera pack I added the Welcome Fall sentiment with foam tape. Below the sentiment I tied a double bow from twine and adhered it.
Send a hug to a faraway friend with our new Twist Ties! These clear stamp and die sets feature loving images that twist and tuck together, from Cats and Otters to Oldies and even beautiful Trees! Each set includes a sweet sentiment to spread the love! Be sure to see how these sets intertwine in our video from the Mixed Media Event! Keep an eye out for a new Quick Tips video tutorial next week! You can find these new sets at artimpressions.com today!
Let's take a look at our feature from Dana today!
Hello AI fans!! Dana, here with a little tutorial featuring the new Oldies Twist Ties!! The challenge is to use Washi Tape and I did a little paper piecing while I was at it!! :)
I started by stamping the two images, once on white cardstock and then a few more times on different pattern papers.
Then I used my Spectrum Noir Markers to color the hair, skin and shoes of each lady. I used: EB5, EB6, FS3, FS6, FS9, GB2, GB3, GB4, RB1, RB3, RB4, TN2, YG1, YG2, YG3.
Next, I fussy cut around the parts that I wanted to paper piece. Then I used a black pen to color the white edges of each pattern paper piece.
Then I just used liquid adhesive to adhere all the pieces down. The liquid adhesive allows me to move the different pieces around until they cover and fit properly. I use some clear blocks as a weight as the glue dries.
I would recommend getting the Twist Ties Card & Envelope pack, it really saves time with the card base already at the right size. Since the challenge is to use washi tape, I made my backgrounds with a couple different rolls.
I added the tape horizontal on the left flap and vertically on the right flap. After doing one side I trimmed off the extra, then moved to the other side. But I did actually keep the ends, I thought I might use them on the inside of the card.
Next, I did a quick stamp of each image on the washi tape, you can't see it in the photo because of the washi tape patterns. This allowed me to place the dies just right and hold them in place with more washi tape!! After die cutting each side, I used a damp towel to remove the ink, the washi tape is smooth and ink wouldn't really dry good on it, plus I would be covering it up anyway with my images.
I added super strong double sided tape and liquid adhesive to the backs of my images. You definitely want something strong so it will stick to the washi tape good. I added clear blocks on top as it dried.
For the inside of my card I added a light wood pattern paper and then stamped the sentiment, near the bottom. I die cut some music notes that come with the set and added them around the sentiment. Then with the left over washi pieces I added them along the top and bottom, trimming off the excess. I did not save those, lol!!
Last, all that is left is to hook the arm tab into the other lady. Since I have lots of layers, I used a sharp craft knife to cut through extra layers.
Are you still with me?? LOL!! I hope this inspires you to get out and use up some of that washi tape I know you have laying around!! Happy Stamping!
Thanks, Dana! Such a cute project!
Time to kick off our new challenge! We want to see what kind of creations you like to make with washi tape! Washi tape comes in so many colors, patterns, and sizes and has so many uses. So, what are you waiting for? Show us what you got!
Here are the Challenge Rules:
✻ Please make a new card or creation. You can make any crafty item you wish; this is not limited to cards!
✻ Limit two submissions per person. You will receive extra votes if you use Art Impressions stamps!
✻ The Ai Challenge is open to everyone, international submissions are welcome!
✻ Include a link back to the Ai Blog or grab our button on the top right of our sidebar!
✻ Share the Ai love by clicking and commenting your fellow crafters.
✻ Make sure to get your link up by Wednesday, November 21 at 5:00 p.m. PST to enter your creations.
Congrats! Your layered card featuring our Latte Love gals is bursting with color pattern, and dimension. Email annelise@artimpressions.com with your address to claim your prize pack!
Congrats, you two! Helen, we found your use of our Birthday Circlet really clever in this clean-and-simple yet fun birthday card! And Reetta, the way you stamped and cut Oscar multiple times and popped him up for a 3-D effect is really cool! (Visit her post to see what we mean.) Be sure to email annelise@artimpressions.com with your address and select a stamp set of your choice for a prize!
Thanks for joining our challenge, we hope to see you again soon for our Washi Tape Challenge!