Showing posts with label Halloween Cards. Show all posts

Friday, October 23, 2026

Not-So-Scary Halloween Tile Card! by Tasha

 Happy Friday Art Impressions friends!

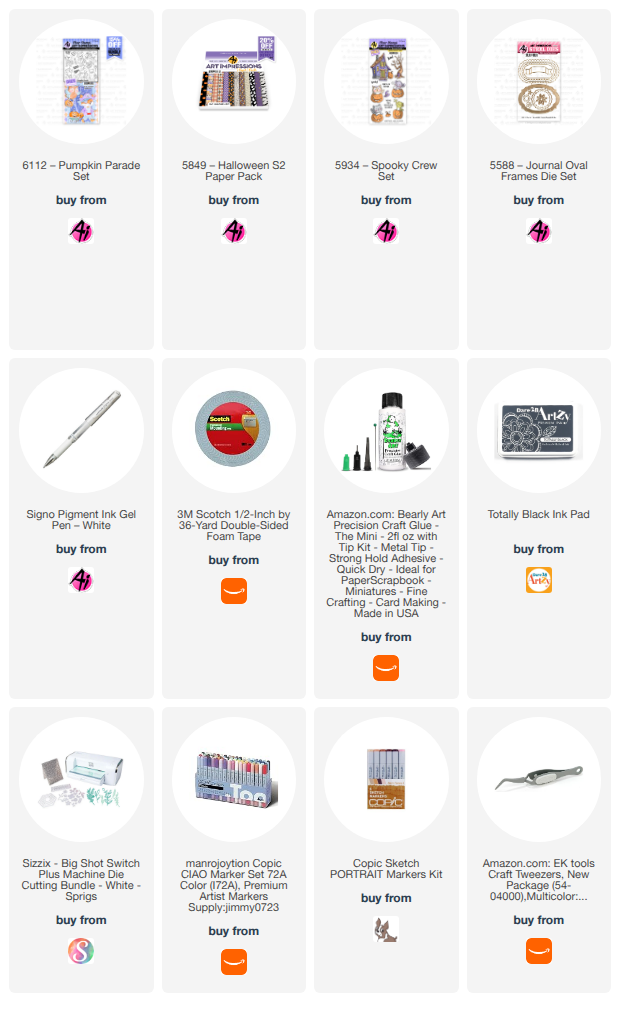
Tasha here sharing a not-so-scary Halloween tile card created with the 6158-Story Tile Template Die and new 6256-ST Happy Halloween Stamp Set. I love creating Halloween/Fall projects and this stamp set creates the cutest little Fall night scene!

I started by cutting the frame twice; once out of white cardstock and a second time out of the black pattern paper. I used the white cardstock for the tiles and to layer behind the black pattern paper to raise the center up. I think the little ghost and owl images are just so cute and love the happy pumpkins!

All the images were colored with Copic Markers and I used a white gel pen to draw in the stars. The light purple color in the background gives a nice Fall vibe to the design and I like the purple & white color combo.

For the greeting, I stamped the included sentiment, but used markers to add the purple color around the edges. I wanted to make sure the greeting tile also coordinated with the other tiles in the design. 

Lastly, I attached a layer of Art Impressions star pattern paper, gold and black card stock and a piece of gold glitter paper for sparkle. I love these colors!

I hope you enjoyed today's project and are having a wonderful day!


Friday, October 16, 2026

Happy Halloween Gnomie! Card by Tasha

 Happy Friday Art Impressions friends!

Tasha here sharing a Halloween card inspired by the current Ai Challenge. I LOVE creating Fall/Halloween projects and look forward every year to mixing my sets to create fun new creations. For this project I used the 5728-Mushroom Cubbies set to make a Halloween scene.

The images were stamped with black ink and colored with Copic markers. To add to the Fall feel, I added orange, purple, and black to the sky and ground and used added some little bats. Love the pop of orange in the clouds!

Lastly, I added a simple "Happy Halloween" greeting and layers of black and orange cardstock and web pattern paper. I hope you are inspired to join in the current challenge and create a fun Halloween project!


Sunday, October 11, 2026

Midnight Magic with Pumpkin Kisses and Halloween wishes


Hello, my Art Impressions friends!


Halloween is the perfect time to let our imagination fly, and today I’m excited to share a fun, interactive Halloween card featuring the **Art Impressions stamp set 5190**. This card is full of Halloween mischief, with a broom flying toward the moon, carrying some unexpected passengers!

 The dog and mouse enjoy their magical ride, while the scary cat hangs from the broom, making this spooky scene even more fun. Add a few ghosts and pumpkins, and we have a Halloween card full of personality!

## Step 1: Create the Watercolor Background


I started by creating a paper mask for the moon and adding masking fluid for the stars. Then, I painted the background using watercolor paint. I wanted to give the card a spooky Halloween atmosphere, with a colorful night sky that would complement the moon and the flying broom, so I added black and purple clouds using a wet-on-wet technique. Finally, I painted a bright yellow moon with orange and gray shadows. 

Once the watercolor background was completely dry, I removed the masking fluid and painted the stars with shimmer. I stamped pine trees on the background and dormant trees over the moon for extra spookiness. I printed a copy of the finished background to use behind the original panel. This little trick is important for an interactive card because I needed to cut a slit in the background for the slider mechanism. By placing the printed copy underneath, the design continues seamlessly behind the opening, keeping the background looking neat and continuous as the broom moves.


 ## Step 2: Stamp, Color, and Die Cut the Images

 Next, I stamped the Halloween images and colored them using Tombow markers. I used stamp set 5190 for the broom and its funny Halloween passengers, and stamp set 4927 for the ghosts. I also added pumpkins from sets 5456 and 5190 to complete the spooky scene.

 After coloring all the images, I die-cut them so they were ready to be arranged on the card.


## Step 3: Make the Broom Fly!

 Now for the most exciting part: making the broom actually fly!

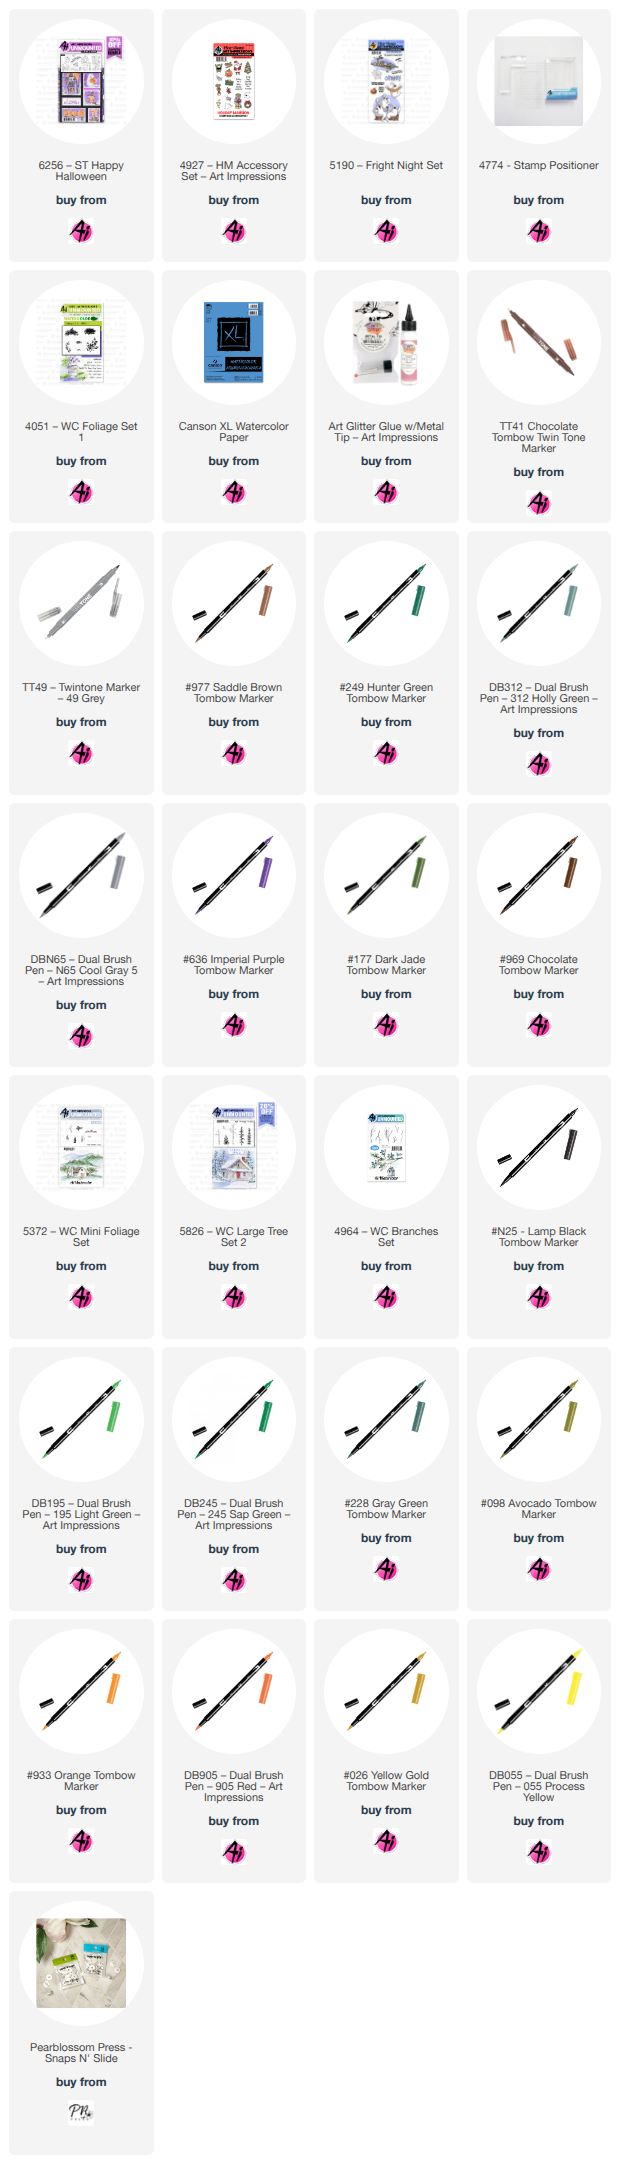
 To create the interactive movement, I used the **Snap 'N Slide Slider from Pear Blossom Press**. This mechanism allows the broom to move across the card, creating the illusion that the dog and mouse are flying toward the moon while the scared cat hangs on for dear life.


I carefully created the slit in the watercolor background (the original) for the slider to move through. Then, I inserted the back of the slider mechanism on the slide from the back of the front panel; the other piece snaps on top. I added foam tape around the back of the card to allow the piece to slide freely.  The extra printed background underneath helps conceal the opening and maintain the look of the watercolor scene. 


Finally, I mounted the card on an A2 (5.5 x 4.25 in) black mat, and I snapped the broom to the front piece of the slider so it could travel along its path. 


 Watching the broom move makes this card extra special! Here is a short video or find it on my YouTube channel "Crafts and Designs by Neema".


My second card: The Haunted Mansion


My second card is a spooky yet whimsical 5 x 7 card featuring the newly released stamp set 6259. For this card, I created a spooky night sky using Tombow markers in shades of deep blue and purple, gray clouds, and a big glowing full moon illuminating the scene. In front of the moon sits a haunted mansion guarded by four laughing pumpkins at the bottom of the hill. In the foreground, a cute little owl perches on a wonky tree, keeping an eye on everything happening around. The glittery border adds up to the fun!
 
I really enjoyed making these cards; they're very fun and perfect for sending pumpkin kisses and Halloween wishes to friends and family.

What do you think? Would you dare to take a ride on the magic broom or visit the haunted mansion? Let me know in the comments.

Wishing you a Watercolor Sunday filled with spooky fun and a lot of crafting.

Neema


Friday, October 9, 2026

Time to Trick or Treat! Card by Tasha

 Happy Friday Art Impressions friends!

Tasha here sharing a Halloween card created with the fun 5778-FB Frog Costume Set!

Now that we are in the month of October, I am having so much fun playing with my Fall and Halloween stamp sets! This little trick-or-treater is just too cute in his froggy costume with his pumpkin bucket, totally ready to collect some candy!

I started by stamping the image with black ink and coloring it with my Copic markers. I also created a fun background with purple ink blended clouds. I love how the different shades of purple turned out and thought they added a fun Halloween feel to the card.

To finish the design, I added some black spiderweb patterned paper and layered everything with green and pink cardstock. I just love these colors together! Lastly, I attached an embossed "Trick or Treat" greeting to complete my card.

I hope this little froggy brings a smile to your face and inspires you to pull out your Halloween stamps!


Friday, September 18, 2026

Happy Little Vampire Halloween Card

Hi Art Impressions friends!

Tasha here sharing a Halloween card inspired by the current Art Impressions Challenge! For my card, I used the little vampire from the 5506-Peek-a-Boo Stamp Set. I love this happy little vampire and his cute batty friend!

I started my card with a purple alcohol ink background. To go along with the current Ai Challenge, I added several silver glitter spiderwebs around the center of the card. I love all the different styles of webs and how the glitter adds a little sparkle!

To complete the card, I added layers of purple and white cardstock along with purple glitter paper to coordinate with the colors used on the vampire. I also added a piece of spiderweb pattern paper to tie everything together.

I love how this Halloween card turned out, and I hope you are inspired to join in the current challenge and create something fun!

Have a wonderful day!


Friday, July 24, 2026

Boo To You! Halloween Card by Tasha

Happy Friday Art Impressions friends!

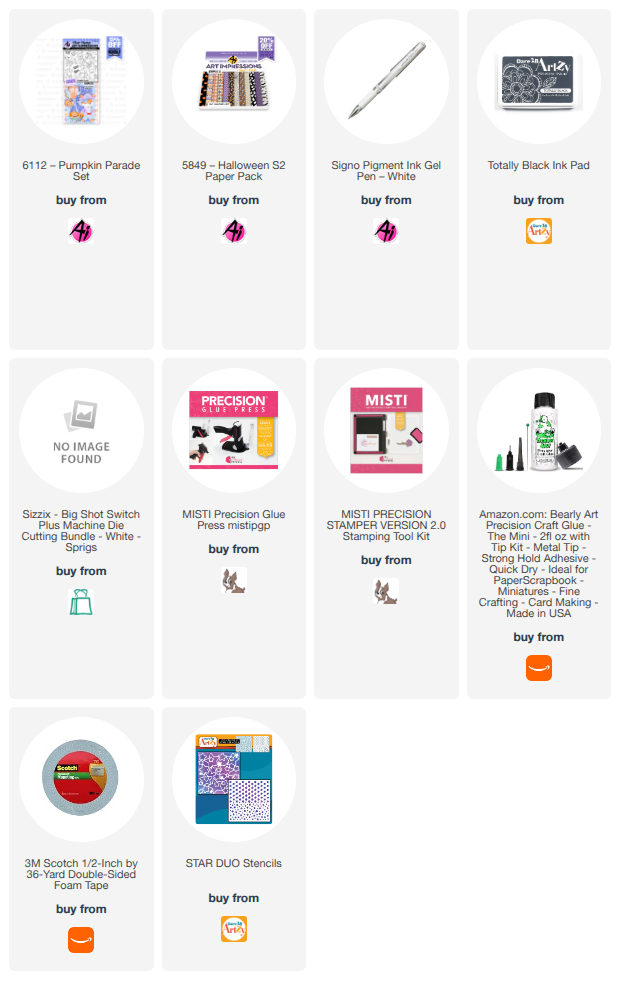
Tasha here sharing a Halloween card inspired by the current Summerween Challenge! For my project I used the cute trick-or-treating bunny from the 6112-Pumpkin Parade Set to create a simple Halloween night scene.

The bunny was stamped with black ink and colored with Copic Markers. I used the coordinating die to cut her out and layered her on to the card with foam tape to give some dimension. Instead of coloring the background, I used a star stencil to add tons of glittery stars on to a dark blue sky. The stars a super sparkly in person and have a green almost glow-like look; I love all the stars!

To complete the card, I added Gold glitter paper for more sparkle, orange, purple and white card stock, and attached a ghost pattern paper layer to coordinate with the Halloween theme. I also added a fun "Boo To You" sentiment. I thought the greeting went perfectly with the ghost pattern paper.

I hope you enjoyed today's project and will join in the Summerween challenge!


Friday, July 17, 2026

Trick or Treat Card by Tasha

 Happy Friday, Art Impressions friends! 

Tasha here sharing a Halloween card inspired by the current Art Impression Challenge. I love creating Fall and not-so-scary Halloween projects, and this challenge is the perfect excuse to pull out your cute Halloween/Fall stamp sets and make something fun!

For my card, I used the 6112-Pumpkin Parade Set to create this sweet trick-or-treating scene. The little pirate fox is adorable and I LOVE the ghost car! I also added the happy owl to bring even more Halloween fun to the design.


To create the background, I used pattern paper from the 5849-Halloween S2 Paper Pack. I love this print with all the Halloween words. It adds lots of color and interest without taking away from the stamped characters.

To finish the card, I layered black, orange, and gold colored cardstock. The circle topper with the "Trick or Treat!" greeting adds a fun focal point and adhered a little black enamel heart to give the card extra dimension. 

I hope this card inspires you to join the Art Impressions Summerween Challenge. It is a great time to dust off your favorite Halloween stamps and create something cute for the upcoming Fall season.

Thanks so much for stopping by today and I hope you have a wonderful weekend!


Friday, December 19, 2025

Tasha's Top 10 of 2025!

 Hi Art Impressions friends! 

Tasha here sharing my Top 10 cards of 2025. I cannot believe how fast this year went by, and I loved taking some time to look back at all the cards I created throughout the year. 

From playful scenes to bold color palettes, this list includes a little bit of everything that made creating in 2025 so enjoyable. I hope you find inspiration as you follow along with my favorites, and I cannot wait to hear which ones stand out to you too.

Let’s take a walk down memory lane together and celebrate a year filled with creativity, color, and some of the cutest stamped images!


#10 – Masculine Birthday Card

I love the patterned paper on this card and this guy’s bright orange hunting hat. It adds such a fun pop of color and gives the whole design a playful outdoorsy feel. This one still makes me smile every time I look at it.

#9 – Swinging Through Retirement Card

I loved coloring this lady’s golf outfit, and using the Ai patterned paper made it so easy to create a fun golf themed scene. The colors came together perfectly and the whole card feels cheerful and full of energy, just right for celebrating retirement.

#8 – Booo! Happy Halloween Card

This Halloween card was so much fun to make and I love the little kitty image. I really enjoyed mixing images from different stamp sets to build this scene, and the candy corn patterned paper is still one of my favorite Halloween prints. It adds the perfect touch of sweetness to a spooky card.

#7 – Festive Neighborhood Scene

I enjoyed layering all the pieces in this design and creating the little neighborhood scene. My favorite part was adding the tiny holiday lights to the houses because they made everything feel so festive and warm. I also love this patterned paper design and how it ties the whole card together.

#6 – Boo Crew! Card

This card was inspired by Fall colors, and the orange and golden shades really bring the season to life. I had so much fun coloring the trick or treating owl and kitty, and I love how all the paper layers come together in this design.


#5 – Loungin' Is A Lifestyle Card

This design was inspired by what I want to look like when I retire. A glass of lemonade, my favorite drink, a pink and orange swimsuit with a matching hat, and loungin' by the pool in Florida sounds perfect to me. The Ai patterned paper background helped bring this relaxing poolside scene to life.

#4 – Warmest Wishes Card

My favorite part of this card was coloring his winter accessories. I enjoyed creating a knitted pattern on his hat, gloves, and scarf. I also love the colors used throughout the design, which make the whole card feel cozy and cheerful.

#3 – Tiny Deer Holiday Card

This card was the last one I created this year and it made it into my Top 3. I love this little deer image, and the falling snow patterned paper adds the perfect touch to a traditional holiday scene. I truly love everything about this design.

#2 – Happy Halloween!

I had a lot of fun creating this Halloween card. I love how the background turned out with the spiders and webs. I also really enjoyed coloring the bunny's costume, and the white stars with a pop of purple look amazing against the black background.

#1 – 4th of July Front Porch Card

My number one card is a 4th of July front porch design. I love the little doggie sleeping on the chair, all the patriotic colors, the flag patterned paper, and the pop of silver glitter paper. This card was so much fun to make and it feels so festive and cheerful.


Looking back at all these cards from 2025 has been so much fun. Each one holds a special memory and reminds me why I love creating so much. I hope my Top 10 cards inspire you to try something new, mix and match your favorite supplies, and most importantly, enjoy every moment of the creative process. Thank you for following along with me this year, and I cannot wait to see what 2026 brings!