Showing posts with label 6112 Pumpkin Parade Set. Show all posts

Friday, July 24, 2026

Boo To You! Halloween Card by Tasha

Happy Friday Art Impressions friends!

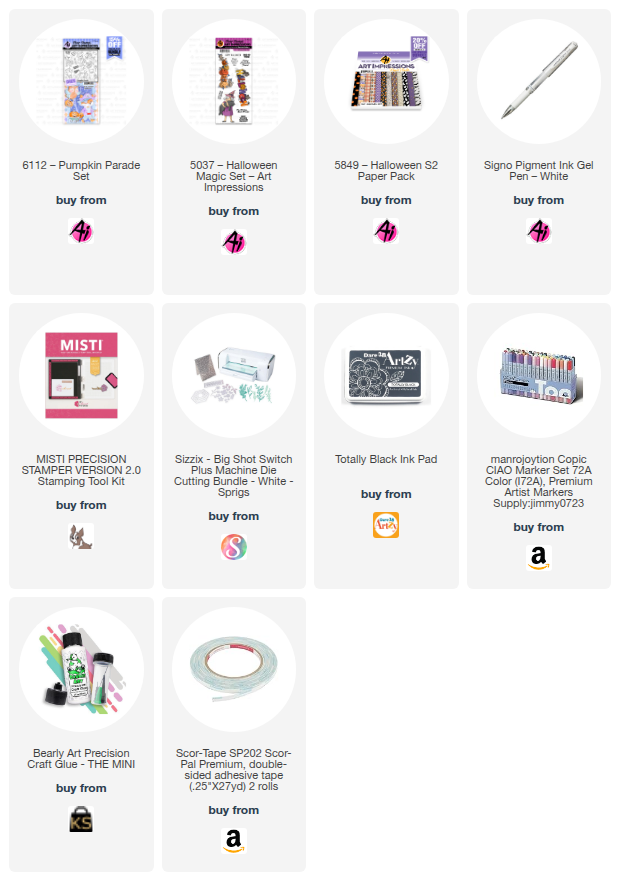
Tasha here sharing a Halloween card inspired by the current Summerween Challenge! For my project I used the cute trick-or-treating bunny from the 6112-Pumpkin Parade Set to create a simple Halloween night scene.

The bunny was stamped with black ink and colored with Copic Markers. I used the coordinating die to cut her out and layered her on to the card with foam tape to give some dimension. Instead of coloring the background, I used a star stencil to add tons of glittery stars on to a dark blue sky. The stars a super sparkly in person and have a green almost glow-like look; I love all the stars!

To complete the card, I added Gold glitter paper for more sparkle, orange, purple and white card stock, and attached a ghost pattern paper layer to coordinate with the Halloween theme. I also added a fun "Boo To You" sentiment. I thought the greeting went perfectly with the ghost pattern paper.

I hope you enjoyed today's project and will join in the Summerween challenge!


Friday, July 17, 2026

Trick or Treat Card by Tasha

 Happy Friday, Art Impressions friends! 

Tasha here sharing a Halloween card inspired by the current Art Impression Challenge. I love creating Fall and not-so-scary Halloween projects, and this challenge is the perfect excuse to pull out your cute Halloween/Fall stamp sets and make something fun!

For my card, I used the 6112-Pumpkin Parade Set to create this sweet trick-or-treating scene. The little pirate fox is adorable and I LOVE the ghost car! I also added the happy owl to bring even more Halloween fun to the design.


To create the background, I used pattern paper from the 5849-Halloween S2 Paper Pack. I love this print with all the Halloween words. It adds lots of color and interest without taking away from the stamped characters.

To finish the card, I layered black, orange, and gold colored cardstock. The circle topper with the "Trick or Treat!" greeting adds a fun focal point and adhered a little black enamel heart to give the card extra dimension. 

I hope this card inspires you to join the Art Impressions Summerween Challenge. It is a great time to dust off your favorite Halloween stamps and create something cute for the upcoming Fall season.

Thanks so much for stopping by today and I hope you have a wonderful weekend!


Saturday, March 21, 2026

Over the Garden Wall by Gennette Houghton


Hello, and Welcome to Watercolor Weekend! Spring fever hit me early this year, we have had one of the coldest winters ever. Unfortunately for us, winter tends to hang its claws in. So I am dreaming of warm days and no more snow!  

For my first card I used the 5817 Potting Garden Shed, I stamped it on my watercolor paper in Distress Ink, Pumice Stone, after stamping off once. 5063 Rectangle A2 Double Stitch Dies, using the 3rd largest to trace out a frame around the Potting Shed for a guide. After dealing with the back and forth of snow and what becomes a mud fest, I wanted strong colors.  So starting with the roof I mixed N15 in with 856, which makes the red more of a burgundy color. I also used this on the door.  For the main part I added some washes of 947 and 565 for the shadows.  For the glass on the door I used 526 and shaded the top and one side with 565.  I then put in the sky with 526 and a wash on the ground of 177, darkening this color around the pot, shed, and watering can.  528 for the birds, along with adding 025 and 026 for the beaks, and a black micron for the eyes and legs.  I started with the bottom left pot and used post-it tape to mask the side guideline and the pot. 4051 Foliage Set 1 with the large foliage, turned so I was using one of the short ends in 126 and filled in the area I wanted covered.  I then colored just a small portion of this stamp and added 177 in different areas. Using a damp brush, I softened these 2 colors together.  856 mixed with 969 for the pot creating a darker terracotta pot, leaving a highlight in the center and darkening the sides.  For the hanging basket, I shaded the sides with 565, I also left the mask on the side just in case.  I then used 4052 Flower Set 1, the daisy bunch, in 905, coloring only a couple of the flowers in 885 and adding that in areas to create more of a definition, also softening this with a damp brush.  For the watering can, I used a mix of 565 and 969, and then added a touch of 249. 947 is great for creating rust, I just continue adding layers until I am happy with it.  For the pot on the right, I shaded this as well with 565, and added stripes in 528.  The daisy bunch was also used for this one, but with 025, a couple in 026, and some in 993. Before adding the foliage I softened this with a damp brush and then used 5126 Foliage Set 4, small vines, in 177 to add in some greenery, lightly touching these with a damp brush.  The leafy branch from the same set, up in both corners after taping them off, with 126 and a line drawn through with 177, which gives a two-toned look on the leaves. I touched each of the leaves with a damp brush.  I then added some grass at the base of the image after taping off by the guide lines, with the grass from 5826 Large Tree Set 2.  This is, by far, my favorite grass stamp, and I like to use 177 with just a touch of 969 in 2 spots at the base of the stamp.  Once softened with a damp brush, to me anyway, gives a more natural look to the grass.  Using the dots from 5418 Bible Foliage Set 2, I added some dots in 177 throughout the scene. Bleed Proof White was added in with each of the florals. I matted my card base with paper from 5873 Mini Birthday Paper Pack and cut out my image with the same die I used for my guidelines. I matted the image with a solid green cardstock and mounted it onto the card base. 

For my 2nd card I used 6112 Pumpkin Parade. I always look at sets to see if something can be used in a different way, and the bunny in this set with her witches costume gave me the Lord of the Rings vibe. I was talking with my son about it and he said it reminded him of Over the Garden Wall, a 2014 animated Mini TV Series, so I ran with it. So, I turned the little rabbit and owl into little adventurers traveling down a forest path. I found the perfect paper in the 6072 Father’s Day Paper Pack, and the dies I used are from my stash. When I inked the stamps, I just left off the lantern faces on both of them.  For the Rabbit I used N57, N49, N79, 772, 856. The hat, cape, and shirt I used 027, 249, 947 and the basket 969, 947. The Owl I used 947, 879. 879 was a little duller than I wanted so I glazed over this with Marvy 108 Black Cherry.  For the beak and talons I used, 025, 026.  I then used the flowers, mushrooms, bee, and butterfly from 5935 Fairytale Houses Set.  For the flower heads I used, 526, 676, 725, and 565. The centers, 055, 025, 026. The leaves and stems, 126, 177.  The mushrooms, 992, 969, 856, 837, and Bleed Proof White was used.  The bee 055, 026, N15, 526, 565. The butterfly, 025, 985, 856, 679, N15.  I cut a slit in both of the baskets for the flowers, and the Rabbit, bee, and butterfly are popped up with foam tape.

Thank you for joining me today, until next time! Create….Share….Inspire!


Friday, October 31, 2025

Happy Halloween! Card by Tasha

Happy Halloween Art Impressions Friends!

Tasha here sharing a fun Trick or Treat card featuring the new 6112–Pumpkin Parade Set.

This card is perfect for Halloween, but it also fits the current Ai “Along Came a Spider” Challenge. I added sparkly web layers to create a glowing night scene; so fun for this time of year!

For my card, I used the adorable little fox and his tiny wagon (how cute is that?!). I love the look of nighttime trick-or-treating with all the festive lights and decorations shining while everyone walks around. Our neighborhood’s event is tonight, and I can’t wait to see all the costumes!

To finish the design, I layered Art Impressions pattern papers and attached an embossed greeting. The mix of black, white, and pops of night green really makes the sparkle on the grass and tree stand out.

I hope you enjoyed today’s card and have a wonderfully spooky Halloween! 🎃🕸️


Sunday, October 26, 2025

Vintage Fall Truck and Halloween Slider Card by Jami Steiger


Friends of watercolor, good morning!  I've been busy creating.  I adore the fall season.  It's time to enjoy the fall leaves and all things pumpkin!  

I have some fun cards this month. The first card is a fall card.  I love old vintage trucks, and I couldn't resist painting a soft, vintage fall scene using the 5416 - WC Fall Vintage Truck.


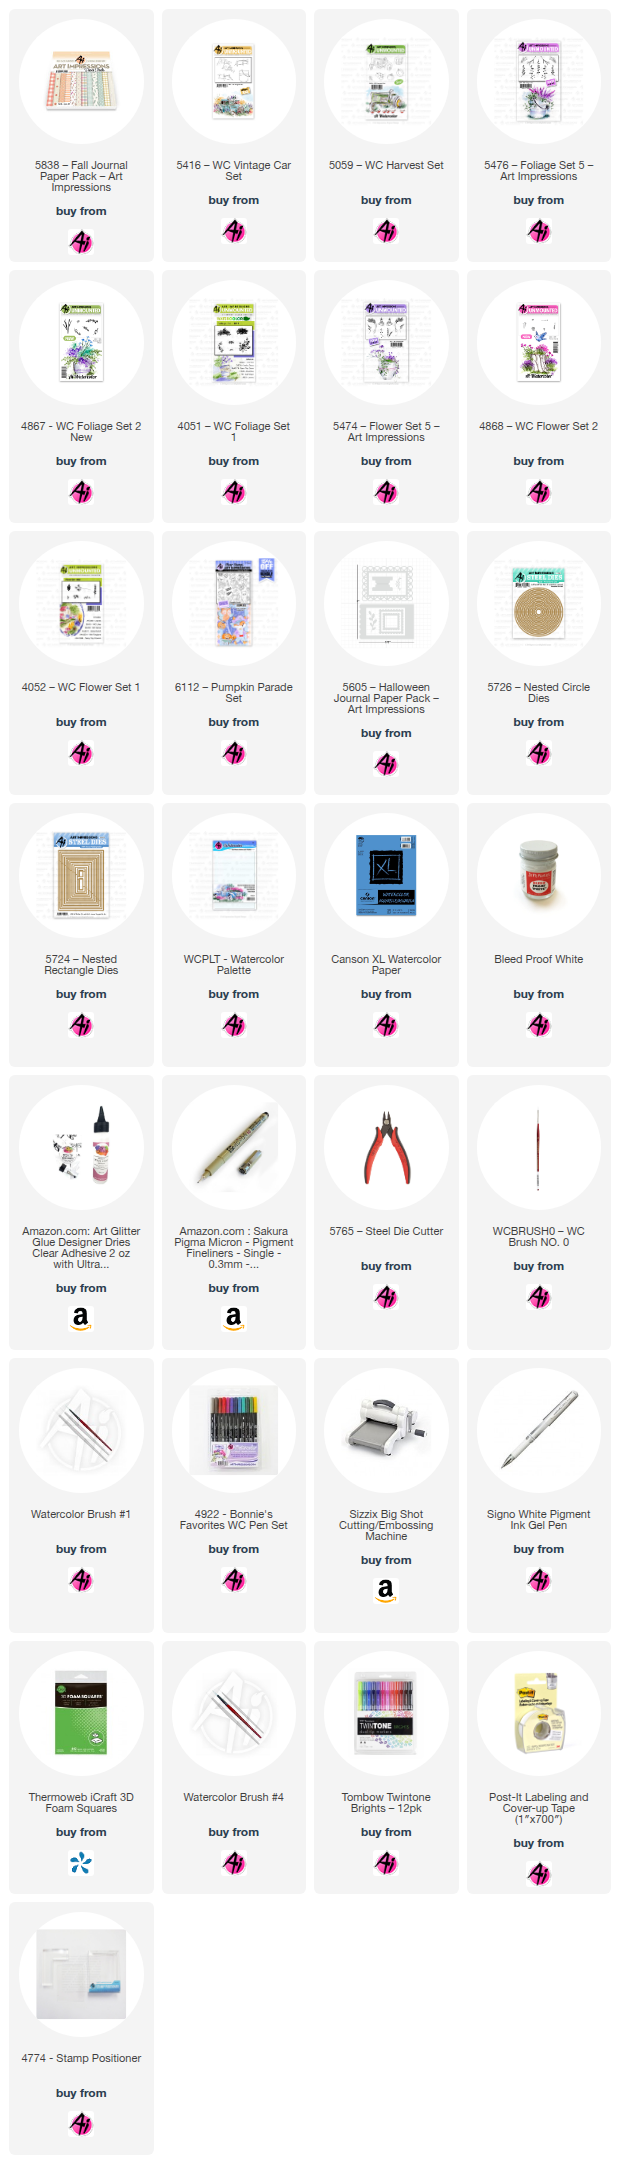
This is a simple card. I started by using Post-it Labeling & Cover-up Tape to create a 3x3-inch centered square. I began the layout by stamping the pumpkins, then used a stamp positioner to stamp the fence. I made a mask with a Post-it for the fence and then stamped the car. Now, the fun part begins. I stamped the flowers and foliage, then painted the sky. After removing the tape, I die-cut the images using the 5592 - Harvest Journal Die Set and adhered them to the card. For the final touch, I added a sentiment that pops up for added dimension.
  

Tombow markers used: 912, 177, 312, 623, 603, 565, N75, N55, 026, 933, 977, 817, 526, 401, and 947


_____________________


My next project is a Halloween slider card. This was my first attempt at creating a slider card, and I had to look online for instructions on how to make a card without special dies. I Googled how to make a diy slider card without special dies tutorial and many are available to watch.  With Art Impressions Nested Dies, the creative possibilities are boundless!

I started by stamping and painting my images on three separate pieces of watercolor paper from 6112 - Pumpkin Parade stamp set. One for the front of the card, another for the inside of the slider, and a third for the pull tab. After die-cutting the owl and candy, I adhered these pieces to a 2 1/2" circle using the 5726 Nested Circle Dies. Before attaching the owl to the circle, I embossed it with a small dot embossing folder. The rectangle used for the cut-out on the front panel measures 2 3/4" x 3 3/4".

The spiderweb paper for the front panel is from the 5605 - Halloween Journal paper pack

Tombow Markers used: 969, N65, N35, 933, 945, 636, 025, 977, 969, and 723.


Friday, October 24, 2025

Spiderwebs and Sparkle! Card by Tasha

 Happy Friday everyone! 

Tasha here sharing a new Halloween card inspired by the current Art Impressions “Along Came a Spider” Challenge. For my card, I used the 6112-Pumpkin Parade Set to create a fun Halloween scene. I stamped the little bunny witch character and colored her with Copic Markers.

For the background, I designed a cozy little room with a few not-so-scary spiders hanging around. I’m not a fan of spiders, but I do love their webs; so I added a few spiderwebs in the background! 

To finish, I stamped Happy Halloween and layered it with foam tape, then attached pink glitter paper along with pink, white, and black cardstock to complete the design.


A little spooky, a little sweet; just how I like my Halloween cards!


Sunday, October 19, 2025

Pumpkin Parade Matchbook Fun Fold Card and Treat Box by Diane Mason

Hello, and welcome back for Watercolor Weekend! 

Spooky season is here, and Halloween crafting is in full swing with a delightful duo of watercolor projects featuring Art Impressions Sets 6112 – Pumpkin Parade, 6111 – Spooktacular Set, 5604 – Halloween Journal Die Set, and 5805 – Mini Journal Box Dies. This matchbook fun fold card and coordinating treat box are sure to bring a smile to the recipient!

A handmade card and a box

AI-generated content may be incorrect.

Pirate Fox Matchbook Fun Fold Card:

We all love the adorable little Art Impressions matchbook designs that Bonnie has created for us, but for this card, I decided to take things up a notch and create a larger matchbook-style card using the newly released 6112 – Pumpkin Parade Set. The trick-or-treating critters from this set are absolutely adorable!

A card with a fox and a pumpkin

AI-generated content may be incorrect.

Lately, I’ve noticed a lot of online designers making matchbook cards. So of course, I had to try making one too! My card was inspired by Patti Dolan’s (#pspapercrafts) YouTube tutorial. There were many other tutorials to choose from, but I liked hers the best. She even has a link at the end of her tutorial to download a project sheet that includes all the steps and measurements.

A card with a cartoon of a fox

AI-generated content may be incorrect.

This sweet little pirate fox was so much fun to paint. It wouldn’t be Halloween without a splash of orange, purple, and black! I stamped the fox image onto Canson XL watercolor paper inked with Ranger Pebble Beach Archival Ink.

Here is a list of colors I used for this card:

Fox:

  • 947 (head, ears, hands, feet, and tail)
  • 990 (white fur on face)
  • 856 and 837 (bandana and sash)
  • N25 (pirate hat, eye patch, pants, and shirt stripes)
  • 565 (jacket)

Pumpkin Wagon:

  • 993, 933, and 925 (pumpkin), 177 (stem)
  • 977 and 969 (cart and wheels)
  • N25 (handle)

Background and Foreground:

  • 565 (background), shimmery gold and white dots (Gansai Tambi Starry Colors)
  • 565/969 mix, and 565 (foreground)

Once I had my little pirate fox done, I painted the background in a watery mix of 565. When dry, I added starry-like dots with shimmery gold and white paint from the Gansai Tambi Starry Colors palette. For the foreground I mixed 565 and 969 and brushed under the cart and fox. I added a little more 565 to darken the shadow of the cart and fox. For texture, I added a few tiny dots of the 565/969 mix. I painted the teeth white using our friend, Dr. Ph. Martin’s Bleed Proof White. To refine some of the details, I used a brown or black TwinTone marker.

A stapler and a picture of a cat

AI-generated content may be incorrect.

To construct the card, I followed the instructions from the tutorial. The spiderweb background paper is from 5849 – Halloween S2 Paper Pack. I die-cut and matted the image using nested arches dies and mounted it to the card front with foam tape. I used a tiny attacher stapler to staple the bottom flap of the matchbook (making sure the front flap didn’t get stapled). I faced the back of the staples to front, which then is covered with the patterned paper strip.

A card with a purple and white background

AI-generated content may be incorrect.

For the inside of the card, I stamped the sentiment from 5934 – Spooky Crew Set in purple (636) onto white cardstock. The Trick or Treat and Happy Halloween embellishments were die-cut from orange and black cardstock using dies from 5604 – Halloween Journal Die Set. I inlayed the orange and black interior pieces for added interest.

This sweet little matchbook fun fold card is strikingly cute (sorry, I just couldn’t resist - lol!

Halloween Treat Box:

A mouse and pumpkins on a box

AI-generated content may be incorrect.

Who doesn’t love a little sweet Halloween treat? Treat boxes are made easy using the 5805 – Mini Journal Box Dies (of course, it also makes a nice box to store mini journals in too!) For the image on top of the treat box, I inked the trick-or-treating pumpkin mouse from (6112) in Ranger Pebble Beach Archival Ink and stamped on to watercolor paper. The “Trick or Treat” sentiment was inked with Versafine Onyx Black Ink.

Here is a list of colors I used for this treat box:

Mouse:

  • N57 (head, tail, hands and feet)
  • N57 and a touch of 856 (interior of ear, and cheeks)
  • 992 (pants)
  • 526 (shirt sleeve)
  • 993, 933, and 925 (pumpkin costume, hat, and pumpkin pail)
  • 173, 177 (collar and stem)

Pumpkin Treat Cart:

  • 993, 933, and 925 (pumpkin)
  • 947 (cart handle)
  • N25 (wheels), 177 (wheel caps)

Candy:

  • 025, 993, 933, 925, and 565 (candy corn)
  • 173, 177, 933, 925, 636, and 565 (wrapped candy twist)
  • 526,173, and 177 (blue and green gummy worm)
  • 856, 933 (red and orange gummy worm)

Shadow under mouse and treat cart:

  • 969/565 watery mix

To refine some of the details, I used a brown or black TwinTone marker.

A box with a picture of a mouse and pumpkins

AI-generated content may be incorrect.

I die-cut the box from dot embossed orange cardstock using 5604 – Halloween Journal Die and assembled the box. I cut the watercolor image to fit the top of the box and adhered with double sided tape. I also painted another candy corn and wrapped candy twist, die-cut and attached to the flap of the box. I added a hook and loop fastener (5967) to the flap to keep the lid closed.

A white paper with colorful drawings on it

AI-generated content may be incorrect.

For the box interior, I created my own patterned paper by randomly stamping the candy stamps (993, 933, 173, 526, and 636). The sentiments from (6112 and 5934) were inked with 636. I cut the patterned paper into two pieces to line the interior lid and bottom of the box.

A candy in a box

AI-generated content may be incorrect.    A candy in a box

AI-generated content may be incorrect.

BOO! There is a spooky-cute pop-up surprise inside, along with a treat! The delightful pop-up ghost is such a cute surprise feature. The ghost image and pop-up die is from (6111). The ghost is quick and simple to paint. I inked the ghost and flag with Versafine Onyx Black Ink and stamped onto Canson XL Mix Media Paper. I used this because it’s thinner and easier to fold the pop-up. 

I used 565 for the shading on the ghost and 856 for the cheeks. The flag was painted with 933, 925 and the stick with 947. I attached the flag with glue to the ghost’s hand and folded the ghost and applied adhesive to the head portion only. I lined up the fold with the crease of the lid. To allow the ghost to pop-up when the box is opened; I attached a mini glue dot to the underside of the bottom edge of the ghost, placed the candy in the box, folded up the ghost, and shut the lid. The glue dot attached to the candy, and when opened – the ghost pops up! How fun is that?

A box with a ghost cut out of it

AI-generated content may be incorrect.

When the candy is gone, a sweet sentiment remains for the recipient!

A box with a cartoon character on it

AI-generated content may be incorrect.

That’s all for now—thanks so much for stopping by for Watercolor Weekend! I hope you enjoyed today’s Halloween projects. I can’t wait to see what you make!

Until next time, Happy Halloween and Happy Painting!