
Showing posts with label Holiday Wishes Set. Show all posts

Friday, December 7, 2018

Holiday Wishes by Cheri Burry!

Hello Ai Fans!
Today I'm using an older Art Impressions stamp set called "Holiday Wishes". I was looking through my stash of Ai stamps and when I saw this one, I knew I needed to use this set again!
I made 2 different versions using papers from the same Echo Park Merry & Bright 6x6 collection.
I added Stickles to the hats and the fur trim on Santa. Gold Wink of Stella is added to Santa's buckle and on Rudolph who has a Red Stickle nose. 
My Gold Wink of Stella pen left a drop on my image so to cover it up I added snowflakes using Liquid Appliqué. Whew my image was saved LOL. Once the liquid dries you heat it with your heat gun and the liquid puffs up.
Here's a close up of the snowflakes so you can see the dimension they add.
I decorated the inside of my card and used the sentiment that comes in the set.
Copics Used:
Santa: E000, E02, R20, C1, C2, C3, R35, R37, R39, N6, N8
Deer: E33, E35, E37, E39, W3, YG63, YG67
Bird: R21, R22, R24
Tree: Y35, Y38, YG63, YG67
Ground: W0, W1, W2, W3
Sky: B0000, B000, B00

Happy Stamping!

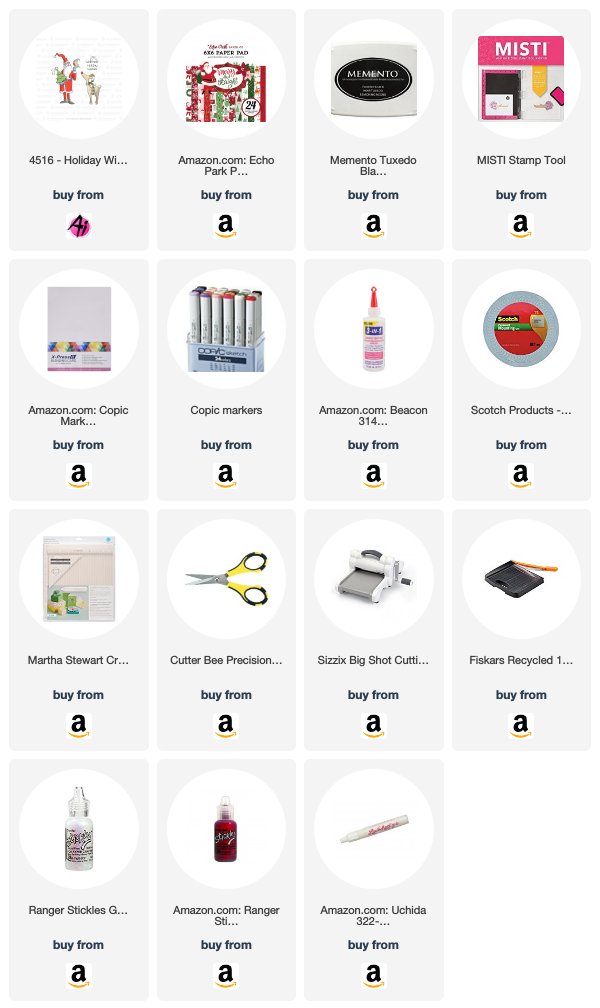
Supplies:
Wednesday, August 19, 2015

Be Merry by Dana Warren

Hello AI fans!!!

Dana here sharing a Christmas card! I know its probably a bit early, but well i think its never to early to start!! 


I started with the super cute Santa from Holiday Wishes  and stamped him on a banner i had die cut from white card stock. Then i colored him, the tree and the cute little bird with Spectrum Noir Markers. 


Next i wrapped some white & silver twine around the top of the banner and tied it in a bow. Then i found some pattern paper to go with my image. In the same paper pad i found a sheet of different Christmas journal cards and sentiment cards. I decided on some blue plaid glitter paper for the background and a Be Merry sentiment card.


I added the pattern paper to a white card base. Then i adhered the sentiment card to the back of the banner, then added all to the card with foam tape!

Even though it's early, i hope this inspires you to start using your Art Impression Christmas stamps!!


Thursday, July 16, 2015

Challenge 164: In with the New!

Hello Ai Fans!

Diane Zechman using Bigger Cake

Are you ready for a new challenge? Before we kick off the newest challenge, let's first recognize the winners of the last challenge "Create with Christmas!"

Our Top Spot is awarded to...
Doni High


Congratulations, Doni! We love how you transformed Reindeer Games by cutting out the bells and antlers. It's perfect paired with our Goofy Things sentiment for a quirky birthday card! Contact annelise@artimpressions.com with your address to claim your prize pack!

Our Honorable Mentions go to ...


Congratulations, you two! Brenda, the bright colors and a "new" sweater on our Ugly Sweater Set gal update her sweater for any season! And we think Santa from our Holiday Wishes Set makes a great birthday boy! Be sure to contact annelise@artimpressions.com with your address and a set of your choice as a prize!

And now for our NEWEST challenge!
You know that stamp you bought recently for that one project you haven't made yet...? Well now's the perfect chance to use it! This challenge is about using your newest stamp in a creation! Need some inspiration? Check out what Diane is up to with her latest demo!

Hello Ai friends!
This week's challenge is "In With The New" (use your newest stamp) and I am sharing a project I made with one of the NEW Ai stamps in your local AC Moore store called Bigger Cake (PS0920). This lady's smile is infectious...and don't you love that cake??


Instead of a card I made a little Snack Size Hershey's Pouch.  How fun would this be to give to a friend?  It's super easy to make...let's get started!
First, start with a 3 1/2 x 7 5/8 inch piece of cardstock.  Score the length @ 1/2, 3 3/4, and 4 inches.  Then cut or punch an opening (on the end with the first 1/2" score mark) to slip the candy in when finished.  (I kept my opening to the left but you can center it.)  See photo below.
 

Add patterned papers or emboss... however you want to decorate it.


Fold and adhere the 1/2" scored section at the top with strong tape.  Add your image and sentiment.  I colored her with Copics and fussy cut her out.  To finish, I added a tiny bow.

Slip in some chocolate, a pack of gum, or whatever fits!


Now it's your turn to make a card or project with your newest stamps and join us in the In With The New Challenge!
Happy stamping!


Pull out your newest stamp and challenge yourself create a new craft! 
We want to see what you can craft! Add a photo to our InLinkz below!

Here are the challenge rules …
✻ Please make a new card or creation. You can make any crafty item you wish; this is not limited to cards!
✻ Limit two submissions per person. You will receive extra votes if you use Art Impressions stamps!
✻ The Ai Challenge is open to everyone, international submissions are welcome!
✻ Include a link back to the Ai Blog or grab our button on the top right of our sidebar!
✻ Share the Ai love by clicking and commenting your fellow crafters.
✻ Make sure to get your link up by Wednesday, July 29 at 5:00 p.m. PST to enter your creations.
✻ Good luck and happy stamping!


Friday, December 26, 2014

Warmest Holiday Wishes


Happy Boxing Day everyone!!! Today I am sharing one of the last Christmas cards I made this year! I don't know about you, but I love using doilies and sequins on my cards!!! I stamped Santa from the Holiday Wishes Set in Memento Tuxedo Black ink and coloured him with Copics. 


This simple card was easy to make and I had fun colouring Santa!


Wednesday, November 26, 2014

Holiday Wishes by Sherry Eckblad

Hello Ai Fans!


This week we are doing a product swap with the design team over at Scrapbook Adhesives,

Each member of the Ai design team was given this great package of adhesives to use.


I loved using the products and for today's card I used the E-Z Squares and the Dodz.


(Copics Used: E00, R20, E23, E27, E29, E31, E35, E37, Y28, YR23, YR07,
R05, R14, R24, YG09, YG17, YG67, B04, BG02, BG15, N0, N1, W3, W5)

I attached the pattern paper to the card using the E-Z squares and attached the button using the Dodz!

Thanks for stopping by today and Happy Stamping!