Showing posts with label 6158-Story Tile Template Die. Show all posts

Sunday, April 19, 2026

Bear Adventures: From Story Tiles to Polaroid Scenes


Hello crafty friends, and welcome to Watercolor Weekend!

Today’s project was a fun one! I decided to use the Bear Set as inspiration for two cards. I started by placing the Story Tile Die onto Canson Watercolor Paper and tracing the squares as a guide for my layout.

Next, I used my stamp platform to stamp the bears with Distress Ink in Antique Linen. I began coloring the bears with Tombow 947, then used a black Pitt Artist Pen to fill in the eyes and nose for added definition.

Once the bears were finished, I moved on to building the scene. I used masking tape to cover the bears so I wouldn’t stamp over them, then stamped in the trees and grass. Using a damp brush, I pulled color out from the stamped lines on the trees to soften the look. To finish the ground, I added more green using Tombow 177 to create depth and a natural feel.

I then used Tombow 526 to add a soft sky. Next, I used a brown TwinTone marker to add additional details and definition to the bears. For the final touches, I used Dr. Ph. Martin’s Bleed Proof White to add small flowers throughout the grass.

Once the coloring was complete, I placed the panel back into my stamp positioner to stamp the sentiment. I selected patterned paper from the Father’s Day Paper Pack and used the Story Tile Die to cut the frame. I also cut a second frame from watercolor paper and adhered it behind the patterned paper frame for added dimension before attaching everything to an A2 card base.


Materials Used

Stamps & Dies

• 6064 Bear Set
• 6158 Story Tile Die
• 5010 Tree Set 1
• 5826 Large Tree Set 2 (“grass”)

Paper

• 6072 Father’s Day PP
• Canson Watercolor Paper

Inks & Mediums

• Versafine Clair Nocturne
• Distress Ink – Antique Linen
• Pitt Artist Pen – Black
• Dr. Ph. Martin’s Bleed Proof White
• TwinTone Marker – Brown

Tombow Markers

• 177 – Trees, Grass
• 947 – Bear
• 526 – Sky

For my second card, I continued with the bear theme using many of the same materials to show another option without using the Story Tile Die. I wanted to create the look of sequenced Polaroid-style snapshots, capturing a little “bear sighting” scene.

I started with Canson Watercolor Paper and used the rectangle die from the Mini Journal Template (5718), cutting it out three times. To create a consistent inner frame, I cut a piece of paper measuring 1 ¼” x 1 ¾” and used it as a template, placing it over each rectangle and lightly tracing a border.

Next, I placed all three pieces into my stamp platform. Using two bear stamps, I planned out the scene across the panels. I used masking tape to cover the bordered edges so I wouldn’t stamp over them. Once everything was stamped, I colored the bears, then added trees, grass, and flowers to complete the scene.

For an extra touch, I added small sentiments at the bottom of each “Polaroid” to enhance the storytelling feel of the card.


Materials Used

Stamps & Dies

• 6064 Bear Set
• 5797 Little Things Sentiment Set
• 5063 Double Stitched Rectangle Die
• 5718 Mini Journal Template
• 5010 Tree Set 1
• 5372 Mini Foliage
• 5826 Large Tree Set 2 (“grass”)
• 4868 Flower Set 2
• 5009 Mini Flower Set

Paper

• 6072 Father’s Day PP
• Canson Watercolor Paper

Inks & Mediums

• Versafine Clair Nocturne
• Distress Ink – Antique Linen
• Pitt Artist Pen – Black
• Dr. Ph. Martin’s Bleed Proof White
• TwinTone Marker – Brown

Tombow Markers

• 177 – Trees, Grass
• 947 – Bear
• 856, 555 – Flowers
• 526 – Sky


I hope these two cards inspire you to try different ways of creating scenes with your stamps, whether using dies or simple layouts. Most of all, have fun experimenting with your supplies!


Saturday, April 18, 2026

Vine Wreath and Dear Friend by Gennette Houghton


Hello, and Welcome to Watercolor Weekend. One of the hardest parts of the time between winter and spring is all of the muddy brown, weather permitting, which sometimes doesn’t happen here right away, I so look forward to things turning green again. I rejoice in seeing leaves and flowers, signs of things coming to life again.  Warmer days and sunshine usually mix with cold, gray, and snow in April.  So, my projects today are all about the things I am wishing for right now, green, that first spot of yellow, bees looking for their first food of the season.  Spring fever hit me hard this year.

My first card is a simple wreath, perfect for those times when you may need a quick card.  There are so many ways to change this up just by adding a secondary color.  Blues, yellows, or add in some browns and oranges for a fall vibe. Add red berries and you could make a Christmas wreath as well.  Just by changing the sentiment, this is great for any occasion.  

I started with 5064 Circle Double Stitched Dies and used the 2nd to largest, tracing the inside for a circle guide.  I then used a kneaded eraser to lighten the line so it was just barely there but still give me a guide.  4964 WC Branches Set, using the 2nd to smallest branch with 969, I started stamping around the circle.  Alternating the direction and stamping multiple times, shifting back and forth over the circle guide, giving more fullness. I then used the leafy branch from 5126 WC Foliage Set 4, inking in first 126 and then pulling a line through each section with 177.  I literally just drew a line up the stamp with the 177, nothing specific, just to add a two tone look to the leaves.  I did not ink the end of the stem, just the area with the leaves.  Then following the branches, also stamping several times, I then softened with a damp brush, pulling color out into the more blank areas around the wreath.  I then used a soft wash of 177 inside the wreath leaving the center alone.  Once dry, with 026 I added in some golden dots with 5418 Bible Foliage Set 2, (also known as Kendra dots), stamping multiple times around the wreath. I then used the Winsor and Newton Gold Ink, and the leafy branch, I painted a leaf on each side of the stamp at the widest part and stamped these in, re-inking the stamp each time going around the wreath. Using my stamp platform, I stamped in my sentiment from 5797 Little Things Sentiment Set in Distress Ink Forest Moss.  I cut down my watercolor paper to 4 ¼ by 5 ½ and matted it to my card base, creating a quick and easy card.   


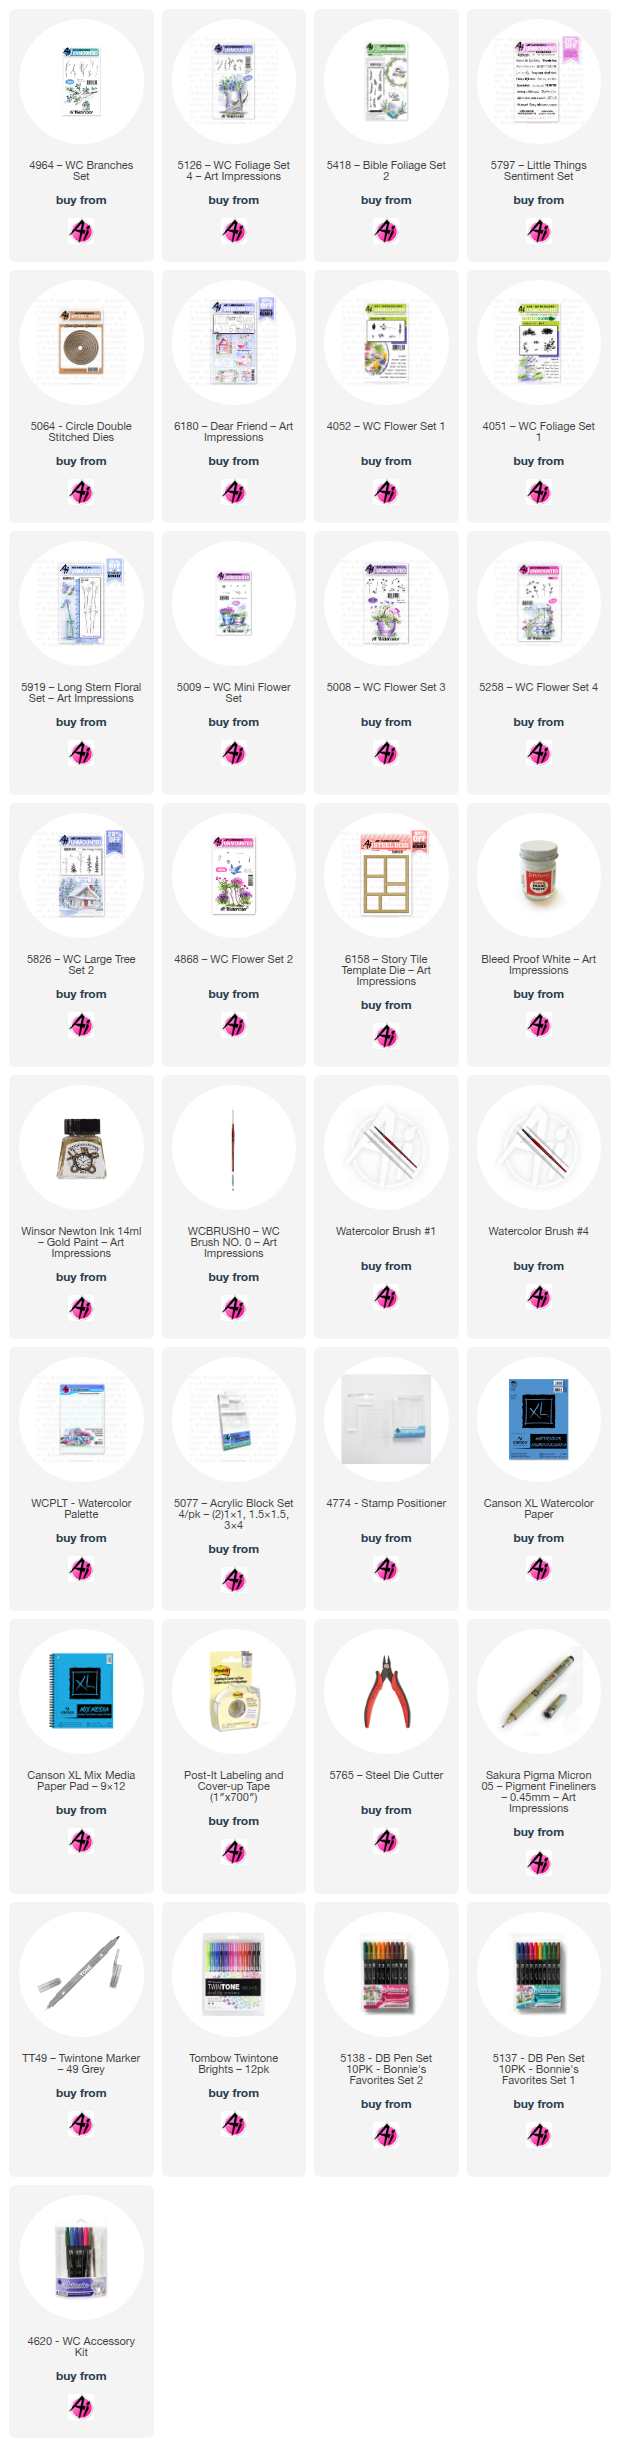
For my 2nd card, I used 6180 Dear Friend Set with the coordinating die 6158 Story Tile Template.  The die can be used with so many different stamps, but there are currently 4 sets that were created to use with it.  I have seen some pretty amazing creations used with this die, with the sets and without.  I started with using a cutout of the template that I use to trace the boxes on my watercolor paper after cutting it down to 4 ¼ by 5 ½.  Since the sets are created with the different size boxes in mind, it is pretty simple to layout.  After getting my boxes outlined, I stamped each image in Distress Ink Pumice Stone, stamping off once, and then stamping into each of the boxes.  For the sentiment, I used my stamping platform and Versafine Clair in Nocturne, just in case that I would need to stamp it again.  Once all of my images were stamped in, I started with the main images and then built them up with foliage and flowers, masking images as needed.  I actually used quite a few sets with this, here is what I used.

4052 WC Flower Set 1

4964 WC Branches Set

5126 WC Foliage Set 4

4051 WC Foliage Set 1

5919 Long Stem Floral

5009 WC Mini Flower Set

5008 WC Flower Set 3

5258 WC Flower Set 4

5826 WC Large Tree Set 2

4868 WC Flower Set 2


The Tombows I used are:

027, 192, 565, 947, 249, 603, 969, 526, 076, 879, 856, 403, 177, 126, 025, 026, and 606.


I hope you enjoyed my projects today and thank you for joining me.  Until next time, Create….Share….Inspire!


Saturday, April 4, 2026

Dreaming of Spring by Gennette Houghton


Hello, and Welcome, to Watercolor Weekend!  Technically, it is Spring, but the weather says otherwise. It’s coming, but the tug-of-war continues, we call these the yo-yo months, it is enough to drive one batty when you just want warmth and sun! (Yes, yes, I know…..I will be complaining of it being too warm soon enough!  LOL!) I can not tell you how happy it makes me to create colorful creations right now, I may enjoy a good snowman, but I do love when things start coming back to life! 

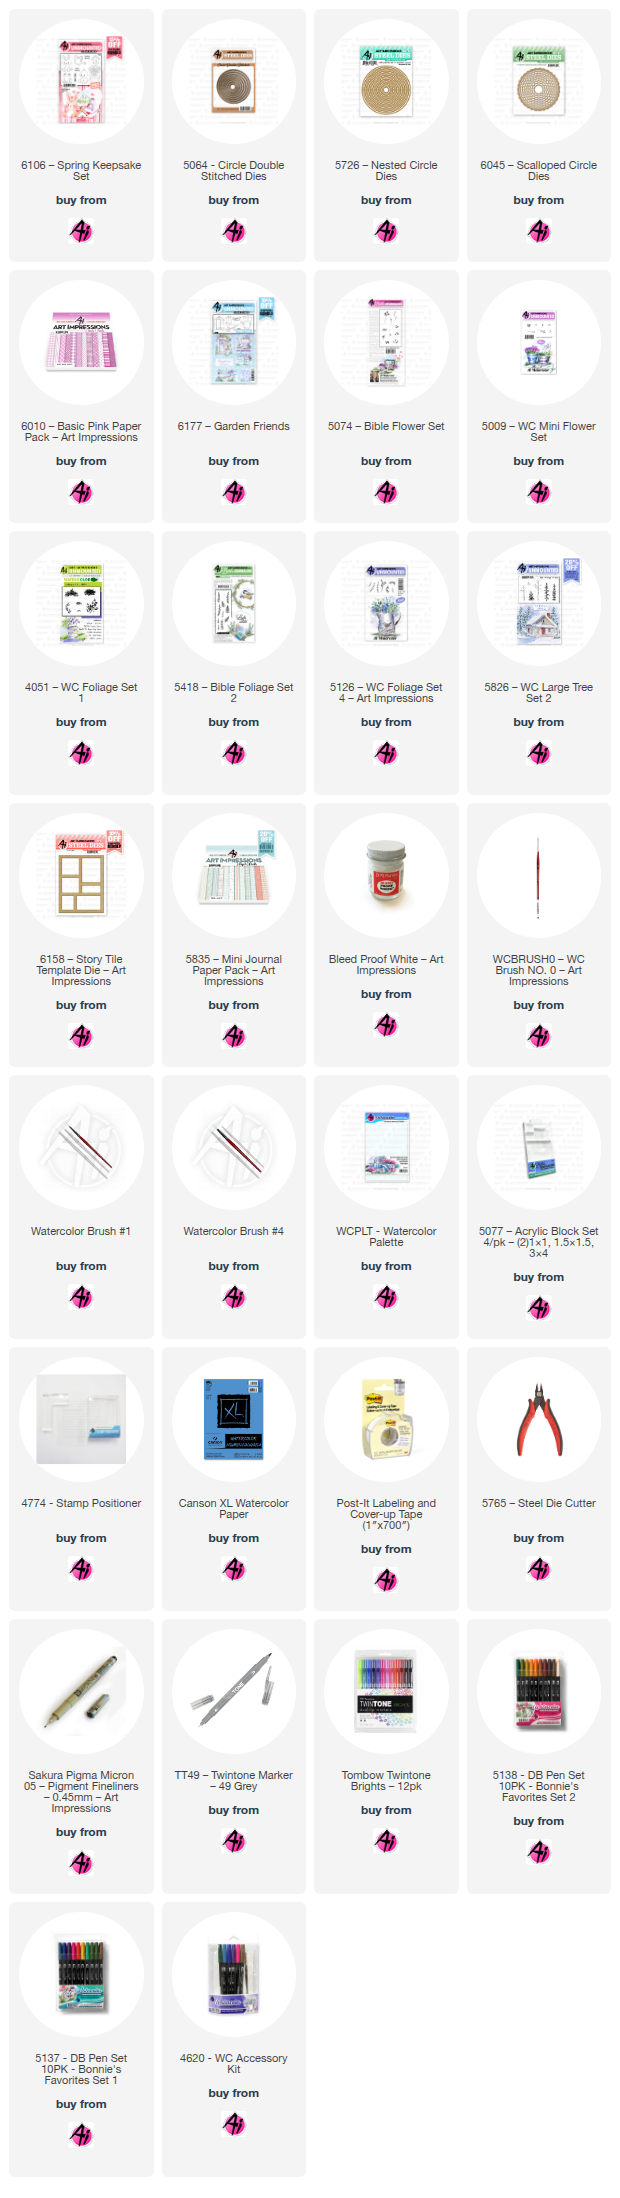
Daffodils are usually one of our first flowers to show up here, there is something about that pop of bright sunny yellow after months of gray days.  The irony of them getting covered in snow is not lost on me.  The 6106 Spring Keepsake Set was a big hit for the frog alone, he is cute isn’t he! I started out with a piece of watercolor paper and stamped in the frog with Distress Ink Pumice Stone after stamping off once.  I created a mask and covered him, and then using a stamp positioner I stamped in the pot like I did the frog.  I then masked the pot and stamped in the flowers.   Starting with the frog, I used 126 as the base color, adding in 177 especially around the edges and shadowed areas.  N15 for the pupils, with a touch of 565 along the edges of the white. This really helps the eyes to pop! For the tulips I used 725 and shaded with 676 for more dimension.  The daffodils I started with 025 and then used 026 for some depth, with 947 for shading.  I added a couple of dots of 969 right in the centers.  The stems and leaves I used 126 as the base and contoured with 177.  For some of the areas farther back I also used a bit of 249.  I added some 969 inside the pot, darkening the back edge for dimension.  For the pot itself I used 636, darkening the sides and leaving a highlight in the middle which helps make the pot look rounded.  I also added a stripe with the same color.  The sky I used 526, and put a light wash of 969 for the ground.  Using my favorite grass from 5826 WC Large Tree Set 2, I masked off the frog again to place the grass behind him and on the other side of the pot using 177 with two small spots of 969 towards the bottom and then used a damp brush to soften.  Bleed Proof White was used for the little flowers.  I added a bit more 969 for the shadows at the base of the pot and frog.  5064 Circle Double Stitched Die, 2nd from the largest, was used to cut the image out. I then matted this with silver cardstock using dies from my stash, and then backed this with a dark purple solid cardstock, cut out from the 2nd largest 6045 Scalloped Circle Dies.  I matted my card base with paper from the 6010 Basic Pink Paper Pack.  Before attaching my image, I stamped in the sentiment in the bottom corner with Versafine Clair in Nocturne.  I then added my image to finish off the card.  I still can’t get over how cute this frog is!!  Ah, Spring, I am waiting for you!


 For my 2nd card I used 6177 Garden Friends from the new Story Tile Series. There are currently 3 other sets in this line, and boy are they good ones! I made a card using the 6179 Cottage Charm, and kept that one pretty simple, you haven’t seen this one yet, but it is coming. I did, however, learn a valuable lesson making that card. Not thinking, I traced my openings using the die on my watercolor paper with the cut side up. I figured out pretty fast my mistake when I cut out the template. (Opps!) This time I made a template for tracing with heavy cardstock that I now keep with the die and use that instead.  The beautiful thing about these sets is that you can mix and match to create different versions. 6158 Story Tile Template Die can be used with any number of sets as well.  I am so looking forward to what Art Impressions has in store for this series! With the foliage and flower sets there are so many things you can do to change the look of this set, your only limitations are your imagination.  Bonnie, however, made some beautiful samples that are on the stamp cards to get you started.  After cutting down my watercolor paper to 4 ¼ x 5 ½, I used my cut out template to trace the openings with a pencil. I then used the stamp positioner to stamp my images where I wanted those, using Distress Ink Pumice Stone, and stamping off once. Here are the other sets I used throughout this project.

5126 Foliage 4 – small vine

4051 Foliage Set 1 – small grass, large foliage

5826 Large Tree Set 2 – grass

5418 Bible Foliage Set 2 – dots

5009 Mini Flower – 4 flowers

5074 Bible Flower Set  – daisy bunch

 Tombow colors used: 565, 969, 312, 947, 025, 026, 177, 676, 555, 526, 126, 249, N15. Also Bleed Proof White. 

I used paper from 5835 Mini Paper Pack for the Story Tile Template and adhered it to my watercolor paper after erasing the pencil lines. Mounting this on my card base. (This time in the right orientation!!) Thank you for joining me, I hope you enjoyed my cards, until next time!  Create….Share….Inspire! 


Saturday, March 28, 2026

Easter Bunnies Storybook Frame and Easter Story Tile Card by Diane Mason

Hello, and welcome back for Watercolor Weekend! 

Hello, my Ai watercolor friends and fans. Easter is on its way, and I have two Easter projects to share with you! First up is a custom Easter Bunnies Storybook Frame. My second, is a square Easter card using the new Story Tile in a slightly different way.

Easter Bunnies Storybook Frame:

I love the concept of the Storybook Frame. Peering in at the tiny 3D scene fascinates me and the completed project makes a nice little gift to display! I’ve noticed that many of the images included in the Art Impressions Matchbook sets also work well with this frame.


To create this adorable Easter scene, I used the images from 6014 – Matchbook Easter Bunnies set. I stamped each image with Versafine Onyx Black ink onto Canson XL Mix Media paper.


I used the 6121 – Storybook Template die to die-cut the box, inserts and front and back mats. The patterned papers used are from 5742 – Easter Journal Paper Pack. For the purple background, I cut a piece of patterned paper to fit the interior of the box.

Once I had each image painted, I placed each die-cut behind the oval insert piece to determine it’s placement and trimmed away any parts I didn’t want to show through the opening. For the background, I trimmed away the side pieces of the image and popped up the image with foam squares. The shelf image was glued directly to the background. For the layer that goes just above the background piece, I doubled up on the corner foam squares to raise it above the background piece. For the rest of the inserts, I only used one layer of foam squares.

Colors and supplies used to paint the images:

  • Tombow Dual Brush Pens: 177, 195, 817, 725, 606, 443, 947, 977, 969, N52, 912, 565, 555, and 055.
  • Tombow TwinTone Pens used for details: Aqua (74), Fuchsia (80), Orange (28), Chrome Yellow (04), and Lime Green (50)
  • Winsor & Newton Ink, Silver - for the paint cans
  • Dr. Ph. Martin’s Bleed Proof White


To decorate the back of the frame, I die-cut a piece of Canson XL Mix Media paper using the insert die and stamped onto the oval. The sentiment is from 5733 – Easter Sentiments Set. The cluster of eggs from 5738 – Easter Egg House Set was inked in N52. Colors used to decorate the eggs include 817, 443, and 606. Details were added using Dr. Ph. Martin’s, and Aqua, Fuchsia, and Lime Green TwinTone markers. For the grass, I used the small grass from 4051 – WC Foliage Set inked in 195, and 555 for the sky.

For a final decorative touch, I attached a purple bow to the front of the frame.


Easter Story Tile Card:

I think we can all agree, the newly released 6158 – Story Tile Template Die is just fabulous! There are four new stamp sets specifically designed to go with this die, but many other Art Impressions stamps work well too!


For this card, I changed things up a bit and only used a portion of the Story Tile Template to create a square card. To further “think outside the box”, I attached one of the images on top of the frame rather than inside the box!

 Colors and supplies used for this card:

  • 6158 – Story Tile Template Die, removed two sections with scissors
  • 6008 – Bunny Hugs Set, inked in Versafine Vintage Sepia Ink
  • 6036 – Easter Bunny Paper Pack
  • 5733 – Easter Sentiments Set, sentiment stamped onto vellum, inked with Versafine Onyx Black ink, and heat embossed with Ranger Super Fine Detail Clear Embossing Powder
  • Tombow Dual Brush Pens: 173, 177, 403, 703, 993, 977, 565
  • Micron Pen (005)-Black to define eyes
  • Tombow TwinTone Pen: Orange (28) for flower centers
  • Dr. Ph. Martin’s Bleed Proof White
  • Foam squares to pop up the template square onto the card front


Thank you for joining me today for Watercolor Weekend! I hope you have enjoyed learning more about how these darling Easter projects were created. For those of you celebrating Easter - may this season of renewal bring you an abundance of peace and overwhelming love. Until next time, Happy Painting!


Saturday, March 14, 2026

St. Patrick’s Day Gnome Card and Z-fold Birthday Card by Diane Mason

 Hello, and welcome back for Watercolor Weekend! 

Hello, my Ai watercolor friends and fans! I have two watercolor cards to share with you today. First up is a St. Patrick’s Day Gnome card. My bonus card is a sweet little Z-fold Birthday card.

St. Patrick’s Day Gnome Card:

I know not everyone celebrates St. Patrick’s Day, but I like to think everyone feels a little Irish on March 17th. Plus, it’s the perfect excuse to pull out one of my favorite sets (5785 – Gnomes Set) and create an adorable St. Patrick’s Day gnome. For this card, I’m also using the newly released 6158 – Story Tile Template Die.

For this painting, I started by preparing a piece of Canson XL watercolor paper. Using the Storybook Tile Template Die itself—not the die‑cut—I lightly traced the interior of each section with a pencil. This leaves a clean white border around each painted panel once everything is finished.

Next, I stamped each gnome into its section using a stamp platform and N79 ink. I sketched the pile of gold inside the planter pot with a pencil, then used a large oval die to trace a smooth curve for the rainbow rising from the pot of gold. I used Post-it tape to mask each section to maintain the white border around the paintings.

Section 1

  • Gnome: 195, 177 (hat and clothing), 850, 942 (hands and nose), 977 (shoes), 933, 925 (beard). All gnomes will be painted with these same colors.
  • Rainbow: 856, 933, 025, 195, 476, 606 (used also in Section 4)
  • Sky: 555 (all sections)

Section 2

Mask the gnome and stamp leaf from 5795 – Berries in 177, and drooping flower from 5794 – Whimsical Flowers inked in 177 (stem), 025 (flowers).

  • Gnome’s belt: 025
  • Leaf and flower stem: 177, a touch of 195 for highlights
  • Flower: 025
  • Grass: 177 (4051 – WC Foliage Set 1, small grass)
  • Tiny white flowers: Dr. Ph. Martin’s Bleed Proof White

Section 3

Mask the gnome’s foot and stamp vine from 5794 in 177.

  • Vine: 177, a touch of 195 for highlights
  • Grass: 177 (4051 – WC Foliage Set 1, small grass)
  • Tiny white flowers: Dr. Ph. Martin’s Bleed Proof White

Section 4

  • Rainbow: same as Section 1
  • Planter pot: N25
  • Gold: Winsor Newton Ink 14ml – Gold Paint, Brown TwinTone marker
  • Grass: 177 (4051 – WC Foliage Set 1, small grass)
  • Tiny White Flowers: Dr. Ph Martin’s Bleed Proof White

Section 5

Ink vines (177), flower (933) from 5794 and stamp into section.

  • Vines: 177, a touch of 195 for highlights
  • Flower: 933 (petals), 025, 026 (center)

Section 6

Mask the gnome and stamp the mushroom inked in 969. Stamp vines from 5794 in 177.

  • Gnome’s belt: 025
  • Mushroom cap: 025, 026
  • Dots on mushroom cap: Dr. Ph Martin’s Bleed Proof White, 565 for shading
  • Underside of mushroom and stem: 977, Brown TwinTone marker
  • Vines: 177, a touch of 195 for highlights
  • Grass: 177 (4051 – WC Foliage Set 1, small grass)

Next, I die cut the frame (6158 – Story Tile Template Die) from patterned paper, erased the pencil lines and adhered the painting and frame onto an A2 card base.

I used fonts from my computer in coordinating shades of orange and green to create the sentiment for the inside of the card. To finish the interior panel, I adhered a half‑inch strip of patterned paper along the bottom edge of the white mat.

This card is ready to send to a friend to wish them a Happy St. Patrick’s Day! PSA – Don’t forget to wear green. Legend has it that wearing green on the holiday prevents a leprechaun’s pinch or from a pesky friend - lol!

Bonus Card: Z-fold Birthday Card

For this A2 fun fold birthday card, I chose a birthday cake image from the recently released 6178 – Birthday Wishes set. The set was designed to coordinate with the Story Tile Template Die, but all the images work great on their own too!

Frame for finished painting

5591 – Journal Rectangle Frames Die Set watercolor mat decorated with the Daisy Bunch stamp from 4052 – WC Flower Set 1 and the small vine from 4051 – WC Foliage Set 1

  • Daisy bunches: 743 and 565
  • Vines: 177
  • Happy Birthday: 6039 – Just for Her Set, black ink
  • Foam tape for mounting

Painting

The image was inked in N52.

  • Cake: candles (403), flames (025, 933), candle glow (025) icing (743, Fuchsia TwinTone, Dr. Ph. Martin’s), cake (977, Brown TwinTone)
  • Pedestal: 403 and 565 for shadows
  • Planter: shaded with 565 and also for the stripes
  • Flowers and foliage: 4051 small vine (177), 4052 daisy bunch (565), 5009 single flower (743, 177)
  • Tiny white flowers: Dr. Ph Martin’s Bleed Proof White, Chrome Yellow TwinTone marker for centers.
  • Grass: 177 (4051 – WC Foliage Set 1, small grass)
  • Sky: 555

Purple Card Base

  • 8 ½ x 5 ½, scored and folded at 2 ⅛ and 4 ¼
  • Front panel strip: 2 x 5 ¼
  • Interior sentiment inked in purple:  Dessert pedestal (6180 – Dear Friend), sentiment (5735 – Birthday Sentiment Set)


I hope you’ve enjoyed today’s cards and found a little inspiration along the way. That’s all for now—thank you so much for stopping by for Watercolor Weekend. Until next time, Happy Painting!


Dearest Friend by Janet

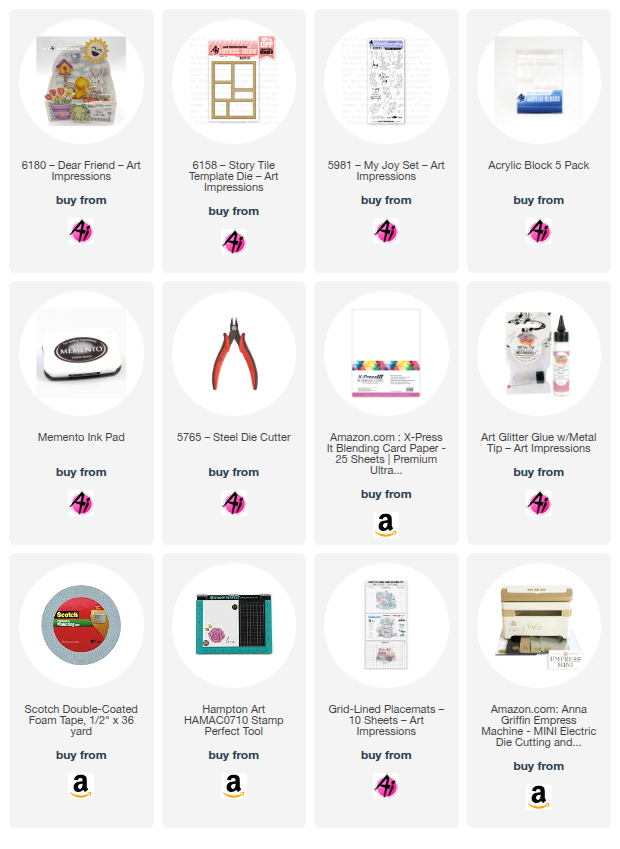
Today I had some fun with three items recently added to the Ai store. This cheerful friendship card is fresh and ready for spring. The images are from the 6180 - Dear Friend Set. This set includes vases that you can use as-is or with added flowers. I added flowers, butterfly, and hummingbird embellishments are from 5981 - My Joy Set. While this one is a Bible Journaling set, there are many images in it that are useful for any cardmaking project with or without a faith focus. 

The lime frame surrounding the images was made with the new 6158 - Story Tile Die. This die is a new style to the line and I really like it. There are so many images and sets that can be used with it! The stitching imprinted in the frames add a lovely finishing and professional touch to your cards. 

Thanks for joining me on the blog today. As always, find your favorite stamps, dies, papers, and accessories at the Ai Store!

Happy Crafting!

Janet YouTube - Blog - Facebook - Instagram - Pinterest  

Tuesday, March 10, 2026

I'm Wild About You by Reneé Matarese

 Hello Ai fans!

I'm Wild about you!

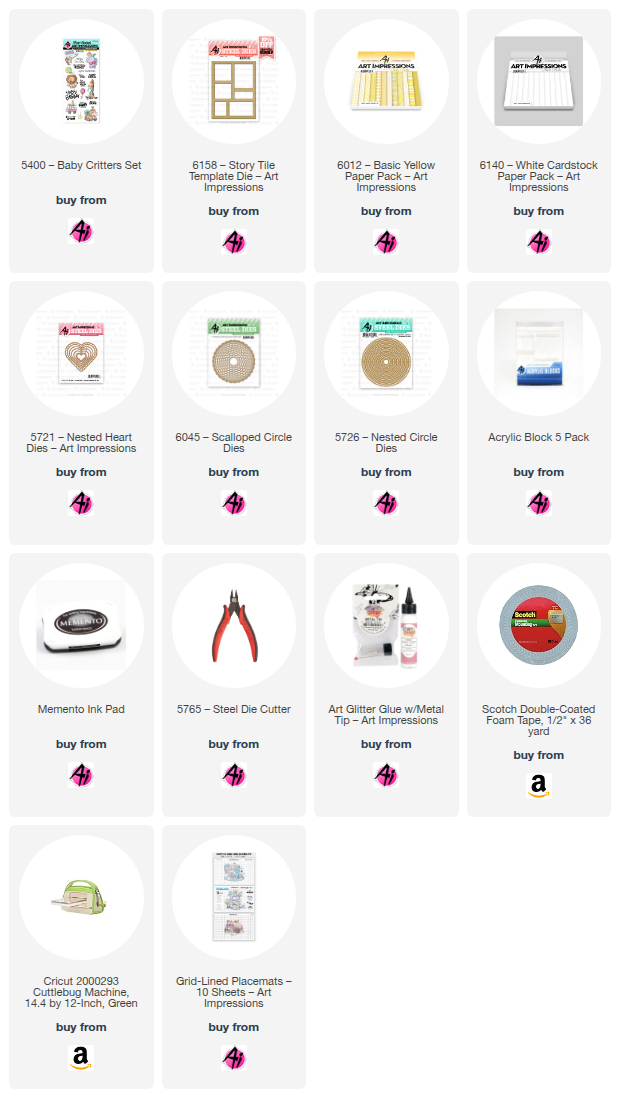
And, I'm wild about the 5400 – Baby Critters Set and of course the new
6158 – Story Tile Template Die.


I started by die cutting the Story Tile die with 6140 – White Cardstock Paper Pack 
and I saved the cut out pieces for later when I embossed some of them.

Next, I took some scraps from 6012 – Basic Yellow Paper Pack
and placed them in the windows that weren't getting embossed.

Then, I just layered on my hearts, giraffe and sentiment with some 3D
foam tape. I place that onto a matte from the same yellow pack and then
onto my card base. Links for all Art Impressions products are below.


Copics used:
BG01, Y23, Y26, Y28, Y32, YG13, RV02

Thursday, March 5, 2026

Friends are Flowers by Dori Mendiola

 Happy Thursday AI Friends!

Oh Man, I had such a fun time making this card.  My inspiration came from a combination of the newly released Story Tile sets and die as well as the current blog challenge "The People In Your Neighborhood".  For my card, I used the #5798 - Gardening Girlfriend set, the #6177 - Garden Friends set and the #6158 - Story Tile Template Die as well as a few accessories from some other sets that are listed below.  


I started by stamping all of the images onto copic friendly paper with Memento black ink and colored with my copic markers listed below.  I decorated some of the images with my white marker (you can also use the Dr. PH Martin white paint).  I fussy cut the girl as well as the story tile garden images.  

I cut the story tile window frame from a piece of pink cardstock and a piece of pattern paper from the #6051 - Mother's Day PP.  I layered the pattern paper over the pink cardstock and shifted it slightly to the right and upwards so that the pink showed through the window slightly.  This provided a nice little contrast and helped pop up the images as well as the pattern papers underneath.  Then a die cut some other pattern papers from this paper pack with the story tile die and placed them behind the pink frame.

I stamped the sentiment from the Garden Friends set and adhered behind the narrow window.  I popped up each of the images with foam tape into the other windows and decorated the pots and boots with flowers from the #5935 - Fairytale houses set and the #6076 - Gardener Gail set.  To finish off the card, I colored a few bees from the Fairytale Houses set and placed them near the flowers. 

Make sure to check out the newly released sets and also the bi-weekly blog challenge for a chance to win a free stamp set of your choice.  We love to see your creations!

Thanks for joining me today!  Have a wonderful day and keep creating!

Copics used:  E00, E01, E11, E21, E23, E25
R20, R24,      C1, C3, C5
Y32, Y35, Y38,   YG41, YG45
B91, B93, B95,    RV52, RV55