Showing posts with label animals. Show all posts

Friday, January 9, 2026

Bright and Happy Birthday Card by Tasha

Happy Friday Art Impressions friends!

Tasha here sharing a birthday card inspired by the current Button Up Challenge.

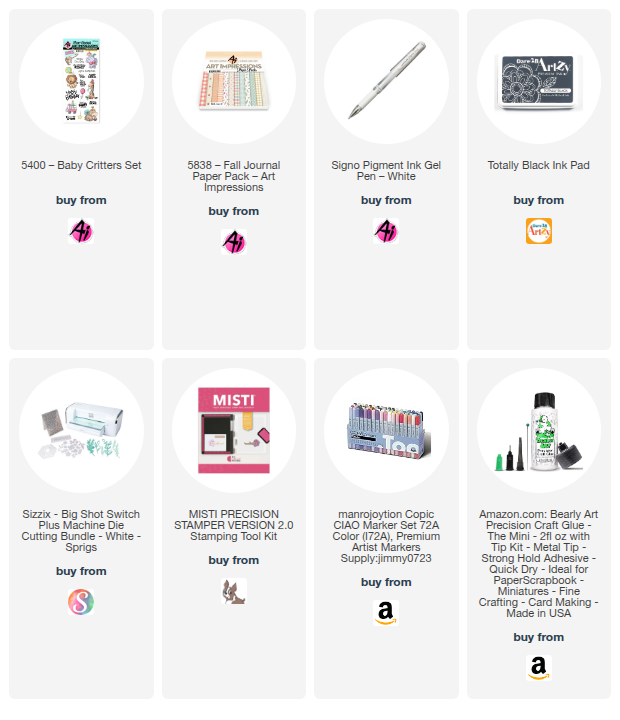
For this card I used two cute animal stamps from the 5400 Baby Critters Set. I love coloring little animal characters and this card totally looks like they are ready for a birthday celebration. 

To go with the button challenge theme, I added a flower with a button in the middle. The orange color and shape reminded me of the sun and I love that pop of color. 


Lastly, I added layers of pink and white card stock along with a polka dot pattern paper to complete the design.

I hope you enjoyed today’s card and are having a great day.


Sunday, July 27, 2025

Christmas in July with Jami Steiger


Good morning, Watercolor friends!  It’s time for more creativity.  

This month, I am having Christmas in July!  The Woodland Critter set 5953 is adorable for so many projects.  I started by making a frame using the Mini Scalloped Frame Dies 5902.  I stamped the squirrel with Tombow markers 565 and 969, stamping off twice.  I watercolored the stamped image using the following Tombow markers: 856, 565, 969, 177, 526, 977, 947, N65, N75, N65, 772 and 025. (I used the same markers on both of my projects.)  After allowing the painting to dry, I added Dr. Ph Martin’s white to the cup of hot chocolate for the whipped cream and added highlights.  I used the Winter Woodland paper pack for the frame.


____________________


For my second project I made my first slimline card.  

The card base is cut 7” x 8 1/2” and scored at 3 1/2”.   I used cream-colored card stock for the base. After stamping my images onto watercolor paper, I painted each image and die-cut it out.  I found a frame die in my stash that I believed would perfectly match the look I wanted to achieve.  I then cut a piece of paper 2” x 8 1/2” from the Winter Woodland cover paper pack.  I punched a charming border on one side.  I glued everything down onto my card base by starting with the scalloped paper, the blue frame and then the animal images.  The deer image was too big to fit the opening, so I used foam dots to pop him up, giving him additional dimension.  For the Joy sentiment, I die cut three images of the word Joy and then glued the three on top of each other to give a 3-D image.  Final additions were gray ribbon and red sequins.  


I hope everyone is having a wonderful weekend and staying cool.

  The heat index is 107 degrees where I am!  That is too hot for me!  I am ready for Christmas weather to return.


Sunday, February 23, 2025

Spring Gnome Wreath and Bunny Garden


Hello, Watercolor Weekend friends! Can you tell by my cards that I am ready for spring weather? I love living in Ohio and enjoying the snow, but it has been very cold, and the snow has lingered long enough! For my first card, I created a sleeping gnome nestled in a spring wreath, with a cute bird helping to decorate it. 

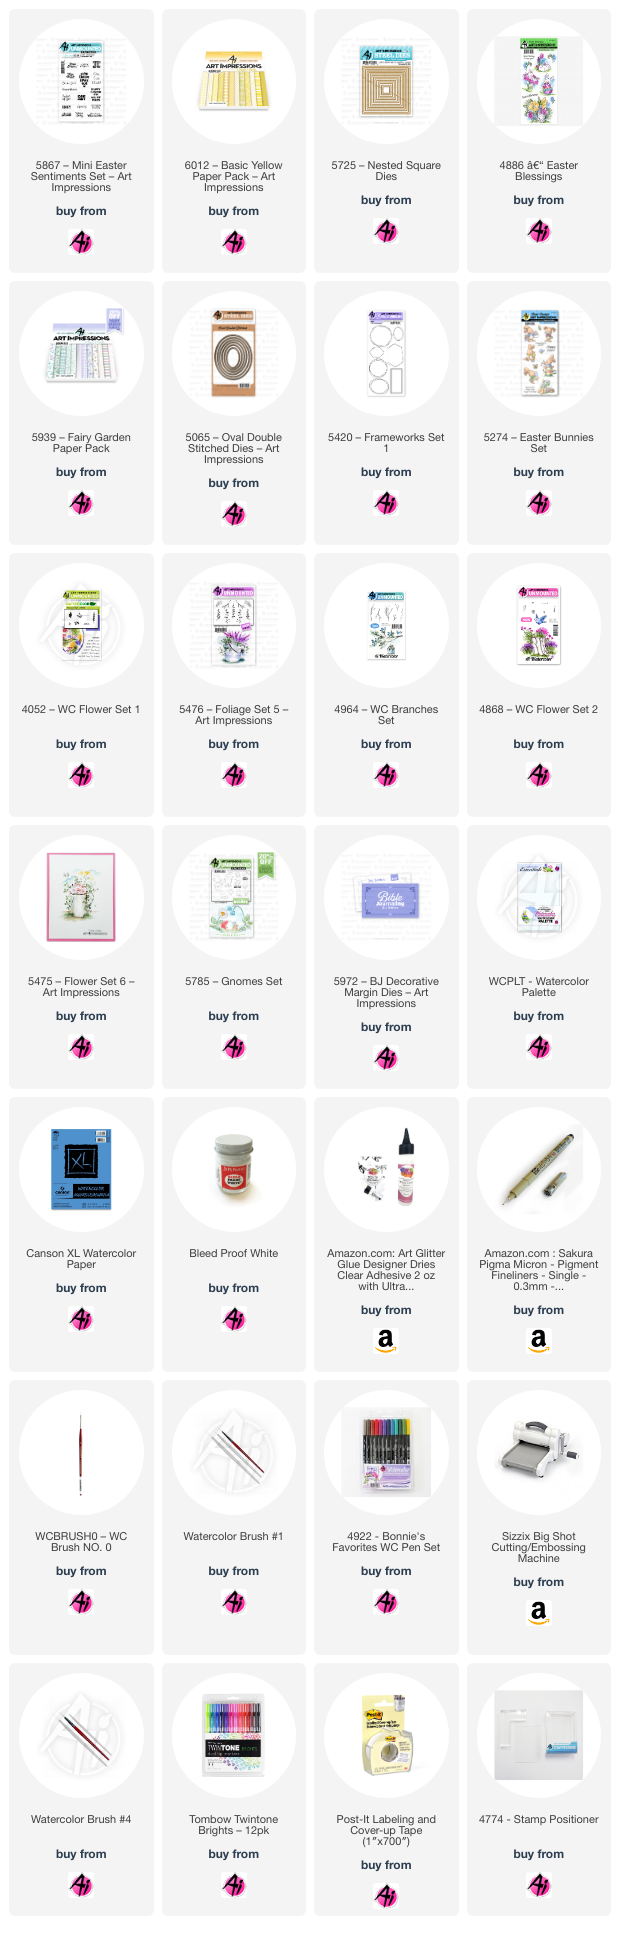
These are the stamp sets I used: 5785 - Gnomes, 5475 - WC Flower Set, 4868 WC Flower Set  2, 4964—WC Branches, 5476—WC Foliage Set 5, 4052—Flower Set, 5274—Easter Bunnies (bluebird)

First, I stamped the wreath and used a stamp positioner to add the sleeping gnome using Tombow markers 565 and 969. I stamped off twice. Next, I incorporated the foliage and flowers. Finally, I stamped the bird and painted a bow. I die-cut the finished artwork using the 5065-Stitched Oval dies. The floral paper is from the adorable 5939-Fairy Garden paper pack. For the purple lace, I used the new 5972-Bible Journaling Decorative Dies. The sentiment comes from the 5867-Mini Easter Sentiment set. I added Dr. Ph. Martin's Bleed Proof White and some embellishments.

The Tombow markers I used are the following:  N75, 837, 025, 606, 177, 817, 565, 910, 946, 977, and 969


_________________


This bunny is from set 4886-Easter Blessings by Kendra Krebs.

 I stamped the bunny in the garden using Archival Ink shadow grey. This was an easy stamped image to watercolor, as no extra stamps were needed. I only used a few Tombow markers, which are the following: 177, 772, 606, 969, 401, and 025. I painted everything once, painting lightly and allowing the ink to dry before painting in the shading. I used 5725-Nested Square Dies to cut out my image. Next, I used the lovely 6012-Basic Yellow paper pack to die-cut a floral background. I then cut some flowers with dies from my stash to complete the garden.


________________________


I sincerely hope that everyone is enjoying their weekend, and I hope to see you all again soon!


_____________________


Friday, August 23, 2024

Time to Celebrate! Card by Tasha

 Happy Friday Ai Friends!

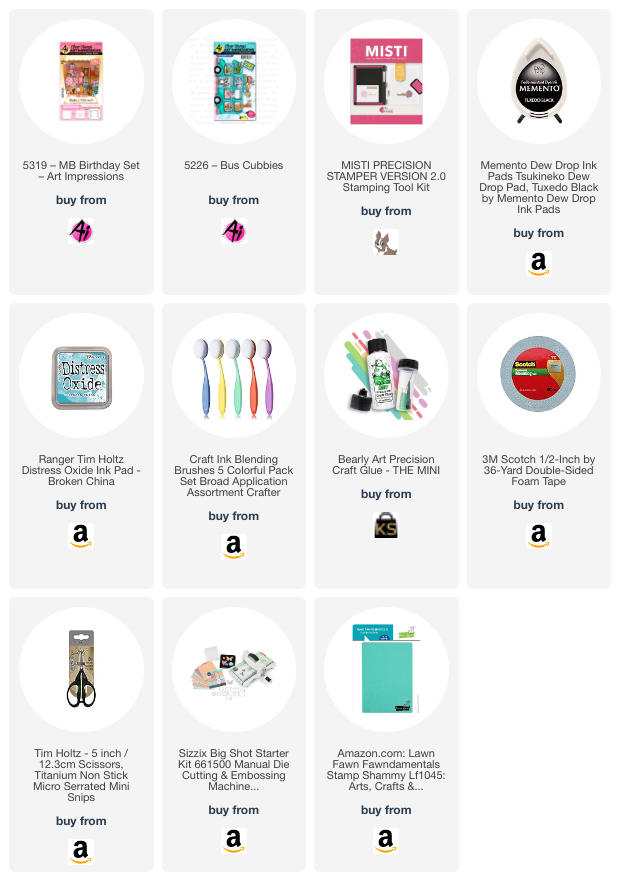
Tasha here sharing a new card inspired by the current "Keep Calm & Celebrate On!" Challenge. For my project, I used the 5226 - Bus Cubbies Set and the 5319 - MB Birthday Set to create a fun mini card.

I love all the Cubbies and MB stamp sets and thought it would be fun to use the MB set in a different way. I started by stamping three images from the MB Birthday Set and used a scissors to cut off the foldable sides. I used glue to adhere the table and shelf to the card and added some foam tape behind the gifts to give them some dimension. 

Next, I stamped the little animals from the Bus Cubbies Set and used the included dies to cut them out. The Bus Set also included balloons, so I cut several out and attached them around the room; so festive! I really like how these two sets work perfectly together!

Lastly, I stamped "Make a little wish" from the MB set with black ink on to a blue background. I also attached layers of purple and pink card stock and a pretty silver glitter paper layer to complete the design.

Thank you for checking out today's card and I hope you will join in the Art Impressions "Keep Calm & Celebrate On!" Challenge.


Friday, June 7, 2024

I like you Beary much! Card by Tasha!

 Happy Friday Ai Friends!

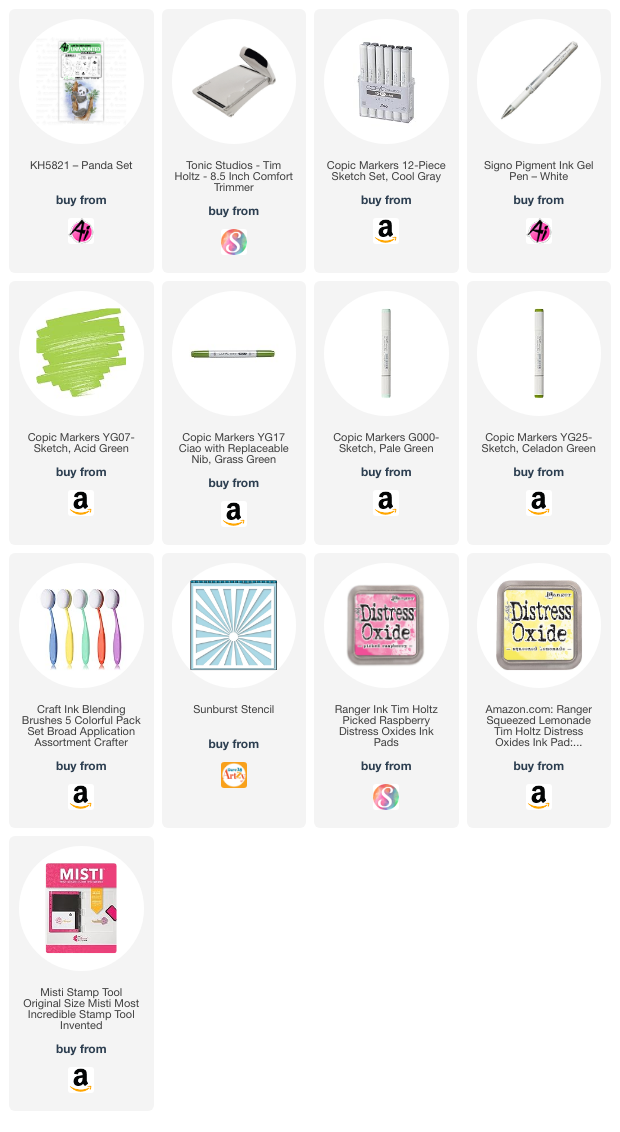
Tasha here sharing a card inspired by the Panda-Monium Challenge and features the new KH5821-Panda Set. I think these little pandas are adorable and love the bamboo stamps!

To make the little scene, I stamped the two pandas and the bamboo with black ink. Next, I covered all the images with masking paper and used masking tape to section off the top of the paper. Once everything was covered, I used a stencil to create a colorful sky, I think it looks great behind the bamboo!

After the sky was blended, I removed all the masking paper and colored the images. I thought having different shades of green would allow the bamboo to stand out against the green grass and I like the light green color.

For the greeting, I stamped "I like you beary much" with the same black ink. The black & white color combo coordinates with the panda theme and I like the why the sentiment looks under the colorful design.


Lastly, I added layers of black and green cardstock before attaching the cared to a white card base. 

I hope you enjoyed today's project and will join in the challenge!


Sunday, April 28, 2024

Vintage Baby Cards by Jami


Happy Watercolor weekend!  
This weekend I have 2 cards that would be perfect for a child's birthday.  My grandson turned one year old last month and I had him on my mind as I created these 2 cards.
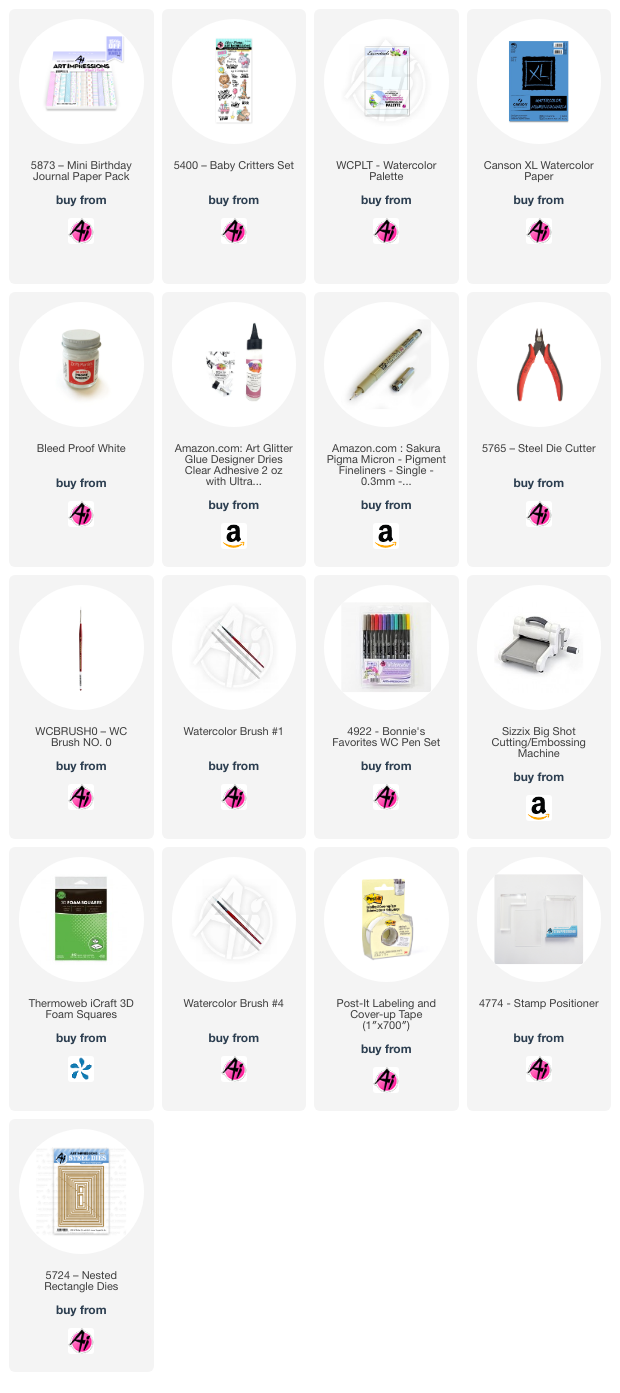
I used one stamp set, #5400 Baby Critters and one paper pack, #5873 Mini Birthday for both cards.  I challenged myself to use different patterns from the paper pack to layer and add dimension.  I had a lot of fun using dies and a paper punch to punch out the circles and add details.  For each of the cards I started by stamping all of the images on watercolor paper and then painting the images with the following Tombow markers: 312, 879, N55, N45, N35, 772, 603, 401, 569, 526, 026, 817, 177, 977 and 969.  Then the images were die cut using the matching dies from the stamp set and these critters are so cute!  When I assembled these cards I used decorative dies from my supplies.  On the giraffe card I popped up the bird using dimension dots to give more depth, and I did the same on the tiger card for the pink balloon.


For this tiger card I did the same as the previous card but I added glossy accents to the balloons to give a nice sheen.  If you are struggling with layouts for your cards I encourage you to look on the internet for layouts that you can incorporate many different patterns of paper from one paper pack.  I know for myself I tend to only use maybe one or two and this was fun creating with a lot of different designs.  Al


Thank you for taking the time to checkout my creations and as always, please ask me if you have any questions.  I hope everyone is having a great weekend and enjoying the spring weather!


Wednesday, July 24, 2019

Oh Frap by Niccole Kulig

Hello Ai fans!!

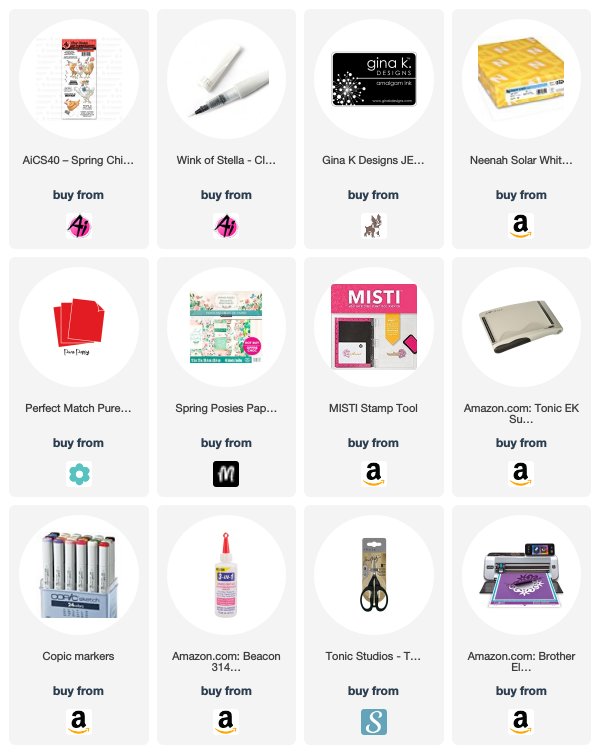
I am here today to share a fun card I made using the Spring Chicken set from Art Impressions.  This set is so fun.  
The first thing I did was choose my stamps. I absolutely LOVE this chicken from the Spring Chicken set.  From there I chose my paper. 
I colored my chicken with my Copic markers.  The list of colors I used is at the end of this post. I stamped my sentiment bottom center and I raised my chicken up with foam tape.
I wanted to show a close up so you could see all of the layers used.  There are seven layers of paper to this card.
Here is one more look at the card.  I added Wink of Stella to her glasses and her coffee and steam.  I was going to add Crystal Effects to her glasses but I though the Wink of Stella added just as much shimmer with out the dry time. I had a lot of fun putting this card together.  I even sat and put together a few backgrounds for future cards after all of the measuring. for each layer. 

Copics used:
BG000
C0, C1, C3, C5
E41, E43
R20, R21, R22, R24, R27
W00,
Y15, Y17
YG23
YR04, YR07

Thank you so much for stopping by and spending some time with me.  Please stop back again soon. 

Until next time ... Hugs & inky fingers!


Thursday, May 30, 2019

Challenge 257 Furry Friends WEEK 2!

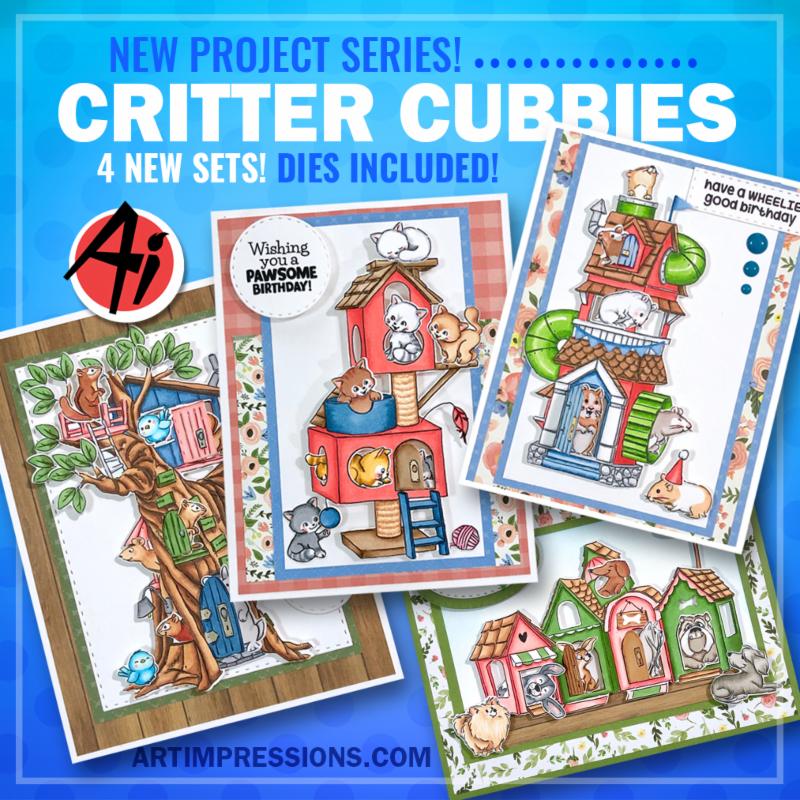
Critter Cubbies
Hello, Ai Fans!

We're back with the second week of our Furry Friends challenge! PLUS, we have some news at the bottom of the post! But first, let's take look at what the team created with our sweet NEW Critter Cubbies! Visit the designer's blog by clicking their name so you can see more details and info! These sets are available at artimpressions.com, so order yours so you can make super cute cards like these!

 Niccole with Dog House Cubbies

Jil with Cozy Cat Cubbies

Jessica with Hamster Wheel Cubbies


Renee with Woodland Tree Cubbies
Inside the card


 Thanks, team! These cards are oh-so-cute!
Are you ready to join our challenge? It will be a lot of fun! This challenge is called "Furry Friends" so it's all about enjoying our favorite animal stamps! We always look forward to seeing your entries and have a tough time picking winners - we hope you'll join us for a chance to win Ai stamps!

Here are the Challenge Rules:

✻ Please make a new card or creation. You can make any crafty item you wish; this is not limited to cards!
✻ Limit two submissions per person. You will receive extra votes if you use Art Impressions stamps!
✻ The Ai Challenge is open to everyone, international submissions are welcome!
✻ Include a link back to the Ai Blog or grab our button on the top right of our sidebar!
✻ Share the Ai love by clicking and commenting your fellow crafters.
✻ Make sure to get your link up by Wednesday, June 5 at 5:00 p.m. PST to enter your creations.
✻ Good luck and happy stamping!

You are invited to the Inlinkz link party!
Click here to enter
Happy Stamping!

Sunday, January 14, 2018

Kangaroo Mouthfuls by Reneé Matarese

Hello Ai fans!

My niece just turned 11!!
Happy Birthday Brynn!

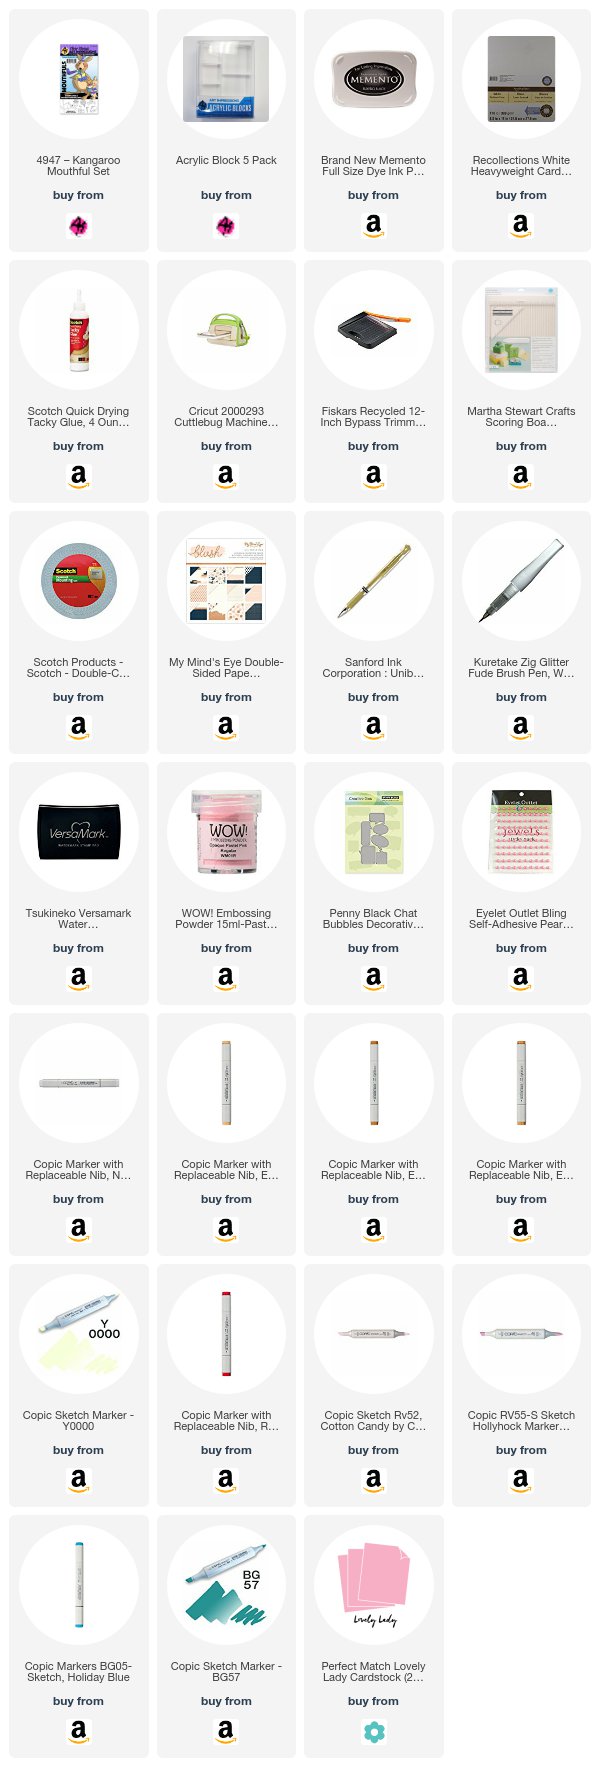
As soon as I saw this sweet new 4947 – Kangaroo Mouthful Set set from Art Impressions I couldn't wait to make a card for her.  There are lots of accessories with this set and many different combinations you can try.  I chose the noise maker and the gift box. Both Mama and Joey are wearing a party hat.


This mom and joey are just the cutest combo!
Baby can fit in her pouch but I chose to use the gift in her pouch and put the little one beside her.


I used two verses from the set...one on the front and one inside.


I made a second version to have on hand just in case someone's birthday pops up that I forgot about.


Here's mama kanga with the gift outside of her pouch.