Tuesday, May 19, 2026
Focus on Faith: Joy & Blessings with Sara Furr
Saturday, January 24, 2026
A Pocket Full of Sunshine: Creating a Faith‑Inspired Portfolio by Janet
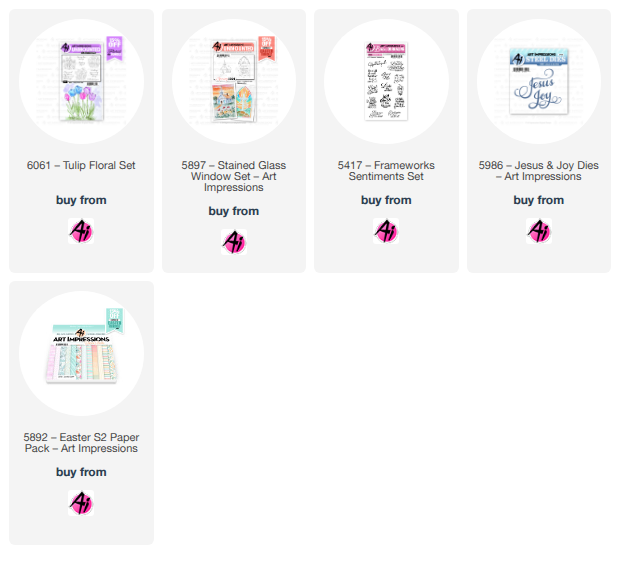
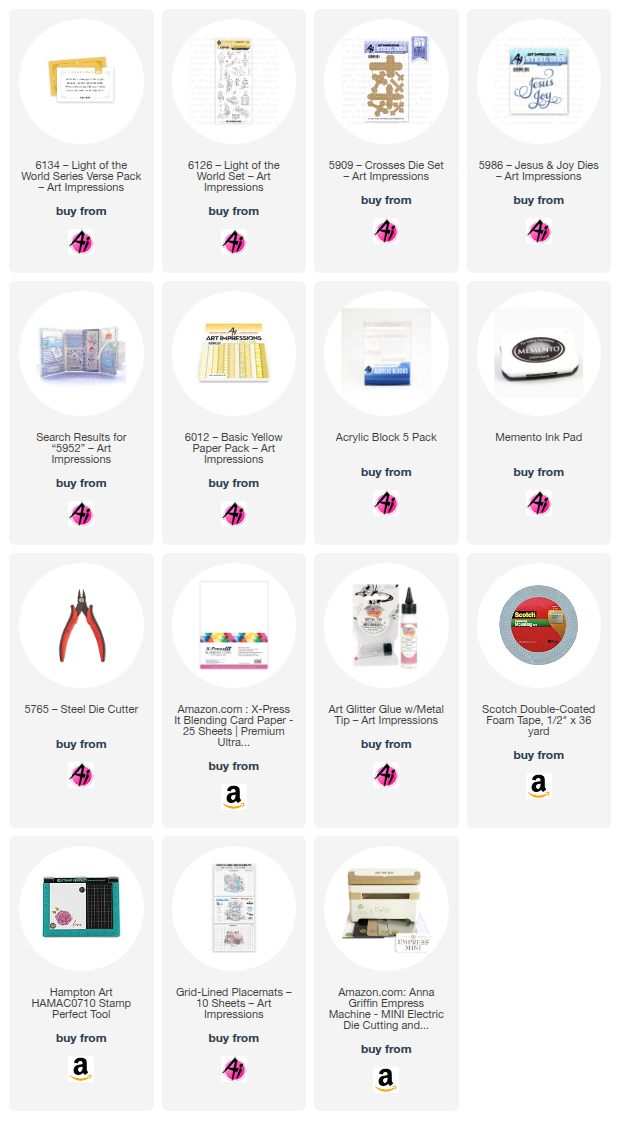
For this piece, I used the 5952 – Portfolio Template Die Set paired with the bright and cheerful 6012 – Basic Yellow Paper Pack. The combination couldn’t be more fitting for the current AI Challenge: A Pocket Full of Sunshine. I also leaned into a religious theme, making this a meaningful way to feature the 6134 – Light of the World Series Verse Pack.
I began by cutting the portfolio from yellow cardstock and folding it along the score lines. The sunny color instantly set the tone. Using the coordinating dies in the set, I cut additional shapes from the patterned papers in the Basic Yellow pack to layer onto the cover and interior.
To bring in a touch of elegance, I added gold accents using the 5987 – BJ Icon Die Set. These metallic details catch the light beautifully and elevate the entire design.
The front of the portfolio features a small pocket holding two coordinating tags — a sweet little interactive element that adds charm and dimension.
Inside, I decorated the panels with flowers, a Bible, and a lighthouse image, all stamped and colored from the 6126 – Light of the World set. These images pair wonderfully with the verse pack and reinforce the comforting, faith‑centered theme. I closed the center envelope and the portfolio itself with velcro dots. This keeps it secure but opens easily.
On the inside left side, I added another pocket and tag, this time adorned with a delicate cross from the 5909 – Crosses Die Set. For the finishing touch, I included a large gold “Jesus” die cut from the 5986 – Jesus & Joy Dies, which adds a bold and beautiful focal point.
This portfolio came together so smoothly, and the final result brings me both joy and comfort. It’s a bright, faith‑filled piece that feels like a little pocket of sunshine — exactly what the challenge called for.
If you’re looking for a project that blends creativity, meaning, and a touch of sparkle, this one is a wonderful place to start.
Tuesday, January 20, 2026
Focus on Faith: Joy Comes in the Morning by Sara Furr
Greetings my dear Art Impressions friends!
God gives us so many blessings! Besides the gift of his love, one of his greatest gifts is that of this beautiful world that we live in! His blessings are new everyday. Every morning we wake up to the beauty of the sunrise.
(All Art Impressions products are linked below)
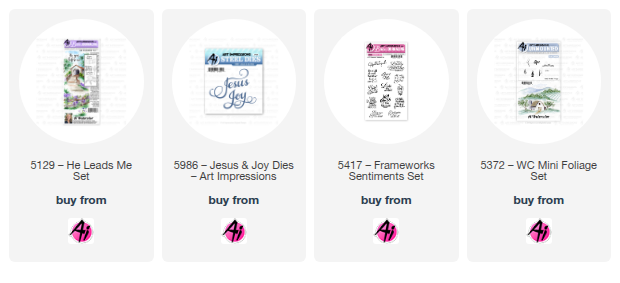
#5129-He Leads Me,
#5417- Frameworks Sentiments,
#5372- WC Mini Foliage
#5986- Jesus & Joy Dies (AI)
Stampin' Write markers in: Basic Black, Chocolate Chip, Soft Suede, Baked Brown Sugar, Cherry Cobbler, Crushed Curry, Daffodil Delight, Evening Evergreen, Mossy Meadow, and Starry Sky.
S.U. Soft Succulent
Glama Natural Clean vellum,
Silver Holographic Diamonds 12pt cover,
Cold press Watercolor card fronts 140#,
Dark Blue Curious Skin 91#
paintbrush, water,
Spellbinders Pine branches & Berries embossing folder,
Gelly Roll Sparkle Pen
Saturday, November 1, 2025
Elf Stocking Card by Janet
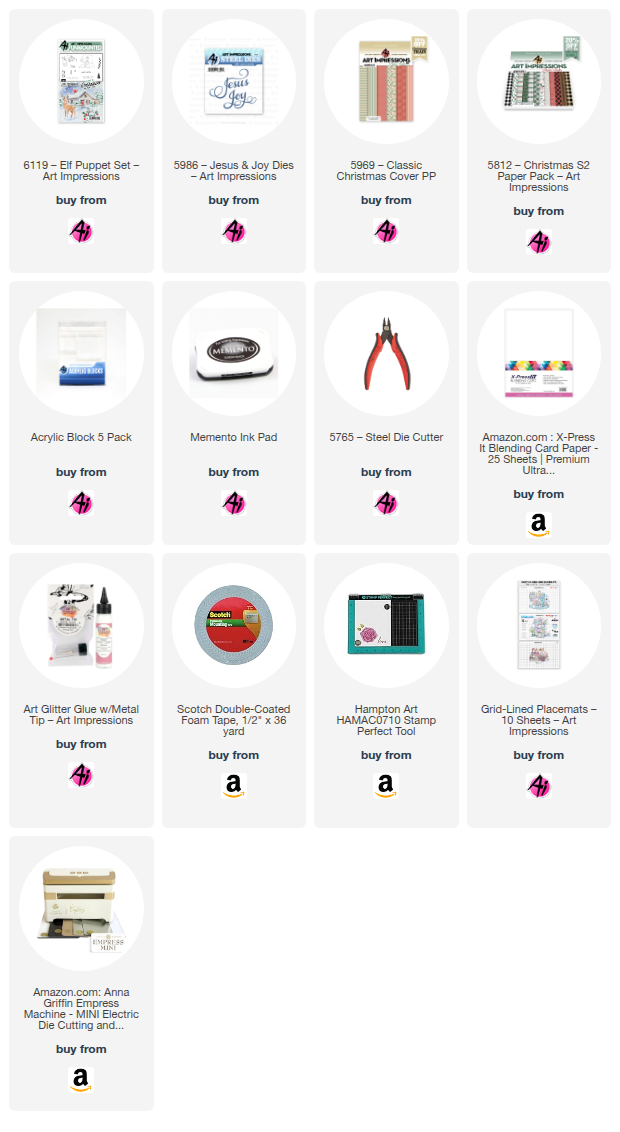
Sometimes when I see something, I get a flash of inspiration. Such was the case with the new 6119 - Elf Puppet Set! I immediately used the dies to construct a cute, cheery elf. I could have drawn a simple face on his face but I remembered that I had an old face stamp in my stash so I tried that with success. His pink cheeks and the shading on his clothes were achieved with another old standby, chalk. Every once in a while I still find ways to use the chalk palette I purchased years ago. Once I had him made, I added some bling to his collar and his hat.
Then I set to work on the stocking shaped card. For this I used a stocking pattern in Cricut Design Space. I sized it so it would fit the elf and I added the toe patch by manipulating the existing pattern. Then I cut it out and a matching front shape and the toe patch from 5969 - Classic Christmas Cover Paper Pack and 5812 - Christmas S2 PP. I cut the Joy word from the 5986 - Jesus & Joy Dies.
Thanks for joining me on the blog today. As always, don't forget to find your favorite stamps, dies, papers, and accessories at the Ai Store! You'll always find something that calls to you.
Happy Crafting!
Janet - YouTube - Blog - Facebook - Instagram - Pinterest
Sunday, July 27, 2025
Christmas in July with Jami Steiger
____________________
For my second project I made my first slimline card.
The card base is cut 7” x 8 1/2” and scored at 3 1/2”. I used cream-colored card stock for the base. After stamping my images onto watercolor paper, I painted each image and die-cut it out. I found a frame die in my stash that I believed would perfectly match the look I wanted to achieve. I then cut a piece of paper 2” x 8 1/2” from the Winter Woodland cover paper pack. I punched a charming border on one side. I glued everything down onto my card base by starting with the scalloped paper, the blue frame and then the animal images. The deer image was too big to fit the opening, so I used foam dots to pop him up, giving him additional dimension. For the Joy sentiment, I die cut three images of the word Joy and then glued the three on top of each other to give a 3-D image. Final additions were gray ribbon and red sequins.
I hope everyone is having a wonderful weekend and staying cool.
The heat index is 107 degrees where I am! That is too hot for me! I am ready for Christmas weather to return.
Sunday, April 20, 2025
May the Joy of Easter be Yours and Happy Mother's Day Cards by Diane Mason
Hello, and welcome back for Watercolor Weekend!
Happy
Easter, Ai Watercolor Friends! I hope you are having a joyous weekend. I have
two watercolor cards to share with you today. The first is an Easter card and
the second is a Mother’s Day card.
To create an A2-sized card, I used the
following measurements, shown in the photo below, for the pop-up. All of the
elements will get attached to an A2 card base (8 ½ x 5 1/5 inches, folded in
half).
The image of the pot of Easter Lilies is from
the recently released 6029 – Easter Lilies Set. I inked the pot with 603 and
the lilies and leaves with 177 and stamped them onto my Canson XL watercolor
paper. I pulled some color from the leaves and added more 177 from my palette.
For the highlighted areas of the leaves, I applied a mix of 173 and 177. I used
565 to shade the white flower petals and added 173 to the centers. Once dry, I
painted in the flower stamens (177 for the filaments and 925 for the anthers)
with a 0-round brush. I painted the pot with 603, leaving the center lighter to
give the pot a rounded shape. Shadows were added with more 603 and 565. White
stripes were added to the pot, using Dr. Ph. Martin’s Bleed Proof White. I
brushed in a watery mix of 407 for the background and 565 for the shadow under
the pot.
I die-cut the painting and mat with dies from 5065
– Oval Double Stitched Dies and 5727 – Nested Oval Dies. I then adhered the
cross piece to the back of the center of the ovals. I pressed the pop-up flat
to the right, lined up the edge of the cross piece with the edge of the card,
and adhered it in place. When adhered properly, the card will lie flat and fit
perfectly into an A2-sized envelope. I inked the Happy Easter (6029) sentiment
with Versafine Onyx Black ink and stamped in the bottom right of the card.
For the interior of the card, I inked the “May
the joy of Easter be yours” sentiment (6029) with 603, and stamped a couple of
times to darken, using a stamp platform. I did the same with the flowers from
6025 – Fear Not Set.
With Joy on my mind, I
decided to create a little bookmark to tuck into the card. I die-cut the
decorative cross (5909 – Crosses Die Set) three times from metallic gold
cardstock and adhered them together to give the cross some thickness. I die-cut
the Joy die (5986 – Jesus & Joy Dies) twice from light purple cardstock and
adhered it to the cross with glue. I looped a piece of white and gold baker's
twine through the hole at the top of the cross and tied the two ends together to
form a tassel. I tucked the cross into the card and temporarily attached it to
the card with a glue dot. And to be a little extra, I die-cut a tiny gold cross
(5987 – Bible Journal Icon Die Set) and adhered it to the back of the card.
“Happy Mother’s Day” Card:
Pink Polka Dot Tea Cup: 703 and Dr. Ph. Martin’s Bleed Proof White
I had a great time dreaming up fun designs for the teacups. Drawing
colors from the patterned paper really helped the composition come together
nicely. I think this same design would make a lovely birthday, hello friend, or
just because card too! I would love to see some variations of this card. If you
make this card, be sure to tag us on social media – we’d love to see your work!
That’s all for now, thank you for stopping by for Watercolor Weekend. Until
next time, Happy Painting!

.jpg)


.jpg)