Showing posts with label 5219 Lovable Animals Set. Show all posts

Thursday, March 13, 2025

I Like to Move it, Move it!" Challenge #399 Week #1

Hello Ai fans!

Welcome to our new, "I Like to Move it, Move it!" challenge!

We want to see your projects that have movement on them.

These can be sliders, shakers, wobbles, pop up cards etc. You name it! If something on your project moves, then it qualifies.

Our featured artist is Dori Mendiola but before we see her amazing birthday card, we need to see who won our last challenge.

Out Top Spot went to Rachel B. for her wonderful interpretation of Carol Hintermeier's card.


Here is Carol's card that Rachel CASEd.

Please contact Leah at Feedback@artimpressions.com
to claim a free stamp set of your choice!!

Our Lucky Random Winner was 

Kimberly W.


Kimberly was inspired by this card from Amy Tsuruta.


Please contact Leah at Feedback@artimpressions.com
to claim a free stamp set of your choice!!

Now let's see Dori's fabulous creation. You're going to LOVE it!

---------------------------------------------------------------------------------------------------------------------------
 
I am soooo thrilled to be the feature for this challenge - "I Like to Move it, Move it".  I am such a fan of interactive cards, so this is a delight for me.  I had soooo much fun creating this card and I am soooo excited for how it turned out.  

First of all, I stamped all of the images on copic friendly paper with Memento black ink and colored with my copic markers listed below.  Some images were dies so I cut them with copic friendly paper and then colored with copic markers. 
I cut two 4 1/4 x 4 1/4" pieces of heavy white cardstock and scored each piece at 1".  Do NOT adhere together yet as you need to place the acetate pieces in between.
  
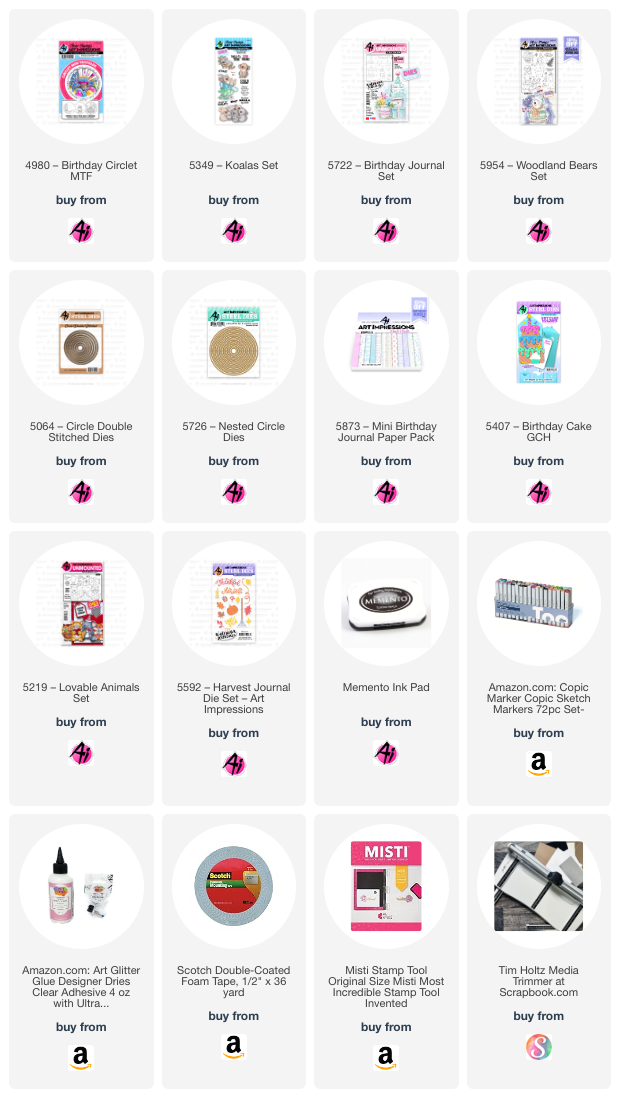
Let's decorate the front of the card first.  I matted a piece of pattern paper onto a piece of purple cardstock allowing for an 1/8" border around all sides.  This is then adhered to one of the white cardstock pieces. The 1" fold should be towards the back at the bottom.  I started by using the front layer (balloons) of the #4980 Birthday Circlet MTF.  I die cut this layer with the coordinating die and then cut the whole circle with one of the #5726 Nested Circle dies.  I used the koala sitting in the teacup from the #5349 Koala set and cut him off of the teacup so that I could place him on the stack of presents from #5954 Woodland Bears set.  I only used the bottom three presents of that stamp so that it fit nicely in the circlet.  I popped the circlet onto foam dots and placed onto a stitched circle die cut from purple cardstock.  I then glued the bottom two presents behind the balloons and popped up the top present as well as the koala so that they sat on top of the circlet.  I colored several confetti pieces from the #5407 Birthday Cake GCH and adhered them to the front of the card.  I saved several colored pieces for the inside of the card.  

Now, for the inside of the card.  I cut several strips of acetate, about 1/2" x 3" for each item.  I arranged the images how I wanted them to pop up over the front flap of the card.  I glued each to the top of a piece of acetate making sure there is enough acetate at the bottom to glue between the 1" folds.  Once the images are glued to a piece of acetate, I then glued the bottom of the acetate to the back of the front flap fold.  When all of the acetate pieces are glued down, I took the back flap and glued the two fold pieces together, making sure the acetate pieces are glued in firmly.  I then finished decorating the inside of the card with pattern paper and purple cardstock over the exposed white cardstock.  Lastly, I added the final pieces of confetti to decorate.  

Below is a video of how the card wobbles.


I hope you enjoyed my feature card and that it has inspired you to enter our bi-weekly challenge for a chance to win a free stamp set. We love to see what you create!
Have a great day and happy creating!
Copics used:  E21, E50, E51, E53
W5, R20
Y11, Y21, Y23, Y35
RV55, RV63, V12, V15
G40, G43, B41, B45

You are invited to the Inlinkz link party!

Click here to enter

Friday, January 31, 2025

I Love You Tons! Card by Tasha

 Happy Friday Ai Friends!

Tasha here sharing a new Valentine's Day card created with 5219-Lovable Animals Set and inspired by the current Art Impressions "Highlights" Challenge. This set has four adorable animals, but I just love this sweet elephant with his little bow tie!

The elephant was stamped with black hybrid ink, colored with Copic markers, and cut with the included dies. The die also creates the opening on the arms, so you can add different accessories to customize your card or project. Since Valentine's Day is coming up, I used the included small heart die to cut a red heart and added white accents with my paint marker. I also used my paint marker to add little dots on the bow tie; so cute!

After the elephant was colored, I made a background with puffy clouds and a wooden floor. The greeting "I Love Sharing My Heart With You" goes perfectly with the theme of this card and coordinates with the paper heart; I love it! 

Lastly, I attached layers of black, red, and white card stock, silver glitter paper, and a piece of heart pattern paper. I also attached white enamel dots to complete the design.

Thank you for stopping by and I hope your enjoyed today's card and will join in the "Highlights" Challenge!


Thursday, January 30, 2025

Valentine Shaker by Dori Mendiola

 Happy Thursday AI Friends!

I've always had an interest in shaker cards but don't find that I make them very often.  I don't know why because I have collected all of the little bits to fill them.  😁 Soooo, I decided to make one for Valentine's Day.  I just love seeing all of the little hearts bouncing around.  They really are fun to make plus fun to shake.

I began by stamping the fox from the #5219 - Loveable Animals set with Memento black ink onto copic friendly paper and coloring with my copic markers listed below.  This set comes with the coordinating dies so no fussy cutting necessary.  Yay!  It also comes with some accessories that each of the animals can hold in their paws.  The heart was appropriate for this card, but the other choices are a flower, present, cupcake, party hat or letter.  I stamped the sentiment from this same set on a tag from the 
#5132 - Tag stitched die set.

To make the shaker, using two nesting heart dies taped together, I cut two hearts from acetate or clear packaging, one from red cardstock and four from white heavy cardstock.  I glued the acetate to the back side of the red heart and then layered (glued) all of the white cardstock hearts to that.  Place the shaker pieces inside the well of the hearts and then glue the last acetate heart to create the shaker pouch.  I find it easier to make a shaker pouch so you can place nicely onto your project and see exactly where you want to adhere it.

That's it for my card today.  Hope you enjoy it!  Keep creating!

Copics used:  R20, E93, E95, E97, E99
 

Sunday, January 26, 2025

Chubby Snowman Card and Lovable Animals Valentine's Cards


Happy watercolor weekend! For my first card, I stitched a snowflake while visiting my family during Christmas. When I got home, I knew I needed a cute little snowman and smaller snowflakes to go with it. The Chubby Snowman Set (5351) and the Snowflake Frame Set (5782) were perfect choices.

I painted the snowman using Tombow markers in the following colors: 312, 565, 969, 879, 977, 850, 025, 526, 933, 856, N55, and N75. I selected the Winter Woodland collection for the paper inside and outside the card. I die-cut the snowflakes from some silver foil and blue paper. 

I incorporated sentiments from the Christmas Sentiments Set inside the card (5566). To add more detail, I added snowflakes and a decorative edge to the Winter Woodland paper pack. For the final touch, I used Dr. Ph. Martin's Bleed Proof White to add details to the snowman.


For my second card, I wanted to create a cute animal-themed Valentine's card. The Lovable Animals stamp set with dies is perfect for this project! 

To start, I stamped the animals using permanent ink and then painted them with the following Tombow markers: 850, 856, 933, 025, 526, N55, N65, N75, 772, 977, 992, and 177. After that, I cut out all the elements and sponged around the edges of the large hearts and bows with a red stamp pad. I then glued the die cuts to the front of the card.

To make the popup heart inside the card, I cut a piece of matching cardstock measuring 3/4" wide by 3" long. I scored the paper at 1 1/2" in the center and scored each end at 1/4". After folding all the scored lines, I glued the flaps inside the card—one at the top and one at the bottom. You can then attach anything you’d like to pop up. I added a few extra details inside, and my card was finished.

If you have any questions, feel free to ask. Thank you so much!


Monday, January 29, 2024

You're a Gem Challenge - you still have a few days to enter!!

 Hello AI Fans!!

Have you entered the You're a Gem Challenge yet? If not, you still have a few more days left to enter for your chance to win an AI stamp of your choice! You also still have just a few days left to enter the color challenge for a chance to win a stamp and become a Guest Designer for Art Impressions for the month of March! How exciting is that??!! My cards today (I'm going to show you two) meets the You're a Gem Challenge to use some bling on your project. How fun!! 

The first card is a slimline card I made using three of the adorable critters from 5219 Lovable Animals Set. They're stamped with Memento ink and colored with Copic markers. I just added a little gem to each of the hearts they are all holding. The dies with this stamp set cut slits in their "hands" so they can hold a varitey of adorable pieces that come with the set. 


For my second card, I also used T5219 Lovable Animals Set.  I stamped and colored up these cuties a couple of years ago and never used them on a card. So I'm sorry I don't have a list of the Copic markers I used to color them. I used some sequins with this cutie, and a touch of Stickles. 


 Thanks so much for stopping by for a visit today! Until next time - stay crafty!!


Thursday, January 25, 2024

You're a Gem Challenge 367 Week #2

 Welcome to week 2 of our You're a Gem challenge!


Janet had an elaborate front and inside for her card.
FRONT: Flip Card Mason Jar Cutting File with 5041 Snow Friends Set, 5779 FB Snowman, 5853 Christmas Magic PP


We hope you love all of this amazing inspiration from our Design Team!
We can't wait to see what you create for the challenge.

✻ Please make a new card or handmade crafty creation. You can make any item you wish; this is not limited to cards!

✻ Limit two submissions per person. You will receive extra votes if you use Art Impressions stamps!
 ✻Please include your first name and last initial on your submission.
✻We love to comment on your entries, but keep in mind if you use a private group or a platform that you need to sign up for, we probably won't be able to.
✻ The Ai Challenge is open to everyone, international submissions are welcome!
✻ Include a link back to the Ai Blog or grab our button on the top right of our sidebar!
✻ Share the Ai love if you can, by clicking and commenting on your fellow crafters.
✻ Make sure to get your link up by the deadline to enter your creations.
✻ Good luck and happy stamping!

You are invited to the Inlinkz link party!

Monday, January 15, 2024

Lovable Animals by Sharon Caudle

 Hello AI Fans! 


I hope you're having a great start to your week! It seems as though a lot of the US is experiencing super cold temperatures and lots of snow! I hope you are staying warm, safe, and cozy in your home and not having to do a lot of shoveling!! I've got two fun Valentine's Day cards for you today.  Have you started making yours yet? The images from 5219 Lovable Animals Set are stamped with Memento ink and colored with Copic markers. The decorative panel they're on was cut using 5768 Decorative Journal Page 1. 


Thanks so much for stopping by for a visit today and until next time - stay crafty!