Showing posts with label die cuts. Show all posts

Friday, February 14, 2020

Happy Valentine's Day Best-Tea | By Jessica Shier

Hello Ai Fans!
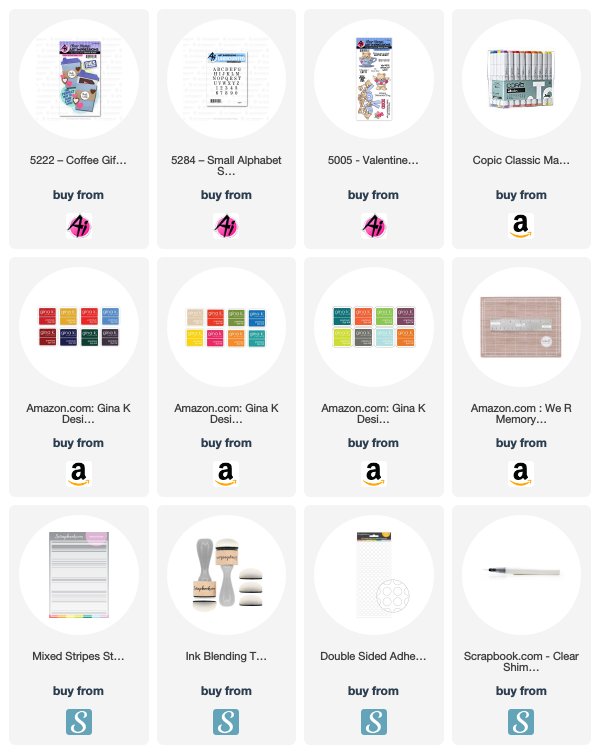
It's Jessica. Happy Valentine's, Galentine's or Friday! However you are spending today, I hope it is a good one. Today I'm sharing a cute little card using the new Coffee Gift Card Holder set, Small Alpha stamps and the Valentine's Bear stamp set. I decided to use the Coffee dies as just die cuts instead of a gift card holder. I'm also making this one a tea themed card!


For this card I did do lots of stamping, coloring and inking. I have a video tutorial to share. So you can see exactly how I went about creating this one. 

Copic Markers used listed below.


I love the versatility of the Coffee Gift Card die set, there are just so many fun stamp images that you can pair with to create something similar to this one! Plus the Small Alphabet stamp set has been a fun addition to creating my own sentiments on cards, like I did here. By simply stamping U and R at the top and adding the sentiment from the Valentines Bear set "Beau-tea-ful" I created the perfect sentiment for this tea themed card.


That is all I have to share with you today. I hope you enjoyed the video tutorial! Thank you for joining me and happy stamping. 


Friday, April 19, 2019

Happy Tails Slider Card | By Jessica Shier

Hello Ai Fans!


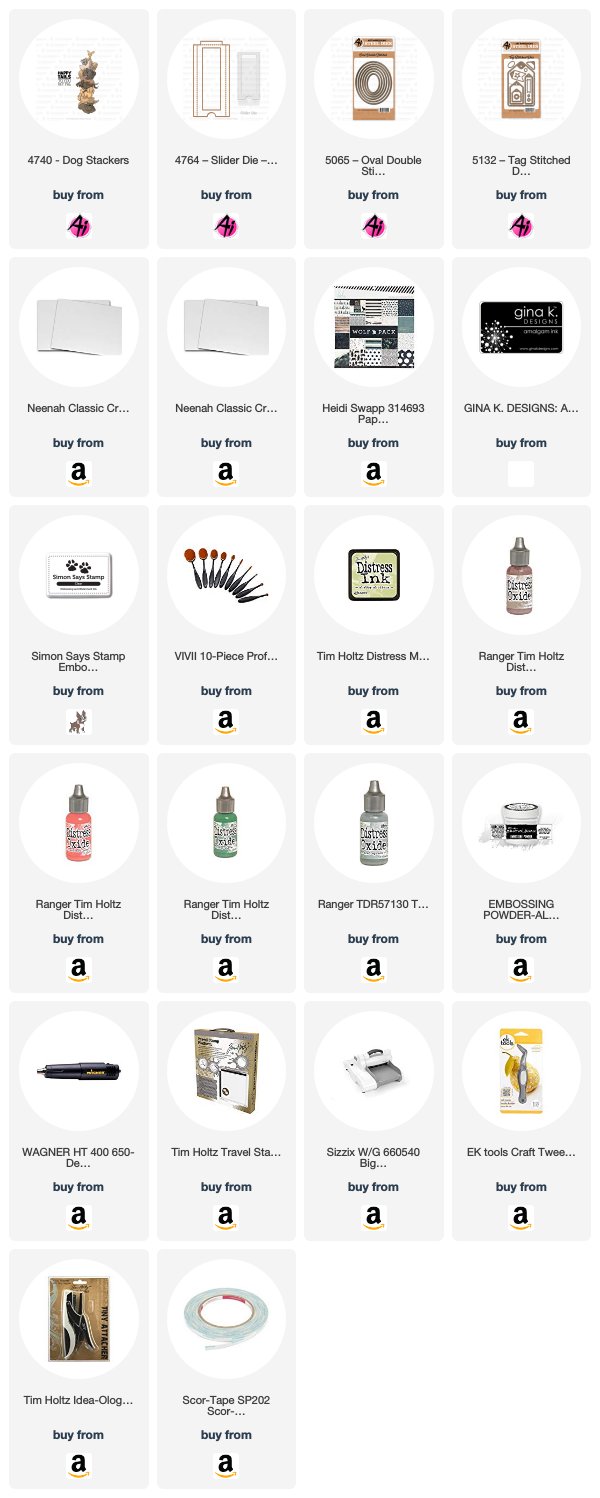
I've been really enjoying the Art Impressions Stacker sets and knew I wanted to play with the dog stacker. Honestly anything with a Dachshund and I want to color it, but this is truly a fun dog pile! I also made the paw print with dies, so easy!


I started with die cutting the slider mechanism, per the instructions on the back. A good dry adhesive is what I used. Some quick measuring and I cut the slider pull with a watercolor paw print pattern paper. Then attached a small piece of black ribbon in a loop using the Tiny Attacher and ink blended the slider frame with a distress ink. Gradually blending out to the white cardstock.


The last two details took some trial and error. I used a small blending brush to flick a Distress Oxide reinker  and water mixer on to the white back panel. So messy! A random brown box does well to keep most of the spray contained, plus reusable!

So those tiny little dots took some time to dry even after heat setting. While I waited I started on the paw print. For this I was able to use 2 dies, the smallest from the Double Stitched Oval die set and the tiny oval from the Double Stitch Tag die set. It's a little oblong and if I had a nice heart shape I could have used that as the large pad, that would be super cute. This is when I also chose to stamp my sentiment. This one says "Happy tails to you my pal" . Using a clear sitcky ink and white embossing powder.


The fun part was coloring the dogs, using Copics, my plan was to have 3 different shades of dogs . Once again I was inspired by the packaging art! But, I didn't see the little guy at the top! So he's the only one in grays. lol. Which I thought worked and made a second one just like the first! The copics I used are listed below. 

Copics Used.

Beige - E81, E43, W3
Tan - E31, E35, W3
Dark Brown - E77, E74, E59
Gray - W6, W3
Tongue - R14

Thank you for stopping by today! Happy Stamping!


Wednesday, October 16, 2013

Witch Wanda caught in a web by Crystal


Hello Ai Fans !!
It's Crystal here with a card using the Witch Wanda set #4311 , I do love making Halloween cards and this new witch is so fun , it's a must have for your collection .

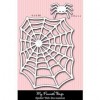
To make this card I started with black card base then I used a double-sided paper Purple with black dots and webs on the other side , so I made layers with this paper (Pepples tricks and treats paper ) next I cut my web from vellum and I wanted to make it stand out more so I added score tape and put diamond glitter on it
Witch Wanda 002done , I hope you can see the bling
Witch Wanda 004next I colored my witch with copics added sentiment , my spider is hanging by the twine , I also added goggle eyes for some funWitch Wanda 013Witch Wanda 014Witch Wanda 015
inside my card
Witch Wanda 016
now for some eye candy for the postal person .. I love decorating my envies
TIP : when coloring on your envelopes always insert some card stock under your image ( inside envie ) so it will not bleed thru and since the envelopes are so thin it always helps with wicking the ink to not bleed outside the lines .below you can see it did bleed on my insert CS
Witch Wanda 005next I make a mask over my colored image to add ink splats around herWitch Wanda 007I used SU Lucky Limeade for splattersWitch Wanda 008ink the edges with a sponge in the Lucky LimeadeWitch Wanda 010finished envelope can you see the WOW factor decorating the envelope addsWitch Wanda 017
the pair are finished
Witch Wanda 012
copic colors used
Witch Wanda 018

I hope you liked my tutorial toady I had so much fun creating it.Come back tomorrow for a new Challenge on the AI blog , we hope you can join us .Have a great scrappy day : )
Crystal Signature

Wednesday, October 9, 2013

Air-Hag on board by Crystal


Hello Ai fans !!!
It's Crystal here with a Halloween card using Air-Hag set # UM4309 . I just love this new witch that Ai has added to their awesome collection of stamps , I hope you add her to yours as well.
here is how I created my card
first I sponged on a moon with crushed curry ink , then I sponged grey clouds for a spooky look , I just use a scallop I die cut and ink the die edge move directions as to go down the page , yes I even inked the clouds over the moon too.
Air Hag 001next I cut my haunted house out using my Cricut and the Happy Haunting cartridge , I cut the house at 5 3/4" , I glued down my houseAir Hag 002
I added a black layer and a lime green base to my card , I colored my witch and bats with Copics and fussy cut them out , I pop them up on glue dots. I add shimmer over the witches dress with my shimmer pen then I run my finger over to give an even shimmer to her.
Air Hag 007
Air Hag 006
Air Hag 008inside my card i used my crop a dile to add grommets and lace up with twine , I created a pocket so you can add a treat inside ( like a coffee card or money )Air Hag 009these are the copic colors I usedAir Hag 003

Thanks for stopping in , come back tomorrow and see the inspiration the  Ai DT as for the Fun Folds challenge .
Crystal Signature