Showing posts with label Ink Blending. Show all posts

Friday, April 8, 2022

New Release Front Porch Garden Card by Tasha!

 Happy Friday Ai Fans!

Tasha here sharing a Spring card created with the New Ai Front Porch Garden and Front Porch Door Sets!
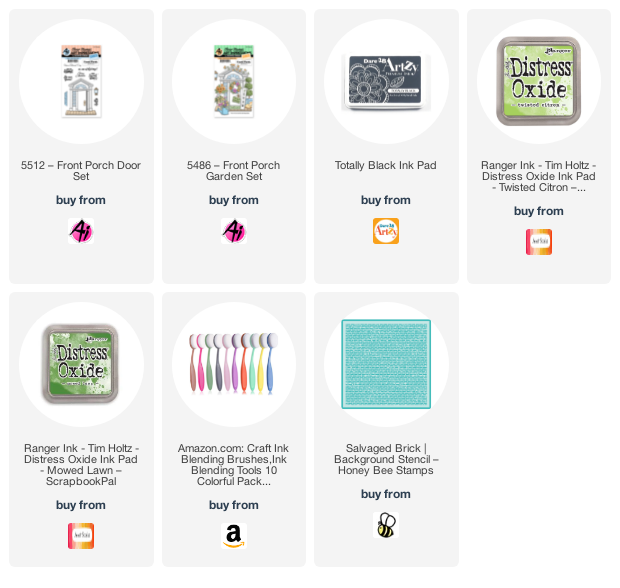
The Front Door image was colored with Copic Markers and I used a brick stencil to resemble a brick home. This door will be so fun to decorate for all the seasons and you can change the house and flower colors to make the home personalized. I also colored in the windows to look like the home had lights on inside. This cool set also includes coordinating dies to cut out the images and open the door.


Ai released several themed stamp sets that coordinate with the Front Porch Door. I used the new Front Porch Garden on my project. I love the tulips in the watering can and the hanging basket with the floral arrangement!


Lastly, I added the greeting "Have a Blessed Day" to a stenciled grass background. This sentiment is great for Spring, but can be used year-round. I also added the "In my Garden" sign to the door to complete the card. I know several people who love to garden and I had them in mind when I was making this card.

I hope you enjoyed a peek at the New Ai Front Porch Garden and Front Porch Door Sets. All the sets are available now and are so much to create with!

Have a great day!


Thursday, January 27, 2022

Llama Themed Birthday Card by Tasha

 Hi Ai Fans!

Tasha here sharing a new card created with the Ai 5458-Llama Set. This set is so fun and I love this pair of Llama friends with their cool clothing and accessories!
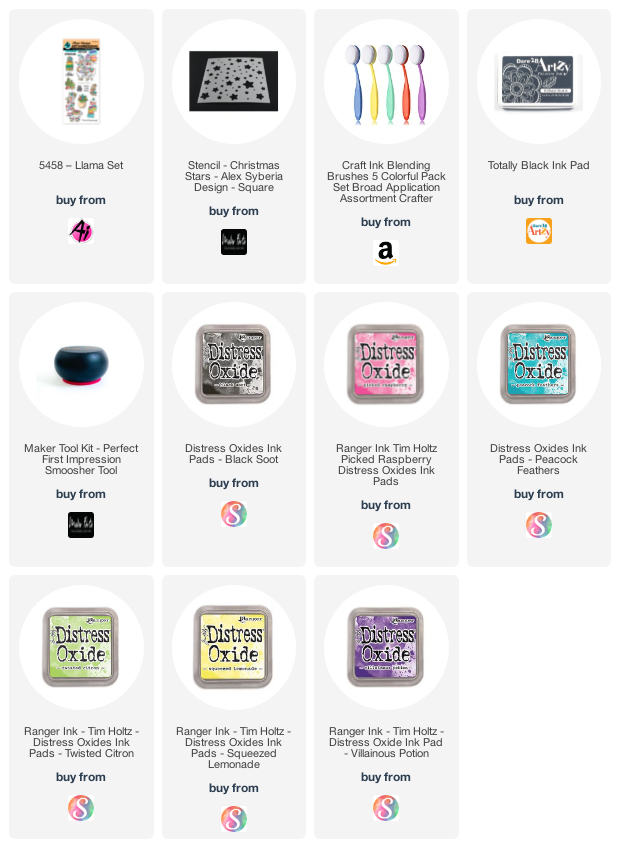
The background was created by ink blending several shades of Distress Oxide Ink and stenciled black stars on top of the bright colors. To continue with the Star-theme, I cut a large star from black glitter paper and layered the sweet llama pair on top. This card has a cool rockstar vibe and I love it!


The sentiment was stamped with black on to bright white card stock. The white paper pops surrounded by all the bold colors and stars. This greeting is so fun and totally goes with the festive llama characters.


Lastly, I added a layer of silver glitter paper before attaching the card to a white card base. I think this card is so cheerful and will make someone happy on their birthday!
Thank you for checking out today's project and I hope you are having a great day!


Friday, September 3, 2021

Pumpkin Spice Card by Tasha

 Happy Friday Ai Fans!

Tasha here sharing a new Fall-themed card created with the super cute Feast Mode Stamp Set!
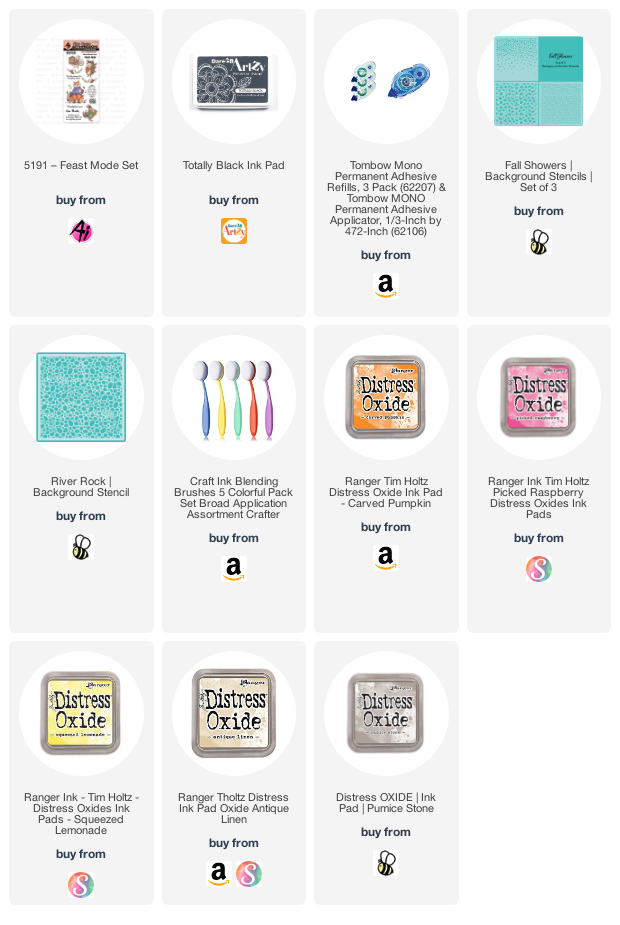

The sweet fox was stamped with black ink and colored with Copic Markers. I masked off the image and used two stencils to create the autumn background. I blended multiple shades of Distress Oxide Ink for the falling leaves and stones on top of cream paper. I love the warm golden shades!


After the ink blending was completed, I gently pulled off the masking paper and colored the Fox. This cute fox looks so happy enjoying the Fall day with his warm drink; I am so excited for sweater weather!


The sentiment, "Tis the season for Pumpkin Spice" was stamped directly on the stenciled stones. I'm a big fan of all things pumpkin and thought this was a great greeting for this card!


Lastly, I added coordinating layers of cardstock and a pretty orange plaid paper to complete the card. I also added some gold, white, and metallic bronze ink to the background for more detail. I love how this design turned out and can't wait to send it out this Fall!

Thank you for checking out my card today and I hope you have a wonderful weekend!


Monday, July 26, 2021

Birthday Pheasant by Bri Firth

Hello Ai Fans - Bri Firth here! Today, I am sharing an elegant card design featuring the Miss Set by Art Impressions. The Miss Set is part of Ai's Hats Off collection. Check out the all of the 2021 releases here. This card is featured on my personal blog today, check it out here


I decided for this wacky birthday card to pair the adorable woman with the pheasant hat and the coordinating sentiment. I colored the woman and her hat with my Copic markers. I used the Foliage Leaves stencil to coordinate with the bird theme and to make a feather-like background on the card front and stitched oval. I used Fired Brick and Peacock Feathers Distress Oxide inks to ink blend with the stencil. I used Vintage Photo Distress ink to stain the edges of the edge cuts. To finish the card I added coordinating enamel dots.


Check back next week for more Ai inspiration made by me!

Ai Products Used:

Miss Set

Oval Double Stitched Dies

Friday, July 9, 2021

Up Up and Away

 Happy Friday Ai Fans!

Tasha here sharing a new mini slimline card created with the fun #SC0649 - His & Hers Flying High Set.


All of the images were stamped with black ink and colored with Copic Markers. I used masking paper to block off the stamping before ink blending the background. This couple looks like they are having a great time flying through the air and I love the doggie stamp!


This set includes several sentiment stamps and this cool banner. I like the "Birthday Wishes" greeting and the size works great on a slimline card!


To complete the card, I added layers of yellow and blue before attaching it to a white card base. I love this cheerful card and look forward to sending it to someone special!

Thanks for stopping by and I hope you enjoyed today's project!


Thursday, April 29, 2021

Heard It's Been Ruff


Hi Ai fans! Hope your week is going great! This week I thought I would play with a little bit older stamp set Doggy Kisses. I realized I have never made a card with it and the dog with the cone was calling to me since my foster puppy had a cone on him. Well I didn't end up using the dog image with the cone but I thought this one with his teddy bear was too cute. 


I stamped the image onto smooth white card stock with Versafine black ink. I stamped the images onto mask paper too and fussy cute them out to cover the image to stencil the background. I also covered the sentiment up with masking paper. I used a zig zag pattern stencil and inked it in blue and yellow ink over lapping a bit to get some blue. 


I Pulled the masking paper off and colored in the images. After everything was dry I die cut it out with a double sided stitched rectangle die. Added it to a larger pattern paper double stitched rectangle die cut. Super fast card with bright colors to hopefully brightens someones day up who might need it. 

Spectrum Noir Markers: LG2, LG3, LG4, IG2, IG3, RB1, FB2, RB3, RB4, EB1, EB2, EB3, FS4, BT2, BT3, BT5

Happy Stamping! 


Monday, January 11, 2021

Ai Friends Are Never Far Away by Bri Firth

Hello Ai Fans - Bri here! Today I am sharing an interactive card featuring the Holiday Mansion stamp set, HM Garden stamp set, and EZ-Lights from Pear Blossom Press!  This card is also featured on my personal blog, check it out here


First I ink blended a rainbow sunset background using Blueprint Sketch, Wilted Violet, Picked Raspberry, and Squeezed Lemonade Distress Oxide inks. I used pigment black ink to stamp a sentiment on top of the sunset background. Next, I die cut the grass borders and the wooden fence and used them to create the outdoor scene. I used Copic markers to color the holiday mansion and the garden accessories. I used the V20's series to color the house. I used the steps below to make the windows illuminate. I finished the card by placing the garden accessories throughout the scene. 

How I create a light up card:
  • Color the image, use an X-Acto Knife (or dies) to cut out the areas on the image where you want the light to shine through (i.e. the house). 
  • Select your image placement on the card background (sunset background) and with a pencil trace the openings onto the card background. Now you know where to attach the lights!
  • Use glue dots, tear tape and Scotch tape to adhere the EZ-lights mechanism (battery holder and button, the wires, and the lights) to the card background. I attach the lights to the background so that the illuminated areas aren't so concentrated.
  • Add vellum to the back of the house to hide the lights and attach the image to the card background using double layered foam tape to account for the height of the battery and button mechanism.
  • Attach the house to the card base. 
  • For final touches add a "Push Here" button and now you have a light up card!

On the inside of the door openings stamped the sentiments onto distressed gray cardstock. I stamped the sentiment in the large door way opening and I stamped the "Push Here" sentiment inside the smaller doorway for the light up mechanism. 

Check back next week for more Ai inspiration made by me!

Ai Products Used:

Monday, December 14, 2020

Sweet Animal Nativity with Bri Firth

Hello Ai Fans! Today I am sharing my creation for the Reasons for the Season Challenge. For more information on this challenge check out the announcement here. My project features the Animal Nativity stamp set. This card is also featured on my personal blog, check it out here

I used two different shades of wood grain paper and some ink blending to create the barn themed background. I used Mustard Seed, Fossilized Amber, and Rusty Hinge Distress Oxide ink to create the hay-covered colored floor. I used Vintage Photo distress ink to create an ink splattering effect on the ink blended cardstock. I used a stitched slimline die to create the smaller layer on the front of the card. 


I colored all of the images with my Copic Sketch markers. I used Warm grays to color the sheep and the donkey, E40's for the bunnys, E30's for the camel, and E50's for the cow. I listed all of the markers I used at the end of this blog post. 


I stamped the sentiment with pigment black ink onto a piece of cardstock that I ink blended with Fossilized Amber Distress Oxide ink. Then I cut out the sentiment with the Rounded Rectangle Double Stitched die set. I distressed the edges with Vintage Photo Distress ink.

Check back next week for more Ai inspiration made by me!


Copic Markers I Used
C: C00, C1, C3
W: W0, W2, W4, W6, W8
E: E0000, E000, E00, E21, E11, E04, 
E13, E15, E17, E18, E23, E25, E27, E29
E30, E31, E33, E35, E37, E39, E40, E41, 
E42, E43, E44, E50, E51, E53, E55, E57, E59
RV: RV000, RV00, RV11. RV13
R: R30, R32, R35, R37, R39
YR: YR23, YR24, YR27
Y: Y00, Y21, Y23, Y26, Y28
B: B0000, B000, B00, B01

Friday, December 11, 2020

Embossed Pointsetta Christmas Cards | By Jessica Shier

 Hey Ai fans!

Happy Friday! We are getting close to Christmas Day and I'm always in need of some quick and easy cards to give out. I love the detail in the Poinsettia set, so I let it do all the work and heat embossed over some colorful ink blending. You can find this set from Art Impressions exclusively on the Scrapbook.com website. 

For the ink blending of the red and green cards I used the following Distresss Inks.
Red: Aged Mahogany, Fired Brick, Barn Door
Green: Forest Moss, Mowed Lawn, Twisted Citron


I also used Black Soot to really darken those edges. All ink blending is done on Bristol Smooth cardstock.

For the blue and Teal cards I used the following Distress inks.

Blue: Blueprint Sketch, Salty Ocean, Weathered Wood
Teal: Pine Needles, Evergreen Bough, Tumbled Glass

A fine embossing powder is ideal to really showoff all the beautiful detail of the Poinsettia set. I also used Versafine Clair Nocturne ink to stamp the sentiments and added some bling with coordinating sequin colors.


Monday, December 7, 2020

Koala-tea Birthday Card by Bri Firth

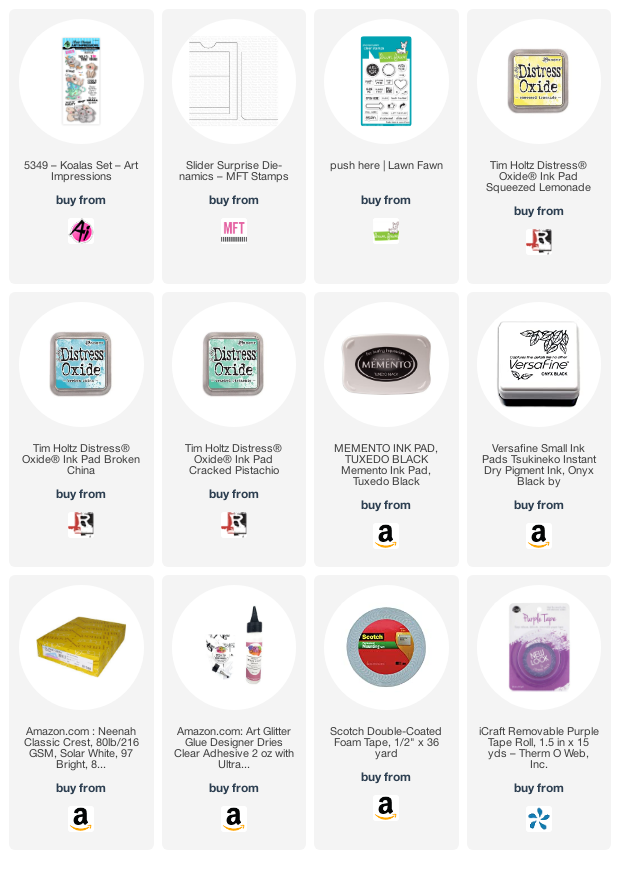
Hello Ai Fans! Today I am sharing my creation for the Pets Challenge. For more information on this challenge check out the announcement here. My project features the new Koalas stamp set with the adorable koala in a tea cup! This card is also featured on my personal blog, check it out here

To create this interactive birthday card I used the Surprise Slider from My Favorite Things. When you pull the tab the koala and tea cups stand vertically and it reveals a hidden birthday sentiment! Isn't that fun?

First, I die cut the front panel and scored the center section. I used Squeezed Lemonade, Broken China, and Cracked Pistachio to create the ink blended background. I stamped the "G'Day!" sentiment and the confetti with Versafine pigment black ink. To finish the front panel I colored the teacups and the koala with my Copic markers and glued the image to the bottom folding section. The colors I used are listed at the end of this blog post. 


I die cut a scrap piece of pale yellow cardstock to create the pull mechanism. I stamped a small triangle at the top of the pull tab so the recipient knows how to interact with the card. Make sure to use foam tape to attach the front panel to the card base so the pull tab has enough space to move easily. I used light blue cardstock as the card base. To finish the card I stamped the hidden birthday sentiment and confetti onto the card base. 


Check back next week for more Ai inspiration made by me!

Copic Markers I Used
Pinks: RV21, RV11, RV000
Yellows: Y11, Y13, Y15
Greens: YG000, YG21, YG23, YG25
Blues: B000, B00, B02, Bg57, BG53
Koala Fur: W6, W4, W2, W0
Koala Nose: E49, E47
Grays: C3, C1, C00

Monday, November 23, 2020

Single Layered Floral Friendship Card by Bri Firth

Hello Ai Fans! Today I am sharing my creation for the Border Challenge. For more information on this challenge check out the announcement here. My project features the new WC Lily Border stamp set which is a really fun image to color! I also created an assembly video so make sure to check that out too! This card is also featured on my personal blog today, check it out here
I wanted to make a simple card where the main focus was the stamped WC Lily Border image. So I first stamped the image onto the white card base using Memento Tuxedo Black ink. I stamped the image again onto some Masking Magic paper to create a mask to place over the image for ink blending. I used my Copic Sketch alcohol markers to color the floral image. I used RV29, RV21, RV11, and RV000 for the pink areas, I used C2, and C4 for the white shadows, and I used YG61, YG63, and YG67 for the greenery. I stamped the stamens in the center of the flowers once I finished my coloring.  

Next, I placed the lily border mask on top of the colored image to protect it from the ink I used to make a textured background behind the floral image. I used the Comic Dots stencil from Kindred Stamps and Tumbled Glass Distress Oxide ink to blend the small circles in the background. After I finished ink blending I peeled the lily mask off of the card base. The Gina K. Designs Masking Magic paper is awesome to use because you can re-use the mask multiple times!

To finish the card I stamped the sentiment "Friendship Blooms from the Heart" from the WC Sentiments stamp set with Versafine pigment black ink. 


Check out my assembly video below:
Check back next week for more Ai inspiration made by me!

Copic Markers I Used
Pinks: RV29, RV21, RV11, RV000
Greens: YG61, YG63, YG67
Grays: C2, C4