Hello, Ai Watercolor Fans! It's a beautiful Saturday morning, and time to share beautiful projects from our design team to inspire your creations this weekend! Let's take a look!
Hello Friends,
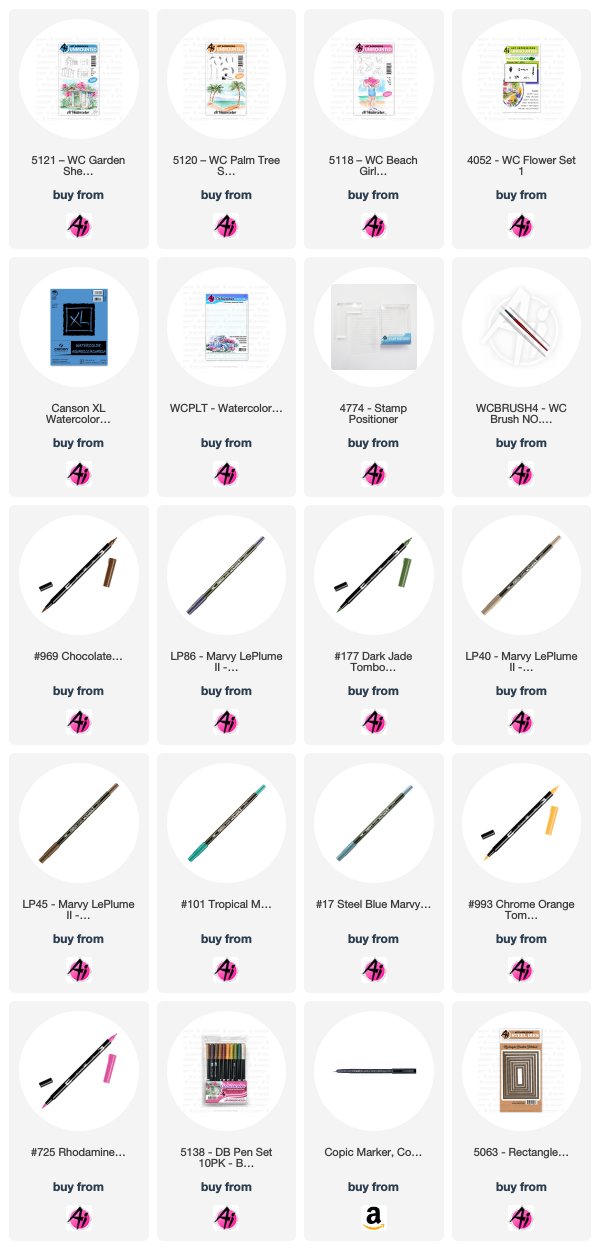
Here's the card I made for the Art Impression's Watercolor Weekend. It could be my granddaughters on their trip to Hawaii in March. I stamped the shed from the 5121 - WC Garden Shed Set using both 86 African violet and brown 969 after I stamped it off on a scratch piece of paper first. I used the brown to color in the roof and door knob area. I used 17 steel blue to watercolor the shed and the windows. I stamped in the palm trees from the 5120 - WC Palm Tree Set with the brown and green 177. I used the smallest palm frond to stamp the ground cover and then used the flowers from the 4052 - WC Flowers Set 1 in the pink 725 for the flowers. I used 101 tropical with a touch of green mixed in to color in the water using straight strokes and brown to watercolor the sand. I stamped the little girls from the 5118 - WC Beach Girls Set using the 40 brownish grey then colored them with yellow 993, 77 pastel peach, steel blue, pink 725 and brown 969. I stamped one flower at a time with the pink for the swimsuit and then added a yellow dot in the centers. I used the fine tip of the 45 sepia to add hair strands to both girls. I used 86 African violet to add the shadows under the girls, trees and house. I used very little of the blue and a lot of water to color in the sky. I cut out the picture using the 5063 - Double Stitched Rectangle Dies and adhered it to my card base. The last thing I did was sign and date it.
Here's the card I made for the Art Impression's Watercolor Weekend. It could be my granddaughters on their trip to Hawaii in March. I stamped the shed from the 5121 - WC Garden Shed Set using both 86 African violet and brown 969 after I stamped it off on a scratch piece of paper first. I used the brown to color in the roof and door knob area. I used 17 steel blue to watercolor the shed and the windows. I stamped in the palm trees from the 5120 - WC Palm Tree Set with the brown and green 177. I used the smallest palm frond to stamp the ground cover and then used the flowers from the 4052 - WC Flowers Set 1 in the pink 725 for the flowers. I used 101 tropical with a touch of green mixed in to color in the water using straight strokes and brown to watercolor the sand. I stamped the little girls from the 5118 - WC Beach Girls Set using the 40 brownish grey then colored them with yellow 993, 77 pastel peach, steel blue, pink 725 and brown 969. I stamped one flower at a time with the pink for the swimsuit and then added a yellow dot in the centers. I used the fine tip of the 45 sepia to add hair strands to both girls. I used 86 African violet to add the shadows under the girls, trees and house. I used very little of the blue and a lot of water to color in the sky. I cut out the picture using the 5063 - Double Stitched Rectangle Dies and adhered it to my card base. The last thing I did was sign and date it.
You can find more inspiration by following me on my Instagram account here.
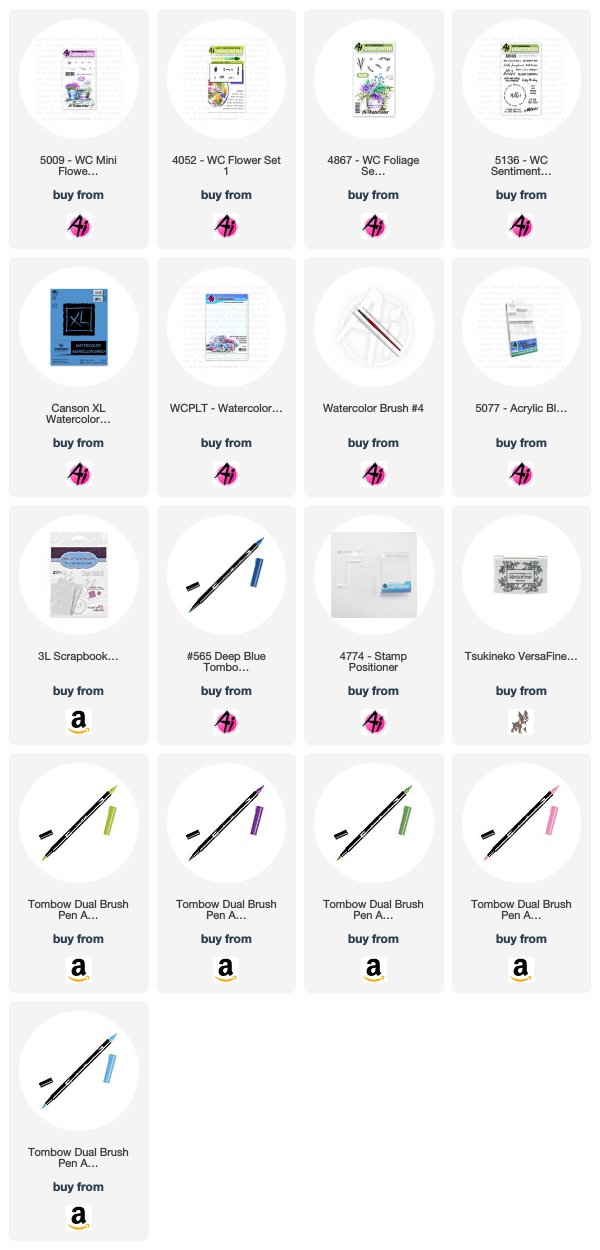
I've had the idea for the dress card floating around in my head for awhile. I wanted to use the Ai floral & foliage stamps to create a sort of life-like embroidery look, and kept going to create a grouping of wedding themed items. I sketched the outline of my dress in pencil, directly onto my watercolor paper, and indicated where I wanted the higher points around the hemline to be as a stamping guide. Using the Daisy Bunch in Flower Set 4052 and my #703 Pink Rose marker I stamped it three times without reinking, multiple times around the hem, and again on the neckline. I repeated this with the tiny cluster from 5009 WC Mini Flower Set in #676 Royal Purple. For my last flower, I used the Mini Foxglove from Flower Set 4052 and #533 Peacock Blue, stamping it three times in a row to create the flower stalk. With my #126 Light Olive marker, I coloured just the tip of both of the trailing ivy stamps in 4876 WC Foliage Set 2 New to fill in the greenery, making sure to change directions to keep it looking random. I used my damp #4 paintbrush to dab at each of the flowers & foliage to soften each image and enliven the colours. It then became apparent where the holes were on my 'embroidery', so I used the small green from 4876 WC Foliage Set 2 and #158 Dark Olive to fill in those white spaces. I left these as is, not using my paintbrush, as it defined the shape of the foliage a bit more. I traced the pencil outline of the dress with #533, and used this colour with my brush to add some shading. I picked up #565 Deep Blue from my palette and painted a background wash around the dress. I went in with all of the markers directly onto the image to add in a few deeper colours. The sentiment is from WC Sentiment Set 2, stamped in Versafine Onyx Black. I used my sewing machine to stitch the panel to some coordinating cardstock and adhered it to my base with pop dots, then glued on some iridescent sequins.
The colours and stamps are all the same for my other two projects. For this card, I sketched in the cake and the table, just adding foliage to each layer. I sketched in a heart as my cake topper, and painted in a few ripples on the tablecloth. I stamped this sentiment separately, matting and stitching around it, and adhered it with pop dots going off the right edge.
As a fun little add on, I painted a bouquet and drew in a ribbon bow underneath it to use as a placecard.
Welcome back AI fans to Watercolor Weekend! I wanted to do a simple project for this weekend, so I decided to do this Simple Things Vase. This project is really easy and quick. I have done a video for you to show you just how quick.
Project Details
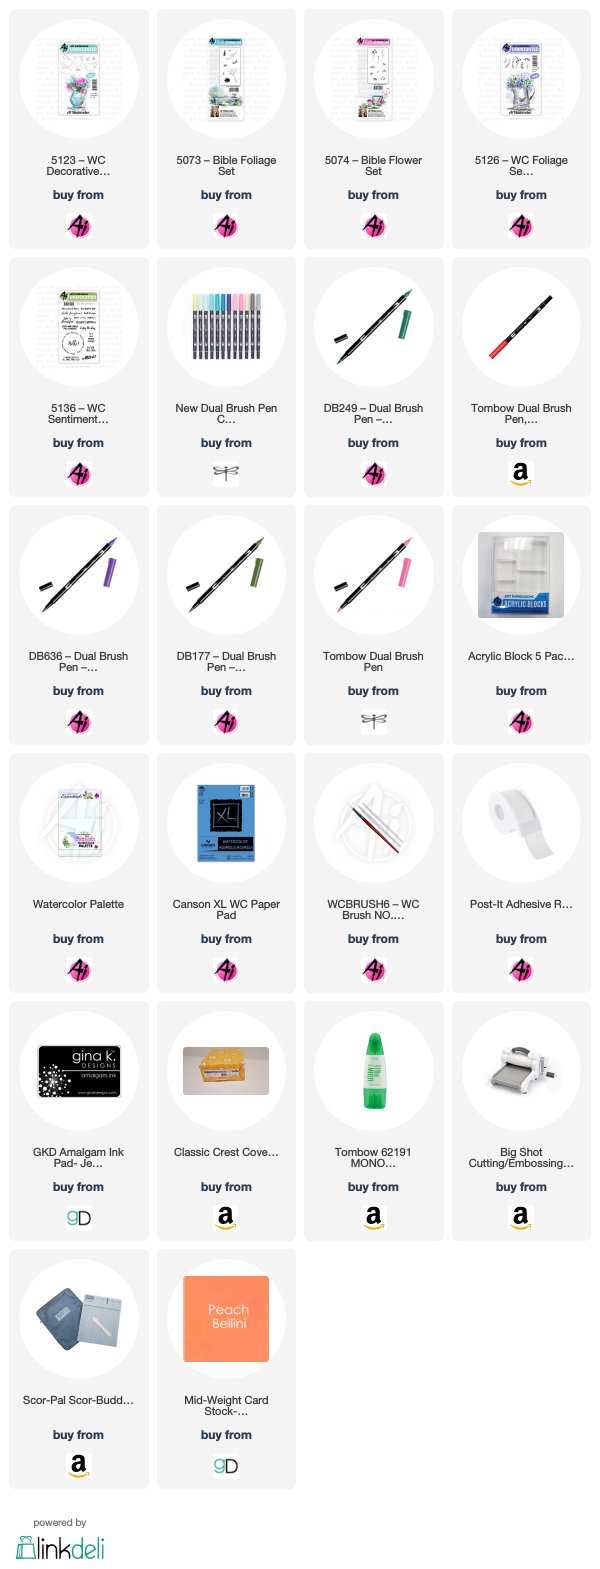
Step 1 – Ink up the Vase from the WC Decorative Vase Set with Blue. I wanted my vase to be white so I am using the tombow 569 but you can use any marker you may have. Bonnie Krebs uses 565 a lot in her videos. I stamped it to the left side of my paper to allow room for my sentiment. Next, pull the color out of the lines along the right and left side of the vase. This creates the illusion of the vase being round. I wanted the area under the spout and the right side under the handle to be really dark.
Step 2 – Cover your vase with a mask, I am using a piece of Post-It tape. Stamp in your foliage. I am using the leaves from the Foliage Set 4, but you can use any foliage/vines you may have in your collection. This is the greatest part of Art Impressions watercolor line; all the stamps can be used together for any project. Therefore, you don’t have to feel like you can’t create this project because you don’t have the exact stamps I am using. I inked them up with 158 and stamped them a few times. Add water to the leaves.
Step 3 – Ink the flowers with a color of your choice. I used the Daisy Bunch from the Bible Flowers Set inked with 905. I only inked up the top 3 flowers and stamped them in a circle a few times. Stamping items in groups of three is visually appealing so I stamped one in the middle and one on each side of the vase. Add water to the blooms.
Step 4 – To create a little more interest, I used the vine from the Bible Foliage set to create different leaves around the blooms. I inked it up with 249 and stamped it several times around each of the blooms. Add water to the leaves.
Step 5 – Ink up the dots (they remind me of lilacs – although I keep calling them violets LOL) with a purple. Unlike the daisy bunch, this stamp is walked out to create the lilac. Again, I stamped three different blooms. Add water to the blooms. I added a small amount of 569 from my palette underneath the vase to ground it and create a shadow.
Step 6 – In order to create some additional interest, I added the accent flowers to the vase. This created some height and I just love how they look on any project. I inked them up (I used the left and right stamp) with the 379 and stamped them several times around the vase. No need to add water to these.
Lastly, I signed and dated it.
Card Details
I stamped the “It’s the Simple Things” to the right side of the panel using a sentiment from the WC Sentiments 2 set and some Gina K Designs amalgam ink. I thought it needed a little something more, so I added a flower to the bottom right side of the sentiment. This was done using the lilac stamp and the vine.
Easy peasy right? I think so. We hope you will join us this weekend and show us your creations on Instagram using #AIWatercolor. Check out the video here if you want to paint along with me.
Thank you so much for stopping by and I hope you have a creative weekend! See you soon!
Thanks, team! These projects are all so gorgeous! From beachy scenes to hand-drawn elements to customize your creations, to a lovely floral arrangement with video tips! What an awesome day! Be sure to leave a comment below so we can hear what you enjoyed about this week's installment. We'll see you again soon!
Happy Stamping!
Happy Stamping!


No comments:
Post a Comment