Showing posts with label WC Decorative Jar Set. Show all posts

Saturday, February 15, 2020

Watercolor Round-Up Spring Feelings


Hello, Ai Fans! Happy Watercolor Weekend!

We this winter season finds you happy and healthy. It has been a pretty busy season, and we are now getting into that time of year where we can slow down and take a breather. Our ladies have made some super cute cards this week that have us dreaming of all the spring flowers!

Be sure to follow these lovely ladies on social media by clicking the link in pink next to their names!

Dot Freel - Instagram - Blog - Pinterest
Hello,

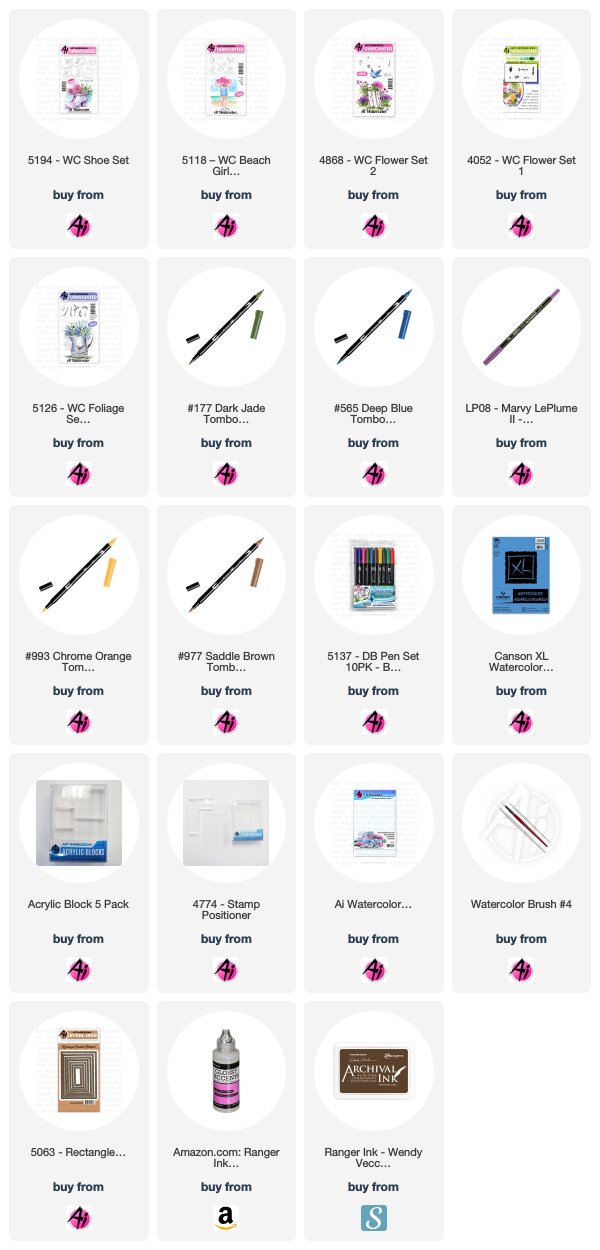
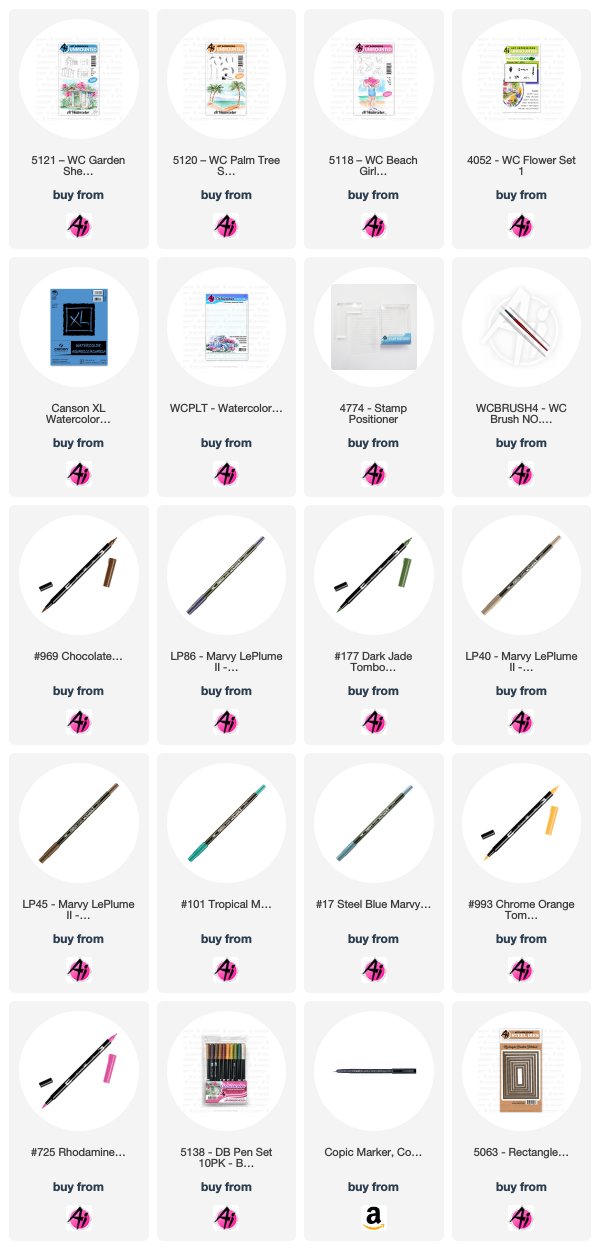
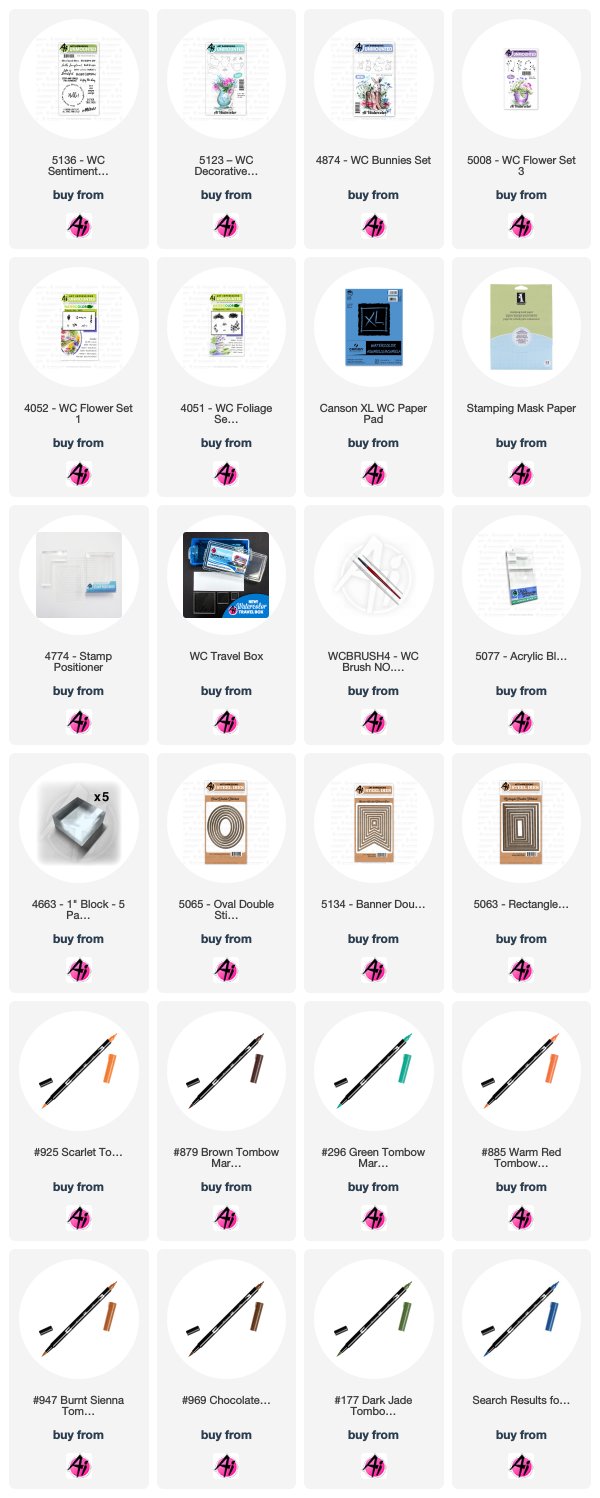
The weather has been wonderful in Las Vegas so I made this Spring-like card for the Art Impression's Watercolor Weekend. I actually used Ranger Archival Ink in Coffee to stamp the boots from the 5194 - WC Shoe Set and the umbrella from the 5118 - WC Beach Girls Set. I knew I was going to put glossy accents on them and I didn't want the lines to blur. The glossy accents really make the boots and umbrella look like they are made of vinyl or rubber. Next, I watercolored them in 993 and 977. To add the shadows, I used 565. I masked off the boots, then stamped in the flowers from 4868 in 177 and No. 6 violet. Then I stamped the flower from the Flower Set 4052 in 177 and 755. The foliage is from 5126 - WC Foliage Set 4 inked in 177. Then, I dabbed at the flowers and foliage with a wet brush. I used 565 to paint the ground shadows and the sky. I used the 5063 - Double Stitched Rectangle A2 dies to cut out my scene and the background pieces. I put it all together and then added the glossy accents. Set it aside, in a safe place for a few hours, so it can dry.  I accidentally dropped mine and ruined my first one.

Thank you for checking out my blog!  You can find more of my cards on my Instagram account here. 


Supplies used listed below:


Karen Day - Blog - Facebook - Pinterest


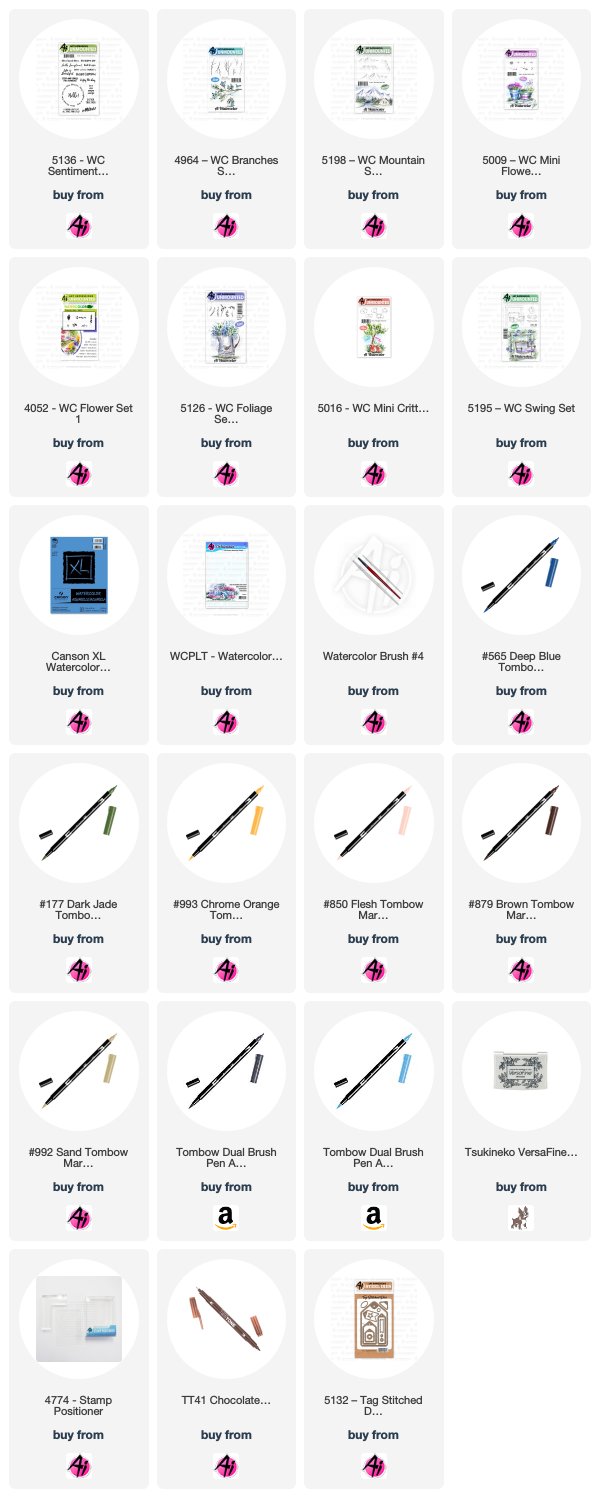
I began using the largest hanging swing image from the 5195 - WC Swing Set, colouring it first in my Tombow Dual Brush Marker #565 Deep Blue, stamping it off on scrap paper, and then colouring it again with #879 Brown.  I stamped it onto my Canson XL Watercolour paper.  *Instead of masking, when I coloured the swing, I left an open area in the corner where I intended my bunny to sit.  I've used the bunny from 5016 - WC Mini Critters Set, coloured him up in #N45, and used my stamp positioner to place him where I wanted him.  With my damp #4 brush, I softened the lines of the swing, pulling out the colour to fill in the shaded areas on the wood frames, and between the cushions. 
 To create my floral vine, I started with one of the smaller twig images from 4964 - WC Branches Set, and colouring it with #879, I stamped it numerous times, in different directions, creating the flow of the vine.  Using the trailing foliage stamps from 5126 - WC Foliage Set 4 coloured in #177 Dark Jade, I stamped the greenery along the same path, winding it around the swing frame in first & second generation.  Before stamping the flowers, I softened the images with my damp brush.  Using the Daisy Bunch from Flower Set - 4052, I coloured a few of the blooms in #993 Chrome Orange, and created the yellow floral sprays around the base of the swing, stamping them in a cluster.  I filled in any open areas with the tiny dot flowers from 5009 - WC Mini Flower Set coloured in #533 Peacock Blue, and then I added clusters of them along the twisting vine - then touched all the flowers with a damp brush.  I used the fine point end of my #993 marker to draw in the stripes on the seat cushions.  The bunny got a touch of #850 Blush in his ear, and I used a fine tip black marker to define & darken his eyes & nose.
On my palette, I scribbled #992 Sand and picked it up with a wet brush to add colour to the wood frames, keeping it streaky to suggest a wood grain pattern.  I did the same with #565 Deep Blue and used this to add shadows where needed to the swing, bunny, cushions and under the swing.  Using the smaller mountain stamp in 5198 - WC Mountain Set, I selectively coloured it in #533, omitting the largest peak, and used my stamp positioner to place it in the background.  Then using my brush and picking up colour from the palette, I used #565 to paint in the mountains and sky, and #177 to add a grassy hillside.  Since some of my twigs were 2nd generation, they were a little too light, so I went in directly with my fine Twintone Chocolate marker to darken them up.  I die cut my scene with a stitched square die and mounted it on dark brown cardstock.  The sentiment is from 5136 - WC Sentiment Set 2, stamped in Versafine Onyx Black ink, and die cut with a small stitched tag from 5132 - Tag Stitched Dies, and it got a small yellow Baker's Twine bow.  I did some zigzag stitching with my sewing machine on my background papers and mounted it all onto a 5 1/2" square card.  
Tricia O'Bin - Blog - Instagram - YouTube - Pinterest - Facebook


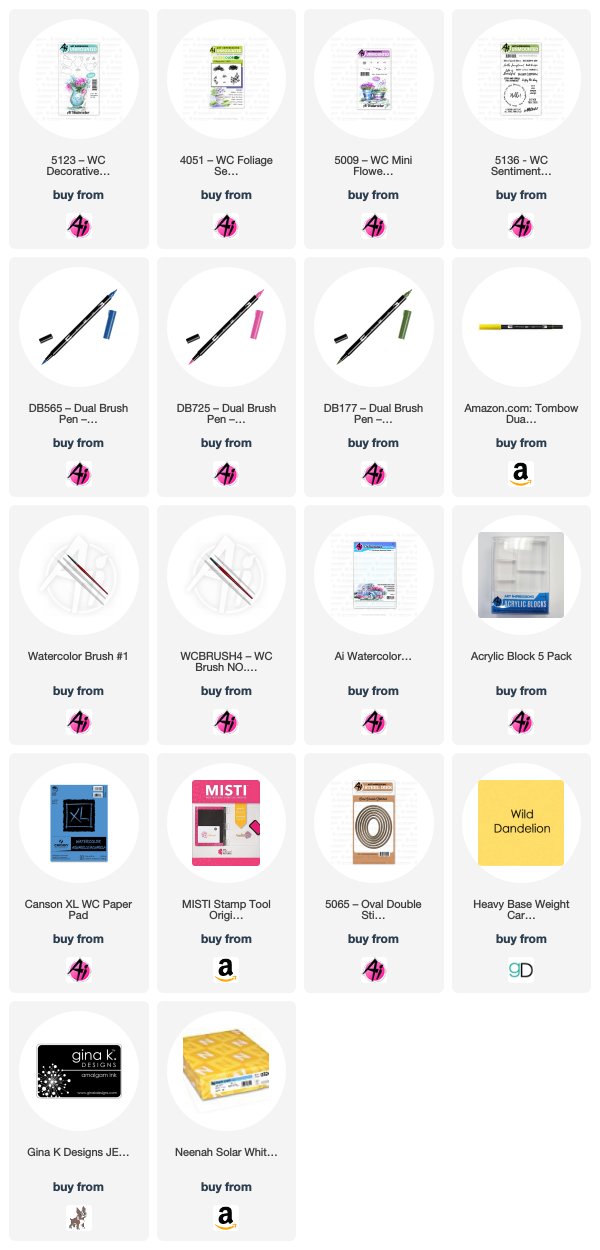
Welcome to watercolor weekend AI Fans!  This weekend felt like spring so I thought I would do a quick little spring vase to bring a little color to my life.  This project is so quick and easy and, like most of the projects I do, it is really versatile.

Project Details:
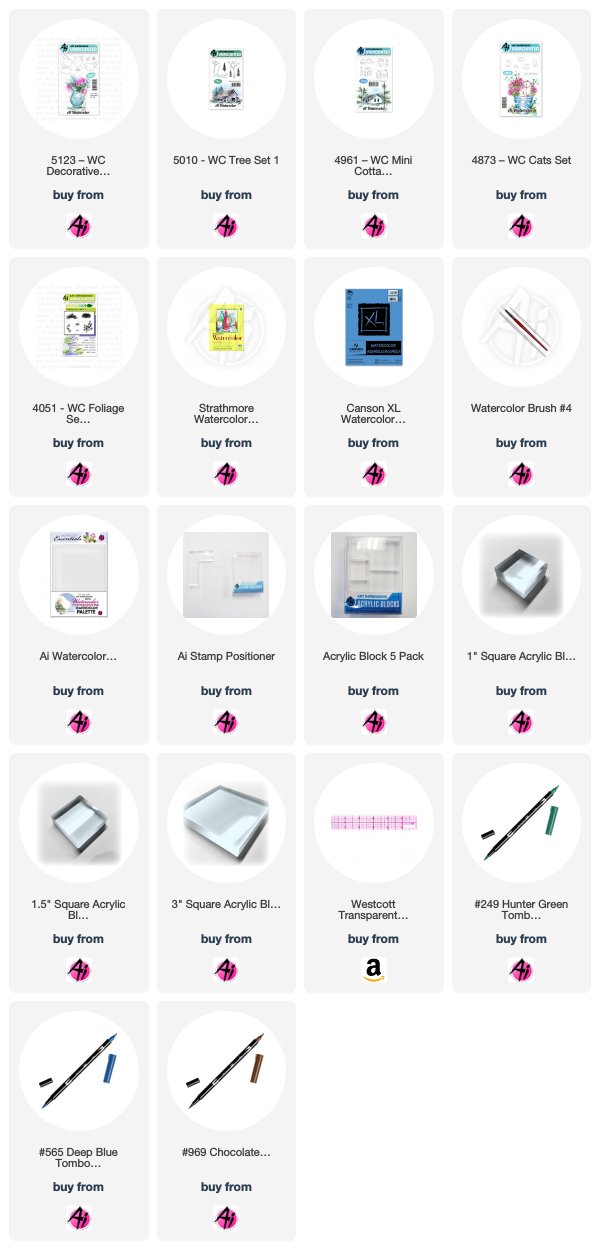
First, I inked the vase from the Decorative Jar set in 565.  I stamped it off so that it would be really light.  I added water to the vase and using my palette added some additional 565 to the left side and bottom of the vase to make it really dark.  I added some 569 to the bottom of the vase to create a shadow and to anchor the vase.
Next, I inked the top of the vine, from the original foliage set, with 177 and stamped it along the top of the vase.  I re-inked it and stamped it several times above the vase.  I added water to the leaves to soften them.  I did this first so that when I added water to the blooms they wouldn’t blend together (and make brown). 
For the flowers, I used the dots from the mini flower set inked in 725 and stamped it several times in a circle inside the vase and around the foliage.  I added water to all the blooms to soften them.
From my palette, I added some 055 to the right and left of the bottom of the vase to create a background that gives the vase depth.  I signed and dated my project.
Card Details:
I cut my watercolor piece out with my oval stitched die.  I also cut a mat out of Wild Dandelion with the next side up of the nested oval stitched dies.   I cut it from the middle of a 4x5.25 piece of Wild Dandelion card stock that I attached to a Neenah card base with Connect Glue.  I then attached a matching piece of patterned paper cut to 3.75x5.  I attached the watercolor piece to the mat with Connect Glue and added some foam tape to the back of the mat and attached it to the card.
I placed the piece into my MISTI and stamped the Hello Sunshine sentiment from the WC Sentiments set using black Amalgam Ink.
And that’s it…easy peasy.  I love the versatility of all of the Art Impressions watercolor line.  I hope you will give this project a try.  We hope we inspired you to create something special this weekend. 

Happy Crafting!

Thank you, ladies, for your continued inspiration! We absolutely love seeing everyone's personal style show through on each card!  
Happy Stamping!

Saturday, February 1, 2020

Watercolor Weekend Round-up - Spring is in the air


Hello, Ai Fans! Happy Watercolor Weekend!

Our fantastic design team is at it again with these cards inspired by the current season--Valentine's Day and the transition into spring. Their delicate creations will make you yearn for spring to come, and send a little love your way as well.

Be sure to follow these lovely ladies on social media by clicking the link in pink next to their names!

Dot Freel - Instagram - Blog - Pinterest


Hello,

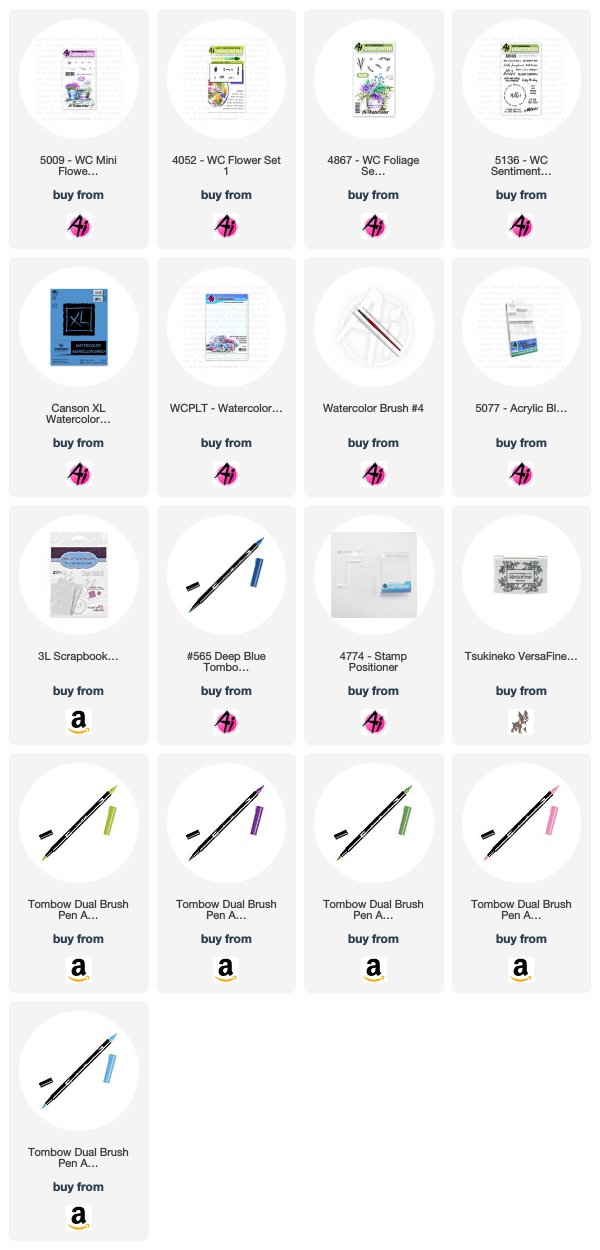
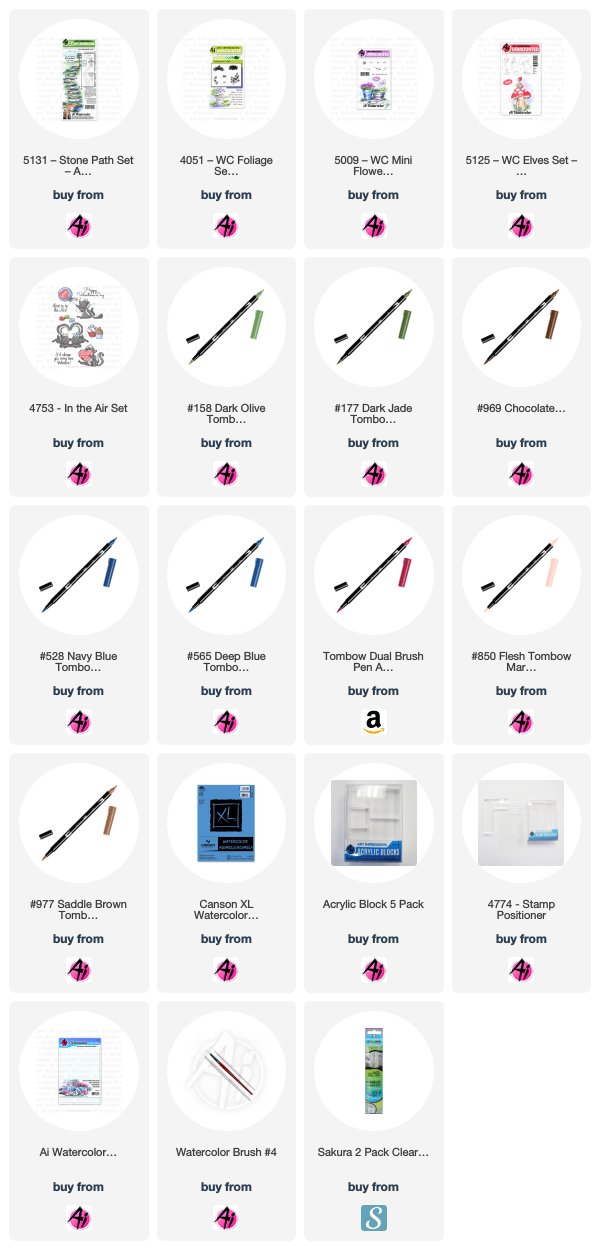
It's time to make some Valentine's so I made this one for the Watercolor Weekend on the Art Impression's twice-monthly blog post. I started with the sign and the walkway from the 5131 - Stone Path Set because I thought of putting "Lover's Layne" on the sign for the one I made for my husband whose middle name is Layne but when it was done, it was still missing something so then I decided to use the cute elves from the 5125 - WC Elves Set. I made this card by inking only part of the path in the 969 than in 565, leaving off a few stones from each end. I pulled the color out of the lines and then I stamped the sign inked in 969. I added some brown from the palette then when it was dry, I used my black Copic fine pen for the letters. Next, I stamped the elves inked in 969 using my stamp positioner. I used 158 on the palette to watercolor the green around the rocks and under the elves. I then watercolored the elves in 850, 847, 565, 177, 977 and 969. I stamped the grass from the Foliage Set  - 4051 in 177 and then I stamped the dot flowers in 847 from the 5009 - Mini Flower Set. I dabbed at the flowers with a wet brush. I stamped the blue flower inked in 177 and 528 from that same set. I watercolored the sky with that same blue 528. The sentiment is from the In the Air set - 4753 and I cut it out with the tag die from the 5132 - Tag Stitched Dies Set. I used a Sakura Glitter Gelly Roll pen to add glitter to the flowers. I cut out my scene and sparkly paper with the 5062 - Rounded Rectangle A2 Die Set.

Thank you for checking out my blog!  You can find more of my cards on my Instagram account here. 


Supplies used listed below:
Karen Day - Blog - Facebook - Pinterest


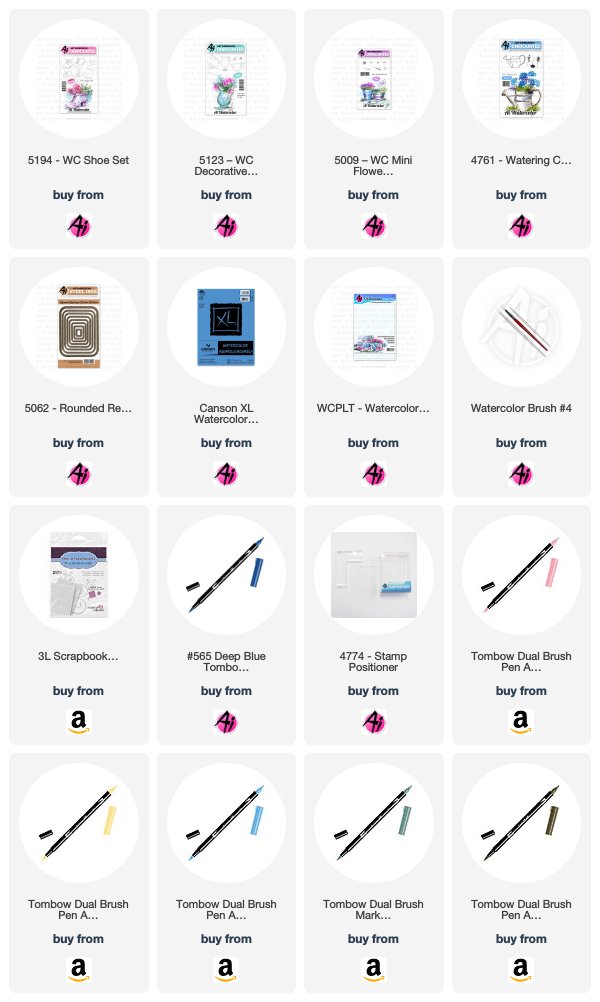
Today I'm using the 5194 - WC Shoe Set, along with 5123 - WC Decorative Jar Set.  I coloured my shoe with my Tombow Dual Brush Marker #565 Deep Blue, and went over it with #N57 Warm Grey 5.  I stamped it on my Canson XL Watercolor paper, and then pulled out the colour with with a damp #4 paintbrush.  I concentrated the colour in the areas where the shadows are strongest - under the arch, the heel and under the rolled top edge. 
I've used two of the flower images from 4761 - Watering Can, starting off by colouring just the bloom of the hydrangea-like image with #533 Peacock Blue, and stamping it multiple times.  After cleaning, I stamped it several more times coloured with #991 Light Ochre.  Using the multi-bloom image, I coloured the flowers with #772 Blush, and the stem in #312 Holly Green.  With the tiny foliage stamp from 5009 - WC Mini Flower Set, I stamped it repeatedly in #312, filling in spaces, and allowing the greenery to spill out the sides.  After dabbing the flowers with my damp brush, I went in directly with the fine point of my #312 marker, darkening some areas, drawing in leaves on the tall flowers, and adding dots around the bouquet.  I did the same with the other markers, adding shading to all of the blooms.  

 After masking off the shoe & flowers, I used my #4774 stamp positioner to stamp the teapot slightly higher, so that it would appear to be tucked in behind the shoe, colouring it in #565 and #N57 again.  I pulled out the colour with my damp brush, concentrating the colour close to the shoe where it would be in shadow, and on the undersides of the teapot, keeping in mind that it is quite curved, so I wanted to leave some white area.  After scribbling some #565 onto my palette, I picked it up with a wet brush and painted in the suggestion of a background, and a few sideways strokes to indicate the surface they're sitting on.  I also added the blue to the shaded areas of the shoe and teapot to deepen the shadows.  I added just a touch of the blush colour to the background and teapot to look like reflections.  The Decorative Jar set includes 3 small images that you can use to embellish the containers, so I stamped a swirly one onto the teapot using #533.  To finish things off, I used the 5062 Rounded Rectangle A2 Double Stitched dies to cut out my scene, then matted it with a periwinkle blue cardstock and used 3D Pop dots to adhere it to my background.  I tied some pink organdy ribbon in a bow under the image and added a few tiny pearls.

Tricia O'Bin - Blog - Instagram - YouTube - Pinterest - Facebook

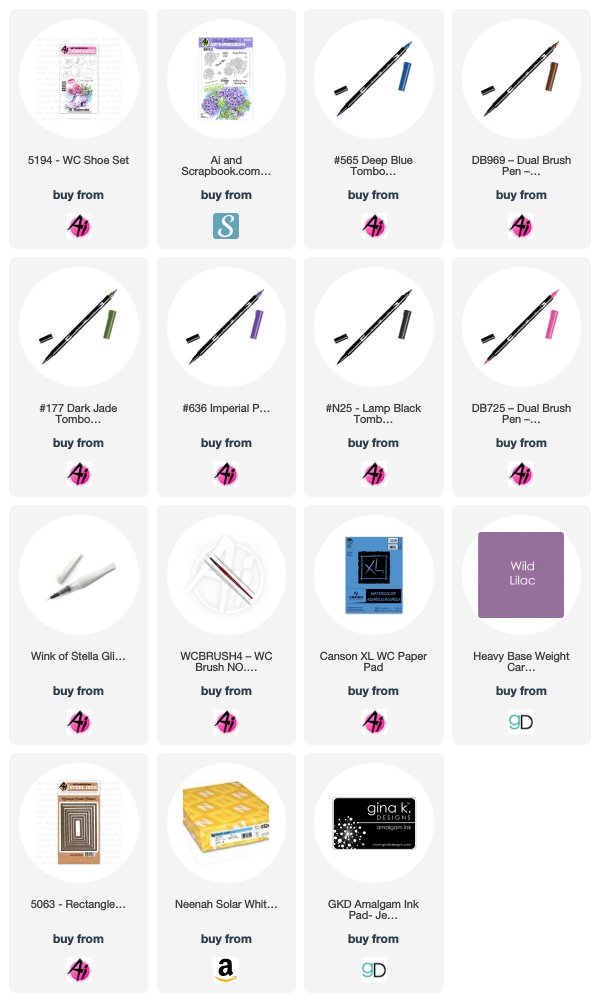
Welcome back to the watercolor weekend.  I created this Winter Spring Shoe for this weekend because we have had the weirdest weather up here in New England.  Why not create a bouquet in an old shoe sitting in the snow? 

Project Details

I inked up one of the shoes from the WC Shoe stamp set with my brown.  I then inked several spots up with my black, parts that I wanted to keep really dark.  I stamped it in the middle of my Canson watercolor paper.  Using a smaller paintbrush, I added a small amount of water to the darkest areas pulling some into the other areas of the shoe.  From my watercolor palette, I added some additional brown to the shoe's darker areas and softened them into the highlighted area.

I created a mask for the top of the shoe to protect it from the stamping of the flowers and foliage.  I started with my foliage.  I inked up the small vines from the Foliage set 4 with green and stamped it several times around the top of the shoe and sparingly around the top of the arrangement leaving room for the flowers.  I added water to soften the leaves.

I used red to ink up the small flower from the Mini Flower set.  I stamped it several times around the shoe.  Next, I inked up the long bloom from Flower set 1 with purple.  I stamped it several times to create height at the top of the arrangement.  Finally, I inked the small dots from the Mini Flower set with blue and stamped it in between the leaves and blooms.  I added water to all the blooms to soften them.

To ground my shoe I decided to make it sit on a bed of snow.  I used a blue-purple to create the mounds of snow under the show.  It is a perfect color for the shadows I needed.  For a finishing touch, I added blue to my palette and using lots of water created a sky behind my flowers.  And last but not least I signed and dated my work.

This was such a quick relaxing project to make.  I am so happy you stopped by for some watercolor inspiration.  Be sure to stop by my blog to see how I created the rest of the card!  Check out my awesome team members to see all the inspiration we strive to bring you!

Happy Crafting!


Thank you, ladies, for your continued inspiration! We absolutely love seeing everyone's personal style show through on each card!  
Happy Stamping!
Wednesday, May 29, 2019

NEW VIDEO! Watercolor Shadow Tutorial by Kendra Krebs

Hello Ai Fans!

We are excited for a new guest artist Watercolor Wednesday! This week, we have a special tutorial from Kendra Krebs you are sure to love! She answers one of the most asked questions in our watercolor technique, "Where do I put the shadows?" With the help of the clock, she will show you how to shift the images from morning to evening.

Hop over to this video and leave Kendra a little hello! This is her first guest artist video since January and we are so thankful for her unique perspective!


View on YouTube: https://youtu.be/EdvlNXPC4L0


Saturday, May 18, 2019

Watercolor Weekend Roundup - Sweet Sentiments

Hello, Ai Watercolor Fans! It's a beautiful Saturday morning, and time to share beautiful projects from our design team to inspire your creations this weekend! Let's take a look!

Dot Freel - Instagram - Blog - Pinterest
Hello Friends,

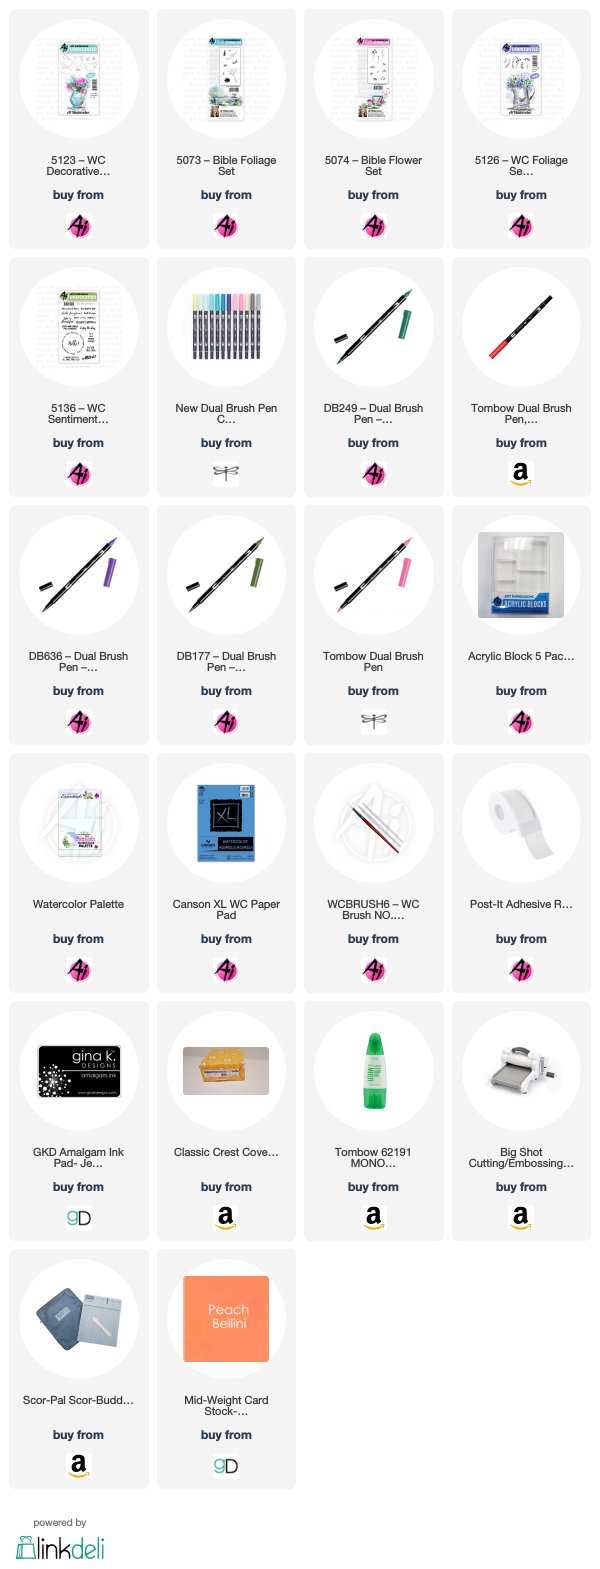
Here's the card I made for the Art Impression's Watercolor Weekend. It could be my granddaughters on their trip to Hawaii in March. I stamped the shed from the 5121 - WC Garden Shed Set using both 86 African violet and brown 969 after I stamped it off on a scratch piece of paper first. I used the brown to color in the roof and door knob area. I used 17 steel blue to watercolor the shed and the windows. I stamped in the palm trees from the 5120 - WC Palm Tree Set with the brown and green 177. I used the smallest palm frond to stamp the ground cover and then used the flowers from the 4052 - WC Flowers Set 1 in the pink 725 for the flowers. I used 101 tropical with a touch of green mixed in to color in the water using straight strokes and brown to watercolor the sand. I stamped the little girls from the 5118 - WC Beach Girls Set using the 40 brownish grey then colored them with yellow 993, 77 pastel peach, steel blue, pink 725 and brown 969. I stamped one flower at a time with the pink for the swimsuit and then added a yellow dot in the centers. I used the fine tip of the 45 sepia to add hair strands to both girls. I used 86 African violet to add the shadows under the girls, trees and house. I used very little of the blue and a lot of water to color in the sky. I cut out the picture using the 5063 - Double Stitched Rectangle Dies and adhered it to my card base. The last thing I did was sign and date it.

You can find more inspiration by following me on my Instagram account here.


Karen Day - Blog - Facebook - Pinterest
I've had the idea for the dress card floating around in my head for awhile. I wanted to use the Ai floral & foliage stamps to create a sort of life-like embroidery look, and kept going to create a grouping of wedding themed items. I sketched the outline of my dress in pencil, directly onto my watercolor paper, and indicated where I wanted the higher points around the hemline to be as a stamping guide. Using the Daisy Bunch in Flower Set 4052 and my #703 Pink Rose marker I stamped it three times without reinking, multiple times around the hem, and again on the neckline. I repeated this with the tiny cluster from 5009 WC Mini Flower Set in #676 Royal Purple. For my last flower, I used the Mini Foxglove from Flower Set 4052 and #533 Peacock Blue, stamping it three times in a row to create the flower stalk. With my #126 Light Olive marker, I coloured just the tip of both of the trailing ivy stamps in 4876 WC Foliage Set 2 New to fill in the greenery, making sure to change directions to keep it looking random. I used my damp #4 paintbrush to dab at each of the flowers & foliage to soften each image and enliven the colours. It then became apparent where the holes were on my 'embroidery', so I used the small green from 4876 WC Foliage Set 2 and #158 Dark Olive to fill in those white spaces. I left these as is, not using my paintbrush, as it defined the shape of the foliage a bit more. I traced the pencil outline of the dress with #533, and used this colour with my brush to add some shading. I picked up #565 Deep Blue from my palette and painted a background wash around the dress. I went in with all of the markers directly onto the image to add in a few deeper colours. The sentiment is from WC Sentiment Set 2, stamped in Versafine Onyx Black. I used my sewing machine to stitch the panel to some coordinating cardstock and adhered it to my base with pop dots, then glued on some iridescent sequins. 
The colours and stamps are all the same for my other two projects. For this card, I sketched in the cake and the table, just adding foliage to each layer. I sketched in a heart as my cake topper, and painted in a few ripples on the tablecloth. I stamped this sentiment separately, matting and stitching around it, and adhered it with pop dots going off the right edge. 
As a fun little add on, I painted a bouquet and drew in a ribbon bow underneath it to use as a placecard.


Tricia O'Bin - Blog - Instagram - YouTube - Pinterest - Facebook
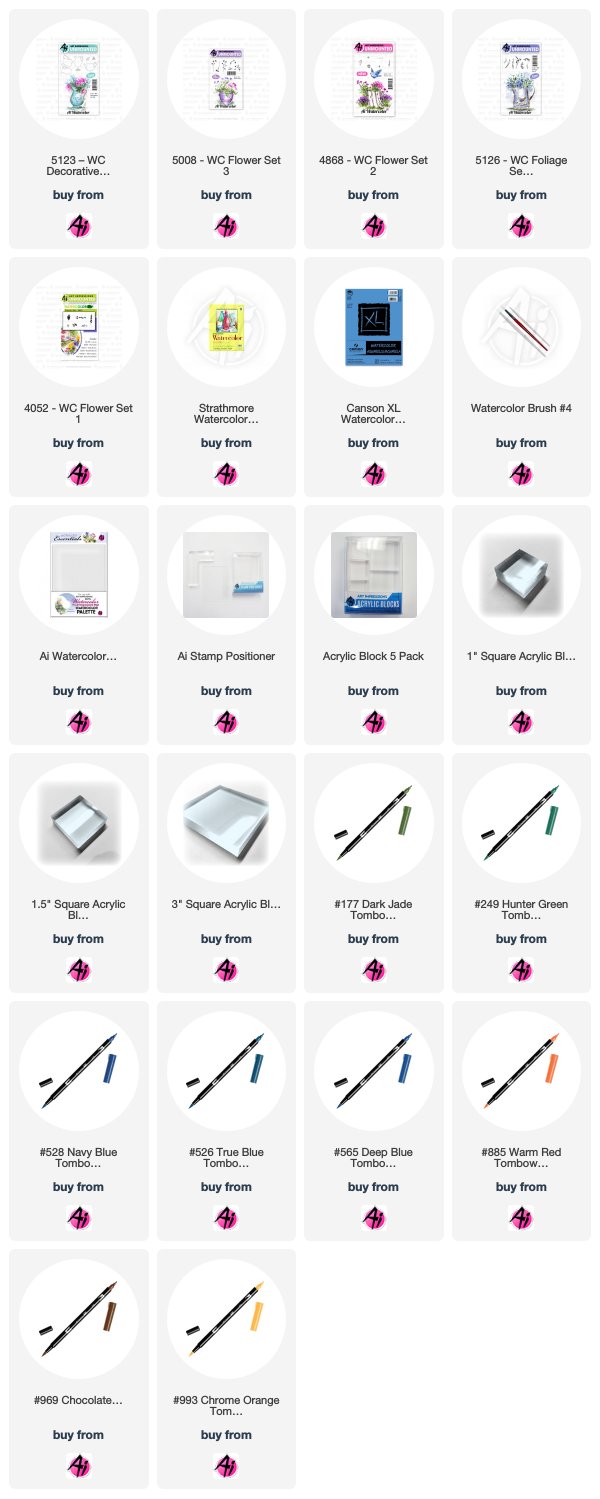
Welcome back AI fans to Watercolor Weekend! I wanted to do a simple project for this weekend, so I decided to do this Simple Things Vase. This project is really easy and quick. I have done a video for you to show you just how quick. 

Project Details

Step 1 – Ink up the Vase from the WC Decorative Vase Set with Blue. I wanted my vase to be white so I am using the tombow 569 but you can use any marker you may have. Bonnie Krebs uses 565 a lot in her videos. I stamped it to the left side of my paper to allow room for my sentiment. Next, pull the color out of the lines along the right and left side of the vase. This creates the illusion of the vase being round. I wanted the area under the spout and the right side under the handle to be really dark.

Step 2 – Cover your vase with a mask, I am using a piece of Post-It tape. Stamp in your foliage. I am using the leaves from the Foliage Set 4, but you can use any foliage/vines you may have in your collection. This is the greatest part of Art Impressions watercolor line; all the stamps can be used together for any project. Therefore, you don’t have to feel like you can’t create this project because you don’t have the exact stamps I am using. I inked them up with 158 and stamped them a few times. Add water to the leaves.

Step 3 – Ink the flowers with a color of your choice. I used the Daisy Bunch from the Bible Flowers Set inked with 905. I only inked up the top 3 flowers and stamped them in a circle a few times. Stamping items in groups of three is visually appealing so I stamped one in the middle and one on each side of the vase. Add water to the blooms.

Step 4 – To create a little more interest, I used the vine from the Bible Foliage set to create different leaves around the blooms. I inked it up with 249 and stamped it several times around each of the blooms. Add water to the leaves.

Step 5 – Ink up the dots (they remind me of lilacs – although I keep calling them violets LOL) with a purple. Unlike the daisy bunch, this stamp is walked out to create the lilac. Again, I stamped three different blooms. Add water to the blooms. I added a small amount of 569 from my palette underneath the vase to ground it and create a shadow.

Step 6 – In order to create some additional interest, I added the accent flowers to the vase. This created some height and I just love how they look on any project. I inked them up (I used the left and right stamp) with the 379 and stamped them several times around the vase. No need to add water to these.

Lastly, I signed and dated it. 

Card Details

I stamped the “It’s the Simple Things” to the right side of the panel using a sentiment from the WC Sentiments 2 set and some Gina K Designs amalgam ink. I thought it needed a little something more, so I added a flower to the bottom right side of the sentiment. This was done using the lilac stamp and the vine. 

Easy peasy right? I think so. We hope you will join us this weekend and show us your creations on Instagram using #AIWatercolor. Check out the video here if you want to paint along with me.


Thank you so much for stopping by and I hope you have a creative weekend! See you soon!


Thanks, team! These projects are all so gorgeous! From beachy scenes to hand-drawn elements to customize your creations, to a lovely floral arrangement with video tips! What an awesome day! Be sure to leave a comment below so we can hear what you enjoyed about this week's installment. We'll see you again soon!

Happy Stamping!

Wednesday, May 1, 2019

NEW VIDEO! Cascading Flowers from Jar Watercolor
Hello Ai Fans!

Welcome friends to another bright and beautiful Watercolor Wednesday! This week, Bonnie uses our Decorative Jar Set in a different way, with it spilling beautiful blooms in a cascade downward! We love this unique take on this stamp and hope you enjoy the colorful flowers, reminding of us the springtime outside!

Do you have some favorite flowers from our Watercolor collection? Hop over to the video and let us know what your go-to flower stamps are! Subscribe and click the bell on our YouTube channel for all the latest Ai videos!

Have a colorful Watercolor Wednesday!


View on YouTube: https://youtu.be/qSMpCQ4hDNg


Monday, April 29, 2019

You Brighten My Day Watercolor Card by Carol Hintermeier

Happy Monday Ai Fans!

Today I have one of my favorite type of cards to have on hand--one that I can use for many different reasons to send to a special person!  It's also my favorite type because it's watercoloring the Ai way!! In February I had the pleasure of attending an Ai Watercolor Class at the Stamp & Scrapbook Expo.  I also got to visit Art Impressions' beautiful booth and picked up this awesome WC Jars Set.  This was my first time playing with it and it was so relaxing to just color!


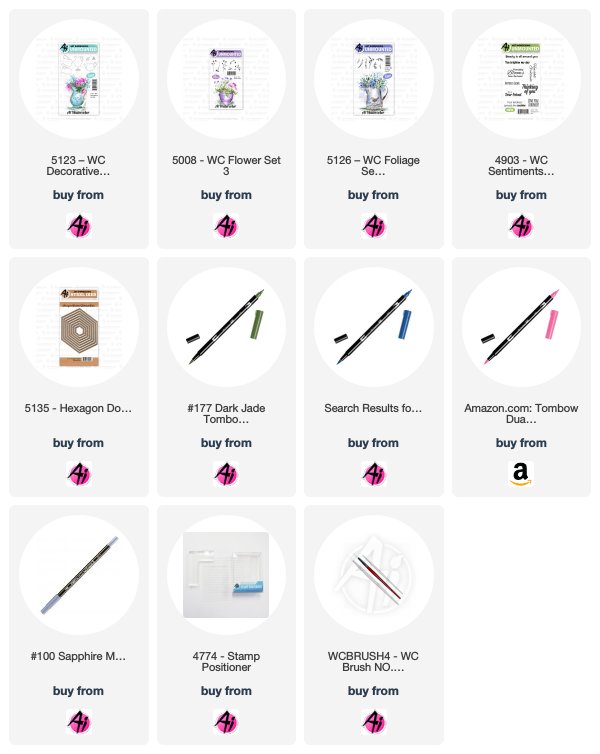
After I stamped and watercolored everything I cut the image out with a Hexagon Double Stitched Die and then used that die and the next larger one to cut out frames from the watercolor paper three times.     After I glued them together, I used the same blue that I used on the pitcher to color the frame.  Oh, I almost forgot to mention I used the WC Stamp Positioner to make sure I stamped the decorative flourish in just the right spot on the pitcher.


I adhered the frame to my white card panel and then glue the stamped image inside.  Such a simple, but sweet, card to make!


Thank you so much for stopping by!  Have a wonderful, crafty week!!


Tombow markers:  177 Dark Jade, 743 Hot Pink, 565 Deep Blue
Marvy marker:  100 Sapphire

Tuesday, April 16, 2019

Enjoy the Day Watercolor by Jil Lebel

Hello Ai fans!

I was really inspired to make a bright flowery card because of the warmer weather here. This card is more of a general card, but it could easily become an Easter card if you use a basket in place of the pot.

I started by inking up the sitting bunny with 979 - Brown and stamping it in the center of my watercolor panel. I also stamped it onto a piece of masking paper, cut it out and placed it over the stamped bunny.  I then inked up the tall bunny with 947 - Burnt Sienna and stamped it to the left of the sitting bunny.  The next step was to ink up the pitcher with 969 - Chocolate and 565 - Deep Blue before I stamped it to the left of the bunny.  I used the stamp positioner to help me with the placement of all of the items before I stamped them.  I removed the mask from the bunny and pulled the color out of the lines on all of the images.  I also added more color as needed by scribbling my colors onto my Watercolor palette. I darkened the eyes and noses on the bunnies with the Chocolate Marker.  I also added the detail to the pitcher with the 565 - Deep Blue. I added grass with the tiny and small grass with 177- Dark Jade.  The Flowers were added with 177 - Dark Jade for the stems and 925 - Scarlet and 885 - Warm Red.  The sky is done with 493 - Reflex Blue and plenty of water.  The last thing I added was the greeting with 565 - Deep Blue.  I used my Misti so I could stamp it several times to get a dark impression.  It is cut out using the Circle Double Stitched Dies.

Thanks for stopping by and Have a Great Day!

Saturday, April 6, 2019

Watercolor Weekend Roundup - NEW Inspiration!

Hello, Watercolor Fans! Ready for a dose of Watercolor Inspiration? We are so excited about these beautiful projects from our Watercolor Guest Design Team! We hope you enjoy them as well!

Dot Freel - Instagram - Blog - Pinterest
Hello Friends,

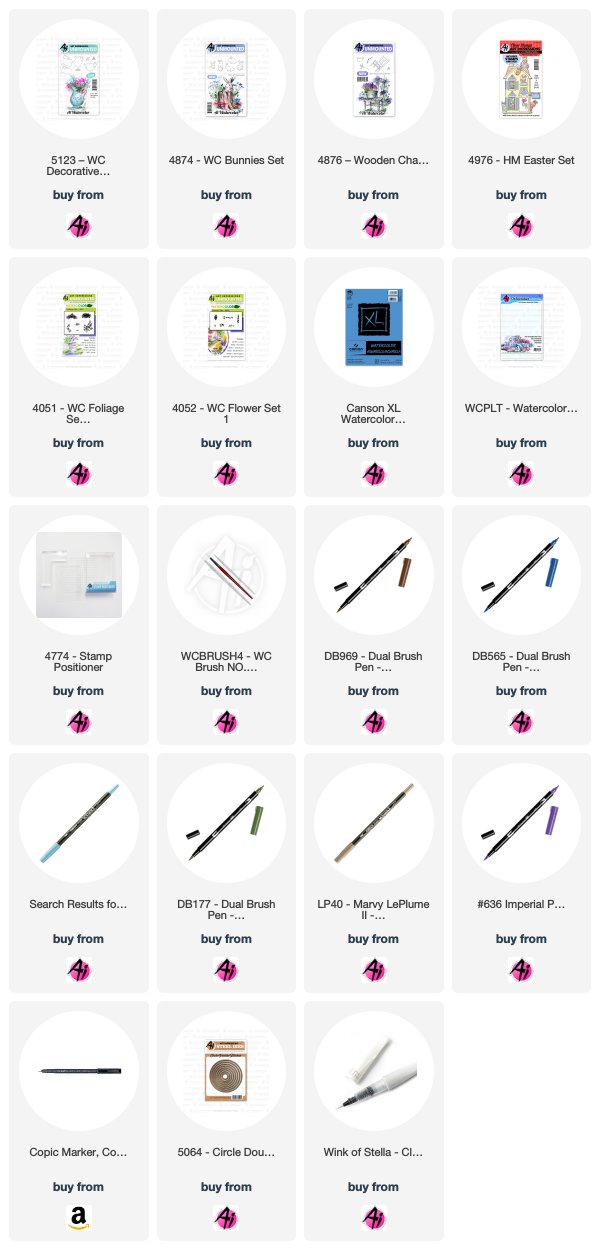
Easter is less than a month away and I need to get busy making Easter cards. I made this card for the Art Impressions Watercolor Weekend using the new 5123 - WC Decorative Jar Set. First I colored the teapot stamp in 696 then in 565 and stamped it off before stamping it on the paper. I then colored it in using 603. I used the stamp positioner to stamp the bunny from 4874 - WC Bunnies Set in the pot using 40 brownish grey, which I also used for the shadow under the teapot. I colored the bunny's ear and cheeks using 67 bubble gum pink and 177. I then stamped the flowers from the 4052 - WC Flower Set 1 in the pink as well. The other flowers are from the 4876 - Wooden Chair Mini Set and they are stamped in the 565 and 177. I added the grass from the 4051 - WC Foliage Set 1 in 177. I used the sign and eggs and bow from the 4976 Holiday Mansion Easter Set, then colored them in using the same colors. I colored the sky using 75 sky blue. I added some glitter using a Wink of Stella glitter pen. I used my Copic pen to sign and date it. I cut it out and framed it using the 5064 - Double Stitched Circular Die Set and a rounded corner punch for the card base.

You can find more inspiration by following me on my Instagram account here.
Karen Day - Blog - Facebook - Pinterest
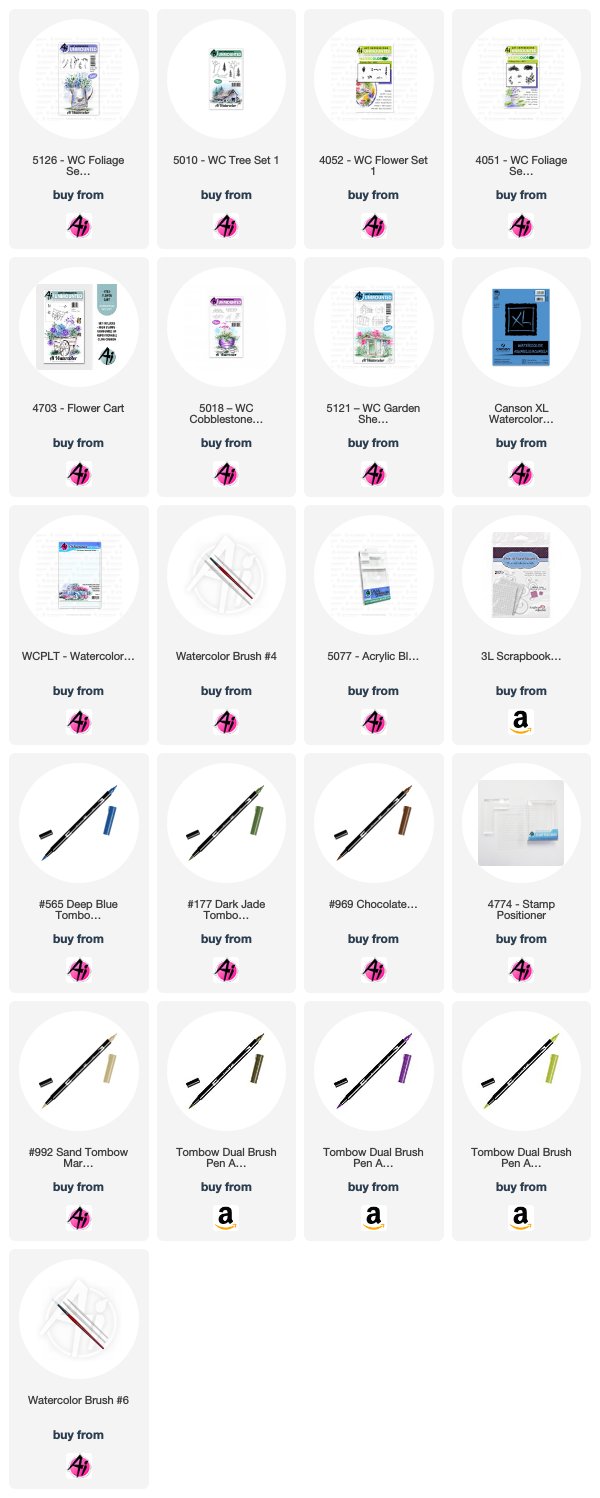
I've used seven stamp sets in my scene today! I started by placing one of the sheds from 5121 - WC Garden Shed Set and the 4703 Flower Cart together on the same block, which allowed me to control exactly where they were placed to achieve the right perspective. I coloured them both with 969 Chocolate, stamped, and softened the lines with a damp #4 paintbrush. I used a combo of 969 and 992 Sand to paint in the roof, shingles and cart. Using N57 Warm Grey, I coloured and stamped 2 of the stepping stone images from 5018 Cobblestone Set, and pulled out the colour to create some texture and shadows. I used the two trailing greenery images from 5126 Foliage Set 4 coloured with 177 Dark Jade to stamp foliage falling out of the cart, and dabbed them with a damp brush to activate the ink. Next I used the floral cluster from 4052 WC Flower Set 1 coloured in 676 Royal Purple to create the pink flowers in the cart, and after masking the shed, I stamped them on either side of it. I coloured 565 Deep Blue onto the tiny bluebell image from Flower Set 1, stamping it three times in an upward direction to create tall stalks of blue flowers. After softening all the flowers/foliage with a damp brush, I went in with the tiny leaf image from 5009 - WC Mini Flower Set (oops! that's an 8th stamp set!!) to fill in around the flowers where needed. I also used it around the shed to create some bushes with the flowers. I used both the small and large grasses from 4051 - WC Foliage Set 1 in 177 as well as 126 Light Olive to add the suggestion of grass around the shed, stones and cart. I pulled out the colour from the grasses, and painted in and around the images to create a wash of green grass. After masking off the shed, I coloured two of the tree images from 5010 WC Tree Set 1 in 177, varying the heights - then softened them with a damp brush. Finally, I scribbled 565 onto my palette, and painted in the sky and the door, and then used it to add shadows to the window, stones and cart. 

Tricia O'Bin - Blog - Instagram - YouTube - Pinterest - Facebook
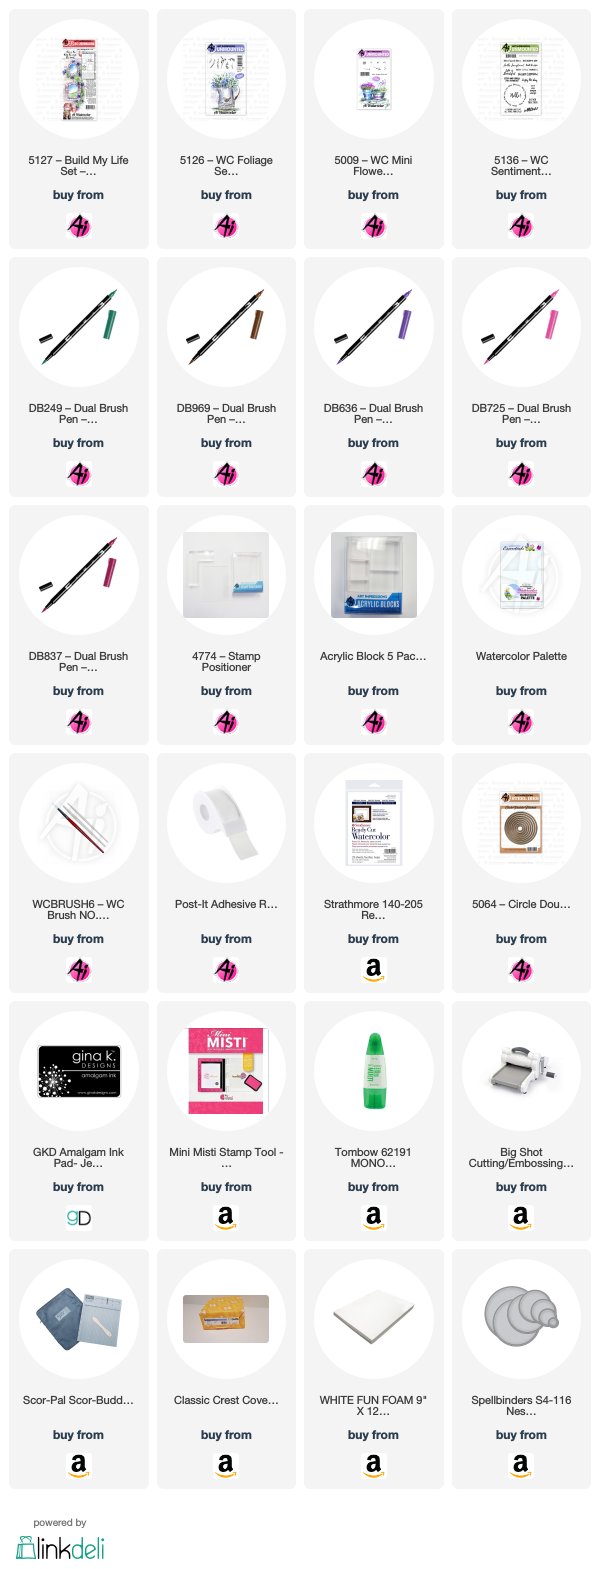
Step 1: Ink the small pot from the Build My Life set in 969-Chocolate. Stamp it and pull the color out of the lines. I added 837-Wine Red to my palette and added it to the pot being sure to leave a highlight in the middle.

Step 2: I masked the top of the pot with a piece of post-it tape. I inked up the tall foliage from the New WC Foliage set with 969-Chocolate and 249-Hunter Green and stamped it several times on the left side of the pot. I removed the mask and softened the leaves with water.

Next, I inked the small vine from the New WC Foliage Set with 249-Hunter Green and stamped it several times along the right and into the top of the pot. I softened the lines.

Step 3: I inked up the small dots from the WC Mini Flowers set in 725-Rhodamine Red and stamped it several times in a circle. I added water to the bloom. I didn't really get a good depth so I inked it up with 636-Imperial Purple and again stamped it in a circle on top of the pink. I added water.

Finally I added some Chocolate underneath the pot to ground it. Finally, I signed and dated it.

Card Details
I placed the watercolor piece into my MISTI and lined up the Dear Friends circle over the pot. I inked it up with Gina K Amalgam ink and stamped it twice.

I used the double stitched circle die to cut the watercolor piece. I used a watercolor background to cut a mat using a Spellbinder circle slightly bigger than the watercolor piece. I cut a piece of fun foam to pop it up.

I die cut the background with Altenew Layered Medallians dies cut from Neenah Solar White 80 lb card stock. I added these to a Neenah Solar White 110 lb card base. I glued the watercolor piece to the top of the card.


If you enjoyed these projects, be sure to leave us a comment below! Have an awesome week!

Happy Stamping!