
Welcome to the first Watercolor Weekend for April!


I started out by inking up the back of the girl stamp with 569. I stamped it off twice to get a really light image. As with all of our first steps, I pulled the color out of the lines making sure to keep everything really light. If your brush has too much color, rinse it off and keep going. Once that was dry, not long at all, I added some 565 to my palette and added it to her dress. I kept the skirt part white and tried to layer darker paint into those really shadowed areas. For her hair, I added some 969 to my palette and painted in darker and lighter strokes until I achieved the look I was going for. Once she was complete, I created a mask and masked her off. I didn’t know I was going to pop her up until later. Stay tuned!
Once she was masked off, I took my Table stamp and inked it with 969. I did not stamp it off. Since it is a clear stamp, I positioned it to the upper right of her and stamped it where I wanted it. I tried to keep in mind where I wanted the flowers and foliage so I pulled the color out of the structure, pots and hat keeping it really light. I inked up the long vines and added them to the middle and bottom pots. I didn’t do the top because I knew it would be chopped off by the die. Using the daisy bunch and some other stamp that I couldn’t figure out which set it belonged to I stamped in various flowers. Stamping the flowers in a light yellow and then a pink will give you a peachy color when you add the water. I added additional colors to the pots and then added water to all the structure, flowers and foliage. I use my fine tip part of the marker to add darker color directly to some of the flowers to give them more depth. Also, adding a white center with a gel pen creates additional interest.
I layered color onto the hat with pink, it’s light so lots of layers to achieve a dark value. I used the small lilac and my stamp positioner to get it just right onto the hat. For the background, I added the 800 lightest pink color to give a stucco kinda look. I also added a window and hard wood floor to make it seem like a shed. Once it was done I felt like it was missing something so I took out the Little Girl back die to pop her up. It was perfect, no white space, right up to the line!!! So I cut 3 more out of plain white watercolor paper and glued them behind her. I added glue to the back and popped it back into the hole that was left and she is exactly where she was but higher
 Lastly I signed and dated.
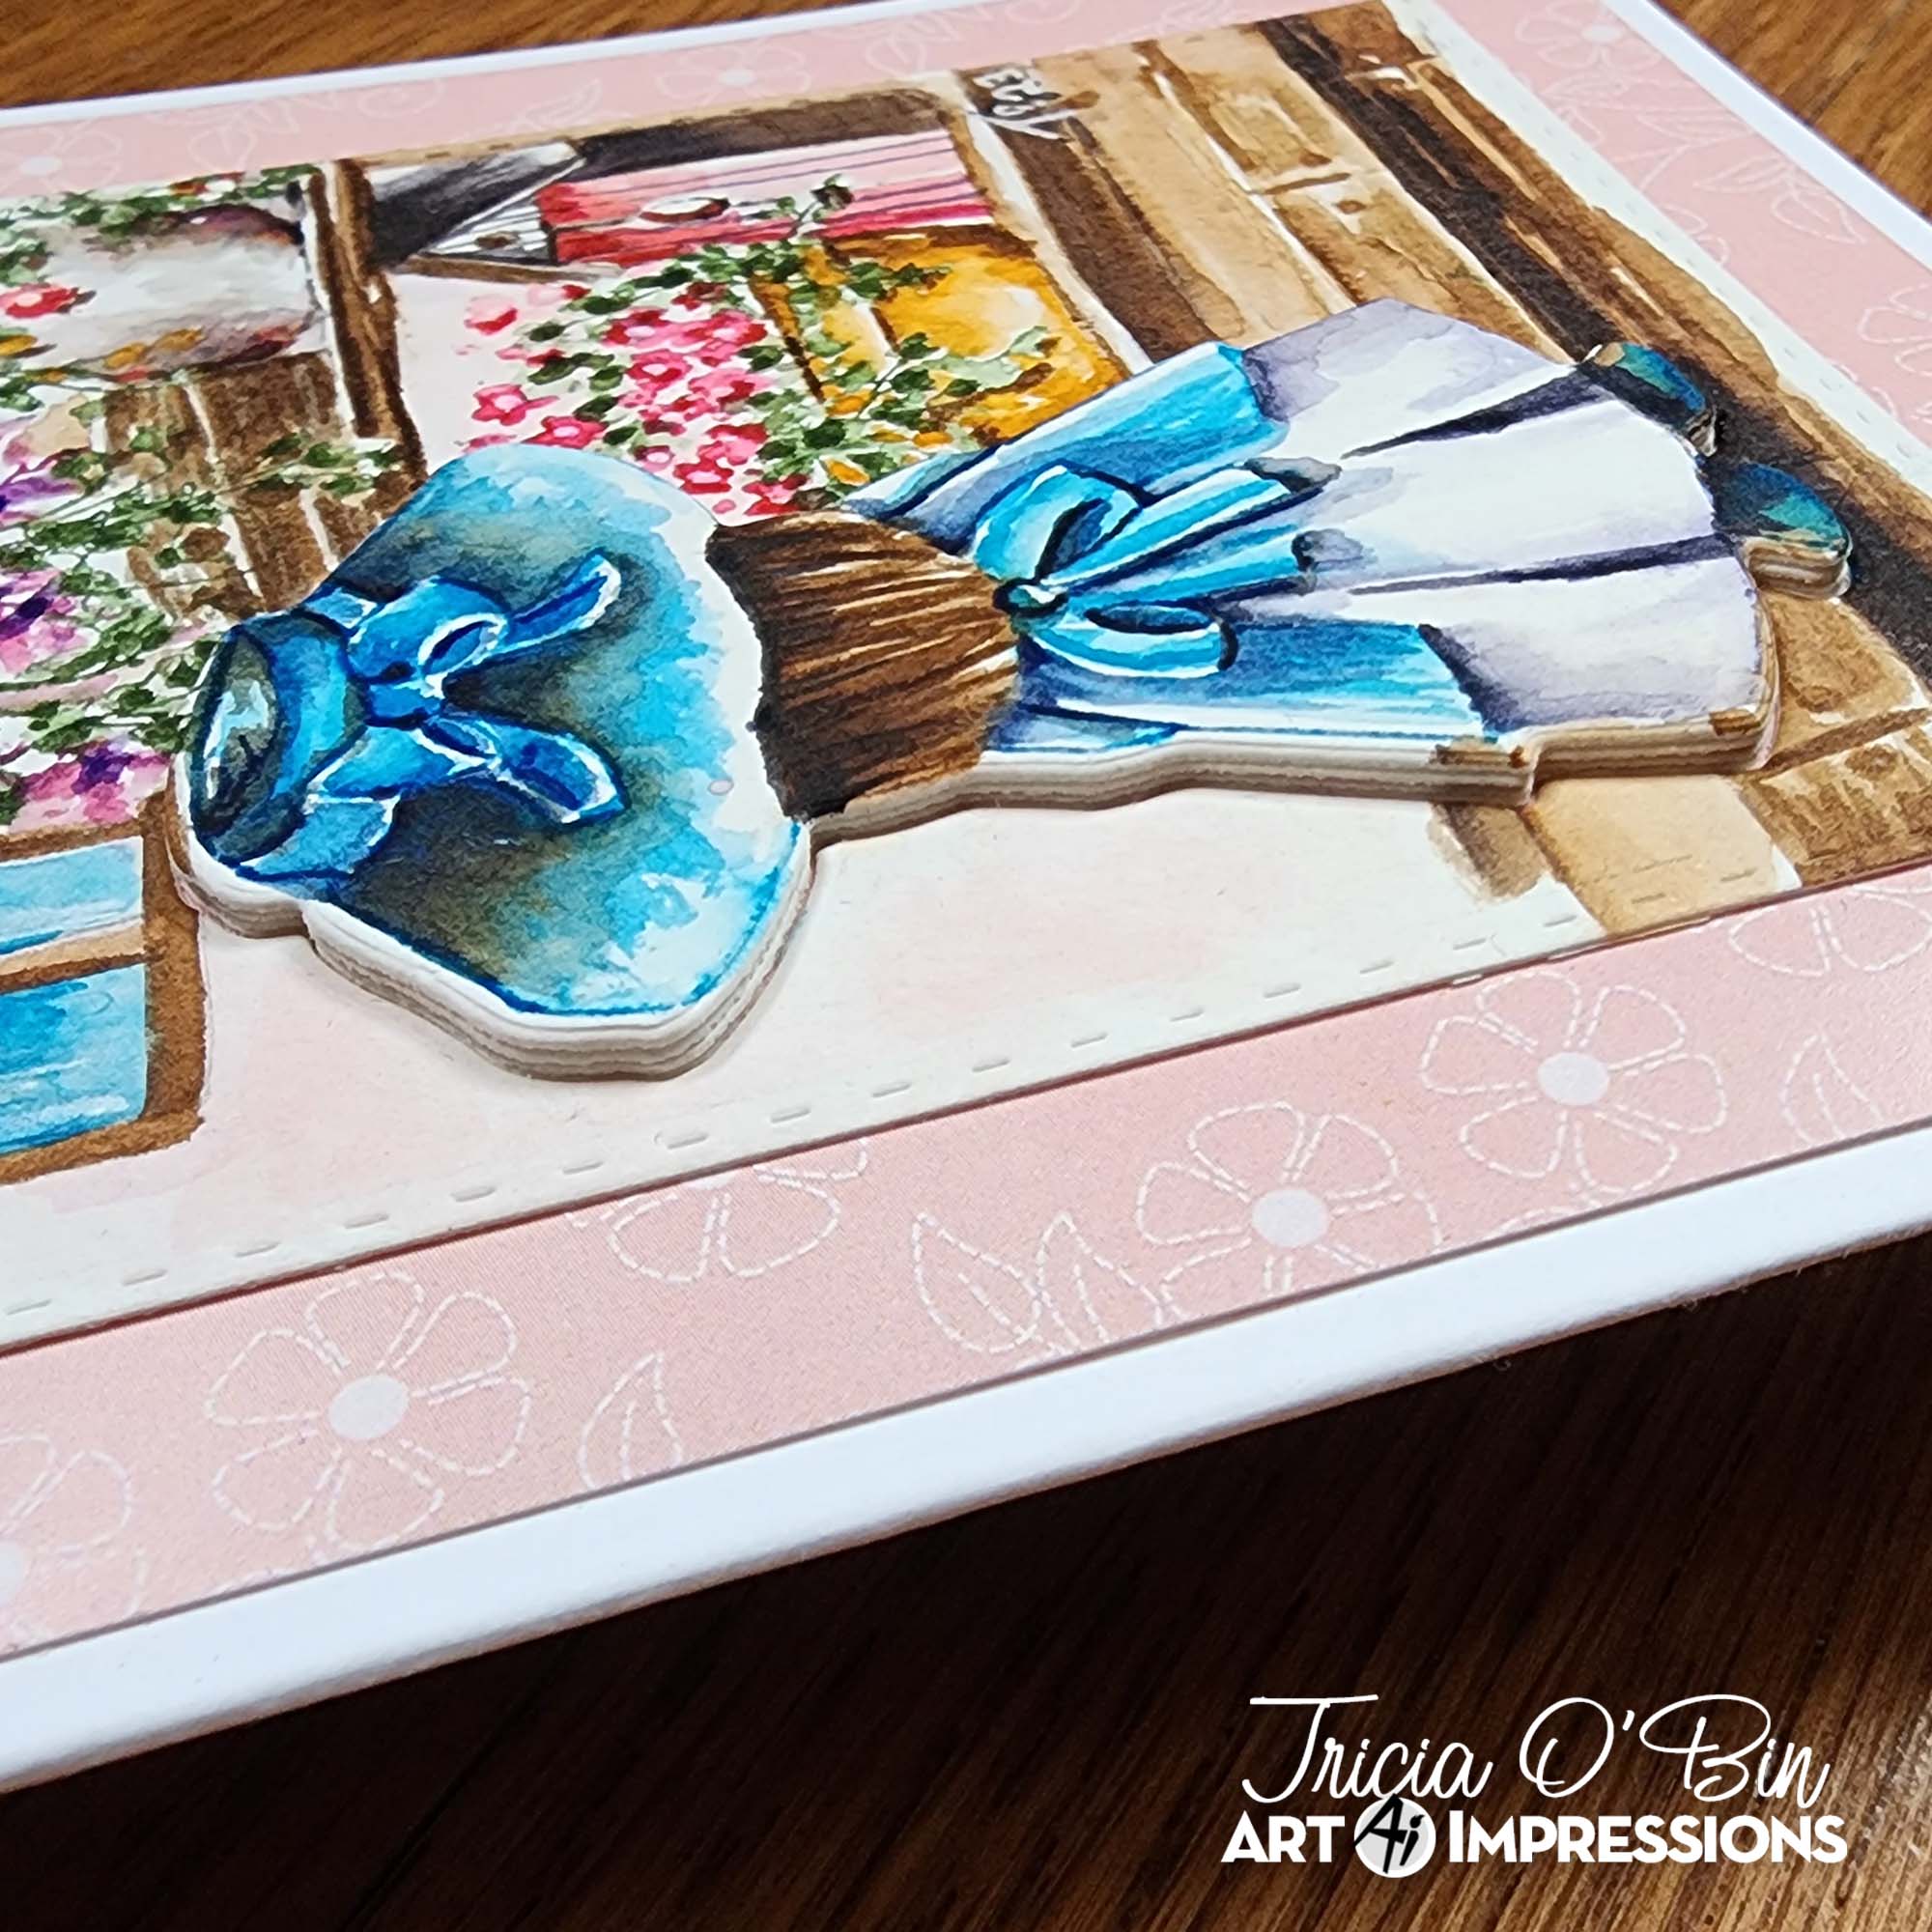
Get out there and enjoy the Spring and paint something beautiful today! Thanks for joining us and see you next time!

 And now for a sweet scene from Karen:
Hello Ai Watercolour fans!
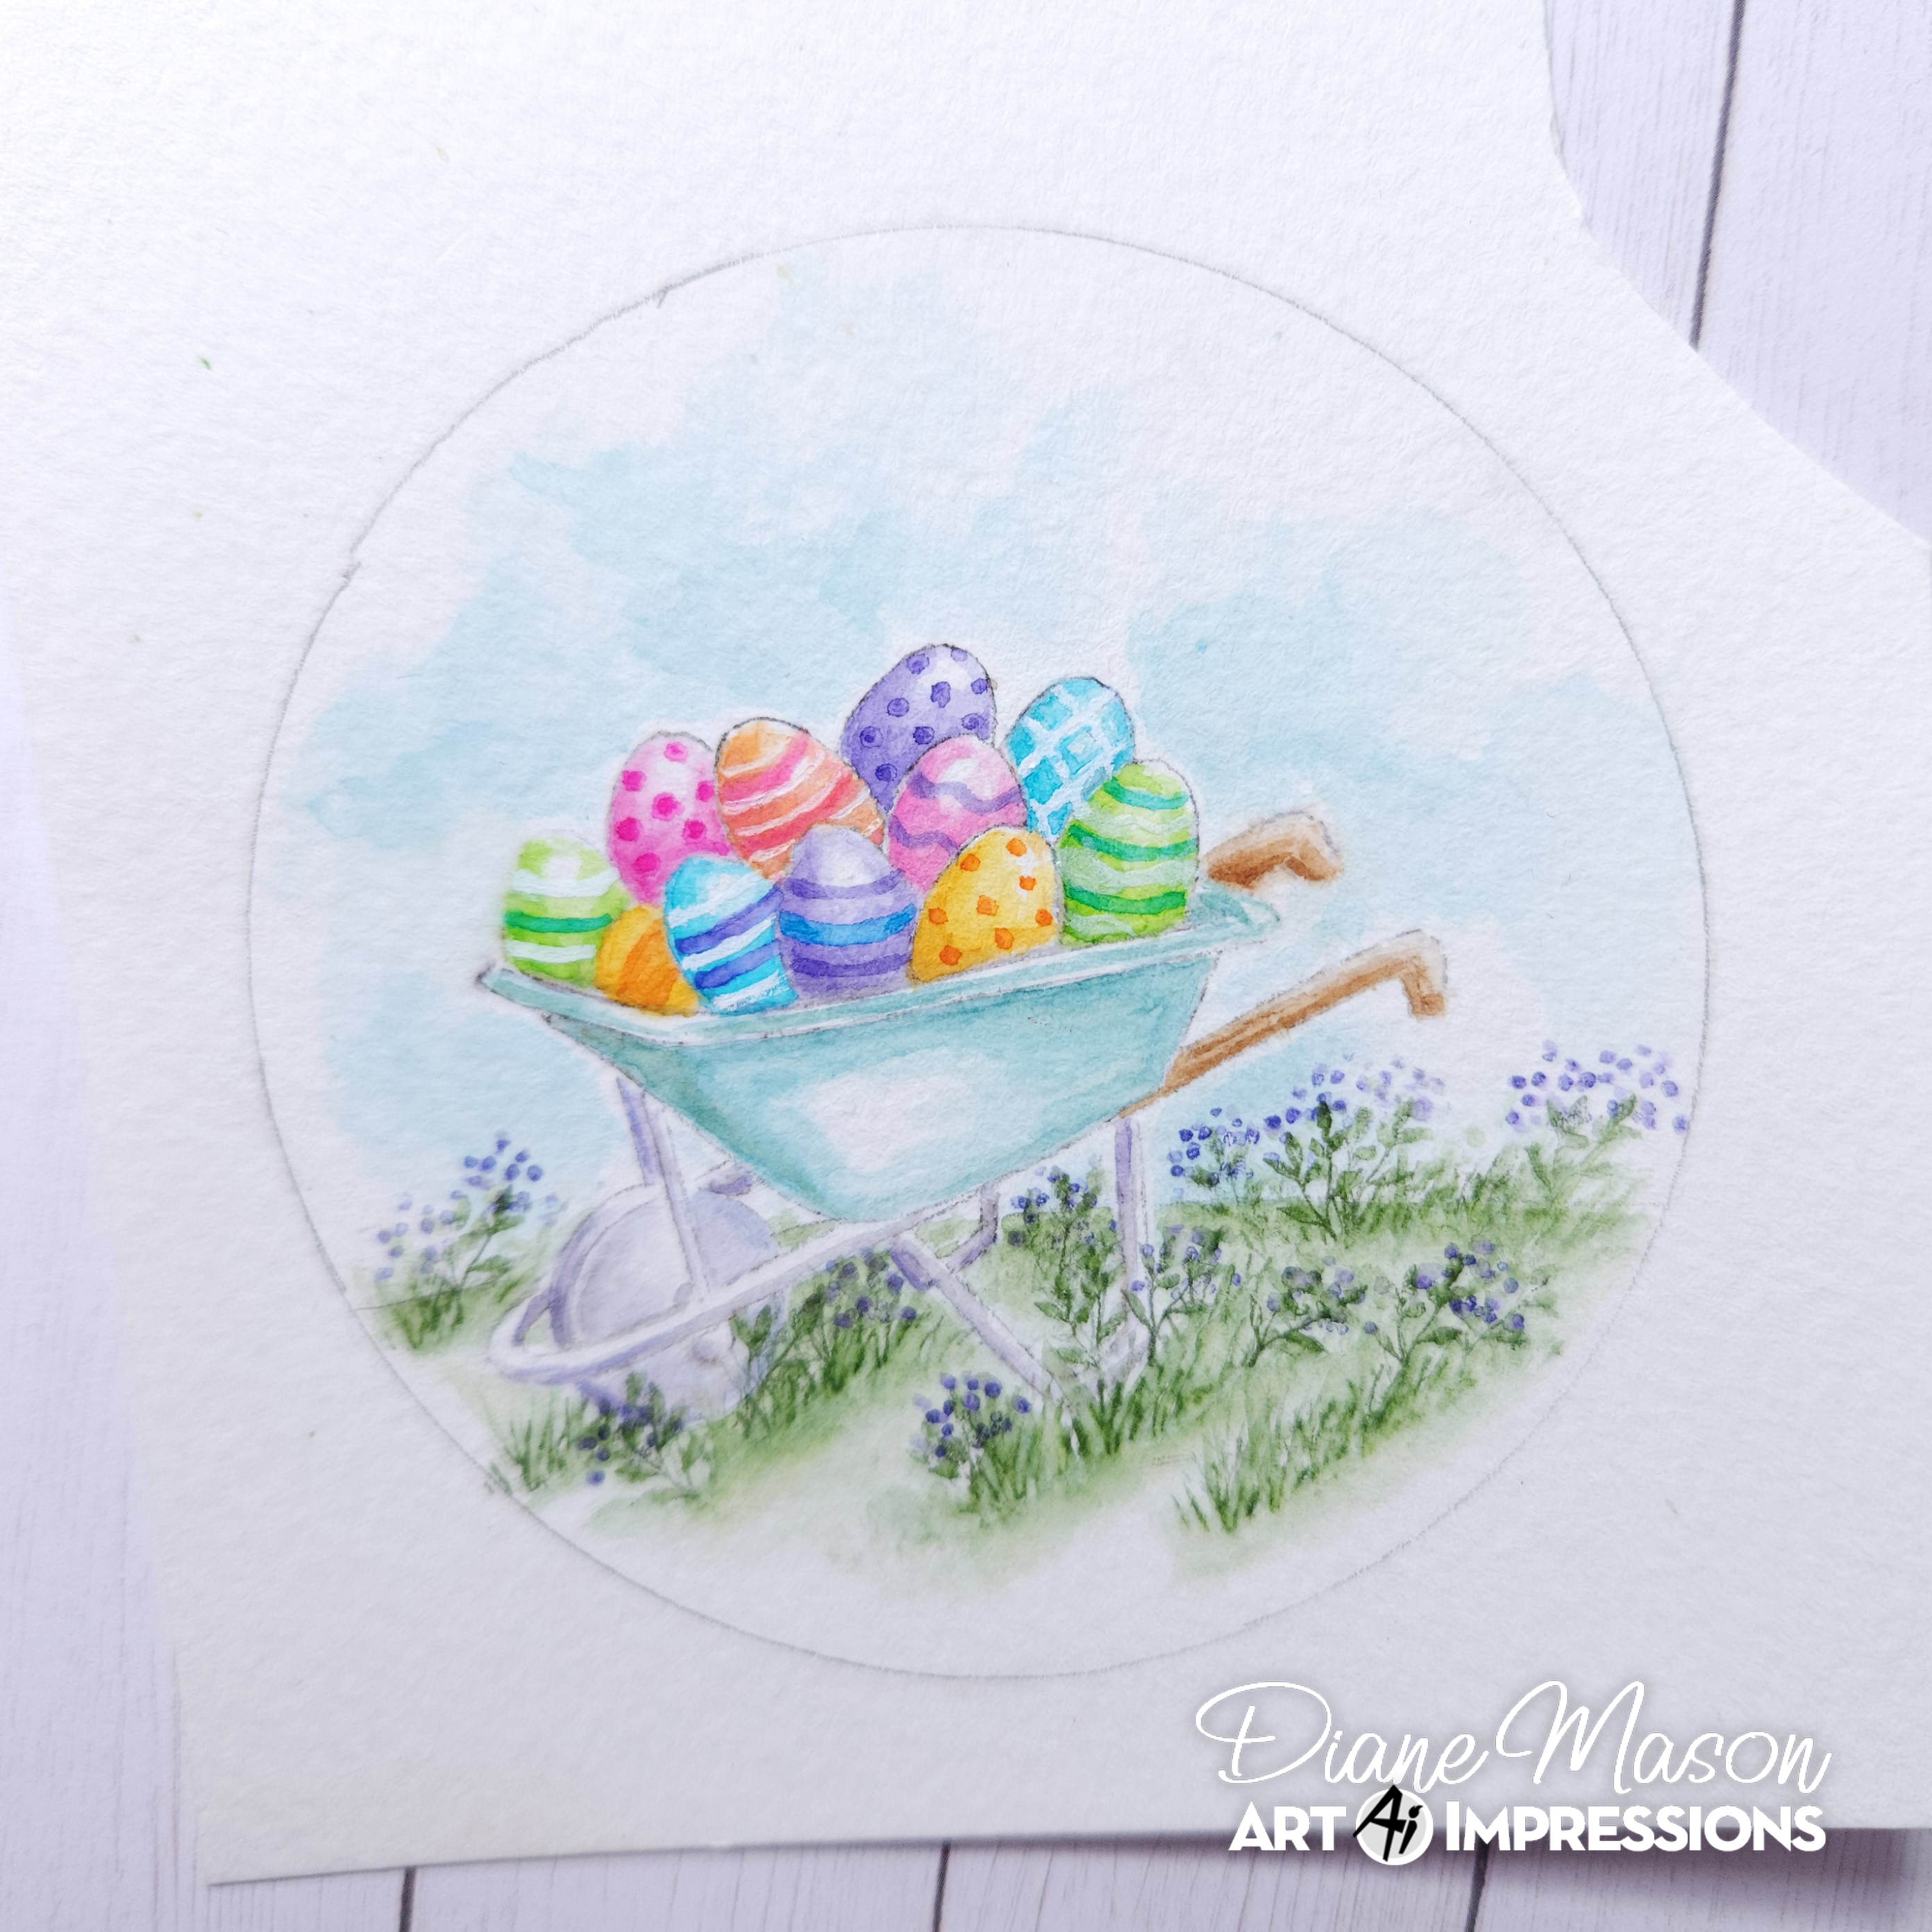
I made a spring scene featuring one of the sets from Bonnie's fall release (they work for any season!):
.jpg)
I stamped the wheelbarrow from 5597 - Harvest Wheelbarrow Set in Tombow #969/565 onto my Canson XL Watercolour Paper, then masked the edge to stamp my puppy from 4959 - WC Dogs Set, and my three pots from 4869 - WC Small Container set, masking and stacking them as I went. I softened all the lines with a damp brush, and then created my florals. For the striped pot, I began with the trailing vines from 5126 - WC Foliage Set 4 in #158, and added the daisy bunch from 4050 - Flower Set in #991. The taller flowers are from 5475 - WC Flower Set 6 stamped in #177/533, and then I used the tulips from the same set to fill the other pot - creating a two-tone effect with #991/856 on each bloom, and 158 on the leaves.
.jpg)
I used #947 to create the terracotta pot, and painted layers of #969 on the puppy, keeping some areas white, and building up layers of colour where I wanted him darker (he reminds me of Sharon Caudle's new puppy!). For the wheelbarrow, I painted layers of #526 for the blue, and used layers of #N65 to be the metal parts, keeping some areas white where they would be shiny. I used the grass from Foliage Set - 4051 in #177, and then used #565 to paint in the sky, the stripes on the pot, and shadows where needed. 5061 - Square Double Stitched Dies was used to cut out my scene, then I matted and adhered it to my base with 3D foam adhesive.


1 comment:
Wow, wow, and wow!!! You ladies are so talented and amazing!! I just look at all your beautiful works of art and drool!! Spectacular. I don't even know what else to say except BRAVO to all three of you! Stunning creations!!
Post a Comment