
Hello Ai Watercolor Fans!
It's a Watercolor Weekend here on the blog and you're going to LOVE
what our Design Team members have created!

We've seen a lot of the new Scenic Foundation sets lately.
This week we have a couple different cards from Karen and Diane and a Foundation set card from Tricia.
We'll start with Karen's beautiful front porch rocking chair scene.
We'll start with Karen's beautiful front porch rocking chair scene.
Hello Ai Watercolour fans!
I wanted to create a scene with warm, pretty colours this week, so I pulled out the 5568 - Rocker & Plant Stand Set from the Winter release:
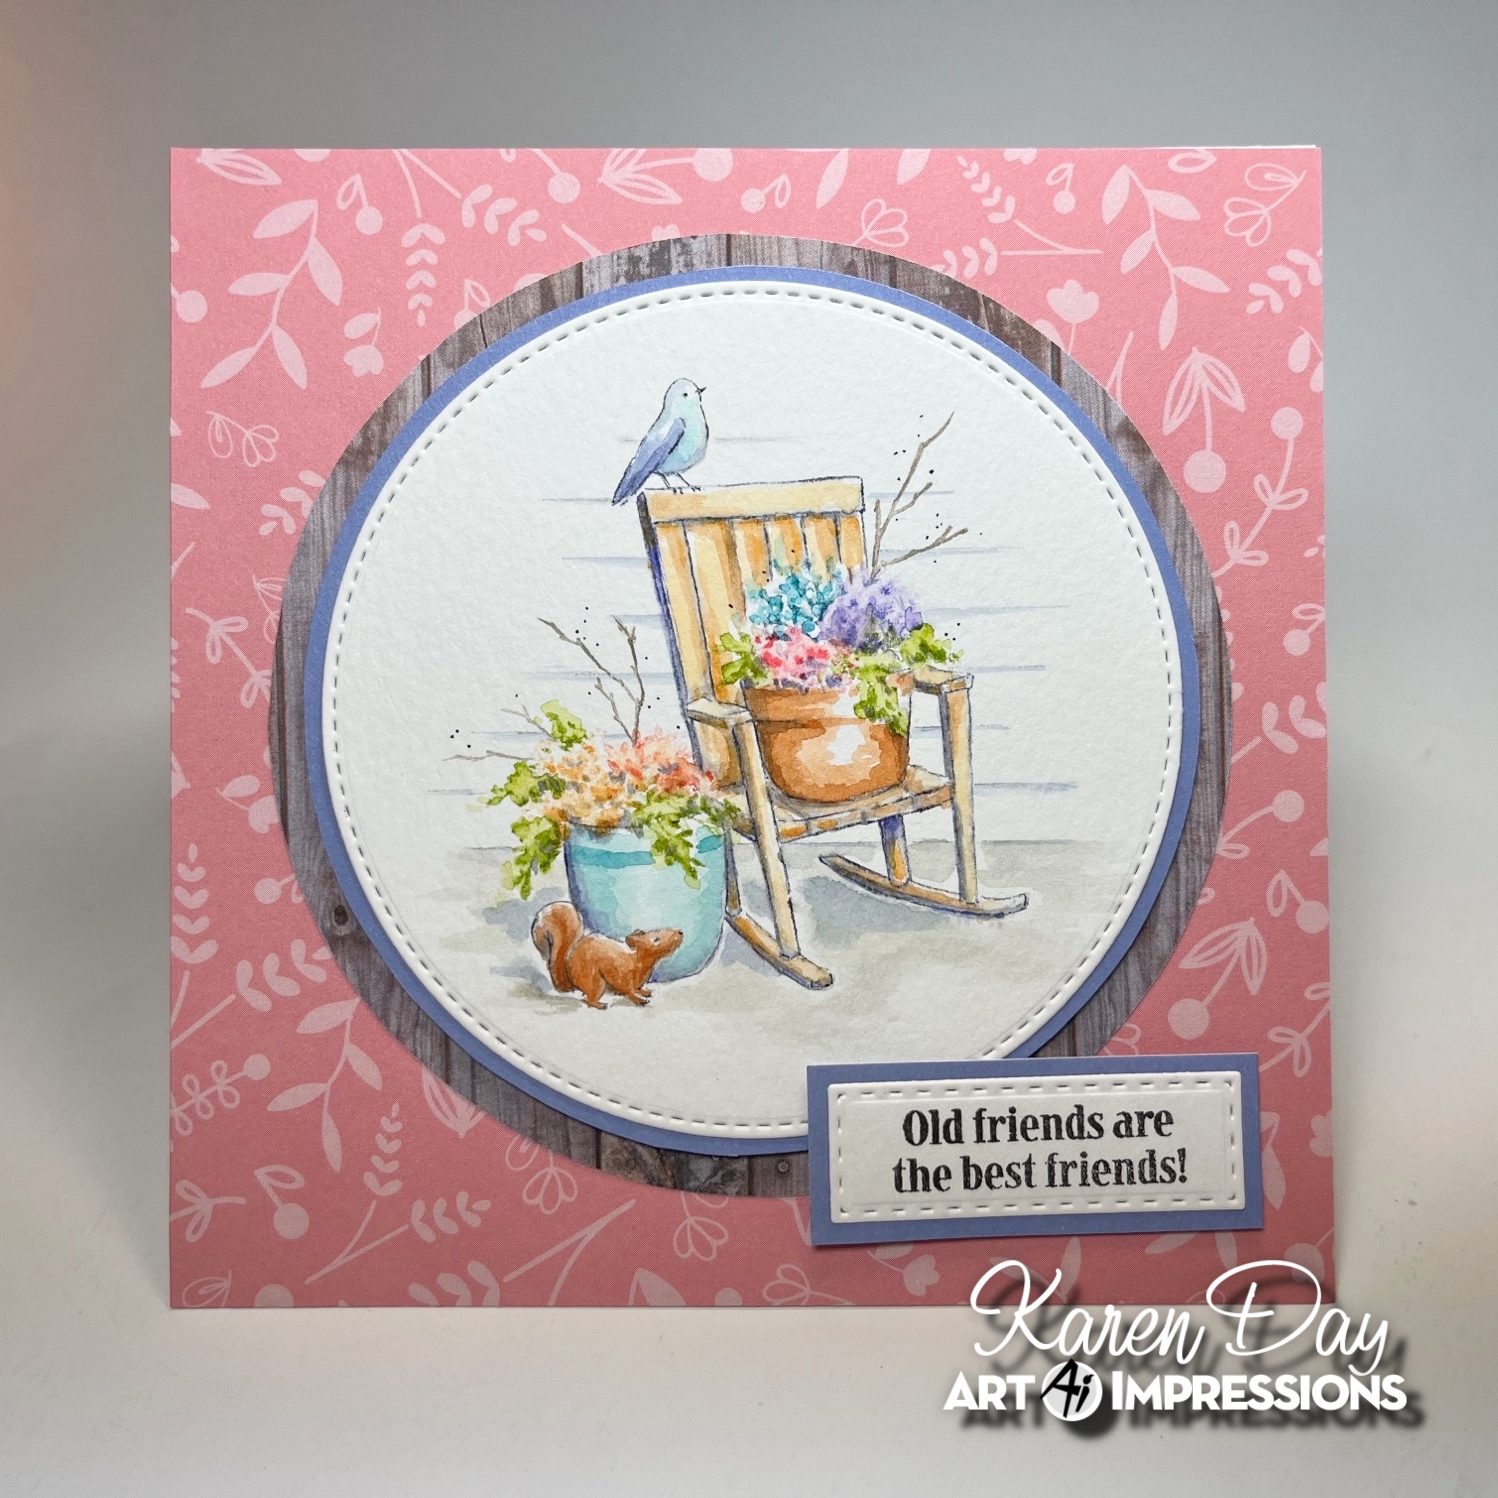
I coloured the image in Tombows #969/565, and stamped it onto my Canson XL Watercolor Paper. After pulling out the colour with a damp brush, I selected my colour palette. For my yellow rocker, I used #993, using layers to build up the warm yellow tones, adding in #947 to some of the darker areas. The bird's belly and the lower pot were painted with #407, using it to paint a darker stripe around the pot as well. The other pot and the squirrel from 5599 - Mini Mice & Squirrel Set were painted with layers of #947, making the edges of the pot deeper in tone, as well as the under side of the squirrel. The pots were filled with the two trailing foliage stamps from 5126 - WC Foliage Set 4 in #126, by just colouring part of the stamps, and varying the angles they were stamped around the pots. Using the Daisy bunch from 4051 - Flower Set, in #993 and #803, and the tiny heart circle from 4868 - WC Flower Set 2 in #533 and #925, I filled the pots with flowers. #565 was used to paint the bird's wings, and as shadows around the pots and on the chair.
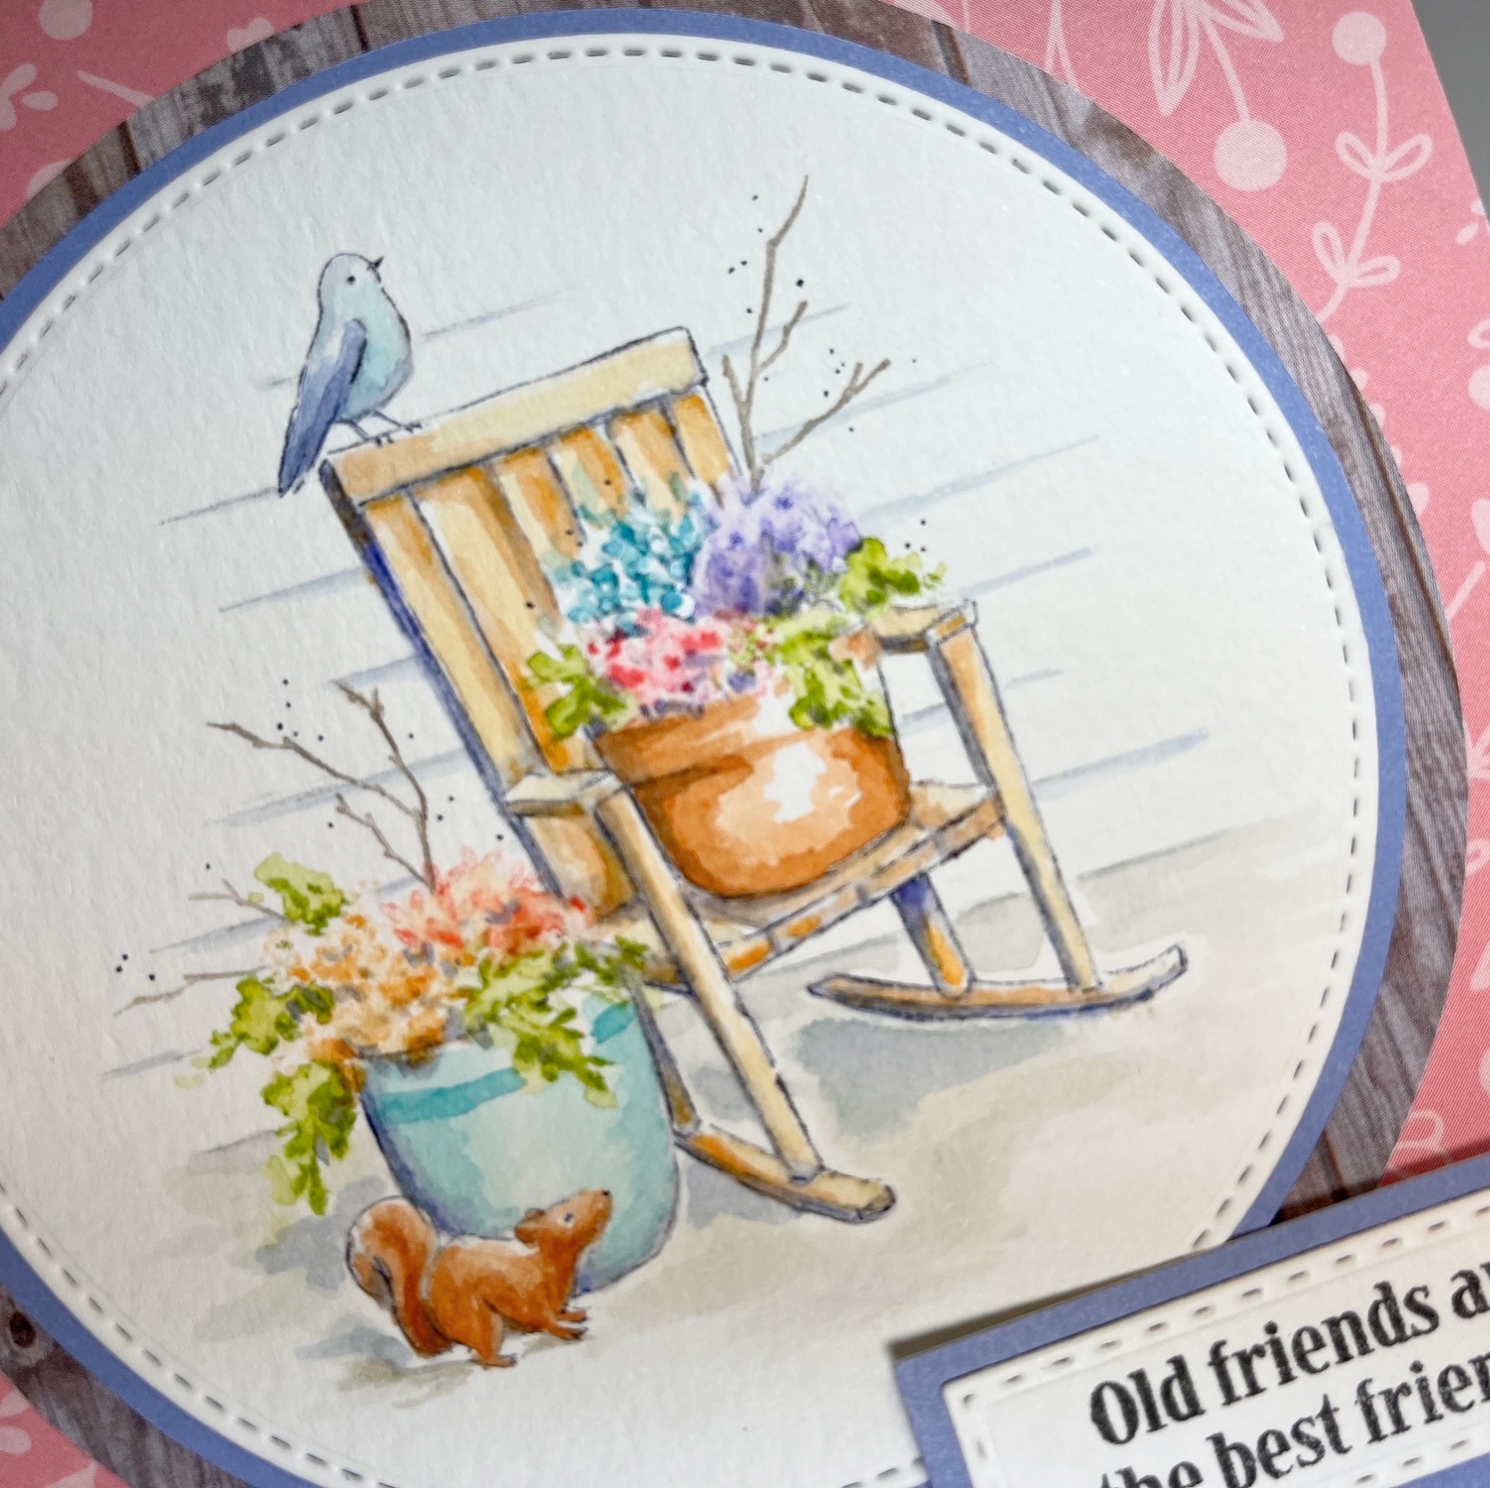
I wanted to ground the rocker, so I created a line behind it, and drew in the suggestion of the siding on a house, to indicate that the rocker is sitting on a porch. The floor was washed with N57. To finish my scene, I used two of the branches from 4964 - WC Branches Set in #969 added to each pot, and used my Twintone marker to add a few dots around them.


Next up is Diane and her lovely birdhouse/ planter scene.
Hello, Ai Watercolor Weekend fans! Now that summer is near, I decided to paint this sweet floral scene. In my neighborhood, the birds are chirping and curious squirrels are exploring. And for me, no summer is complete without a beautiful hanging basket of bright red geraniums!

To create this scene, I inked the birdhouse stamp from 5575 – Mailbox Birdhouse Set in 565/969 and stamped off once before stamping onto my Canson XL watercolor paper. Next, I inked the squirrel from 5599 – Mini Mice & Squirrel Set in 565/969 and stamped in the left hanging basket. Since the stamps are clear, it made it easy to place the squirrel – no positioner needed! I knew I would be cutting out this image later, so I traced the largest oval die from 5588 – Journal Oval Frames Die Set to frame my scene.

With my scene complete, I used a damp brush and pulled out the stamped lines of the image to create shadows and contours. Before adding any color to the images, I brushed in a watery sky with 526. I wanted to keep the birdhouse white, so I used 565 to shade the left side of the birdhouse and under the eaves of the roof. I added thin vertical lines to the front and sides of the birdhouse in 565. I added a little 565/969 mix to the shingles and a touch of N25 just under the shingles to create more depth. I darkened the round openings with 969. The perch was also painted with 969. I added a light shadow just below the perch with a 565/969 mix and painted the metal curved hangers with the same mix. For the red geraniums, I inked the ivy stamps from 4867 - WC Foliage Set 2 in 856 and 177. Normally, the entire stamp would be inked in green as foliage. I wanted trailing geraniums to flow from the basket, so I randomly inked some of the larger leaves in red and the rest in 177. I stamped this multiple times until the basket was full. With a damp brush, I dabbed the red flowers and softened the greenery. Using the small leaves from 4867, I stamped in multiple leaves around the squirrel, masking where needed. For the squirrel I used 977, leaving lighter areas to create highlights and contours. For the shadowed areas, I added a touch of 969. I left the chest and belly white.
With the squirrel now painted, I dabbed the leaves to soften. I added 977 and 969 to the wooden post and added shadows with 565. I stamped in some long stem flowers below the pots and around the post using the long stem flower bunch from 4868 - WC Flower Set 2. I inked the flowers in 565 and stems/leaves in 177. I added additional shadows where needed on the pots with 565. I added upward curved stripes to the left pot with a mix of 526 and a little 177. I added white floral centers to the blue flowers using a small brush and Dr. Ph. Martin’s Bleed Proof White. I also dotted in some white blooms to the greenery in the basket with the squirrel. To give the red flowers the look of geranium petals, I used the bullet tip of 856 to dot in petals. Using a brown TwinTone marker (or a gray TwinTone marker, where appropriate) I added back in any details that were missing or needed to be darkened. I drew the wires to hang the baskets from the hooks with the gray TwinTone. Next I inked the bird from 5561 – Birds and Bugs Set in 565/969 and stamped off once. The bird was painted in 526 and the beak in 933. I then used the coordinating die to cut out the bird.

Using the pencil lines as a guide, I cut my image slightly outside the oval shape. Next I die cut a scalloped oval frame using the largest scalloped and largest oval die nested together from 5588 – Journal Oval Frames Die Set to create a frame and adhered to the painting with glue. I then die cut five green stems using the die from 5591 – Journal Rectangle Frames Die Set. For the blue flowers I die cut three flowers from 5588. I die cut three more flowers from white cardstock so I would have white centers to add to the blue flowers. The painting was popped up with foam squares on the card base. I also popped up the bird. Finally, I arranged the green stems and adhered with glue then added the three flowers to the stems using foam squares.

I think this would make a nice any occasion card (Thank You, Happy Birthday, Encouragement, Just Because, etc.). I hope this painting will encourage you to get out some of the earlier released Watercolor Journal stamps and create your own masterpiece. Please remember to tag us on social media, we love to see your work! Thank you for joining us for another Watercolor Weekend, until next time – Happy Painting!


We close out our weekend with the glorious city scene from Tricia.
Welcome back Watercolor Fans to another Art Impressions watercolor weekend. This weekend I am sharing one of the new releases. I just love this City scene, I decided to make it a Seaside City. I thought a nice sunset (which I love) would be perfect.

This scene kind of evolved slowly. I did see after I was done that Bonnie also did a tutorial, great minds I tell ya! Here's how I made mine.
City:
I inked up the SF Village with 969 and minimal amounts of 569 (anywhere I wanted it really dark, roofs etc). I am not adding water until the flowers are in place.
Flowers:
I picked some smaller flowers to place into the buckets. I made sure to add these before I added the water and additional color to the buildings to make sure I had enough white space for the flowers. I added water to the flowers.
Shadows/Color:
I pulled the color out of the lines on the buildings, pots, walkway and stone roadway. Adding shadows with 569 prior to adding the stones will give your roadway more depth.
From my palette, I added some bright colors to the buildings. I waited until I finished the sunset before I added color to the windows, so I could include a reflection of the sky. The vibe I was going with was "Caribbean", I felt like I captured it.
I added some additional details to the pots and planters. Once the flowers were dry, I added some darker color to get a little more depth. After the buildings were dry, I added some additional details and deeper shadows.
Rock Walkway:
Using some brown and blue mixtures, I created the rock walkway. When creating your walkway, make sure to angle the rocks in the same direction as the road.
Background:
I wanted a really bright sunset, I sketched in where I wanted the sun and horizon line with my orange marker. Next I painted in a light wash of orange, using left to right brush strokes. I add some yellows and additional oranges, letting it dry between layers. Once I was happy with it, i darkened in the sun and added some really dark highlights. Finally, I added some blue into the water under the sun.
Make sure you sign and date your work!
Thank you so much for stopping by! Hope you have a crafty day!


There's still time to take advantage of the 40% off Father's Day category sale.
You can also catch Bonnie's latest video here.

We hope you all have a wonderful watercolor filled weekend.

1 comment:
Wow, wow, and wow again! I love each of your projects! You are all three just spectacular artists!! Such gorgeous creations!
Post a Comment