This week it's Diane's turn to share first. Let's see what she made!
*******************************************************
Hello Ai Watercolor Fans! Who is ready for fall? I’m looking forward to cooler temperatures, the leaves changing colors, sweater weather, apple cider, and pumpkin spice! One of our favorite things to do in the fall is to visit our local pumpkin patch for an afternoon of fun and food. When our son and daughter were little, we always made sure to get a photo of them sitting on straw bales, surrounded by pumpkins and other fall decorations. Today’s card is inspired by those memories. I’ll be using Art Impressions 5776 – FB Sitting Girl, 5777 – FB Sitting Boy, 5594 – Harvest Scarecrow Set, 5598 – Harvest Set, and 5507 – Harvest Together Set to create this adorable fall scene.
For this card, some masking is required – but nothing too complicated. When I have a scene that uses multiple image stamps, I will create a “blueprint” of sorts to follow. This way I’ll know what order to stamp each image to create the scene. When it comes time to stamp the images onto your Canson XL watercolor paper, you can place your blueprint into a Misti Stamp Platform and align your stamps in the proper positions. Or you can use a clear block and stamp positioner where necessary.
I started off by making masks of the girl and boy from 5776 and 5777, making sure to cut all around them and between their feet. All images where stamped in 969 (you could use 565/969 instead). Remember to stamp off before adding to your watercolor paper! I used the blueprint to guide where to stamp the girl and boy. I covered the kids with the masks and then stamped the straw bales from 5598, aligning so as to make it appear they are sitting on the bales. Next, I used a small piece of Post-It tape to mask the straw bales. With the masks still in place, I stamped the basket of pumpkins, gourds, and apples between the girl and boy, just back a bit, so it will appear to be behind them. Next I stamped in the sunflowers from 5594. And finally, I stamped the scarecrow into the basket of fall produce and removed the masks. With a damp brush, I pulled out some color from the stamped images to add contours and shadows.
I used the following colors to paint each image:
Girl – skin (850, 910), cheeks (touch of 856), hair (969), shirt, shoes and hair ties (856), overalls (565)
Boy – skin (850, 910), cheeks (touch of 856), hair (025, 026), shirt (158), overalls (990, 969), patch (933, 993) and boots (969)
Straw bales – straw (026), twine (969)
Sunflowers – flowers (025, 026), leaves and stems (249)
Produce Basket – basket (990, 969), red band (856, 847), green band (249), orange pumpkins (933, 993), blue pumpkin (312), yellow orange pumpkin (993), red apple (856, 026), green apple (173, 177), stems (969), and gourd (850, 910)
Scarecrow – face (850, 910, 969), nose (933), straw hair and hands (026), shoes (969), shirt (933), overalls (947), hat (158, 177), patches (856, 933, 565), pole (969) and robins (969, 856)
I used 969 for the ground, and I added more layers of 969 to darken the shadowed areas. I brushed in a watery sky with 526. Next I stamped the “Hay Friend” sentiment from 5507, in the upper left area. As a final touch, I added back any details where necessary with a brown TwinTone. To finish the card, I die cut the painting with a rectangle from 5724 – Nested Rectangle Dies and mounted to an A2 card base.
I hope you’ve enjoyed this little taste of the coming season! Thank you for joining us for another Watercolor Weekend and until next time – Happy Painting!
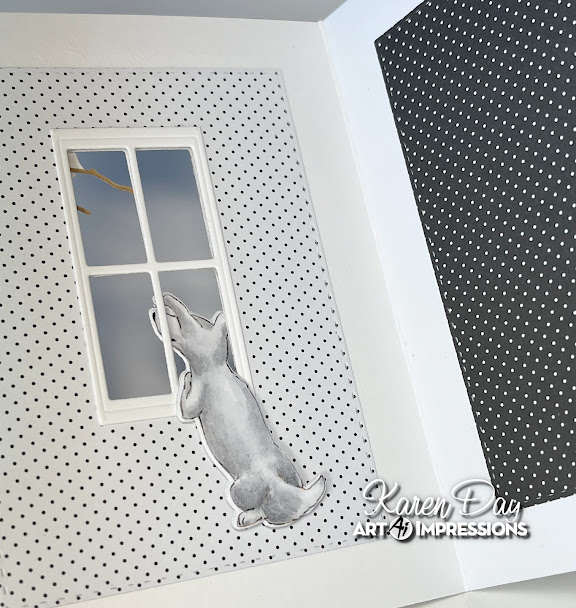
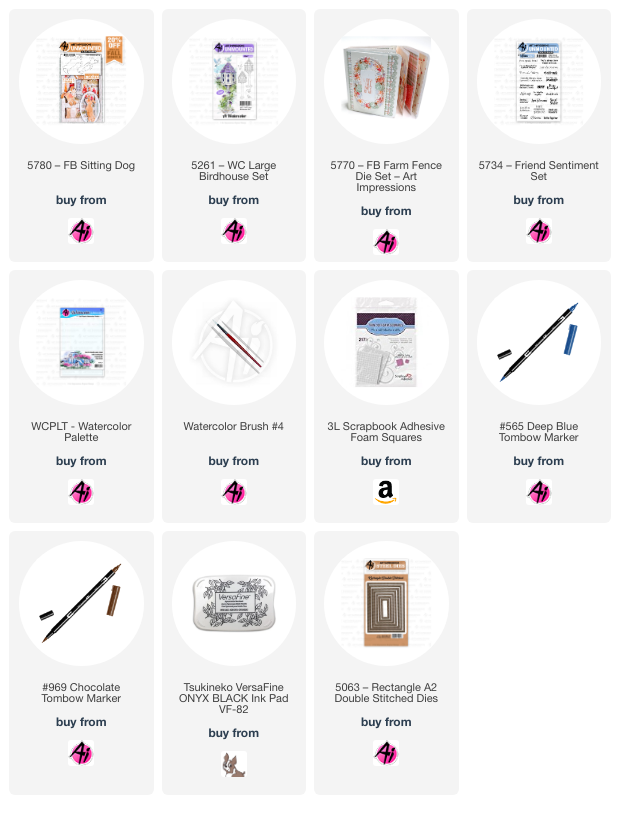
I stamped the little 5780 - FB Sitting Dog onto some Bristol Smooth Cardstock using Tombows 565 & 969, and painted him with N55, adding layers where he needed to be darker. I went over his features with my Black Twintone marker, then cut both the front and back out with the matching dies. I did the same with the bird from 5261 - WC Large Birdhouse Set, painting him with 533 and fussy cutting him out.
*******************************************************
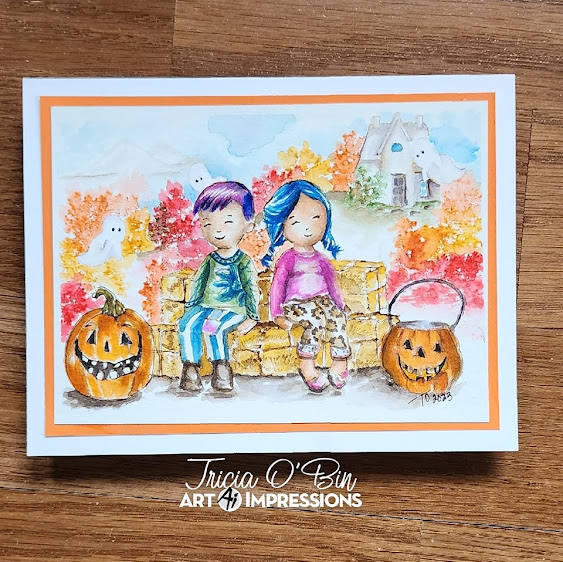
(Hey there! This is Reneé chiming in on Tricia's card. Do you know I was so fascinated by the two children and how incredible they are that I didn't even notice the ghosts haunting them until the third or fourth time I looked at this?? lol! What a focal point. The details around them are just a huge bonus)


.jpg)

.jpg)
.jpg)


1 comment:
Wow! Another fabulous weekend of gorgeous watercoloring! Fantastic work!! All three of you!!
Post a Comment