Showing posts with label 5373 WC Large Tree Set. Show all posts

Saturday, November 7, 2026

Fall Vibes by Gennette Houghton


Hello, and Welcome to Watercolor Weekend!  I love old barns, they give such a peaceful vibe in a landscape.  Open fields and swaying grass add to that feeling.  

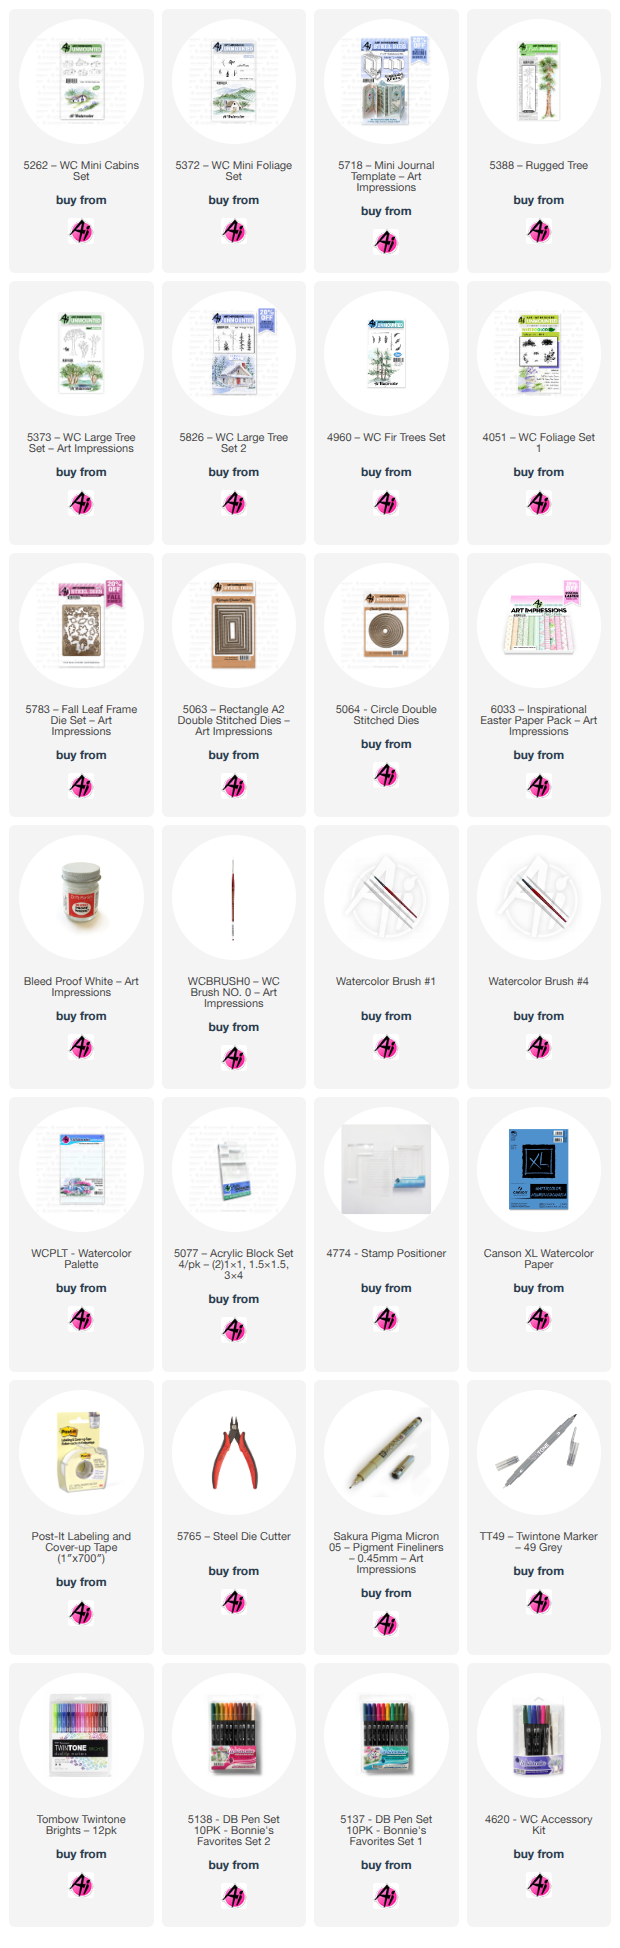
For my 1st card I started by penciling in a wavy horizon line. I wasn’t really sure where I wanted to put the barn, so I used the stamp positioner to help me with that.  I was able to figure out exactly where I wanted to place it this way.  I could see what it would look off to either side, or the center.  I used Distress Ink Pumice Stone on the barn and stamped off twice and then stamped it on my project, slightly off center to the left.  I erased any pencil lines that ran through the barn after my ink was dry.  For the roof I used a mix of 947 and 177, and then adding a little bit of 969.  For the walls I used a mix of 856/969, adding a bit more of 969 in vertical stripes and used 565 for shading on the side and under the roof.  A mix of 565 and 969 was used in the windows and doors.  I then added in the sky, going for a sunset look I started with 055 at the horizon line, then adding in layers I added 025, 993, and a touch of 905.  Before putting in any foliage I added 177 for the ground and 969 for the path. 

The next 5 stamps all came from 5372 WC Mini Foliage Set, starting with the pine tree in 249.  Then the tree trunks in 969, the tree foliage in 126, adding a bit of 177 on the stamp as well.  I then added in the grass in 177.  After softening everything with a damp brush I added in some 565 along the ground for shadows.  I then added some Bleed Proof White for the flowers.  I also added some highlights to the barn.  I used a die from my stash to cut out the image, and then used a cloud border die to create a mat for it.  I matted my card base with paper from the 6033 Inspirational Easter Paper Pack.  I then decided to add the hello from the 5718 Mini Journal Template Set, which I felt gave it a nice finishing touch to the card. 


For my 2nd card I took some inspiration from Pinterest of a late autumn forest scene.  Unfortunately there wasn’t a link so I wasn’t able to credit the original creator. I started with 5064 Circle Double Stitched Dies, 2nd from largest, tracing around it with pencil for a guide.  I will also use this die to cut out the image when I am done.  Using Distress Ink in Fossilized Amber, Wild Honey, Rusty Hinge, and Vintage photo.  I ink blended the background, utilizing a wedge cut from a piece of paper for light rays.  Starting with the largest tree first, I then used a stamp positioner to help place the other trees working back to the smallest.   The trees and colors are as follows….

5388 Rugged Tree – 899

5373 WC Large Tree Set – 969

5826 WC Large Tree Set 2 – larger tree – 977, smaller tree – 098

4960 WC Fir Tree Set – 076

I added more color into each tree as needed, going lighter in color the farther back they went.  4051 Foliage Set 1, large foliage was used for the ground cover, using the same colors to match the colors of the trees or the background.  076, 098, 977, 969, 899, 026, and 025, I then softened everything with a damp brush.  I then used some Bleed Proof White for some light beams, I tried to soften them a bit but the color saturated background was a problem so I left them the way they were. After cutting out my image, I then matted my card base with a solid brown.  Using the same color paper and a texture die for the 2nd piece, I then used 5063 Rectangle A2 Double Stitched Dies, 2nd from largest to cut out my center piece.  I then attached a ribbon to the panel before popping it up on foam tape and placing it on the card base.   I also popped up my circle image with foam tape and placed it over the ribbon.  I then used 3 leaves from 5783 Fall Leaf Frame Set and colored the die cuts with a mixture of 025, 026, 098, and 933. I finished off the card by gluing 2 in one corner and 1 in the opposite corner.  Thank you for joining me today, and I hope you enjoyed my cards!  Until next time!  Create….Share….Inspire!


Wednesday, July 8, 2026

Adirondack Chairs by the Falls by Guest Designer Dawn Wagner

 Celebration Hi!

I return for another round of painting fun!


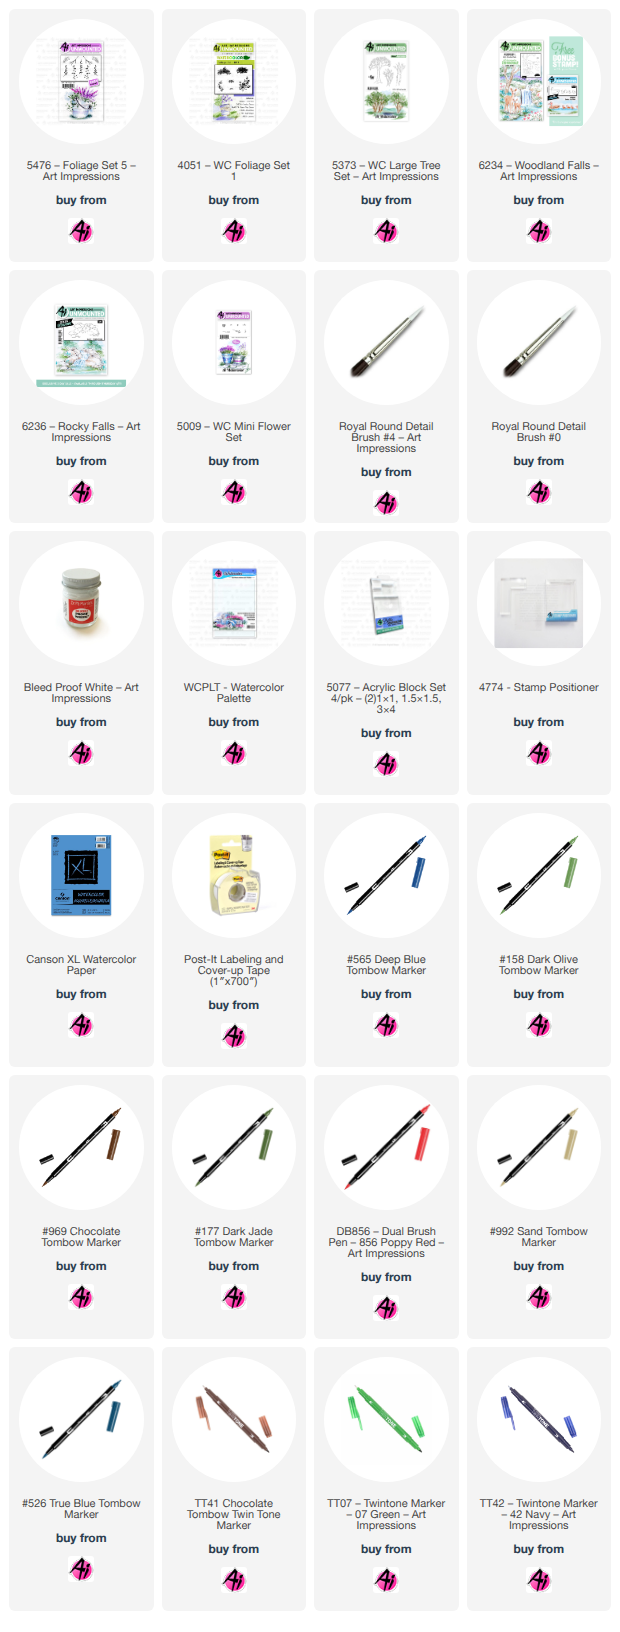
America has its 250th Anniversary this 4th of July. I decided to create a celebration scene with the June Throwback. I used the following sets: 6234-Woodland Falls Throwback, 6236-Rocky Falls, 6225- Adirondack Chairs, 5009-Mini Flowers, 5373-Lg Tree Set(leaves only), 4051-Foliage and 5476- Foliage 5. I used Canson watercolor paper, #4 and #0 brushes, Tombow colors 969, 565, 177, 158, 133, 856, 990, 992, 526 and N35. TwinTone colors chocolate, Prussian blue, emerald green, blue and navy. I also used KingArt 132-Blue, and Dr. Ph Martin’s Bleed Proof White. I inked the woodland falls stamp with 969 and 565 in the areas I was going to use for my scene. I did not use the entire scene because I wanted to add the lower falls to make the waterfall cascade longer. I used a stamp positioner to add the lower falls to the scene. I penciled in rocks on the left by the tree to complete the picture. Using the #4 brush with only water, I started pulling color from where I thought the darkest shadows of the rocks would be. I used N35 fine tip to deepen the darkest shadows and then used multiple color and many layers to the rocks to give them a more realistic look. I pulled color from the lines of the tree and went back in with the chocolate TwinTone to darken certain areas. I used the leaves from the tree set to make the background leaves and the leaves from 6234 for the darker foreground areas. I added the Adirondack chairs to the bottom of the waterfall using 969 and 565. I did stamp off once to lighten them up a bit. I added the American Flag to them for a patriotic look. I added some grasses and mini flowers under the tree and around some of the rocks. I used multiple blue colors in the waterfall to create some depth and flow appearance. I used Ph Martin’s to add some “churning” of the water at the bottom of each cascade, and some running down the waterfall. I was thinking the scene looked incomplete with the chasers just sort of floating in space there, so I added a shoreline and some sand to ground them into the scene. Sometimes I have a hard time trying to figure out just how to include and ground things into the project. That’s when I thought I needed to add some foliage and flowers by the chairs to complete the look. Okay, to be honest, I really wanted fireworks above the waterfall, that was my intent, but I was not confident enough to add them without messing up the rest of the scene. I will practice those at a later time. Thank you for following along and hope you had a great 4th of July!

Saturday, April 25, 2026

Country Church and Hydrangea Florals with Guest Designer Julie Worthing

Hello Ai fans and welcome to Watercolor Weekend!


Today we have our second Guest Designer for April in place of Diane who
needed some personal time off.

Please give a warm welcome to Julie Worthing and enjoy her BEAUTIFUL creations.

Julie Worthing


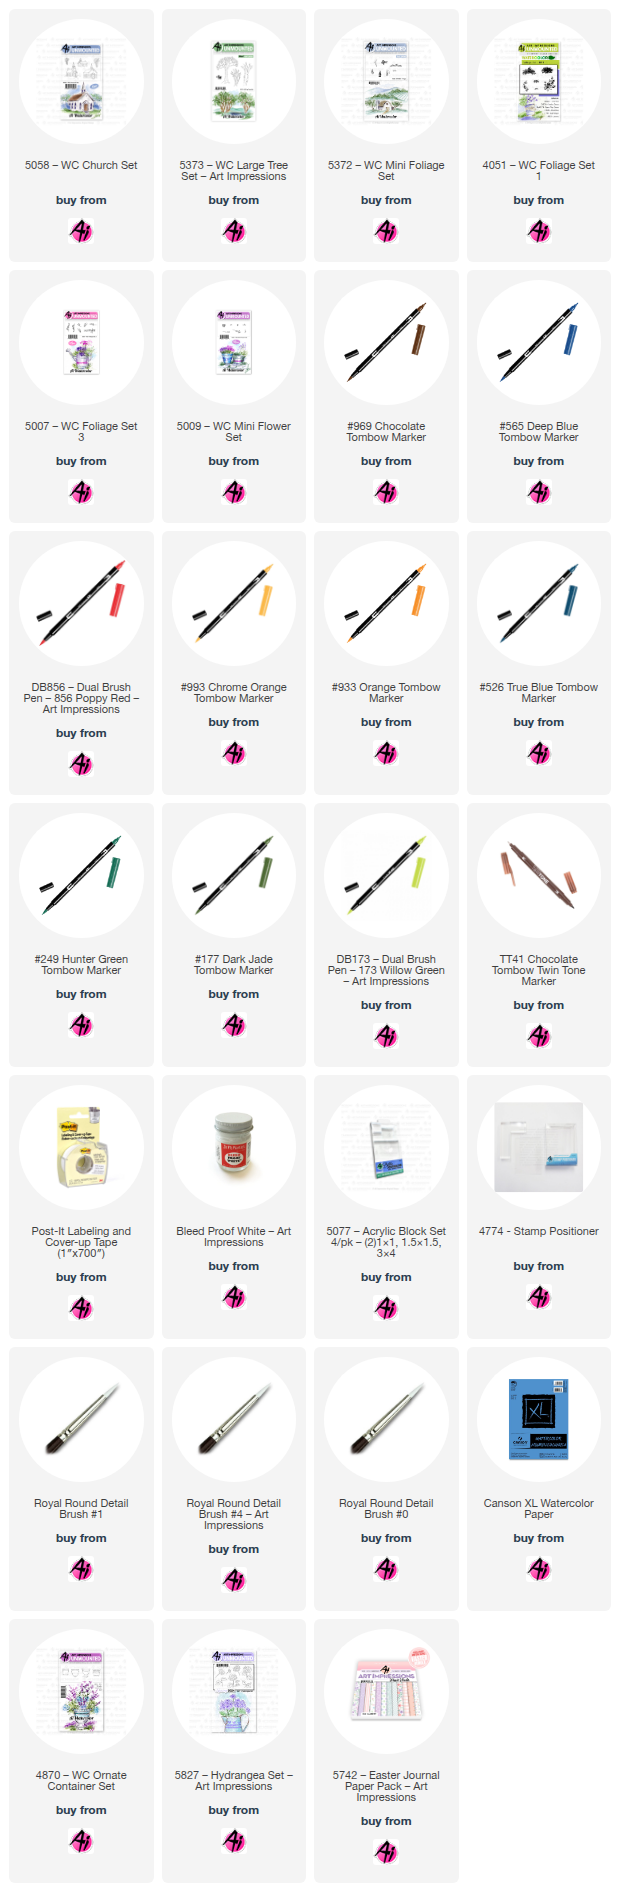
 I was honored to be asked to create a card for the Guest Designer series. Today I created a beautiful scene focusing on a stamp from the Church set. The list of stamps and supplies used are as follows:


5058 - Church Set
5009 - WC Mini Flower set
5007 - Foliage Set 3 - tall grass
4051 - Original Foliage set - Large grass
5372 - WC Mini Foliage Set - Hedge, small grass and Tree
5373 - WC Large Tree Set - Leaves

Pens & Other accessories:

Dr. PH Martins
Pencil
Post it Tape - 3 1/2 by 3 3/4
Tombow Dual Brush Pens
173
177
249
526
533
565
856
933
969
993
Brown Twin Tone


First I used Post it Tape to make a frame for the painting. Next I stamped the church first using 565, then 969 and stamped off twice as the stamp is rubber.
Then I free handed the mountain line and greenway on either side of the church. Next I pulled color from the church lines and then water colored it with 565 and 969 mixed together for the roof and steeple. I used 565 on the window and then used Dr PH Martins for the panes. Next I painted the mountains with a blend of 565 and 553.
Then I stamped the small trees using the mini foliage set and the hedges. For the larger tree I used the leaves from the large tree set. Then used water to dab all trees and hedges and pulled some of the green down to create a slope. Next I used the grass from the mini foliage and stamped with 177 at the base of the church and after dabbing it with water, I added 249 off my palette as well as adding a little 249 and 177 to the trees.
After that I used various greens (177, 249, 177), orange (933) and yellow (993) to create the field base. I used the tall grass (5007) in the field and the large grass (4051) at the base of the card.
For flowers I used the tiny dots from the mini flower set with red (856) at the base of the Church and scattered in the field. I also used the yellow (993) with the mini stamp in the field. I then used Dr Ph Martin to create daisies and after drying, added yellow (993) to the center. The also used the white paint to added small dots in the field and next to the Church.
For the sky I used 569, 533, 993, 856, and 933 and a small amount of diluted Ph Martins.
Lastly, I added the cross on the top of the steeple with the brown Twintone and accented with the Twintone where I thought would enhance the picture and 565 for o

I removed the post it tape and then cut edges about 1/4 inch to crate a border.


For my second card I made a lilac colored Hydrangea floral arrangement.
Sets used:
4870 - WC Ornate Container Set
5827 - Hydrangea Set
5742 - Easter Journal Paper Pack


I hope you enjoy my little paintings and thank you Renee for asking me to help out!

-----------------------------------------------------------------------------------------------------------

Thank you so much to Julie for helping out this month.
We hope you enjoyed her inspiration on this Watercolor Weekend.
See you tomorrow for more wonderful paintings from Jami.

Julie Worthing