Showing posts with label WC Church Set. Show all posts

Saturday, April 25, 2026

Country Church and Hydrangea Florals with Guest Designer Julie Worthing

Hello Ai fans and welcome to Watercolor Weekend!


Today we have our second Guest Designer for April in place of Diane who
needed some personal time off.

Please give a warm welcome to Julie Worthing and enjoy her BEAUTIFUL creations.

Julie Worthing


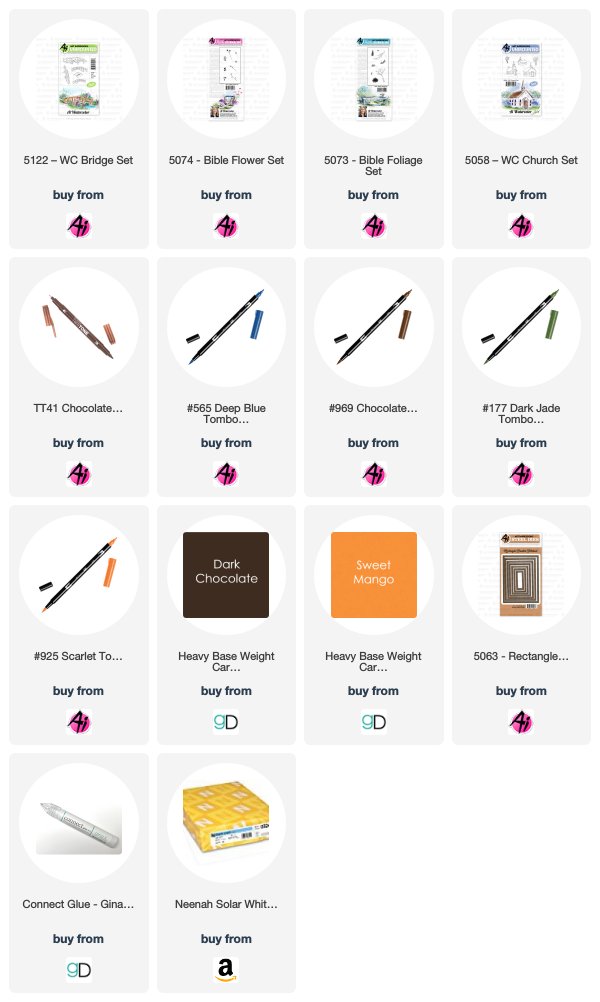
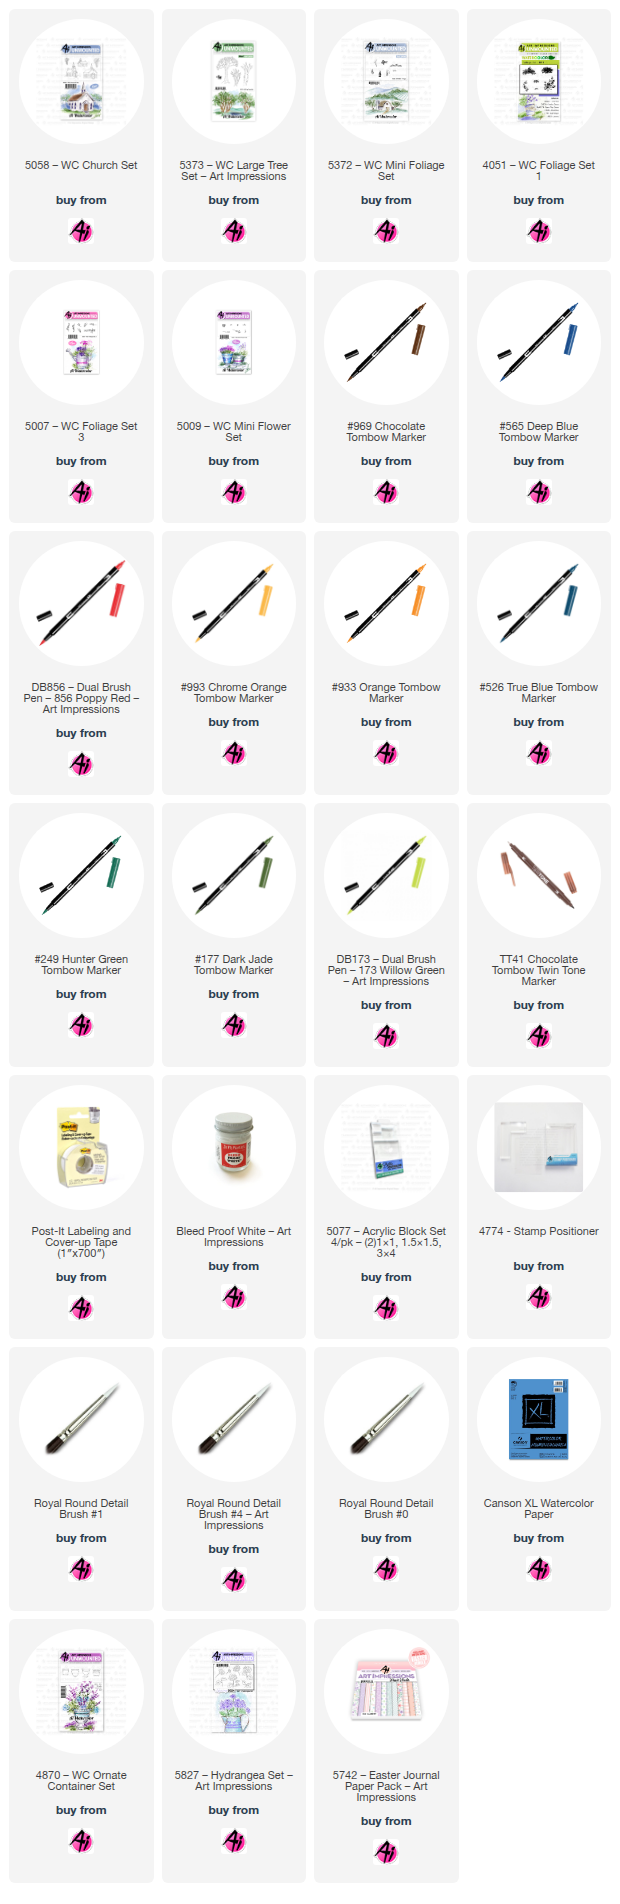
 I was honored to be asked to create a card for the Guest Designer series. Today I created a beautiful scene focusing on a stamp from the Church set. The list of stamps and supplies used are as follows:


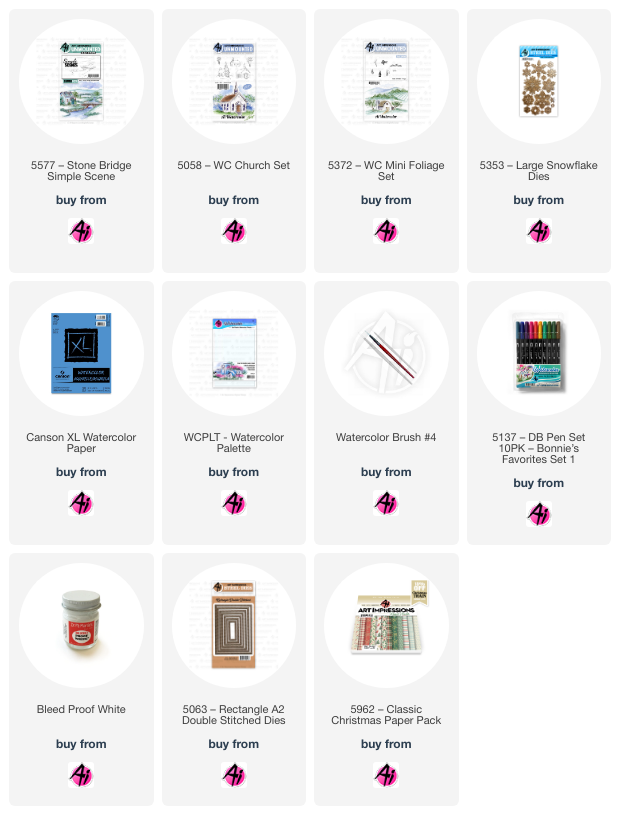
5058 - Church Set
5009 - WC Mini Flower set
5007 - Foliage Set 3 - tall grass
4051 - Original Foliage set - Large grass
5372 - WC Mini Foliage Set - Hedge, small grass and Tree
5373 - WC Large Tree Set - Leaves

Pens & Other accessories:

Dr. PH Martins
Pencil
Post it Tape - 3 1/2 by 3 3/4
Tombow Dual Brush Pens
173
177
249
526
533
565
856
933
969
993
Brown Twin Tone


First I used Post it Tape to make a frame for the painting. Next I stamped the church first using 565, then 969 and stamped off twice as the stamp is rubber.
Then I free handed the mountain line and greenway on either side of the church. Next I pulled color from the church lines and then water colored it with 565 and 969 mixed together for the roof and steeple. I used 565 on the window and then used Dr PH Martins for the panes. Next I painted the mountains with a blend of 565 and 553.
Then I stamped the small trees using the mini foliage set and the hedges. For the larger tree I used the leaves from the large tree set. Then used water to dab all trees and hedges and pulled some of the green down to create a slope. Next I used the grass from the mini foliage and stamped with 177 at the base of the church and after dabbing it with water, I added 249 off my palette as well as adding a little 249 and 177 to the trees.
After that I used various greens (177, 249, 177), orange (933) and yellow (993) to create the field base. I used the tall grass (5007) in the field and the large grass (4051) at the base of the card.
For flowers I used the tiny dots from the mini flower set with red (856) at the base of the Church and scattered in the field. I also used the yellow (993) with the mini stamp in the field. I then used Dr Ph Martin to create daisies and after drying, added yellow (993) to the center. The also used the white paint to added small dots in the field and next to the Church.
For the sky I used 569, 533, 993, 856, and 933 and a small amount of diluted Ph Martins.
Lastly, I added the cross on the top of the steeple with the brown Twintone and accented with the Twintone where I thought would enhance the picture and 565 for o

I removed the post it tape and then cut edges about 1/4 inch to crate a border.


For my second card I made a lilac colored Hydrangea floral arrangement.
Sets used:
4870 - WC Ornate Container Set
5827 - Hydrangea Set
5742 - Easter Journal Paper Pack


I hope you enjoy my little paintings and thank you Renee for asking me to help out!

-----------------------------------------------------------------------------------------------------------

Thank you so much to Julie for helping out this month.
We hope you enjoyed her inspiration on this Watercolor Weekend.
See you tomorrow for more wonderful paintings from Jami.

Julie Worthing


Sunday, December 1, 2024

Christmas Wishes #12 December Monthly Guest Designer Challenge with Dot Freel

  Hello Ai fans!

Welcome to our Monthly Challenge.

This month's theme is Christmas Wishes!

We want to see all of your handmade holiday projects.
Cards, journals, ornaments, gift boxes and bags, GC Holders...
You name it!

We're thrilled to have Dot Freel as our final Monthly Guest Designer.
This is our last monthly challenge but be sure to check out our Bi-Weekly challenges for lots of fun and the chance to win free stamps!

Before we see what Dot created, let's see who won our Frame It challenge!

We selected #5 Francesca for her adorable framed snowman.


Please contact Leah at Feedback@artimpressions.com
to claim a free stamp set of your choice!!

Congratulations!

Our Lucky Random Winner of a free stamp from me is #2 Amy M.

Please contact me at Renee@artimpressions.com with your address to see what freebies I have and claim your free stamp.

Now, onto Dot's gorgeous Christmas scene.
Her painted snow is incredible!


Hello,

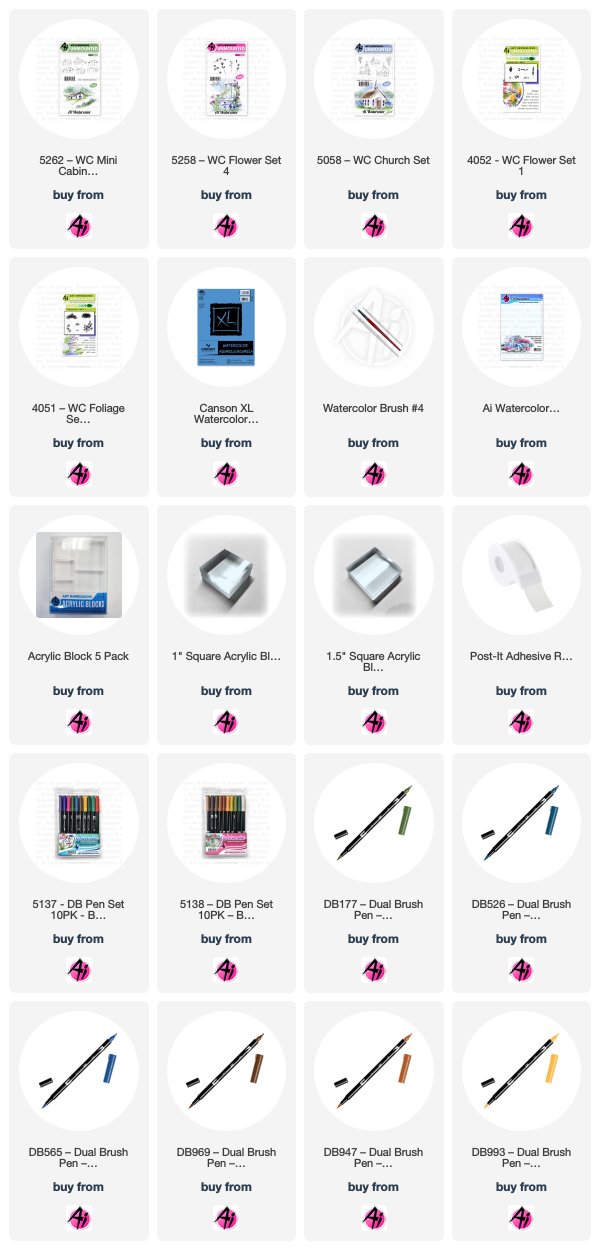
I get to be a Guest Designer for my favorite stamp company Art Impressions! I am busy making Christmas cards. Last year I didn't send out cards for the first time ever so I'm happily getting them made and ready to send out this year. I used the church from the 5058 - Church Set and the bridge scene from the 5577 - Stone Bridge Simple Scene. The trees are from the 5372 - Mini Foliage Set. The snowflakes are from the 5353 Lg Snowflake Dies and I doubled them up then used a brad for the centers. The snow is made using the Dr. Ph. Martin's bleed proof white paint. Give this one a try and add some Wink of Stella glitter to make it even prettier! The 5063 - A2 rectangle dies and 5962 - Classic Christmas paper from Art Impressions finishes it off beautifully. 


Here is the fine print...

✻ Please make a new card or handmade crafty creation.
✻You can make any item you wish; this is not limited to cards!
✻ Limit two submissions per person. 
✻You MUST use Art Impressions stamps or dies! You may use other companies products but the main focus should be on Ai items.
✻If you win, you will receive one free stamp set of your choice. 
✻We will share your creation on Art Impressions social media.
 ✻Please include your first name and last initial on your submission.
✻We love to comment on your entries, but keep in mind if you use a private group or a platform that you need to sign up for, we probably won't be able to.
✻ The Ai Challenge is open to everyone, international submissions are welcome!
✻ Include a link back to the Ai Blog or grab our button on the top right of our sidebar!
✻ Share the Ai love if you can, by clicking and commenting on your fellow crafters.
✻ Make sure to get your link up by the deadline to enter your creations.
✻ Good luck and happy crafting!


You are invited to the Inlinkz link party!

Click here to enter

Wednesday, March 11, 2020

NEW VIDEO! Mini Cabin Project by Bonnie Krebs

Hello Ai Fans!

Welcome back, Watercolor Wednesday fans!

NEW VIDEO! Watch Bonnie use our newest releases to create a small, yet stunning composition. We love smaller projects like this because they are easy to do and take little time, but when you are finished they are beautiful enough to frame! Enjoy!


View on YouTube: 


Saturday, November 2, 2019

Watercolor Weekend Roundup - Seasons Change


Happy Watercolor Weekend, Ai Fans! We are so happy to share three wonderful projects from our WC Design Team today to kick off November in a big way! Let's take a look at what Tricia, Karen, and Dot have created today!

Dot Freel - Instagram - Blog - Pinterest
Hello Friends,

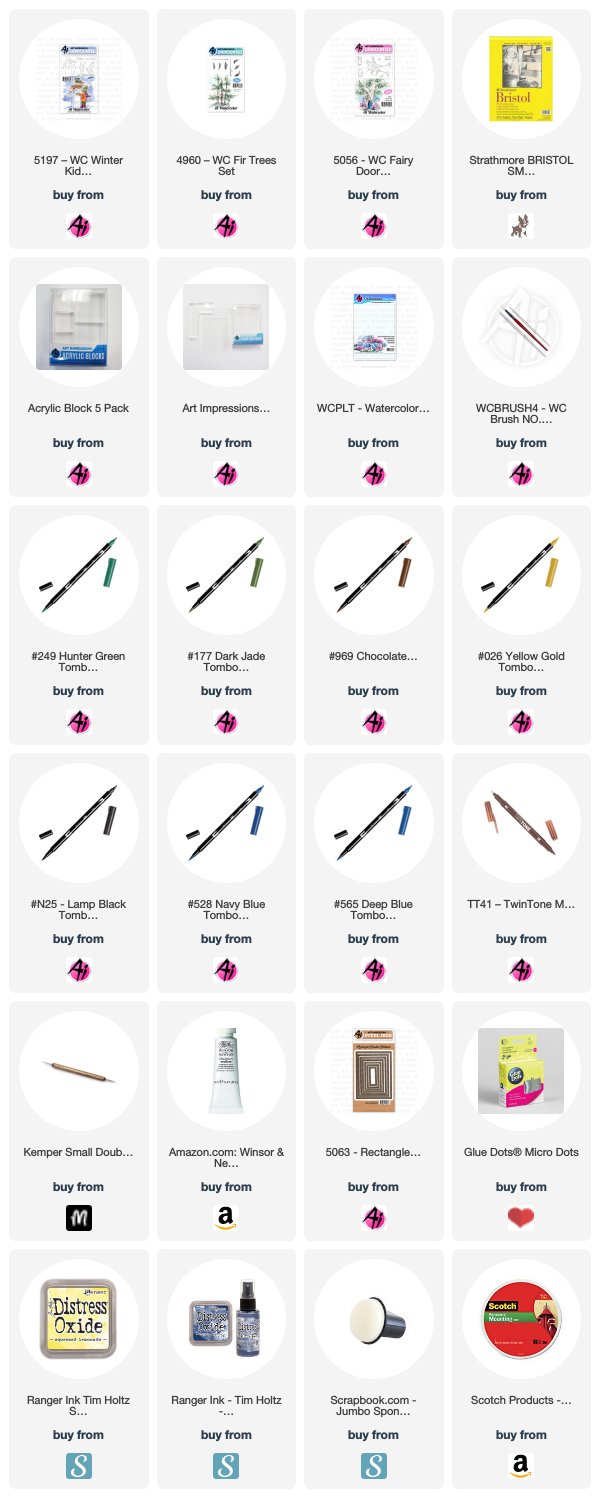
Can you believe it's already November? I can't. I'm working away on Christmas cards. I made this one with yet again, my favorite new stamp set from Art Impressions - 5197 - WC Winter Kids Set. I stamped the lamp post and little girl and fussy cut them out after I watercolored them. I painted the light post in N15 and 026 which is the prettiest shade of yellow! I used the stamp positioner to add the bird from the 5056 - WC Fairy Doors Set because the bird was the smallest one I could find. I colored the bird in with blue 528 and brown 969. I stamped the little girl in with brown (stamped off first) and then watercolored her in with 565, 969, 026, 177, NO 77 pastel peach and NO 67 bubble gum pink. I used the fine tip of the brown Tombow TwinTone pen to draw in some details, her eyelash and her hair. I added a pompom to her hat with a glue dot. I cut out a white piece of Bristol Smooth Paper using a 5063 - Rectangle A2 Double Stitched die and then I used distress inks and round sponge daubers to make the light circle and the sky background. I stamped the trees on the sides from the 4960 - WC Fir Trees Set using the brown 969 and two greens, the 249 and then the 177. I added very little water (mostly to the trunk area) so the branches would stay more detailed. I cut out the snow bank with a die and adhered it with foam tape. Then I used foam tape to adhere the lamp post and the little girl. I used 565 to add the shadows under them. I cut out that frame by using the two largest rectangle dies taped together. The last thing I did was add the snow drops using a stylus and white Gouache paint. It takes a bit of time to dry.


Karen Day - Blog - Facebook - Pinterest
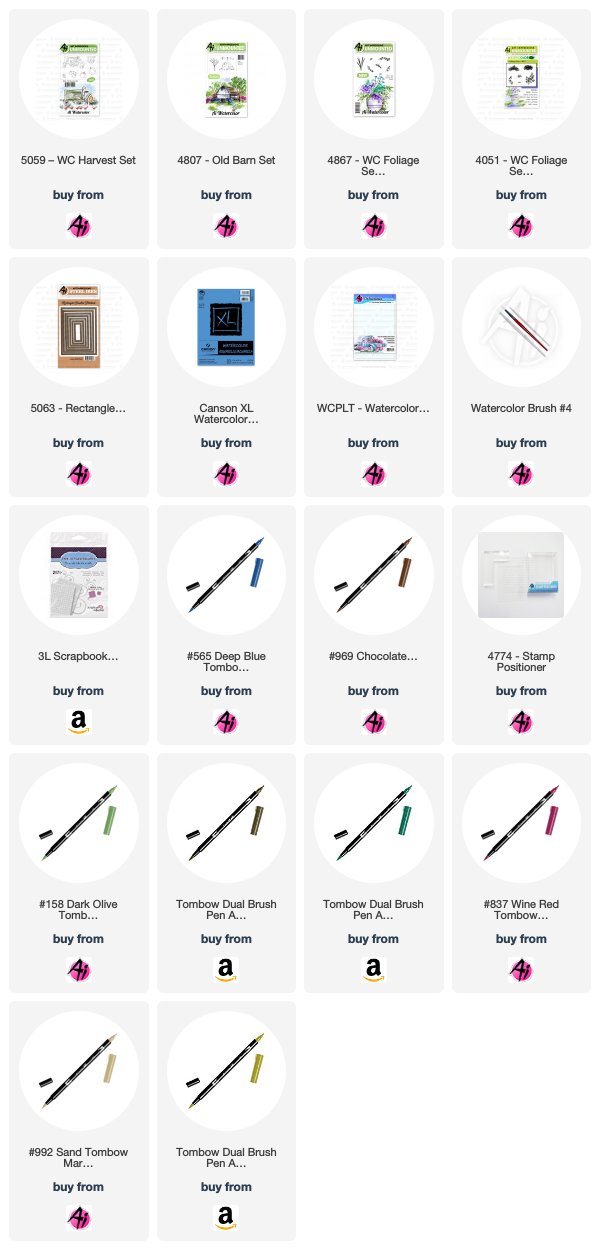
I wanted to make a masculine card, so I placed the barn from #4807 Old Barn Mini Set and the tractor from #5059 WC Harvest Set together on a large acrylic block. I coloured them both with my #969 Chocolate Dual Brush marker from Tombow, stamped it off on scrap paper, and then onto my cardstock. (I had pre cut my Canson XL Watercolor Paper with one of the #5063 Double Stitched Rectangle dies already!). I used my damp #4 paintbrush to soften the lines and pull out the colour. With a pencil, I sketched in my mountains and the hillside, and after masking the barn, I coloured the tree image from #4807 Old Barn Mini Set in #969 and stamped it twice behind the barn. I scribbled #837 Wine Red onto my palette, and picked it up with my brush, adding streaky colour to the barn, leaving lots of white areas for a weathered look. I went over it a second time on the shaded sides of the barn to darken them. I went in directly with the fine point of my #992 Sand marker to draw in the individual barn boards. #992 was also used to paint in the path to the barn. I used #N57 Warm Grey to add darker colour to the tires and seat of the tractor, and to darken up a few of the fittings on it. Then I mixed the grey with #346 Sea Green to create a teal-y shade to paint on the tractor. With my stamp positioner, I added the fence from the Old Barn set to the side of my scene, colouring it in #969 and stamping off on scrap paper first. I made a pale wash with #158 Dark Olive and painted the grassy hillsides, then with the small grass from #4051 Foliage Set and the tiny green from #4867 WC Foliage Set 2 New, I stamped in grass and some greenery around the barn. I switched to #076 Green Ochre to add in fall shrubs around the barn also. Picking up #565 Deep Blue from my palette, I used it to paint in the mountains, and to add shadows to the windows and doors of the barn, going in several times to add darker layers. I used it to add shadow lines on the fence posts, under the roof and on the undersides of the tractor. And finally, I added a few longer grasses by directly using the fine end of my #992 marker on the paper.


Tricia O'Bin - Blog - Instagram - YouTube - Pinterest - Facebook

Welcome Back watercolor fans!  Can you believe it is already November?  I can’t.  I decided to create a simple Fall Bridge with some foliage to show off the colors of Autumn.  This is such a versatile card.  You can add any sentiment to it and it would work fabulously.  I love cards like that.  So thank you for stopping by and I hope you get lots of inspiration.

Project Details
I inked the large bridge from the Bridges Set with 969.  I stamped it off and then stamped it in the center of my watercolor paper.  I created a mask for the bridge.  I inked the tree from the Church set with 969 and stamped it behind to the right side of the bridge.  I removed the mask and, using my #1 paintbrush, pulled the color out of the lines. 

Next, I inked the small vine from the Bible Journaling Foliage set with 177 and stamped it several times around the center of the tree.  I added water to the leaves and let them dry. I cleaned the stamp (because I used green) and inked it up with 856 and stamped it several times along the outside of the green leaves.  I added water to the leaves.  Using my Chocolate Twin Tone marker to extend the trunks through the openings in the bridge.  I also darkened up the shadows on the bridge.

I inked the small grass from the Bible Journaling Foliage set with 177 and added it to the right of the bridge and in front of it.  I used my #4 paintbrush and pulled the color out of the lines.  Next, I added 925 to the medium dots from the Bible Journaling Flower set and added them to the tops of the grass.  I added a small amount of water to them.

I masked off my bridge and inked up the small bush from the Bible Journaling Foliage set with 177.  I stamped it several times on the left of the bridge.  I added water to soften them.  I inked up the small dots from the Bible Journaling Flower set with 025 and stamped them several times in the bush.  I added water to soften them.

I added some 569 to the water under the bridge.  Once it dried I added some additional 565 to brighten it up.  I added some 969 from my palette and pulled it out to the left and right of the bridge. I continue to add darker shadows mixing in some of the 969 with my 569.  I added 177 and 856 to create a reflection in the water (still working on this…practice, practice, practice!).

Finally, I added 565 to my palette and using water created the clouds.  Last but not least, I signed my work.

This was so much fun and I hope you got inspired!  Let’s see your work.  Tag us on Instagram!  Hope you have a creative weekend!  See you next time.


Thanks, team! Such a lovely collection of projects!

Did we inspire you this Watercolor Weekend? Let us know in the comments below! And remember, we love seeing your projects when you share them on Instagram with #AiStamps and #AiWatercolor! 'Til next time!

Happy Stamping!

Wednesday, December 5, 2018

NEW VIDEO! Boat on a Frozen Pond Watercolor

Hello Ai Fans!

As it looks a little more wintery out the window, we'll keep the Watercolor Wednesdays coming! This week's snowy scene features a boat on a frozen pond, with a lighted rustic cabin over a snowy hill. Bonnie adorned the boat with an adorable wreath and cute robin resting on an oar.

As we mentioned last week, we've made creating your holiday cards easier than ever with our Winter Watercolor Playlist! Make sure to check it out, now with 20 videos for your Christmas creativity!


View on YouTube: https://youtu.be/31ArRqZ6BRM


Saturday, November 17, 2018

Watercolor Weekend Roundup - Happy Thanksgiving!

Can you believe it is the last Saturday before Thanksgiving?! We hope you'll take a moment from all the busyness and preparation and pause in thankfulness. We are thankful to be here with you today sharing projects and celebrating crafting! Our lovely ladies from the Watercolor Guest Design Team are here to show you special projects, so let's take a look!

Dot Freel - Instagram - Blog - Pinterest
 
Hello Watercolor Friends,

I made another Thanksgiving card for the Art Impressions Watercolor Weekend using the church and tree stamps from the 5058 - WC Church Set. The leaves on the trees is a stamp from the 4604 - Chest of Flowers Set and the grass is from the 4051 - Foliage Set 1. I got the idea to do the stained glass windows from Jann Gray who does Bible journaling videos on YouTube for Art Impressions. Happy Thanksgiving to you all!

Other Supplies: Canson Watercolor Paper

Tricia Kennedy - Instagram
Decorate your Thanksgiving Day table with my Wine Cork Place Card project for today’s Art Impressions Watercolor Weekend.

Stamp the small pumpkin from WC Harvest Set in 45 Sepia. Mask the pumpkin and stamp the foliage from the WC Foliage Set 2 in 27 Olive Brown. Watercolor the Art Impressions way by pulling the color from the lines with water and a paint brush. Scribble a combination of 45 Sepia and 83 Butterscotch onto your palette. Brush onto the pumpkin. Use the fine tip of 45 Sepia to add line detail around the edge. Trace the name onto your card in 45 Sepia using an LED Tracing Light Board. And finally, cut a slit on the top of the wine cork and slice a bit off the bottom to make the cork flat.

HAPPY THANKSGIVING!

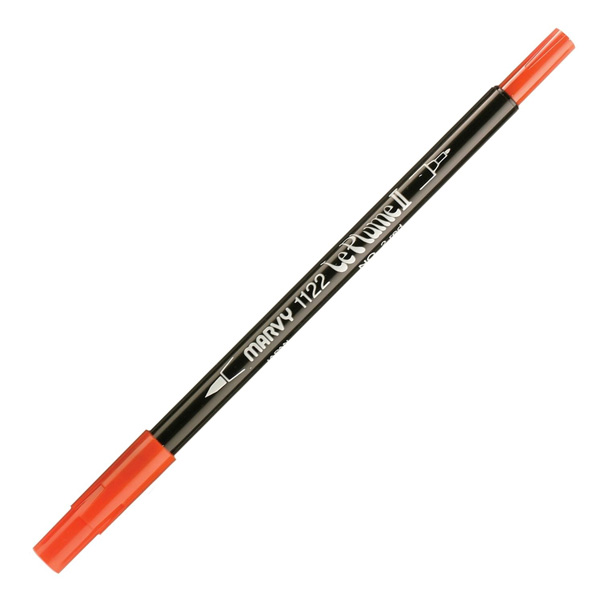
Marvy Le Plume II Markers: 27 Olive Brown, 45 Sepia, 83 Butterscotch
Other Products: Wine Corks, Post It Notes, Kunstler Script Font, LED Tracing Light Board

Tricia O'Bin - Blog - Instagram - YouTube - Pinterest - Facebook
For my project for Art Impressions Watercolor Weekend, I chose to create a Grateful Wreath in honor of the upcoming Thanksgiving holiday. I have created a quick video if you are interested in seeing how I created this card.

In order to create a symmetrical oval, I traced the inside of an oval die lightly onto my watercolor paper with a pencil. Keep this light so it doesn't show through your design.

Stamp one of the pumpkins at the bottom of the oval using the stamp positioner in Sepia. Cover the pumpkin with a mask and using the stamp positioner, stamp the other pumpkin next to the first. (In the video you will notice I did all of the stamping and then added the color and water.) Pull the color out of the lines, be sure to leave white space. This will create nice shadows. Using the watercolor palette, Add some Olive Green to the stems of the pumpkins and Brilliant Yellow to the highlighted areas. Layer Orange where the darkest areas would be. Again, be sure to leave white space in the highlighted areas. Use the fine tip of the Sepia pen to darken the stems and add shadows to the pumpkins.

To create some interest, I used a flower from the flower set as a leaf. I inked it up with Olive Brown and stamped it several times on each side of the pumpkins. I added some branches using the top of the branch inked with Sepia. I stamped it randomly on either side of oval leaving white space. Using the vine, I stamped it several times inked with Brilliant Yellow and Brown. I then added a branch with berries from the Mini Flower set inked with Sepia and Red. Dip your brush into the water and pinch it off. Work your way around the foliage using the side of your brush and dabbing (not painting) each of the leaves.

Add some blue to the middle of the oval where the sentiment will be stamped to add more interest.

I hope you enjoyed today's project, make sure you join my fellow design teams members on the Art Impressions Blog this weekend. We can't wait to see your projects! Tag us on instagram (#AIWatercolor, #WatercolorWeekend).

Have a crafty day and see you next time!

Marvy Le Plume II Markers: 45 Sepia15 Olive Green27 Olive Brown

A heartfelt thank you, team! We always appreciate your bimonthly projects and look forward to seeing what you come up with next! Your Thanksgiving inspiration today is just perfect for this weekend's crafting time.

To all of our fans, we thank you from the bottom of our hearts for spending time with us! Wishing you peace and cheer this week!

Happy Stamping!

Saturday, October 20, 2018

Watercolor Weekend Roundup - Creative Harvest Cards!

Hello, Ai Fans! Halloween is just around the corner, and we are here with more harvest inspiration for you today! Let's take a look at the super creative projects our Watercolor Guest Design Team has crafted!

Dot Freel - Instagram - Blog - Pinterest
Hello Watercolor Friends,

Who doesn't love a tree house? My son Scott has been promising to build my granddaughters a tree house and I know they would love it! I created this card for the Art Impressions Watercolor Weekend using the tree from the brand new 5056 - WC Fairy Doors Set and a cabin from the 4963 - WC Rustic Cabins Set. The pine trees in the background are from the 5010 - WC Tree Set 1. The flowers are from the 5009 - WC Mini Flower Set. I drew the ladder in using the sepia marker.

Other Supplies: Canson Watercolor Paper.

Tricia Kennedy - Instagram
There’s something lurking in the dark in my Watercolor Weekend project. It’s simply SPOOKTACULAR!

Tape off a 3” x 3” square on your watercolor paper. Stamp the pumpkins from WC Harvest Set with a combination of 49 Vermilion and 88 Terra Cotta with the stems in 45 Sepia. Mask off the pumpkins with Post-It Notes then stamp the tree from WC Fairy Doors Set in 86 African Violet. Draw in the ghost eyes with watermark pen, add glow in the dark embossing powder then heat with your heat gun. Stamp in the leaves from WC Foliage Set 1 in 86 African Violet. Watercolor the Art Impressions way by pulling the color from the lines with water and a paint brush. Stamp in the grass from WC Foliage Set 1 in 86 African Violet. Darken up any lines on the tree and pumpkin using the fine tip of your markers. 


Marvy Le Plume II Markers: 45 Sepia, 49 Vermilion, 86 African Violet, 88 Terra Cotta
Other Products: VersaMarker Watermark Pen, SparkleNSprinkle Glow in the Dark Embossing Powder, Post-It Notes, 3M Blue Painters Tape, Heat Gun


Tricia O'Bin - Blog - Instagram - YouTube - Pinterest - Facebook
Hi Art Impressions Fans and welcome to watercolor weekend. I wanted to embrace the beauty that is Fall with this easy Autumn Church project. I shared it on Instagram when I spent the whole day water coloring...YAY me!

I started off by inking the sitting boy in Brownish Grey. I stamped him in the middle of the page. Just like all of our projects start, I pulled the color out of the lines. I added some Steel Blue to his jeans, Sepia to his hair and Pale Pink to his skin, all from my palette.

Then, I cut a mask and covered him to protect him while I stamped the rocks (Sitting Things set) he is sitting on. Using my positioner, I stamped the rocks underneath the boy (inked with Sepia and African Violet). I used my palette to add a blend of Sepia and African Violet to add color to the rocks.
Next, I stamped a branch from the Branches set. Using my fine tip of my Sepia marker I extended the base of the branch to create a tree. I added some details with Brown and Olive Brown from the palette.
For the church, I inked it with Sepia and stamped it in the top right corner. I pulled the color out of the lines and added some additional Sepia to the roof and African Violet to the building. Once it was dry I added some darker lines with the fine tip of my Sepia marker. The post it tape serves as a quick mask over the church so I could stamp the trees from the Churches set inked in Sepia.
The leaves were all created with the small foliage from the Foliage Set 2. I inked it in English Red, Orange, Brilliant Yellow and Olive Green. I stamped it in several areas with each color to create a random fall scene. Adding some to the ground gives the effect of falling leaves. This is a favorite technique of mine for Autumn.
Once the leaves were stamped where I wanted them, I added some of the small grasses around the tree, rocks and church. I also added some Olive Green sporadically around the middle of the scene. To finish the scene, I added a small amount of Prussian Blue to the sky.

I hope you like this quaint Autumn Scene and I hope you will join me and the rest of the AI watercolor guest design team! Happy Watercoloring!!


Thanks, team! What fun techniques! Dot, we love how you mixed and matched different sets to create a treehouse! How unique! And Tricia K, your glow in the dark eyes in your spooky forest are just too cute, and sure to surprise your recipient! Tricia O, the way you created a larger autumn scene with the boy in the foreground and church in the background is simply lovely! Thank you for your beautiful creations this week. Makes us excited for the next Watercolor Weekend already!

Be sure to leave some comment love for the team, we love to hear what you think!

Happy stamping!