Showing posts with label 5826 WC Large Tree Set 2. Show all posts

Sunday, February 8, 2026

Love Is In the Air by Gennette Houghton


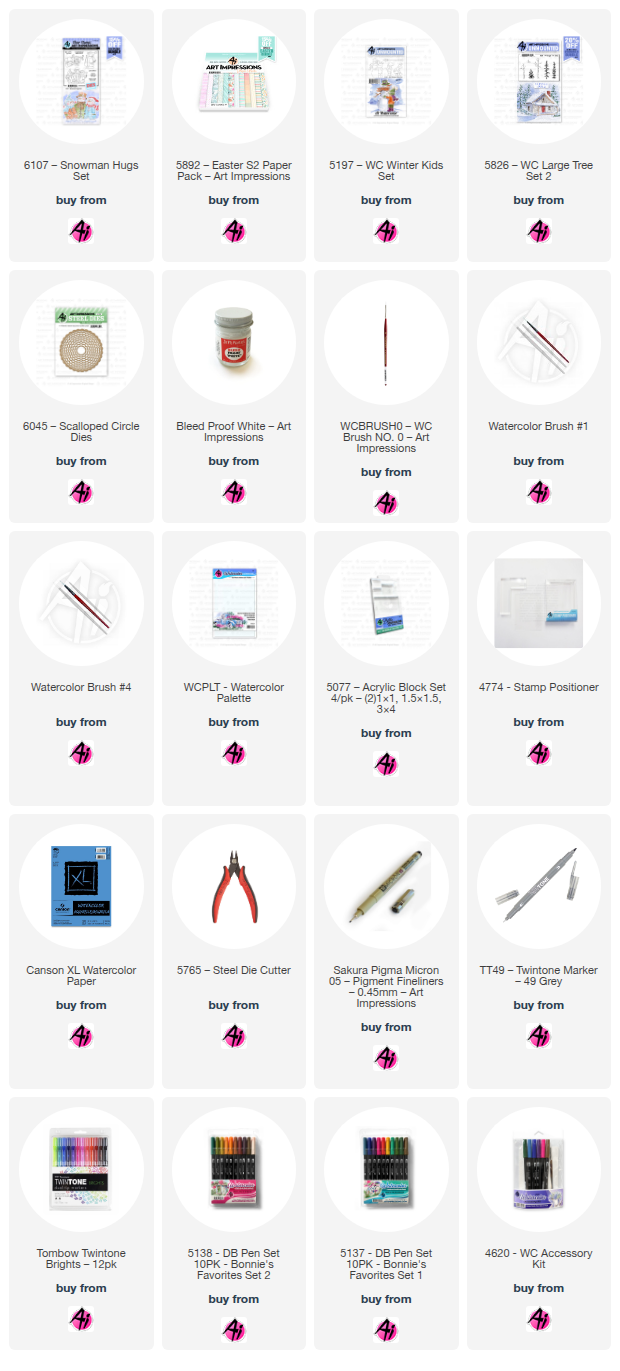
Hello, and Welcome to Watercolor Weekend! Valentine’s Day is next weekend and I have a couple of cards today perfect for the occasion. February is usually one of our coldest months, but I decided to go with a warmer scene this year. I decided I wanted to use both 5054 WC Little Boys, and 5053 WC Little Girls. These sets are great for so many occasions and are a great add to your stamp collection.


 For my first card I chose the two that are standing. I first took my 5063 Rectangle A2 Double Stitched Dies and used the 3rd largest to trace for a guide. Since I wanted to make sure they were positioned the way I wanted, I used the stamp positioner for both, inking both in Distress Ink Lost Shadow. For the skin tones I used 850, 910, and for the shadowed areas a touch of 912.  I started with the skin first so that I wasn’t risking other colors bleeding into the area.  Once that was done, I started with the little girl’s hair. I started with 990 as a base to help tone down the yellow, I then added some 025 and darkened areas with 026. For the bands in her hair I used 725.  Next I did the skirt with N52, I love this gray as it has a hint of blue to it.  I then went over the shirt lightly with 725, adding a touch more in the shaded areas, and then used the same color to add tiny little dots for texture.  I also used 725 on the hat, making it a bit darker than the shirt.  For the boy, I decided I wanted to leave his shirt white, so I used N52 for some shading and contours. I then painted the pants with 565, and added a bit of detail to the pocket with the same color.  For the hair I started with 947 and then added some 969. 856 was used on the hat. N52 and 565 was used on his shoes.  

A light wash of 177 for the ground, going darker at the base of the feet and out at an angle for a shadow. I then used 526 for the sky, staying within my guidelines I already penciled in.  I painted the grass in the background with 228, just to give a hint of being there, and then masked off the edges with post-it tape. 5826 WC Large Tree Set 2 for the grass in the foreground with a mix of 126 and 177.  Softened lightly with a damp brush.  I then used Bleed Proof White for what was supposed to be a cloud, but I got a little too precise with it trying to get it to show up on a lighter background, but it doesn’t look to bad.  With the edges still masked I used 5126 WC Foliage Set 4, I inked the leaf branch in two colors, first with 126 and then brought a line up through the stamp with 177. For the very edge I did the same with 177 and 249. I find this gives a more organic look to the leaves.  Adding a touch of water to soften and bring out the colors. I removed the post-it tape and erased my pencil lines. Using the same die I used for the guidelines I then cut my image out.   I matted the image with gold and pink card stock and matted my card base with paper from 5741 Valentines Paper Pack and finished the card.


 For my second card, I used the same boy and girl sets, this time with the ones that are sitting.  I used the same die as in the first card in a horizontal position for my guidelines, and used the stamp positioner to place both the boy and girl where I wanted them.  The skin tones are the same as the first two, 850, 910, and a touch of 912. For the boy I used 992 and 969 for the hair, 312 for the shirt, and 969 for his pants.  The girl I used 947 for the hair, 905 and N52 for the shirt, and 565 for her pants.  I then used a wash of 177 for the ground, darkening it under and behind the kids. For the water I used 565 first and then added a bit of 526 to brighten some of the areas.  I darkened the area right next to the shore with more 565 to give contrast between the two.  After masking off the sides, 5424 WC Pond Set was used for the cattails. I first stamped in the leaves using 177 and stamped twice each time. I then added the cattails using 177 and 969. 5826 WC Large Tree Set 2 for the grass, inked in 177 and a touch of 969 right at the base of the stamp in two small spots. 

I used this at the base of the cattails and in each of the bottom corners. I then used a damp brush to soften all of the foliage and blended out a bit at the base of each.   Bleed Proof White was used to add a bit of highlights in the water and then created tiny heart flowers in the grass.  Removing the post-it tape, I erased the lines and used the same die to cut out the image.  The image was matted with gold and dark brown cardstock, and matted the card base with paper from 5835 Mini Paper Pack, completing my second card.  Thank you so much for joining me today, I hope you enjoyed my cards and that I inspired you to give these sets a try. Until next time, Create….Share….Inspire!



Sunday, January 11, 2026

Snow Days by Gennette Houghton


Happy New Year and welcome back to Watercolor Weekend! Where I live the weather usually isn’t very conductive for building snowmen (too cold), but it is usually a good bet that there are snow days. My kids may be grown but I remember the excitement they had when school was cancelled for the day. I might dream of spring but I absolutely love snowmen! So? Do you want to build a snowman? LOL!

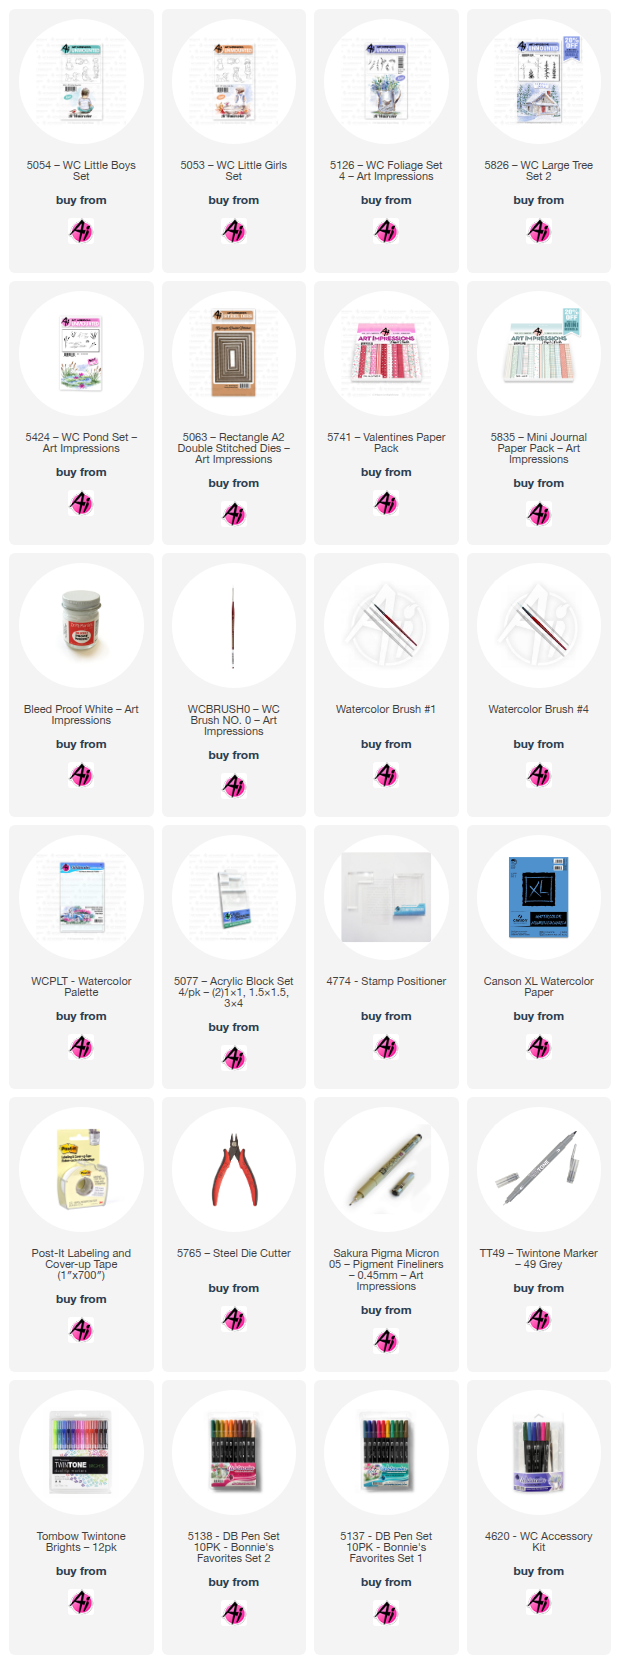
My first card I used 6107 Snowman Hugs Set, I used Distress Ink Pumice Stone and stamped off once, and then stamped it on my watercolor paper. I have been using this ink for a while with the clear sets and I actually prefer it over the Archival, and used a black micron for the facial features. I can’t help but smile looking at this happy trio. Starting from the left, I painted the jacket with Marvy 17 Steel Blue and added more color in the shadowed areas. I painted the pockets light and added stripes with the same color. For a deeper shadow I added some 565, and used 969 on the buttons.  For the hat I started with 565 to get the shadows in before adding any more color to it, and used 992, and Marvy 17 in stripes on the hat and scarf. I also darkened the shadows on the scarf with 565.  For the bells I used 025, and 026. For the snowman I used N52 to start, to create a bit more depth since I didn’t have color to pull out and then added some 565 in the darker areas. 772 was used on the cheeks and 993, and 933 for the nose, all 3 snowmen were painted the same way.  For the middle snowman I used 969 and 177 on the hat adding more color to the sides and a highlight in the middle. 177 was also used on the scarf, painted light, adding a bit more in the shadowed areas and then painted in the lines following the curves of the scarf. With a touch of watery 969 I darkened some of the shadowed areas.  For the jacket I used N15, going in layers until I was happy with it and then darkened the areas that needed it. I used 947 on the buttons. For the snowman on the right I used 947 on the jacket with a touch of 565 for the shadows, the lines on the pocket were also done with 947.  The scarf was painted with Marvy 17 adding more color in the shadowed areas. The main part of the hat was also done with 947, the brim and pom-pom I started with 990 and then used 879 for the shading. Since this one has its eyes opened I added a touch of 565 along the right edges, which I feel give the eyes a little more dimension.  I then used the included die to cut out my image, using dies from my stash to create a frame and snow drift I assembled my card using paper from 5892 Easter S2 Paper Pack. This just goes to show that paper from other seasons or occasions can be used on all kinds of cards.  I decided at this point to stamp one of the included sentiments and hand cut the flag banner, popping it up with foam tape.


Since I used a newer set for my first card I decided to give one of the older sets some love and it’s perfect for this time of year, and fits the “Snow Day” theme I decided to go with. 5197 WC Winter Kids Set is rubber so I used 565 all over the stamp and added 969 to the “non” snow areas, aka, hat, scarves, etc. Huffing on the stamp first I then stamped off twice before stamping on my watercolor project paper.  I used a black micron on the eyes and mouth of the snowman, and the eyelash of the little boy. I began pulling color out of the lines, making sure my brush was clean when doing the blue only areas. Starting with the snowman I used N15 and 856 on the hat, darkening the edges and leaving a highlight in the middle.  856 was also used on the scarf.  For the body of the snowman I added in 565 in the shadowed areas to help give dimension, being very careful around the areas I already colored. I should have done this step first, but I was able to do it without getting any bleed out from the stronger colors. I then used 993 and 933 on the nose, N15 for the coal buttons, 969 on the stick arm.  Starting with the face of the little boy, I used 850 for the base and 910 to contour, with a touch of 772 on the cheek. For his hat I used 177 adding ribs onto the brim of the hat with the same color. For the pom-poms I added just a touch more 565.  For the scarf, I started with 565 to get the shadow in first and then added stripes with 177 in two different widths. 177 was also used on the mitten.  For the pants I used 565 and the boots N15.  I had been undecided on the jacket and the more I looked at it the more I wanted to leave it white, so I darkened the shadowed areas with a mix of 565/969 and a touch more 565 in the darkest areas.  I then used 526 on the background, darkening around the image a bit so that when I splattered with Dr. Ph. Martin’s Bleed Proof White it would show up better.  I used some 565 to ground the snowman and the little boy.  I then masked my image so that I could add trees from 5826 WC Large Tree Set 2. I first figured out what circle die I was going to use to cut my image out and penciled in some guidelines.  Using the stamp positioner to help me place the trees where I wanted them, I used 249 and 969 and stamped in the tree in 3 areas.  Using water to soften and blend the colors, once dry, I used the bleed proof white to add snow to the trees and at the base of the two on each side.  I used 565 to shade the snow to give more texture and dimension.  After erasing the pencil lines I then splattered a watery mix of the bleed proof white to give the effect of snow. When it was dry I used the same die I used for my guidelines and cut my image out and then used the largest die from 6045 Scalloped Circles Die Set and finished my card with paper from my stash.    Thank you for joining me today and I hope you enjoyed my cards. Until next time, Create….Share….Inspire!