Showing posts with label 5262 WC Mini Cabins Set. Show all posts

Thursday, October 1, 2026

October 2026 Monthly Challenge


 Happy October, everyone! It’s officially fall now and the leaves are starting to change color in Oregon.

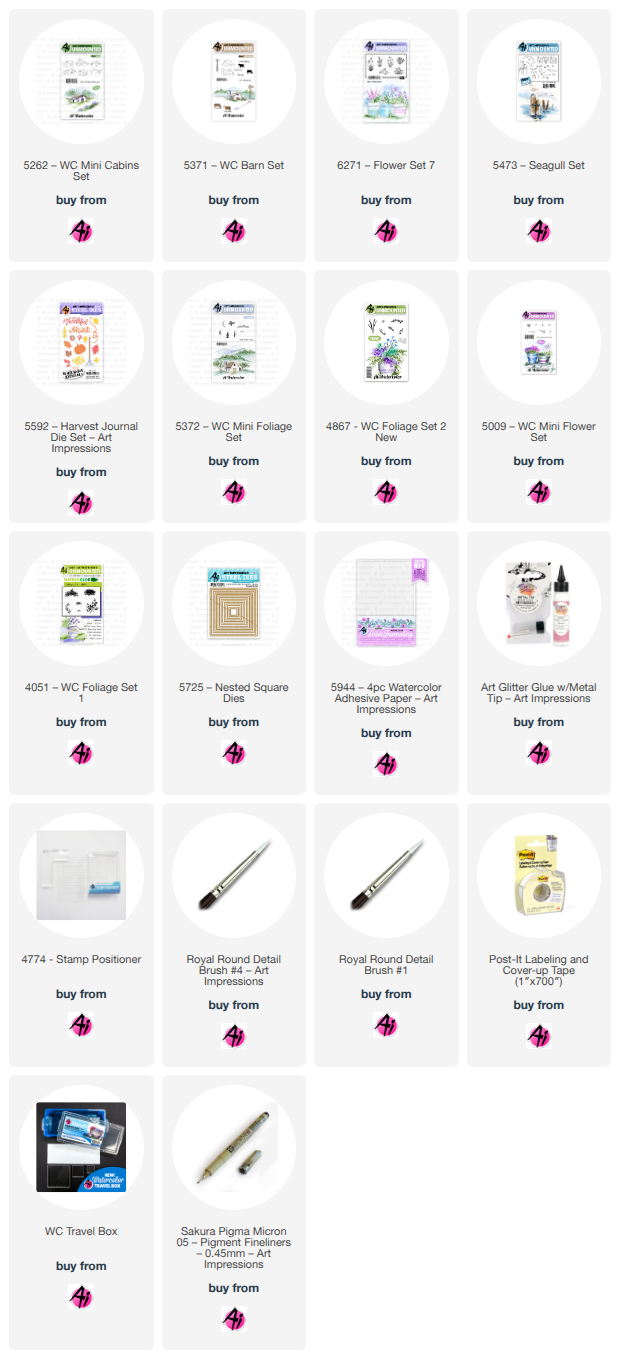
For my October project, I decided to do a fall scene. To begin my project, I inked the barn in Pumice Stone Distress Ink, stamped off once onto watercolor paper, and then stamped in the middle of my watercolor project to create the background scene. I then inked the largest pumpkin in Pumice Stone, stamped off once on watercolor paper, and stamped to the left in the foreground. I then stamped the same pumpkin on Post-it Note paper and cut out a mask to cover it. Then I inked the smaller pumpkin in Pumice Stone and stamped it on my acrylic plate for my stamp positioner. Using the stamp positioner, I then found the placement I liked and stamped the smaller pumpkin on my project. When you remove the mask, you have a 3-D effect where the smaller pumpkin is behind the larger pumpkin. Next, I penciled in the hills on each side of the barn. Using pine green #72, I then painted my horizon line for each hill over my pencil lines.

Now that my basic scene is set up, I painted the barn. It is mainly white, so I added shadows under the eaves and on the left side of the building with brownish grey #40 and African violet #86. I painted the door and the windows with African violet #86. Once that was dry, I went back and added darker shadows in the doors and windows. I then painted the roof in sepia #45, leaving light and dark areas.

Next, I added the sky using sky blue #75, leaving light and dark areas to mimic clouds. My next step was to add a pine green #72 wash to the hills I penciled in. I then used pine green #72 to add the foliage along my hill, stamping in repeat. I masked my horizon line with Post-It Tape before I stamped the foliage to keep it where I need it to be! Using olive green #15, I painted a horizon line next to the barn on each side and added a wash for a field. I left a bit of a path coming out the main door of the barn as well. I then used my positioner to add the fence line in sepia #45. If any of the fence doesn’t stamp well, you can use a Twin Tone to add lines back in or extra fence posts. I also masked off the right corner of the barn and used a small foliage stamp to add a bush.

To start my foreground, I then painted my pumpkins. I started with brilliant yellow #43, then pumpkin #87, then orange #7 to create light and dark areas of shading. I used olive brown #27 for the stem and added some detail back in with the fine tip when it was dry. Once the pumpkins were dry, I covered them with masks and stamped my horizon line with the teeny tiny grass in olive green #15. I pulled the color out and added a green wash below my grass line.

For the flowers, I used the new flower set. For the purple flowers, I only inked the foliage in olive green #15 – not the stems or the flowers and stamped it in a repeat 3 times, starting in the middle and then stamped once on each side. The repeat created light and dark foliage. I then used my brush to pull color out of the lines on the larger leaves. Once I had my foliage base, I used my stamp positioner for placement of the stems and flowers. I inked the flowers in violet #8 and stamped them once. Then cleaned off my stamp and only inked the two smaller flowers and stamped them to the left to create a larger “clump” of flowers. I really liked how this created more of a border. I then pulled the color out of each purple/violet bloom.

I then stamped the smaller flower clump in aubergine #93 with my positioner. I kept the pumpkins masked because I wanted the flowers to be “behind” the pumpkins and stamped them on each side. Using my brush, I pulled out the color of the blooms. That left a small gap in the middle of my border. I used a foliage stamp to add the foliage base and then used the dot flower in brilliant yellow #73 stamped in a repeat. I then touched the dots with my brush to pull out the color.

To finish up, I used my positioner to add the bird silhouettes in black N25 (Tombow). I then used the fine tip of my olive green #15 to add small tufts of grass along the fence line and barn. My last step was to add some white dots with Dr PH Martin’s Bleed Proof White for added flowers in the grass line of my foreground.

I still use Marvy Le Plume markers for my projects.  Most of these can be converted to Tombow colors, but choose colors that work for you. These just happen to be some of my go-to colors for any project I work on. (Here is the link for the Tombow conversion chart: https://www.artimpressions.com/shop/art-impressions-most-loved-color-conversion-chart/)


Happy Stamping! As always, I hope you will give this project a try! Don’t forget to enter the Monthly Challenge for a chance to win a free stamp set of your choice!


Accessories:

Pumice Stone Distress Ink

#4774 Stamp Positioner

Canson Mixed Media Paper

Marvy Markers

Now let's see who won our September challenge.

Our Lucky Random Winner was #3, Terry C.

Please contact Leah at
Feedback@artimpressions.com
to claim your free stamp set.


#7 Marcia H. and #6 Cathlyn A.
are the winners of a freebie from me.


Please email me with your full name and address at Renee@artimpressions.com
and I'll send you photos of the freebies I currently have available.

What will you guys create for October?
Maybe something fall themed like Debbie?
Maybe not...it's up to you.
We can't wait to see.

Here are the rules...

✻ Please make a new card or handmade crafty creation using either stamps, dies and or designer paper from Art Impressions. You can make any item you wish; this is not limited to cards! (unless specified)

✻ Limit two submissions per person.
✻Lucky Random Winner will receive a free 
stamp set from Art Impressions
 ✻Please include your first name and last initial on your submission. You may include your entire last name, but it's not necessary.
✻We love to comment on your entries, but keep in mind if you use a private group or a platform that you need to sign up for, we probably won't be able to.
✻ The Ai Challenge is open to everyone, international submissions are welcome!
✻ Include a link back to the Ai Blog or grab our button on the top right of our sidebar!
✻ Share the Ai love if you can, by clicking and commenting on your fellow crafters.
✻ Make sure to get your link up by the deadline to enter your creations.
✻ Good luck and happy stamping! 

You are invited to the Inlinkz link party!

Click here to enter

Sunday, January 12, 2025

Brighter Days Are Coming by Gennette Houghton


Happy New Year and welcome to Watercolor Weekend! I hope you all had a wonderful holiday! 

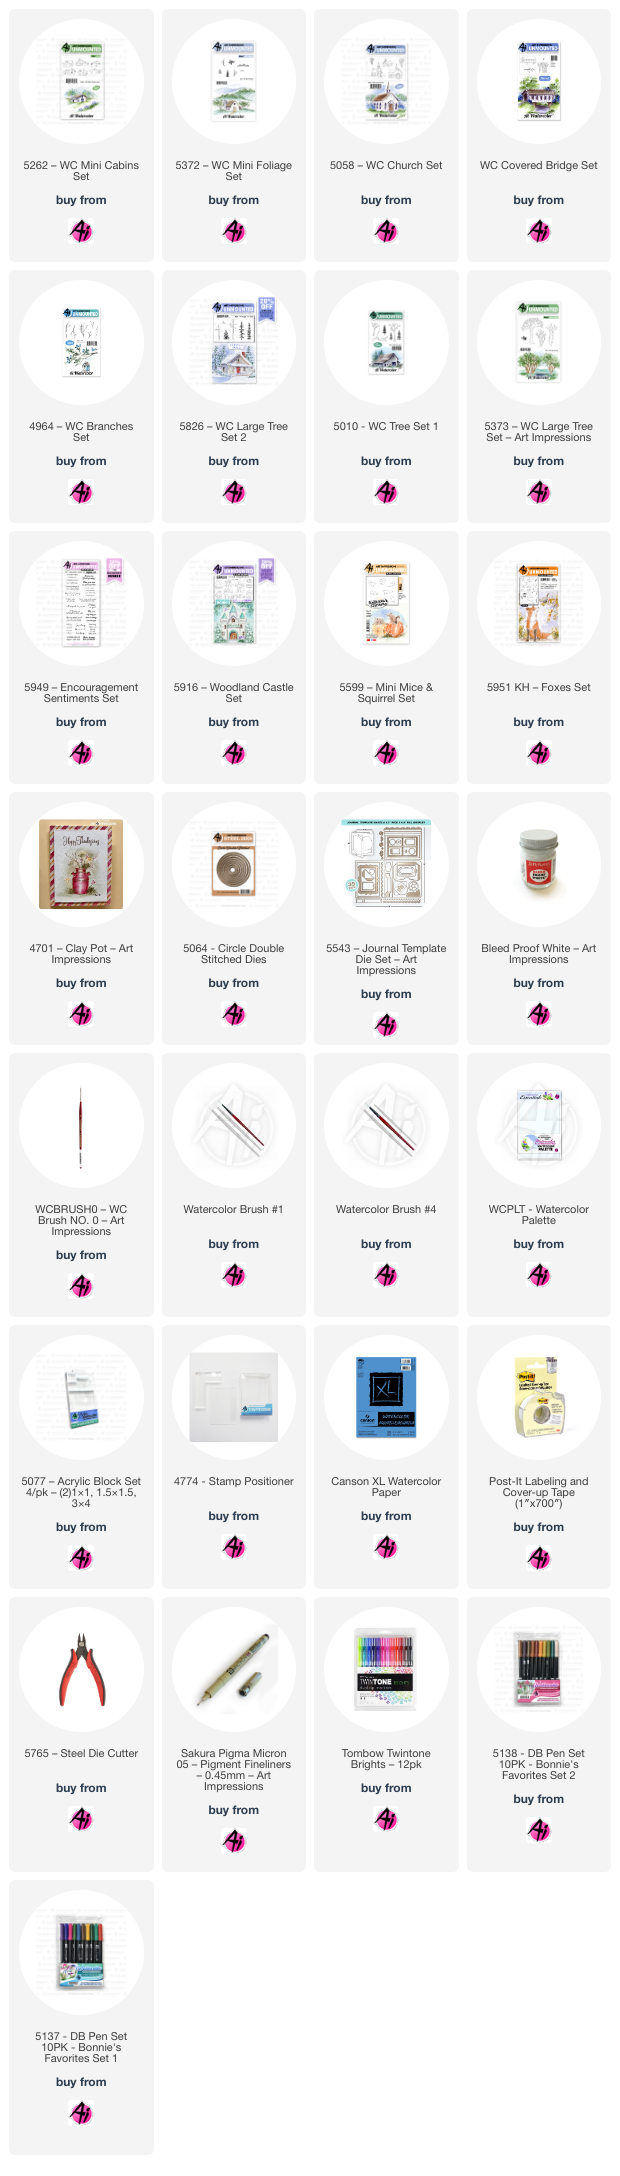
I love red barns in a winter scene, there is just something about red surrounded by white.  I started out using a ruler to create guidelines for a strip on my watercolor paper and then masked the edges with post-it tape. Using 5262 WC Mini Cabins Set, I stamped one of my favorite barns in, close to the middle and slightly offset, using 565/969 and stamping off once. I then used a pencil to create guides for the hillside behind the barn.  I put a wash of color in 177, and above in N52, for some texture I used the tree foliage from 5373 WC Large Tree Set. Over the 177 I added some 249, and over the N52 I used N49 with the foliage blending it out with some water. 5372 WC Mini Foliage pine tree was used throughout the background. Over the N52 background I used 228, and the rest I used 249 and softened them with water. Around the barn I used the pine tree from 5010 WC Tree Set 1 in 249. I used both of the small trees from 5372 Mini Foliage, and one from 5058 WC Church Set, using 228 on the first two and N49 on the third one.  

After pulling the color out on the barn, I used a mix of 856 and 969 for the walls, 969 in the doorways, windows and under the eaves.  Adding 565 for the shadows. I then stamped in the single tree from 4808 Covered Bridge Mini Set in the front, to the left in 879, and a small branch from 4964 WC Branches Set to the right for a sapling also in 879.  I used a light wash of 177, 947, and 526 on the ground around the trees in the foreground. I then stamped the grass from 5826 WC Large Tree Set 2 in N57, softening it slightly with water, also adding in some 565 over the ground area to create a snow effect. I then used Dr. Martin PH Bleed Proof White on the barn, trees and ground areas adding a touch more 565 to give the “snow” more definition.  I also added 526 in for the sky. After erasing all my pencil lines, I decided to use my ruler and the gray Twintone marker along the edges of the strip and blended it out slightly with water to make it stand out more.   Finishing it off by adding a sentiment from 5949 Encouragement Sentiment Set in black ink.


For my next card I used 5916 Woodland Castle Set in 565/969, leaving off part of the door frame and door knob, and stamped it off once. Using the stamp positioner, and masking the side of the door, to place in the mouse from 5599 Mini Mice and Squirrel Set with 565/969 in the doorway after stamping off once.  I then added the second mouse to the left, also in 565/969, after stamping it off once.  I used a pencil to sketch in some shingles on the roof and window panes on the windows without any.  For the house trim and window frames I used 969. 565,526,969 was used on the roof. 565 was used for the shadows under the roof line and window sills. 947 was used to create the look of bricks. 055,025,026 for the glow in the windows. N49 and a black micron on the mice with a touch of 025 on the back of the one in the doorway.  I used N52 and 947 on the chimney. I then added in the sky using a mix of 565 and 249. Masking off the house, I stamped in the branch from 4964 WC Branches Set in 879 on both sides, adding some leaves in 027, 947, and 969 from KH5951 Foxes Set.  

I then stamped in the dried flower from 4701 Clay Pot Set with 027.  I added in the grass from 5826 WC Large Tree Set in 027.  I pulled a little bit of the color out of the flowers and grass, leaving the leaves alone, and added some 969 for a path to the doorway.  A little 565 was used around the base of the house and then added some Dr. Martin’s Bleed Proof White throughout the scene for snow, defining it with additional 565.  The largest die from 5064 Circle Double Stitched Dies was used to cut the image out. Heat embossing the sentiment in white from 5949 Encouragement Sentiment Set, and then used a die from 5543 Journal Template Die Set to cut it out, mounting it with foam tape to complete the card. All other dies used were from my stash.  Thank you for joining me today, and I hope you enjoyed my cards! Until next time.  Create….Share….Inspire!