Showing posts with label 5126 WC Foliage Set 4. Show all posts

Saturday, September 19, 2026

Simple Beauty by Gennette Houghton


Hello, and Welcome to Watercolor Weekend.  Art Impressions released the most beautiful sets for Bible Journaling and they are great elements for cards as well.  I am so excited to work with these sets some more!

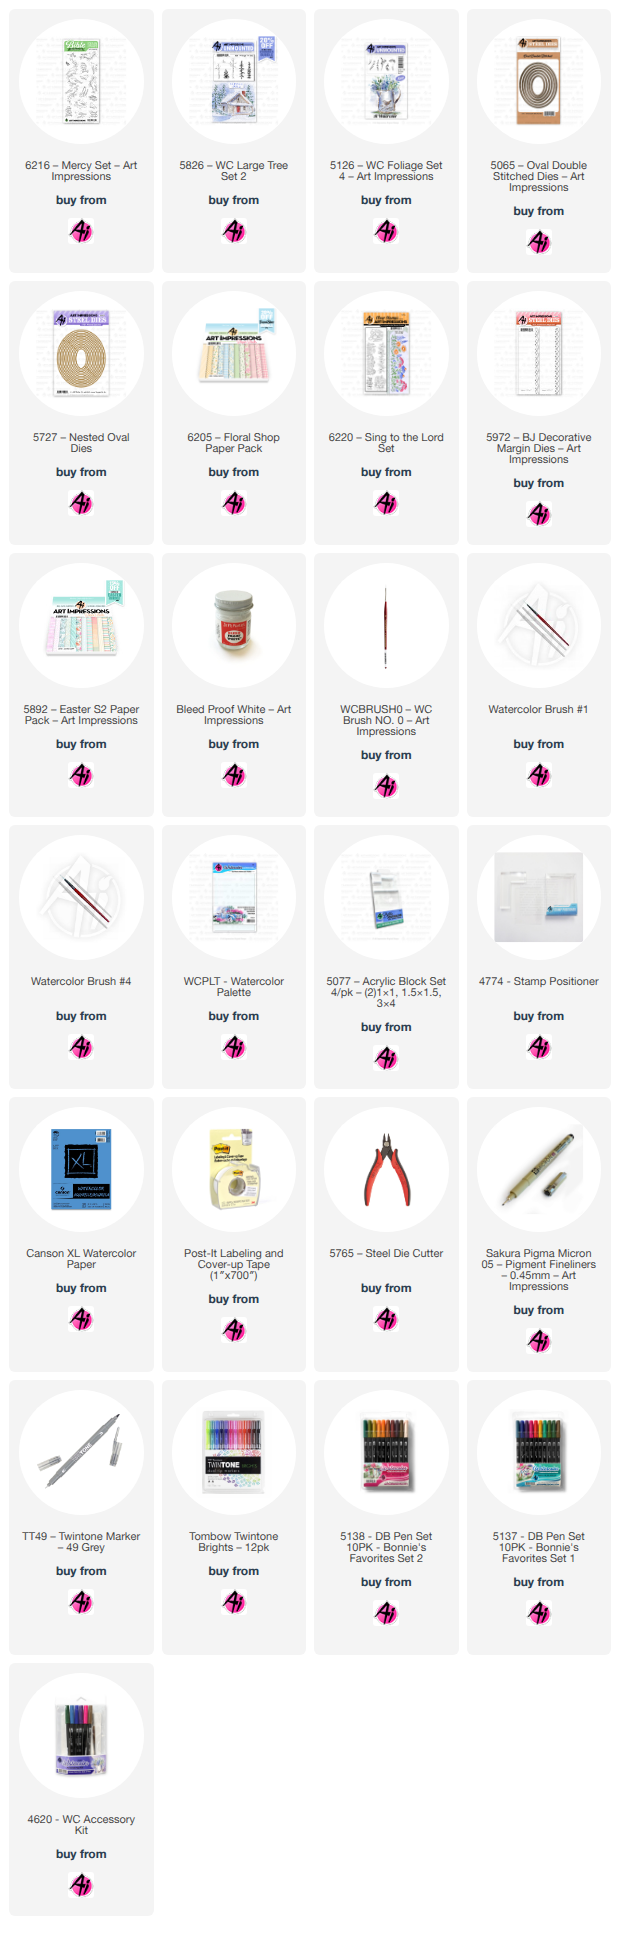
Isn’t this guy the cutest thing ever!!!!  I fell in love with him the very first time I saw him!  I used 6216 Mercy Set, I started by stamping in Distress Ink Pumice Stone after stamping off once and placed it on my watercolor paper.  I created a mask for the bird and leaf and used liquid masking fluid to cover the water drops.  I then used the 2nd from smallest 5065 Oval Double Stitched Dies to trace a guide around the image, and then will use it to cut my project out.  I took a pencil and ruler to put in a guide for the horizon line, and used a black micron on the bird’s eye.  055, 025, and N15 was used on the main part of the body.  For the beak and the little tiniest of toes I used 946.  The small section of white under the wing I shaded with 565.  I added some highlights on the head with some Bleed Proof White.  I started with 126 on the leaf and then shaded with 177, leaving the area under the water light.  I then added in some 565 and 025 in the water and added some highlights with Bleed Proof White as well.  Using the horizon line I colored the ground with 969, darkening under the leaf for a shadow.  526 was used for the sky before I put the foliage and flowers in.  After masking the image I used 5826 WC Large Tree Set 2 for the grass in 177 and two small spots at the base with 969, stamping multiple times on both sides.  I then took the leafy branch from 5126 WC Foliage Set 4 and used 126 and then drawing a line up both branches with 177.  I then stamped in the flowers from the set in 177 and 526, darkening the centers of the flowers with more 526 after pulling the color out.  Tiny dots were also added with Bleed Proof White.  I softened all of the foliage with a damp brush finishing off my image.  I decided to leave the pencil guide in for the oval and shaded around it with 535.  I then used the die to cut out my image, and used 5727 Nested Oval Dies, 8th from the largest to cut out a mat.  6205 Floral Shop Paper Pack was used to mat my card base.  I used an embossing folder on some solid cardstock for the band, and popped my image up with foam tape. 

For my 2nd card I used 6220 Sing to the Lord, such a beautiful set, and Bonnie out did herself this time!!  I started by cutting my watercolor paper down to 4 ¼ by 5 ½ since I plan on matting my card base with it.  I then used my stamping platform because I plan on extending the line of wildflowers.  I used Distress Ink Pumice Stone and stamped off once each time.  I lined up the stamp to the left edge first, and then lined the stamp back up on the right to go completely across the paper.  I used 126 and 177 for most of the stems and leaves, on a few I used 192 and 249.  For the purple sprigs I used 676, the daisies I used N60 and N52 to shade the petals.  The centers I used 055, 025, and 026, and then added a bit of Bleed Proof White on the petals to brighten them a bit.  For the 2 little flowers I used 905, and the yellow flowers I used the same combinations as I did for the centers of the daisies.  For the Coneflowers I started with 685, it was more purple than I wanted so I went over it with a little 725.  For the centers I used 947 and shaded with 969, I also added a couple of dots of BPW.  I added in some 526 in the background.  I decided to take a ruler and pencil to create an edge at the bottom of the flowers and extended any of the foliage to meet up with the line that I needed too.  I then “shaded” the line with 725 to match the paper I chose from 5892 Easter S2 Paper Pack.  I used the 5972 BJ Decorative Margin Die to create a border in a matching solid cardstock and topped it with the paper I had picked, finishing off my card.  I was going to add the included sentiment but I decided not to.  I never have been big on putting sentiments on the front of a card, it leaves my options open for what the card can be used for.  Thank you so much for joining me today, and I hope you enjoyed my cards.  Until next time!  Create….Share….Inspire!


Monday, June 1, 2026

June 2026 Monthly Challenge with Guest Designer Debbie Hedges

Happy June everyone and welcome to our Monthly Challenge!

As always, this challenge has no theme, so anything you want to create is fine as long as you use something from Art Impressions on it. You might be the next winner of a free stamp set from Art Impressions. Winner is chosen randomly so all skill levels have a fair chance of winning. Two lucky winners will also receive a freebie from me.  (Renee)

Now let's see what Debbie created to inspire you.

Father’s Day is only a couple weeks away and then it will officially be summer! 


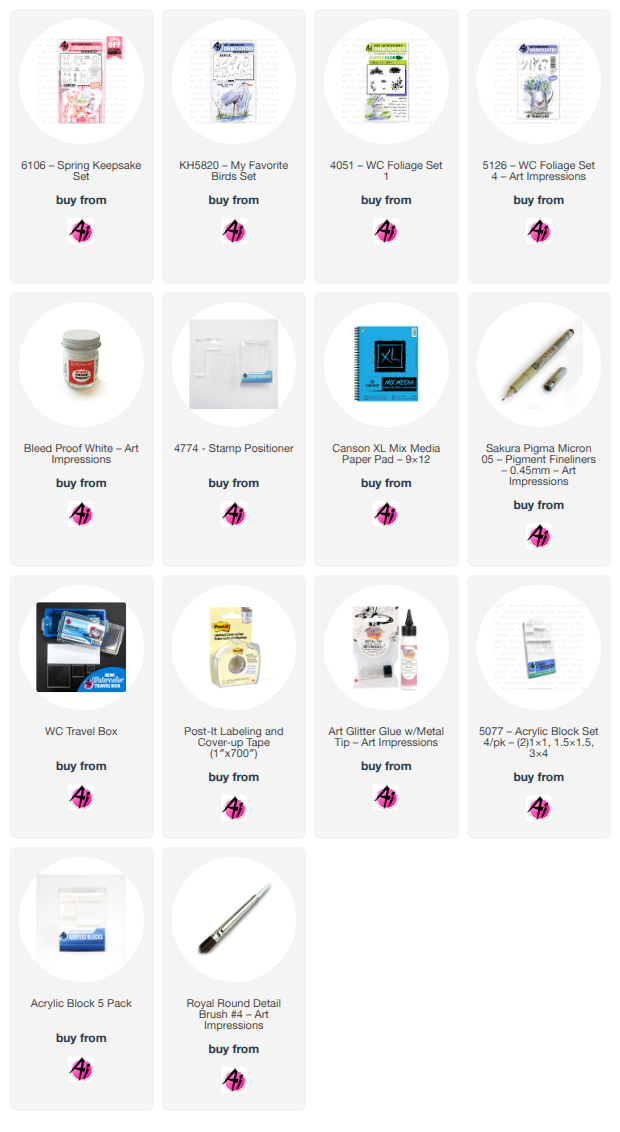
 For my June project, I created a tag with the adorable frog from the Spring Keepsake Set (#6106). I inked the little frog with Pumice Stone Distress ink, stamped off once on watercolor paper and then stamped him on Canson Mixed Media paper. I painted him mainly with lt. green (#11) and then olive green (#15) for the shading. Using the fine-tip, I added dots in olive green (#15) and then touched my brush to them to soften the color. Using a black Micron pen, I darkened his eyes, leaving a white spot for a highlight. I then cut out the frog on a scrap piece of paper and used that as a template to line up the die over my painted frog. Once I had it in position, I secured it with Post-it tape and ran it thru my Cuttlebug. My next step was to cut a stitched tag with Canson Mixed Media paper. I wanted the little frog to be sitting on a river bank, so I sketched a line for the water and then sketched another line for the bank. Using steel blue (#17) from my palette, I added water on the bottom portion of the tag, starting with a darker line where my pencil line was and then making sure I had light and dark areas. I then used sepia (#45) to do the same with my bank. I added my sky next, leaving light and dark areas with sky blue (#75). With my teeny tiny grass (#4051), I stamped grass in a repeat on the left side of the bank to almost the middle of the tag. I wanted wild grass along the bank in more than one height, so I used a tall cattail from Kim’s bird set (KH5820) and a tall grass from Foliage Set 4 (#5126). With the fine tip of my violet marker (#8), I added some dots to the tops of the grass stems for a few wildflowers. Then with Dr PH Martin’s white, I added daisies and some dots for wildflowers. I also added some white lines in my water to look like ripples. Once the daisies were dry, I added centers with the fine tip in brilliant yellow (#43). In the left upper corner of the tag, I stamped leaves to give the impression of a tree using Foliage Set 4 (#5126). I used an embossing folder to emboss the blue paper for the top of my tag. I then used the same tag die to cut the top of the tag and then a border die to cut the decorative edge. I used Art Glitter glue and glued the tag to my card base and then positioned the frog so he was just off the right edge of the tag, giving him a 3-D look. I glued him to the tag and also glued the heart button. I still use Marvy Le Plume markers for my projects.  Most of these can be converted to Tombow colors, but choose colors that work for you. These just happen to be 
some of my go-to colors for any project I work on. 

Here is the link for the Tombow conversion chart:

 https://www.artimpressions.com/shop/art-impressions-most-loved-color-conversion-chart/


 I hope you’ll give this project a try and please be sure to post your project so we can all enjoy it! I adore this little frog! Also, don’t forget to enter the Monthly Challenge for a chance to win a free stamp set! Enjoy the beginning of summer and happy stamping! 


Now let's see who won our May Challenge!


Our Lucky Random Winner was: #4 Diane Z.


Please contact Leah at Feedback@artimpressions.com
to claim a free stamp set of your choice!!

The first winner of a freebie from me is #17 Licia B.

The second winner of a freebie from me is #9 Pat S.


Please email me at Renee@artimpressions.com
with your full name and address and I'll send you a photo of the freebies I have available for you to choose from.

Now for our new monthly challenge, here are the rules.

 ✻ Please make a new card or handmade crafty creation using either stamps, dies and or designer paper from Art Impressions. You can make any item you wish; this is not limited to cards! (unless specified)

✻ Limit two submissions per person.
One random winner will receive a free stamp set from Art Impressions and one random winner will receive a freebie stamp from me.
 ✻Please include your first name and last initial on your submission. You may include your entire last name, but it's not necessary.
✻We love to comment on your entries, but keep in mind if you use a private group or a platform that you need to sign up for, we probably won't be able to.
✻ The Ai Challenge is open to everyone, international submissions are welcome!
✻ Include a link back to the Ai Blog or grab our button on the top right of our sidebar!
✻ Share the Ai love if you can, by clicking and commenting on your fellow crafters.
✻ Make sure to get your link up by the deadline to enter your creations.
✻ Good luck and happy stamping!

You are invited to the Inlinkz link party!

Click here to enter

Sunday, February 8, 2026

Love Is In the Air by Gennette Houghton


Hello, and Welcome to Watercolor Weekend! Valentine’s Day is next weekend and I have a couple of cards today perfect for the occasion. February is usually one of our coldest months, but I decided to go with a warmer scene this year. I decided I wanted to use both 5054 WC Little Boys, and 5053 WC Little Girls. These sets are great for so many occasions and are a great add to your stamp collection.


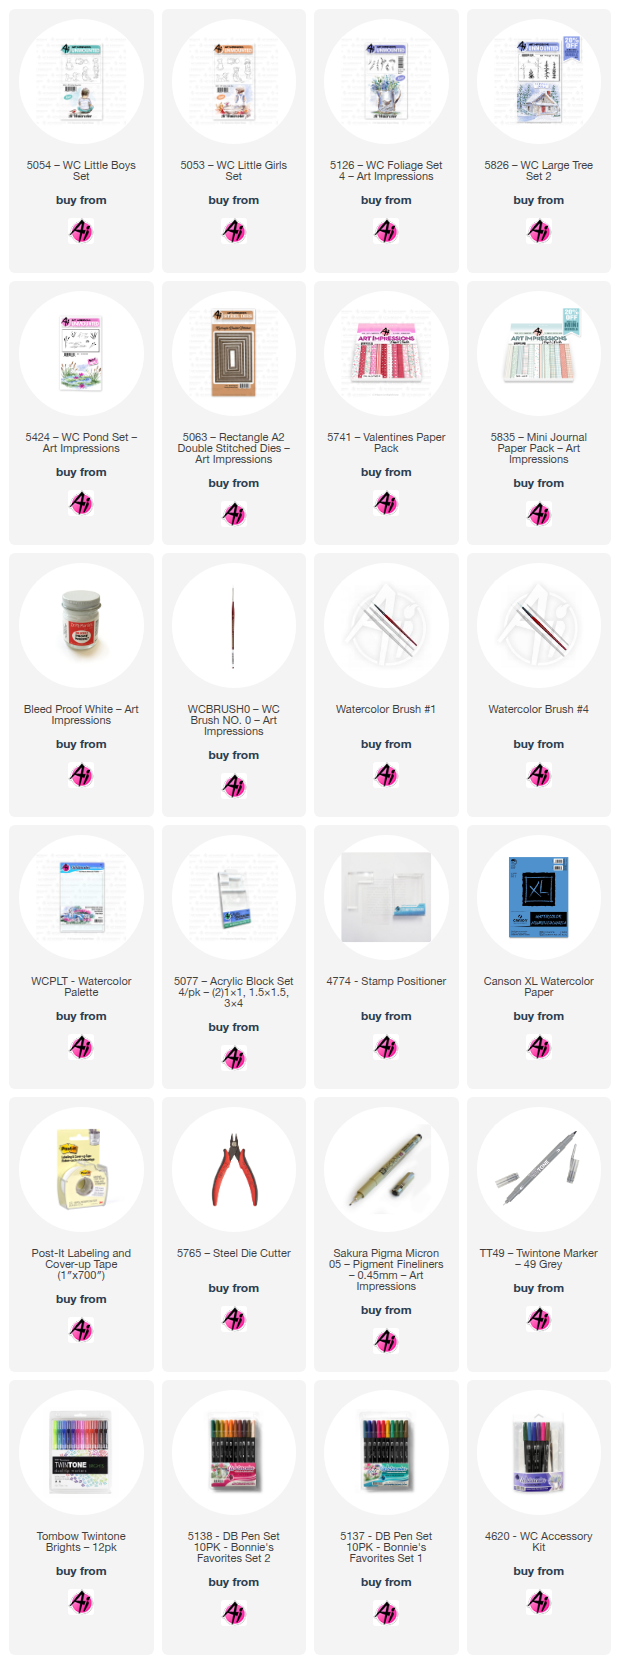
 For my first card I chose the two that are standing. I first took my 5063 Rectangle A2 Double Stitched Dies and used the 3rd largest to trace for a guide. Since I wanted to make sure they were positioned the way I wanted, I used the stamp positioner for both, inking both in Distress Ink Lost Shadow. For the skin tones I used 850, 910, and for the shadowed areas a touch of 912.  I started with the skin first so that I wasn’t risking other colors bleeding into the area.  Once that was done, I started with the little girl’s hair. I started with 990 as a base to help tone down the yellow, I then added some 025 and darkened areas with 026. For the bands in her hair I used 725.  Next I did the skirt with N52, I love this gray as it has a hint of blue to it.  I then went over the shirt lightly with 725, adding a touch more in the shaded areas, and then used the same color to add tiny little dots for texture.  I also used 725 on the hat, making it a bit darker than the shirt.  For the boy, I decided I wanted to leave his shirt white, so I used N52 for some shading and contours. I then painted the pants with 565, and added a bit of detail to the pocket with the same color.  For the hair I started with 947 and then added some 969. 856 was used on the hat. N52 and 565 was used on his shoes.  

A light wash of 177 for the ground, going darker at the base of the feet and out at an angle for a shadow. I then used 526 for the sky, staying within my guidelines I already penciled in.  I painted the grass in the background with 228, just to give a hint of being there, and then masked off the edges with post-it tape. 5826 WC Large Tree Set 2 for the grass in the foreground with a mix of 126 and 177.  Softened lightly with a damp brush.  I then used Bleed Proof White for what was supposed to be a cloud, but I got a little too precise with it trying to get it to show up on a lighter background, but it doesn’t look to bad.  With the edges still masked I used 5126 WC Foliage Set 4, I inked the leaf branch in two colors, first with 126 and then brought a line up through the stamp with 177. For the very edge I did the same with 177 and 249. I find this gives a more organic look to the leaves.  Adding a touch of water to soften and bring out the colors. I removed the post-it tape and erased my pencil lines. Using the same die I used for the guidelines I then cut my image out.   I matted the image with gold and pink card stock and matted my card base with paper from 5741 Valentines Paper Pack and finished the card.


 For my second card, I used the same boy and girl sets, this time with the ones that are sitting.  I used the same die as in the first card in a horizontal position for my guidelines, and used the stamp positioner to place both the boy and girl where I wanted them.  The skin tones are the same as the first two, 850, 910, and a touch of 912. For the boy I used 992 and 969 for the hair, 312 for the shirt, and 969 for his pants.  The girl I used 947 for the hair, 905 and N52 for the shirt, and 565 for her pants.  I then used a wash of 177 for the ground, darkening it under and behind the kids. For the water I used 565 first and then added a bit of 526 to brighten some of the areas.  I darkened the area right next to the shore with more 565 to give contrast between the two.  After masking off the sides, 5424 WC Pond Set was used for the cattails. I first stamped in the leaves using 177 and stamped twice each time. I then added the cattails using 177 and 969. 5826 WC Large Tree Set 2 for the grass, inked in 177 and a touch of 969 right at the base of the stamp in two small spots. 

I used this at the base of the cattails and in each of the bottom corners. I then used a damp brush to soften all of the foliage and blended out a bit at the base of each.   Bleed Proof White was used to add a bit of highlights in the water and then created tiny heart flowers in the grass.  Removing the post-it tape, I erased the lines and used the same die to cut out the image.  The image was matted with gold and dark brown cardstock, and matted the card base with paper from 5835 Mini Paper Pack, completing my second card.  Thank you so much for joining me today, I hope you enjoyed my cards and that I inspired you to give these sets a try. Until next time, Create….Share….Inspire!