Showing posts with label 5727 - Nested Oval Dies. Show all posts

Tuesday, August 4, 2026

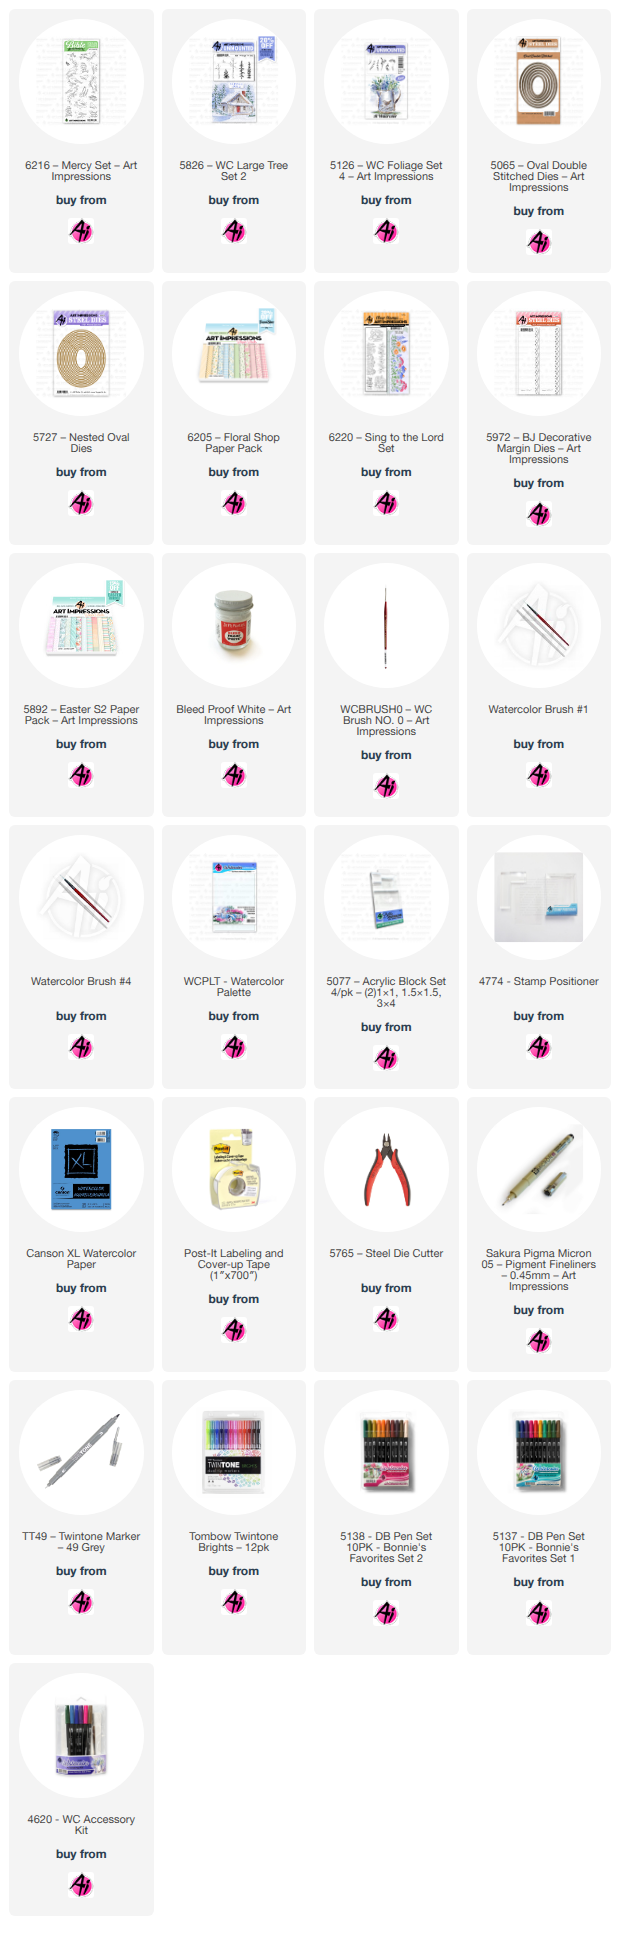
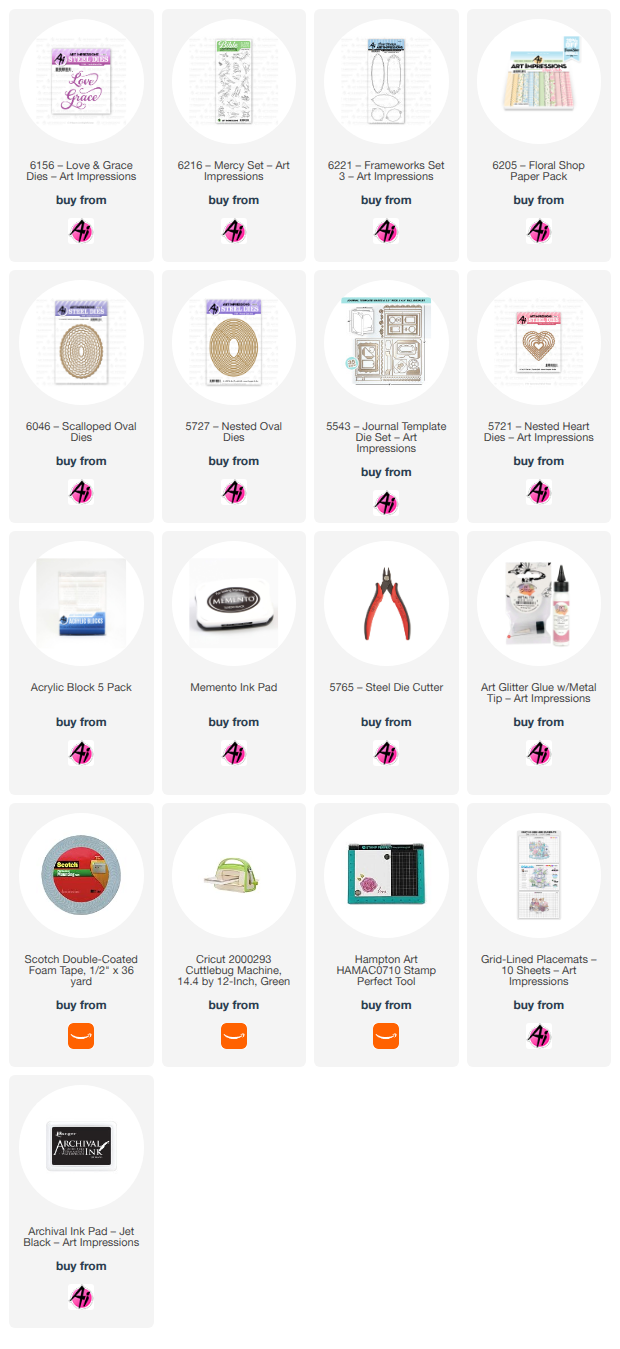
Floral Frenzy Story Tile card by Reneé Matarese

 Hello Ai fans!
The current challenge on the Art Impressions Challenge Blog is
Floral Frenzy!

Who on this planet doesn't love flowers?
You don't have to grow them or keep fresh flowers
in your house, but doesn't everyone love flowers?


I love the 6158 – Story Tile Template Die.
You can place an image in every section, or you can fill them with
sentiments or even just pretty paper. It's a great way to have an instant layout
for a card.


Tuesday, July 21, 2026

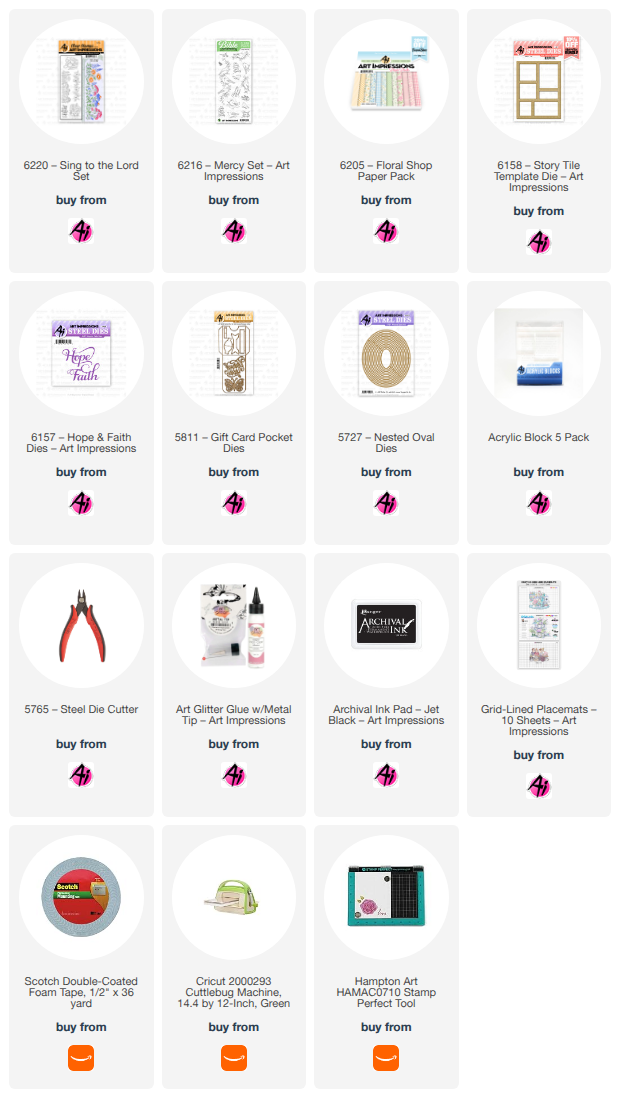
Happy Fright Night by Reneé Matarese

Hello Ai fans!
Welcome to Summerween.

That's when we celebrate Halloween in summer time.


I love Halloween and was excited for this challenge.
I chose to make a tunnel card with three layers.
Though it's a little difficult to see in the photos, my blue
and orange paper are glittery.


All of the fun little dies are from Art Impressions with the exception of the tree/branch.
I love the character that these dies add to a card. I decorated the inside of my card as 
well. The ovals were left from what I cut out of on the front of the card and the bats
were the piece I trimmed off. I love not wasting anything.


Tuesday, July 7, 2026

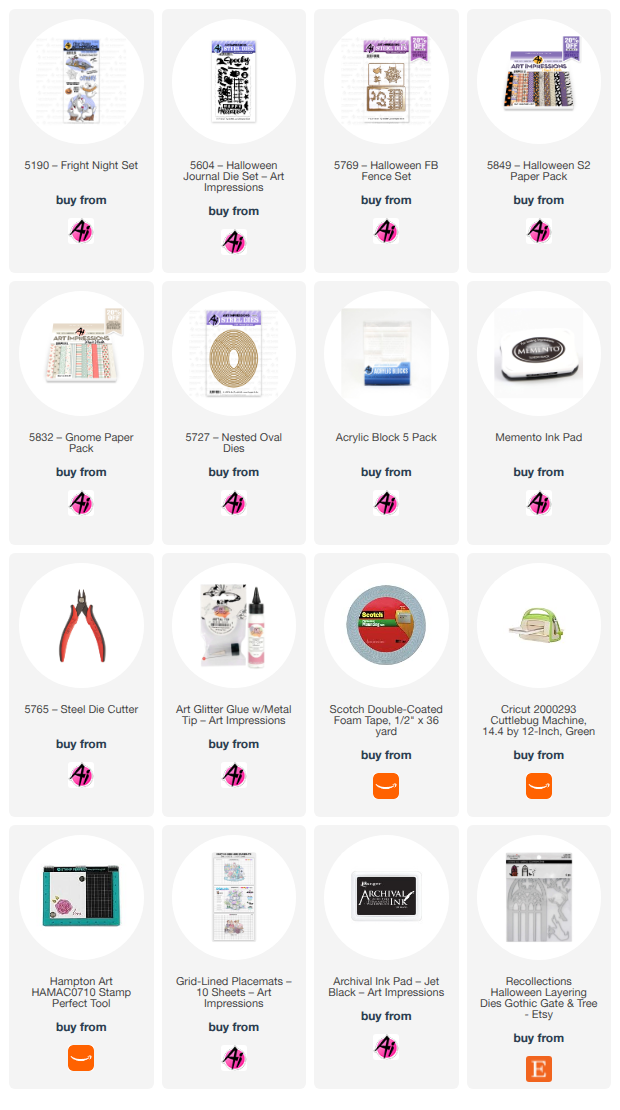
"LOVE" Birds by Reneé Matarese

 Hello Ai fans!

It's a release day here at Art Impressions and you're going to love the
new items! There are new word dies, frame stamps, florals and silver paint!!


I used a frame on the inside of my card and I love the touch of elegance that it adds.


I love these little word dies.
They look great on their own or make a great addition to your stamped images.
I used 2 birds because with the word LOVE you need 2 little "love birds!"


Thursday, February 19, 2026

Birthday Wishes by Dori Mendiola

 Happy Thursday AI Friends!

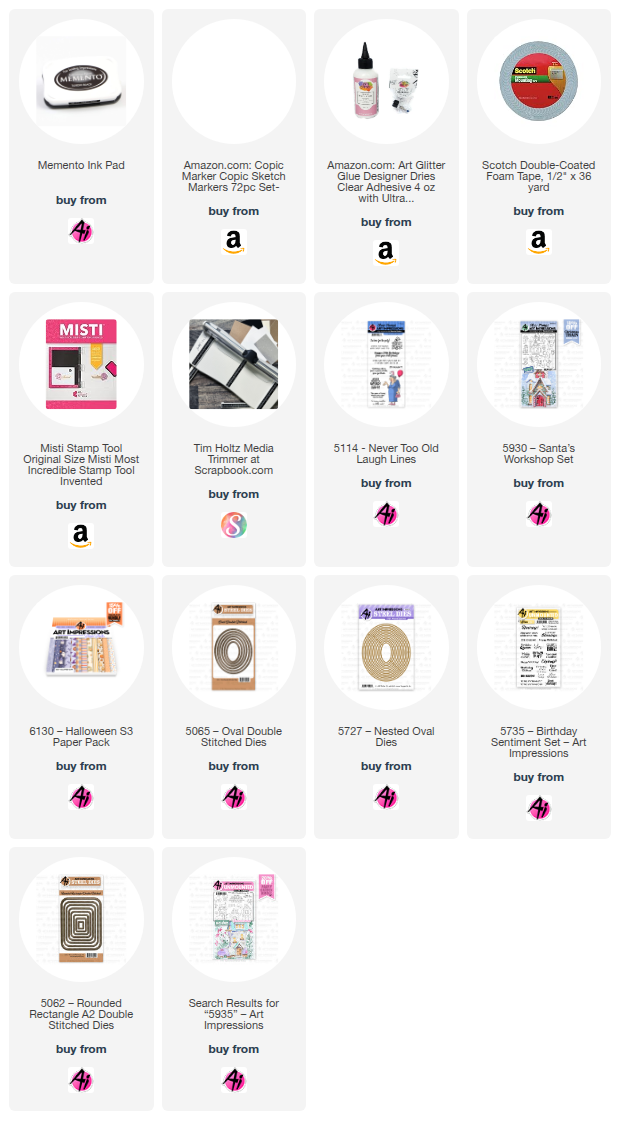
My card today was inspired by the current blog challenge called "It's in the Mail".   I took this challenge literally and combed through all of my stamp sets to locate the perfect mailbox to go with this lady from the #5114 - Never Too Old Laugh Lines.  I found the mailbox in the #5930 - Santa's Workshop stamp set.  

I needed to make a birthday card for my sister and I just think this lady is hilarious.  My sister didn't find her nearly as funny until I told her the lady was representing me mailing her card not her receiving it.  😂
Maybe I should add a wink wink here too.  LOL! 


Anyway, back to the card.  I stamped the images onto copic friendly paper with Memento black ink and colored with my copic markers listed below.  I then cut each out with the corresponding dies.  
I decided to make it a fun fold easel card by cutting a 4 1/4" x 9 3/4" piece of cardstock.  I scored it along the long side at 1 1/4, flipped the cardstock over and scored it at 5 1/2" keeping the other score line to your left.  Fold and burnish the score lines in opposite directions.   
I cut orange cardstock pieces to fit each of the scored sections and also adhered a piece of pattern paper to fit nicely on each of the orange mats.
Die cut two ovals with the #5065 - Oval Double Stitch dies.  One in pattern paper and the other in textured white.  For the base oval, I used the #5727 - Nested Oval dies.  Glue those three ovals together and adhere the top edge only to the 1 1/4" folded edge.  When opened, the oval piece will stand up on the bottom layer.  I added the colored images to this panel using foam dots for dimension.
To finish, I stamped the sentiment from the #5735 - Birthday Sentiments and partial die cut using the #5062 Rounded Rectangle A2 Double Stitch die.  I added an oval piece of white cardstock to the inside of the card (behind the image panel) for my birthday message and a few purple embellishments to the corners.

Well, that's my card for today.  Thanks for joining me!  
Hope you have a wonderful day and keep creating!

Copics used:  E000, E00, E11, R20, R24
C00, C1, C3, C5
V12, V15, V17
BG10, BG23, BG53
G40, G43, G46
Y11, Y13, Y32, Y35, Y38

Tuesday, February 3, 2026

Frank just wants to be loved...by Reneé Matarese

Love, Love Me Do!

I just love the new challenge from Art Impressions.
Anything love related. Pink or red, Valentines, whatever.
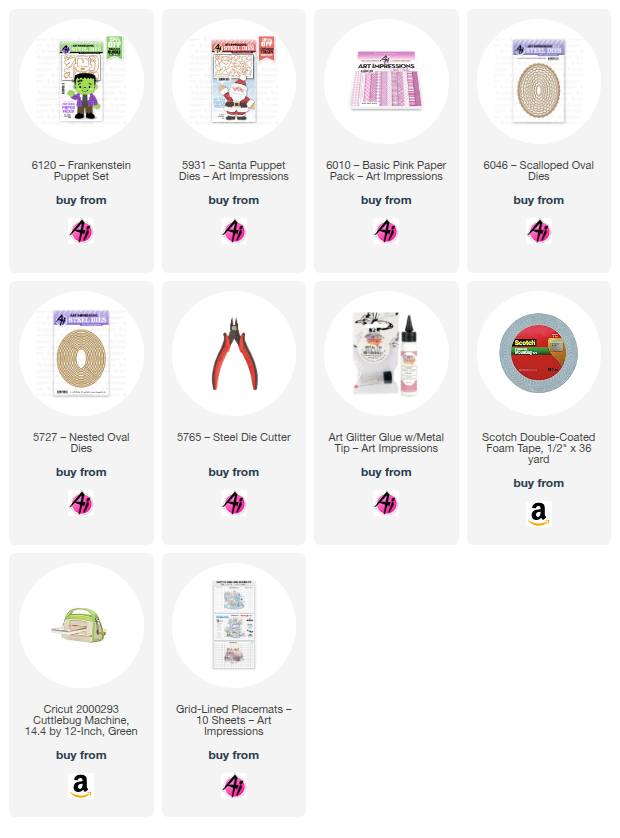
I fell in love with the 6120 – Frankenstein Puppet Set when Art Impressions released him for Halloween. But, why should poor Frank be confined to just one holiday? He needs a little love too.


I feel like he could be compared to Elvis, a "greaser" from Grease or maybe a Beatle.
Anyway, I love him! Hind sight is 20/20. As I'm posting this, I'm wishing I put a little bouquet of flowers in his hand. Oh well, maybe next year.


Thursday, September 11, 2025

Sit, Stay, Heal flip card by Dori Mendiola

 Happy Thursday AI Friends!

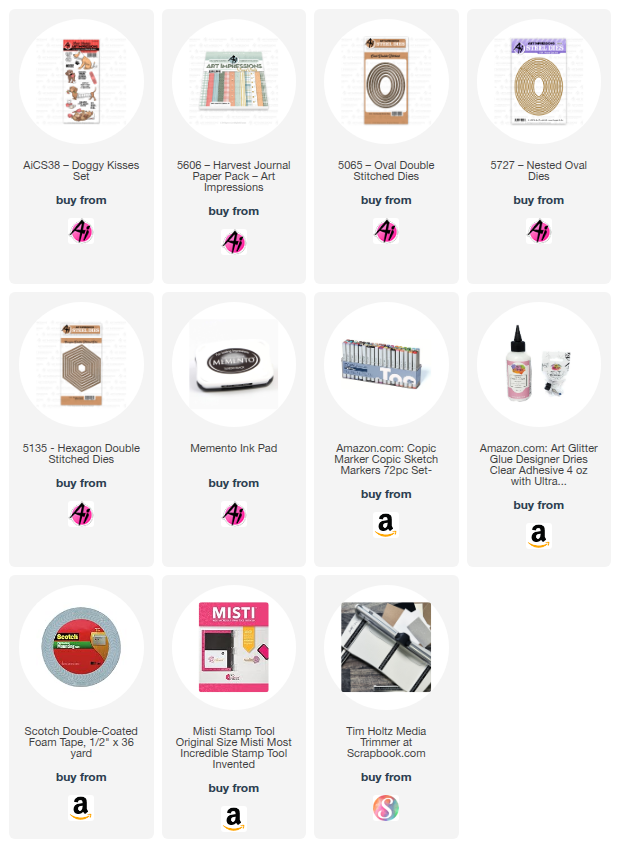
Today I have an interactive get well card using the #AICS38 - Doggy Kisses set.  When you open the card, the image flips to the inside. 

 I started by stamping the images with Memento black ink onto copic friendly paper and colored with my copic markers listed below.  I die cut the images using the #5065 Oval Double Stitch and the #5135 Hexagon Double Stitch dies.  I fussy cut and popped up the kleenex and tea cup using foam tape.  I die cut an oval into the front of the card panel and used the blue inner panel for the flip base.


For the mechanism - cut a piece of cardstock 2 3/4" x 3" and score at 3/4, 1 1/2 and 2 1/4 along the 3" side.  Fold and crease the score lines to create a tube.  Place glue on the underside of the first fold area only.  Glue down to the inside fold of the card.  Fold the tube in half and place glue on the upper fold area only.  Bring the top half of the card over and shut on top of the tube piece.  The tube will show through the top of the card, but the image panel will cover when closed. 
 
Now cut a piece of cardstock 3/4" x 2 1/4".  Score in thirds along the long edge (3/4" each piece).  Glue one 3/4" tab to the top of the tube piece in the center.  Fold the other end upwards and lay the tube down flat so that the card is shut.  Place glue on the upwards tab only.  Place the blue image panel into the front oval cutout area and adhere it onto the tab with the glue.  The image panel will pop up thru the oval cutout on the front of the card when shut and it will pop thru to the inside of the card when opened.

Decorate your card with sentiments, ribbon, etc.

Thank you for joining me today!  Hope you have a wonderful day!
Keep creating!

Copics used:  N0, N1, R20
E50, E51, E53, E55
E41, E42, E44
E33, E35
BG70, BG72, BG75

Saturday, August 23, 2025

Gardening Gail Pop-Up Card by Janet


Hello Ai Friends! Today I was inspired to create a pop-up card featuring the new 6076 - Gardener Gail Ai People Set. Isn't she fabulous! Or should I say, "She's So Bloomin' Cute!"

Before I go into how this was constructed, I want to show you the front of my card which is simple but still hints at what might be inside. It features a scene from the 6099 - Garden PP along with a sentiment cut out with the 5727 - Nested Oval Dies. It couldn't be more simple!

This is a top fold card. When it's opened, the fabulous pop-up scene appears. The background garden scene inside really sets the theme. It's another piece from the Garden Paper Pack. I colored and cut cute Gail and two pots with flowers. I also cut two fence pieces from the 5807 - Journal Fence Dies and used a full fence in the middle and half of a fence on each side to make the fence go across the width of the card. I added some grass and used the 5063 - Rectangle A2 Double Stitched Dies and another sentiment from the Gail set to create the inside sentiment.

To create the raised stage of the pop up, I folded the bottom half of the A2 top folding card base to form the stage. Then I glued another 4 1/4" x 5 1/2" panel to the bottom of the raised base. This gives the illusion of the card being a single piece. Once the raised stage was formed, I went about adding the pop-up mechanisms to support Gail, the grass, fences and flower pots. You can see below that there's nothing complex about the 3D mechanism. I did not use any special dies to create it. I just measured and folded before gluing it in place.

I had fun making this card and I hope it inspires you to try this pop-up mechanism to stage any of your favorite Ai sets. It's really fun and it allows you to use your imagination to create some really unique scenes.

Thanks so much for stopping by today! Don't forget to find your favorite stamps, dies, papers, and accessories at the Ai Store! You'll always find something that calls to you.

Happy Crafting!

Janet YouTube - Blog - Facebook - Instagram - Pinterest