Showing posts with label 5424 Pond Set. Show all posts

Sunday, March 1, 2026

Sweet Frogs! by Simone Carr

 Hello Ai fans!


Welcome to my first Watercolor Weekend!

I can’t even tell you how excited I was when I saw the new Story Tile Template Die and stamp set release! The Story Tile Template Die works beautifully with so many sets you may already own, making it such a versatile addition to your collection.
Let me show you what I created. For my first card, I used the Frog Set (5283). 
I ran the Story Tile Template Die through my cutting machine twice using Canson Watercolor Paper. Before stamping, I laid out my images on the tiles to see how they would fit and to decide on the overall layout. I highly recommend this step since the tiles only fit together in a specific way.
Once I was happy with the placement, I stamped the images using Archival Ink Shadow Grey and began coloring.
For the frogs, I started with 173, then added 195 in the shadow areas. To deepen the shadows further, I used 177, and finished with 133 for highlights.
The tulips were colored with 933, intentionally leaving some lighter areas, followed by 925, and darkened with 905 where needed.
For the leaves, I used 177, again leaving some lighter areas for dimension.
The daffodil was colored with 025, followed by 985, and 933 for the center.
The mushroom stem was colored with 992, with 912 and 565 added for shading. The mushroom top was colored with 856 and shaded with 565.
I used 526 for the sky, and a black TwinTone marker for the eyes and to add definition wherever needed.
To assemble the card, I glued two frames together for added dimension, then cut a third frame from 6033 Inspirational Patterned Paper and adhered it on top. The layered frame was attached to an A2 card base, and finally, I glued the tile pieces into place to complete the design.
Materials Used
Stamps & Dies
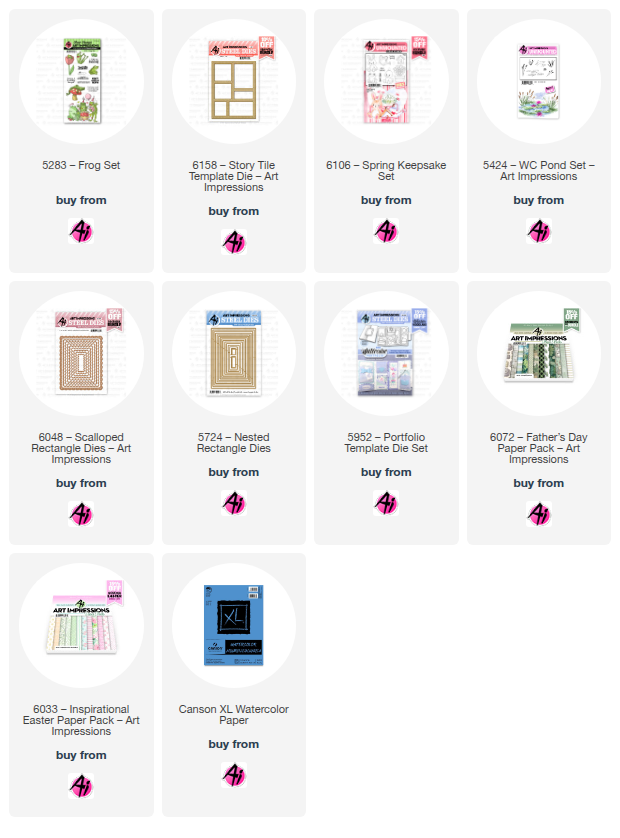
• 5283 Frog Set
• 6158 Story Tile Template Die
Paper
• 6033 Inspirational Easter Patterned Paper
• Canson Watercolor Paper
Tombow Markers
• 933, 925, 905 – Tulips
• 025, 985, 933 – Daffodil
• 177 – Leaves
• 133, 173, 195, 177 – Frog
• 856, 992, 912, 565 – Mushroom
• 526 – Sky
Bonus Card – Materials Used
Stamps & Dies
• 6106 Spring Keepsake Set (Frog)
• 5424 Pond Set
• 5283 Frog Set (The Fly)
• 6048 Scalloped Rectangle Die
• 5724 Nested Rectangle Die
• 5952 Portfolio Template Die Set
Paper
• 6072 Father’s Day Patterned Paper
• Canson Watercolor Paper
Tombow Markers
• 173, 195, 098, 131, 177 – Frog & Lily Pad
• 177, 947 – Cattail
• 565, 526 – Water & Sky
Sunday, February 8, 2026

Love Is In the Air by Gennette Houghton


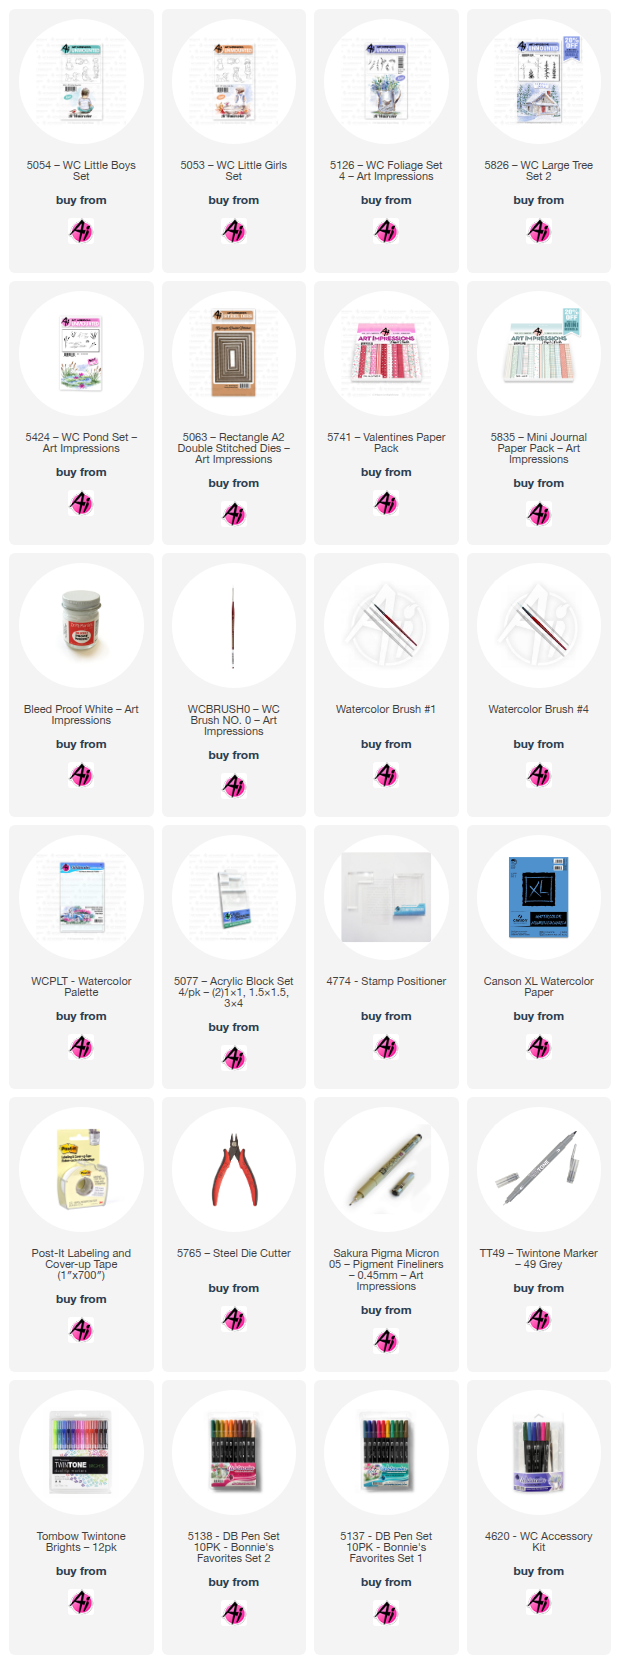
Hello, and Welcome to Watercolor Weekend! Valentine’s Day is next weekend and I have a couple of cards today perfect for the occasion. February is usually one of our coldest months, but I decided to go with a warmer scene this year. I decided I wanted to use both 5054 WC Little Boys, and 5053 WC Little Girls. These sets are great for so many occasions and are a great add to your stamp collection.


 For my first card I chose the two that are standing. I first took my 5063 Rectangle A2 Double Stitched Dies and used the 3rd largest to trace for a guide. Since I wanted to make sure they were positioned the way I wanted, I used the stamp positioner for both, inking both in Distress Ink Lost Shadow. For the skin tones I used 850, 910, and for the shadowed areas a touch of 912.  I started with the skin first so that I wasn’t risking other colors bleeding into the area.  Once that was done, I started with the little girl’s hair. I started with 990 as a base to help tone down the yellow, I then added some 025 and darkened areas with 026. For the bands in her hair I used 725.  Next I did the skirt with N52, I love this gray as it has a hint of blue to it.  I then went over the shirt lightly with 725, adding a touch more in the shaded areas, and then used the same color to add tiny little dots for texture.  I also used 725 on the hat, making it a bit darker than the shirt.  For the boy, I decided I wanted to leave his shirt white, so I used N52 for some shading and contours. I then painted the pants with 565, and added a bit of detail to the pocket with the same color.  For the hair I started with 947 and then added some 969. 856 was used on the hat. N52 and 565 was used on his shoes.  

A light wash of 177 for the ground, going darker at the base of the feet and out at an angle for a shadow. I then used 526 for the sky, staying within my guidelines I already penciled in.  I painted the grass in the background with 228, just to give a hint of being there, and then masked off the edges with post-it tape. 5826 WC Large Tree Set 2 for the grass in the foreground with a mix of 126 and 177.  Softened lightly with a damp brush.  I then used Bleed Proof White for what was supposed to be a cloud, but I got a little too precise with it trying to get it to show up on a lighter background, but it doesn’t look to bad.  With the edges still masked I used 5126 WC Foliage Set 4, I inked the leaf branch in two colors, first with 126 and then brought a line up through the stamp with 177. For the very edge I did the same with 177 and 249. I find this gives a more organic look to the leaves.  Adding a touch of water to soften and bring out the colors. I removed the post-it tape and erased my pencil lines. Using the same die I used for the guidelines I then cut my image out.   I matted the image with gold and pink card stock and matted my card base with paper from 5741 Valentines Paper Pack and finished the card.


 For my second card, I used the same boy and girl sets, this time with the ones that are sitting.  I used the same die as in the first card in a horizontal position for my guidelines, and used the stamp positioner to place both the boy and girl where I wanted them.  The skin tones are the same as the first two, 850, 910, and a touch of 912. For the boy I used 992 and 969 for the hair, 312 for the shirt, and 969 for his pants.  The girl I used 947 for the hair, 905 and N52 for the shirt, and 565 for her pants.  I then used a wash of 177 for the ground, darkening it under and behind the kids. For the water I used 565 first and then added a bit of 526 to brighten some of the areas.  I darkened the area right next to the shore with more 565 to give contrast between the two.  After masking off the sides, 5424 WC Pond Set was used for the cattails. I first stamped in the leaves using 177 and stamped twice each time. I then added the cattails using 177 and 969. 5826 WC Large Tree Set 2 for the grass, inked in 177 and a touch of 969 right at the base of the stamp in two small spots. 

I used this at the base of the cattails and in each of the bottom corners. I then used a damp brush to soften all of the foliage and blended out a bit at the base of each.   Bleed Proof White was used to add a bit of highlights in the water and then created tiny heart flowers in the grass.  Removing the post-it tape, I erased the lines and used the same die to cut out the image.  The image was matted with gold and dark brown cardstock, and matted the card base with paper from 5835 Mini Paper Pack, completing my second card.  Thank you so much for joining me today, I hope you enjoyed my cards and that I inspired you to give these sets a try. Until next time, Create….Share….Inspire!


Tuesday, July 1, 2025

July 2025 Monthly Challenge with Simone Carr

Hello Ai fans!

Welcome to the July 2025 Monthly Challenge!
This month our Guest Designer is Simone Carr.
Please welcome her back and enjoy all of her wonderful creations!


 Hello Crafty Friends,


Today I’m sharing a peaceful coastal scene featuring a pelican perched on a rock. I had a lot of fun building this tranquil moment using a combination of watercolor stamping, masking, and scene layering.


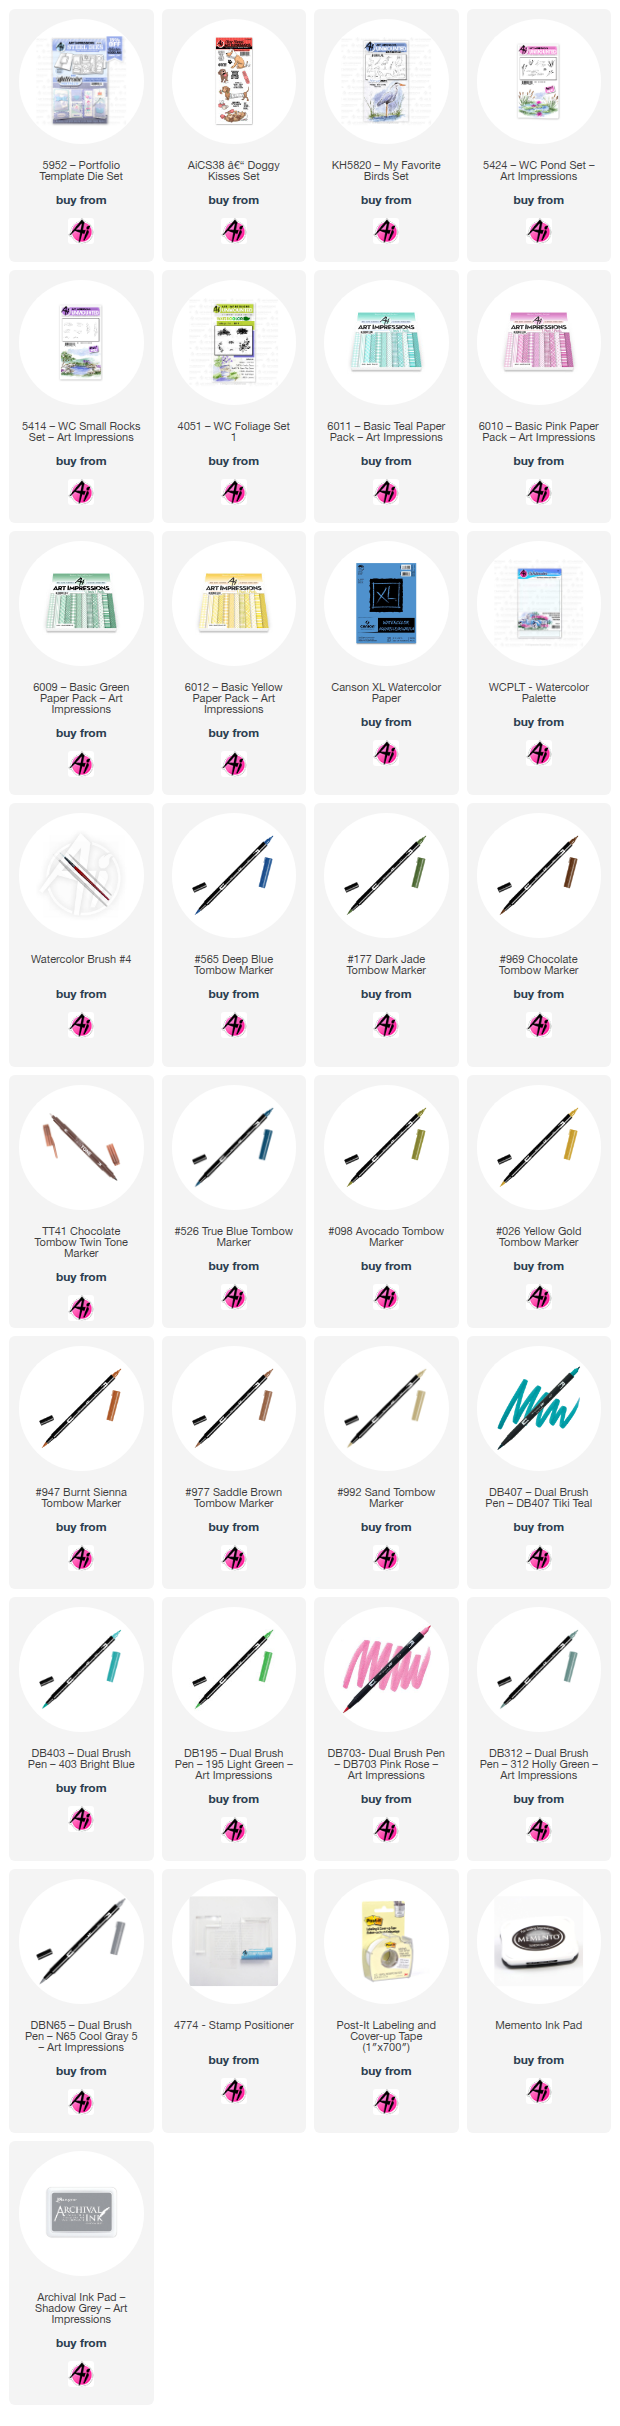
On a piece of watercolor paper, I marked off a square measuring 2 ½" x 3 ¼" and placed Post-it tape around the edges to create a clean, framed look. I stamped the pelican from the KH5820 – My Favorite Bird Set using Tombow 565 and 969, stamping it off once for a softer outline, then onto the paper. Using my stamp positioner, I stamped the rock below the pelican using the same colors.

With the main images in place, I began painting the scene. I mixed Tombow 526 and 177 to create a serene water tone and brushed it in around the base of the rock. I taped off the horizon with Post-it tape and used 026 to paint a soft glow in the background, deepening the color to the left and right sides for balance. For the sky, I brushed in 565 and softened the edges with 526, fading it gently around the pelican.

Next, I added grass using the small grass from Foliage Set 1 (4051) stamped in 098. After shifting the tape slightly upward, I stamped in the cattails from Pond Set (5424) for added detail. In the foreground, I included more grasses using Tombow 177 and 969.

To finish, I watercolored the pelican with light shading in N55 and 969, keeping most of his body white, and added 026 on the beak. The rock was painted by pulling color from the lines, and I added definition with a brown TwinTone marker.

For a final touch, I wrapped some natural string with beads around the bottom of the card to give it a little coastal texture and interest.

Materials Used:

Stamps:

    KH5820 – My Favorite Bird Set

    Foliage Set 1 (4051) – Small Grass

    Rocks Set (5414)

    Pond Set (5424)

Inks & Markers:

    Tombow Markers: 177, 026, 098, N55, 526, 969, 565

    Brown TwinTone

Other:

    Canson Watercolor Paper

    Stamp Positioner

    Post-it Tape

    Natural String and Beads (for embellishment)


I had so much fun creating this playful get-well card using the Doggy Kisses Set (AI CS 38) that I ended up making two bonus cards as well, experimenting with different colors and layouts—perfect for sending a little extra comfort and cheer.


I stamped the image using Archival Ink in Shadow Grey onto Bristol Smooth Cardstock to keep the outlines soft and watercolor-friendly. To color the pup, I started with Tombow 947 for a light wash in the shadow areas, added 992 on the face and belly, and used 977 on the head and legs. I returned with 947 to deepen the shadows for more dimension. The teddy bear was colored with 899 and 992, while 703 added blush to the cheeks, ear, and tissue box. I used 407 for the slippers and 403 for the cup.

The tissue box and cup were fussy cut for added detail. I paired the scene with patterned paper from the Basic Teal Paper Pack (6011) and used an Envelope Edger Die to finish the layout with a clean, curved edge.


Materials Used:

Stamps:

    Doggy Kisses Set (AI CS 38)

    Catastrophe Set (4933)

    Portfolio (5952)

Paper:

    Bristol Smooth Cardstock

    Basic Teal PP (6011)
    Basic Pink PP ( 6010)
    Basic Green PP (6009)
    Basic Yellow PP (6012)

Inks & Markers:

    Archival Ink – Shadow Grey
    Memento Ink Pad

    Tombow Markers: 947, 899, 977, 992, 407, 403, N45, 195, 703, 177, 312, N55, N65, 026, 565

Other:

    Envelope Edger Die

    Fussy Cut Elements (Tissue Box, Cup)

Thanks so much for stopping by! I hope this cheerful card brings a little smile and inspires you to create something heartwarming of your own.
Until next time, happy crafting!
—Simone

You are invited to the Inlinkz link party!

Click here to enter