Showing posts with label Mini Mice & Squirrel Set 5599. Show all posts

Sunday, September 7, 2025

Fall Wreath & Scene by Karen Day

 Hello Ai Watercolour fans!


Painting fall scenes are among my favourite things to paint!  Another thing I love to do is to use multiple stamp sets to create my scene, which is what happened with my first card:


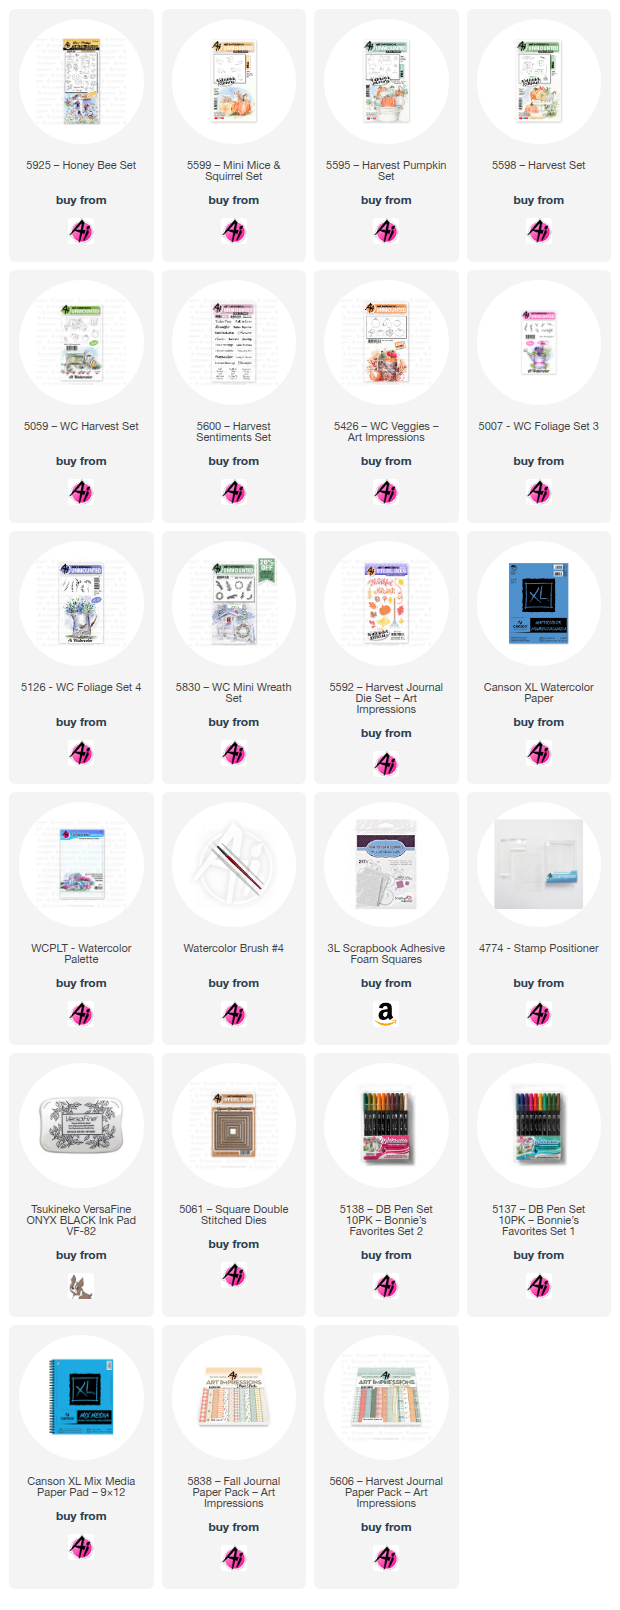
This was the first time I've used the Canson XL Mixed Media paper that is available in the shop, and it wasn't bad to paint on!  It's very lightweight, and fairly smooth, but took the colour well.  I started by stamping the large birdhouse from 5925 - Honey Bee Set in N45, leaving off the lower right corner as I knew that I was going to stamp the single pumpkin from 5595 - Harvest Pumpkin Set beside it.  After masking the birdhouse, I stamped the two pumpkins from 5059 - WC Harvest Set in N55, and put the mouse from 5599 - Mini Mice & Squirrel Set in front.  I really love the line of leaves from 5598 - Harvest Set, and stamped it in front of the pumpkin, as well as just small parts of it on either side of my scene.


With all the elements in place, I started painting in #993 and #312 on the house, and to get the colour of blue that I was looking for, I used Stormy Sky Distress ink for the roof and wooden base.  On the two lighter pumpkins, I used #312/N45/565, and for the orange one I used #993/933/947/899.  The mouse was painted with layers of #899, and my black Twintone marker filled in his eye and feet.  The leaves were done in a multi-coloured fashion, using #126/933/993/899.  The sky was added using a wash of #565, and a wash of #126 was painted in as the ground.  I used my #565 to add shadows under the house and objects, and darkened up different areas with my grey Twintone - or redrew lines that had disappeared.

The greeting from 5600 - Harvest Sentiments Set was stamped in Versafine Onyx Black, and the scene was matted with a blue decorative rectangle die, and mounted on paper from the 5606 - Harvest Journal PP.

My second project was started with the intention of it being a wreath, but as I got painting, I stopped at a half-wreath since I liked the way it looked.


I started with the veggies from 5426 - WC Veggies, stamping them in N55, masking where needed (can you tell that's some broccoli peeking out??).  Then I began building my design with the ferns from 5830 - WC Mini Wreath Set, done two-toned in 126/993 and 126/158.  The vines from 5007 - WC Foliage Set were coloured in #565/177, stamping one in each direction, on each side.  This is the point where I decided that I didn't want to do an entire wreath, so I added the leafy branch from 5126 - WC Foliage Set 4 in 933/993 on either side to finish it off.  I decided that my wreath needed a little something beside the veggies, so I used the small sprig from 5830 - WC Mini Wreath Set in a bit of a rainbow fashion using #565/685/933/993.  After painting in the veggies with (orange) 933/947/969 (brown) 899/947 (yellow) 993/899/933 and (green) 249/177/126, I touched everything with a damp brush, and pulled out a bit of the colour.


After looking for a sentiment to add, I found the Hello Fall die in the 5592 - Harvest Journal Die Set.  I first painted it in an ombre style on watercolour paper, but it looked a little bold.  Knowing that I intended to add a metallic gold mat under my square, I tried adding a gold diecut layered over the painted one, and loved the look!  A few dots with my gold pen added a little more sparkle.  The square was cut using the 5061 - Square Double Stitched Dies, and was mounted onto paper from the 5838 - Fall PP with 3D foam adhesive.


Sunday, January 12, 2025

Brighter Days Are Coming by Gennette Houghton


Happy New Year and welcome to Watercolor Weekend! I hope you all had a wonderful holiday! 

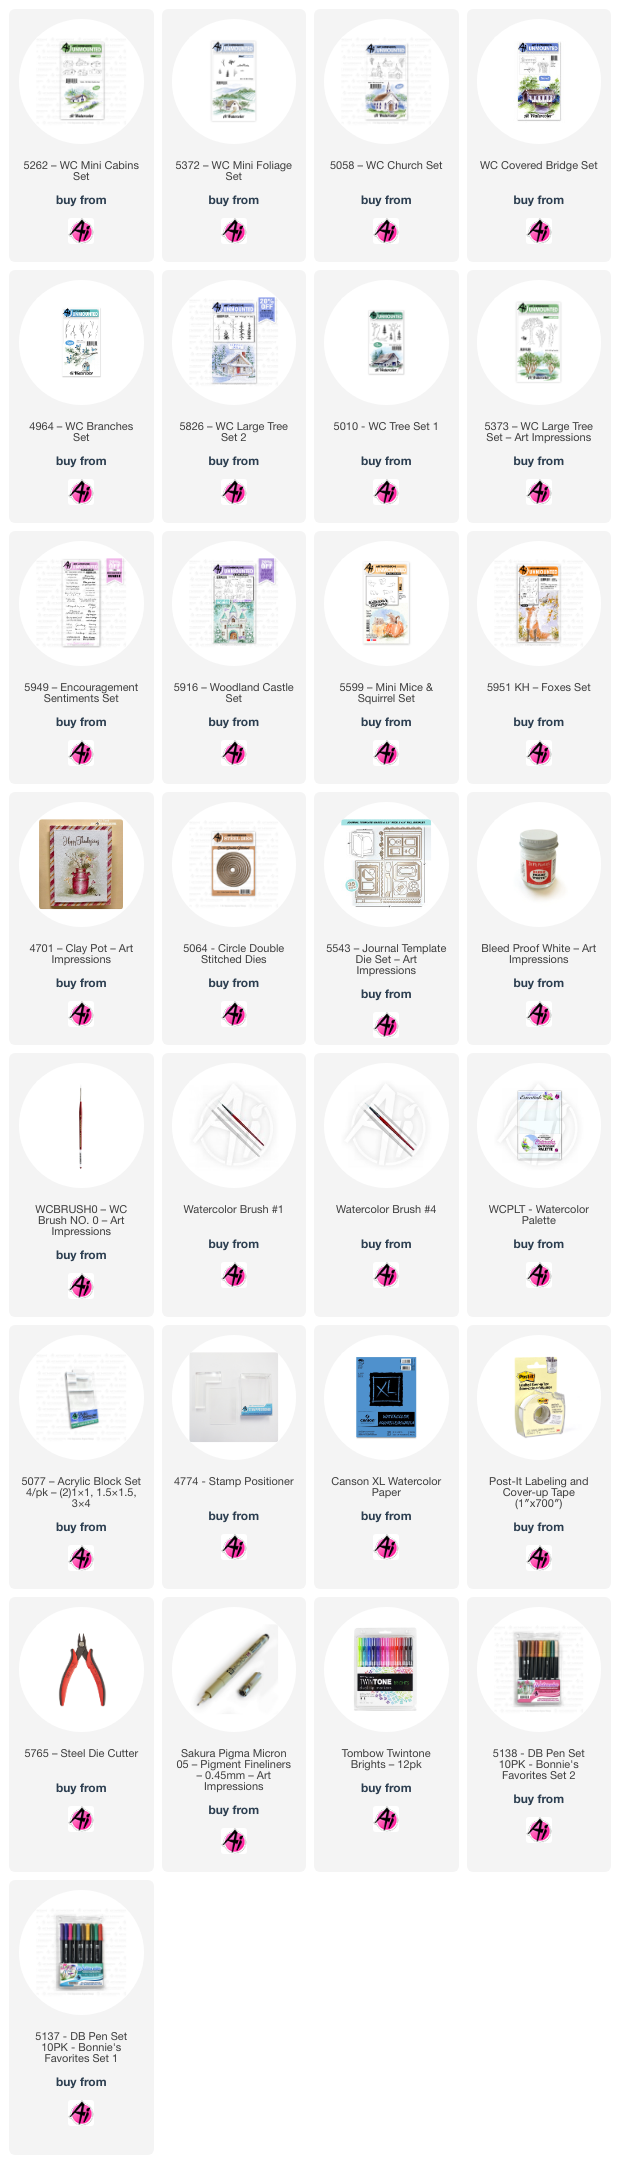
I love red barns in a winter scene, there is just something about red surrounded by white.  I started out using a ruler to create guidelines for a strip on my watercolor paper and then masked the edges with post-it tape. Using 5262 WC Mini Cabins Set, I stamped one of my favorite barns in, close to the middle and slightly offset, using 565/969 and stamping off once. I then used a pencil to create guides for the hillside behind the barn.  I put a wash of color in 177, and above in N52, for some texture I used the tree foliage from 5373 WC Large Tree Set. Over the 177 I added some 249, and over the N52 I used N49 with the foliage blending it out with some water. 5372 WC Mini Foliage pine tree was used throughout the background. Over the N52 background I used 228, and the rest I used 249 and softened them with water. Around the barn I used the pine tree from 5010 WC Tree Set 1 in 249. I used both of the small trees from 5372 Mini Foliage, and one from 5058 WC Church Set, using 228 on the first two and N49 on the third one.  

After pulling the color out on the barn, I used a mix of 856 and 969 for the walls, 969 in the doorways, windows and under the eaves.  Adding 565 for the shadows. I then stamped in the single tree from 4808 Covered Bridge Mini Set in the front, to the left in 879, and a small branch from 4964 WC Branches Set to the right for a sapling also in 879.  I used a light wash of 177, 947, and 526 on the ground around the trees in the foreground. I then stamped the grass from 5826 WC Large Tree Set 2 in N57, softening it slightly with water, also adding in some 565 over the ground area to create a snow effect. I then used Dr. Martin PH Bleed Proof White on the barn, trees and ground areas adding a touch more 565 to give the “snow” more definition.  I also added 526 in for the sky. After erasing all my pencil lines, I decided to use my ruler and the gray Twintone marker along the edges of the strip and blended it out slightly with water to make it stand out more.   Finishing it off by adding a sentiment from 5949 Encouragement Sentiment Set in black ink.


For my next card I used 5916 Woodland Castle Set in 565/969, leaving off part of the door frame and door knob, and stamped it off once. Using the stamp positioner, and masking the side of the door, to place in the mouse from 5599 Mini Mice and Squirrel Set with 565/969 in the doorway after stamping off once.  I then added the second mouse to the left, also in 565/969, after stamping it off once.  I used a pencil to sketch in some shingles on the roof and window panes on the windows without any.  For the house trim and window frames I used 969. 565,526,969 was used on the roof. 565 was used for the shadows under the roof line and window sills. 947 was used to create the look of bricks. 055,025,026 for the glow in the windows. N49 and a black micron on the mice with a touch of 025 on the back of the one in the doorway.  I used N52 and 947 on the chimney. I then added in the sky using a mix of 565 and 249. Masking off the house, I stamped in the branch from 4964 WC Branches Set in 879 on both sides, adding some leaves in 027, 947, and 969 from KH5951 Foxes Set.  

I then stamped in the dried flower from 4701 Clay Pot Set with 027.  I added in the grass from 5826 WC Large Tree Set in 027.  I pulled a little bit of the color out of the flowers and grass, leaving the leaves alone, and added some 969 for a path to the doorway.  A little 565 was used around the base of the house and then added some Dr. Martin’s Bleed Proof White throughout the scene for snow, defining it with additional 565.  The largest die from 5064 Circle Double Stitched Dies was used to cut the image out. Heat embossing the sentiment in white from 5949 Encouragement Sentiment Set, and then used a die from 5543 Journal Template Die Set to cut it out, mounting it with foam tape to complete the card. All other dies used were from my stash.  Thank you for joining me today, and I hope you enjoyed my cards! Until next time.  Create….Share….Inspire!


Sunday, October 9, 2022

Watercolor Angels by Tricia

I am incredibly honored to have been asked to do a blog post for a recent set of paintings that I created with the new Angels set.  I originally wanted to challenge myself to think outside of the box and stretch my stamps. I thought I was creating Halloween costumes but it turns out after creating the backgrounds that is not necessarily what they turned out to be in the end. 

Here are the before and after pics in case you missed my Instagram and Facebook posts.


Let's get a closer look!

First, we have this little dragon with her new mouse friend surrounded by a sweet pumpkin patch. The NEW Harvest watercolor stamps have the best pumpkins I have ever seen!

This cute little witch continues our Fall/Halloween theme. I colored her up like the wicked witch of the west and created my own broom.  I love these night scenes when I can just keep layering color to get more and more depth and make little stars, of course.


I was really torn on what to do with the background for this sweet bee, but then my new stamps arrived just in time and these hay bales were perfect.  I am in LOVE with the sunflowers and I know they will be showing up on lots of my projects. 


I wasn’t really sure what to do with this sleeping angel so I decided to dress her like Minnie Mouse. I found a picture of Minnie’s house to hand draw her background. Makes me think that she must have been exhausted trying to get there.

Finally I have a snowy scene with this cute angel.  I extended her wings a little a placed her in a winter wonderland. Creating these trees is one of my all time favorite things to do in watercolor.  I should have gotten out the bleed proof white to add some snow to the branches.  Next time!

I had so much fun creating these scenes.  I was glad I didn’t rush through the process and just let the inspiration come.  Thank you so much for joining me and I am so blessed to be surrounded by such a talented, loving and encouraging community. I hope you all have a wonderfully creative day!


SUPPLIES: