Showing posts with label Harvest Journal Die Set 5592. Show all posts

Sunday, September 7, 2025

Fall Wreath & Scene by Karen Day

 Hello Ai Watercolour fans!


Painting fall scenes are among my favourite things to paint!  Another thing I love to do is to use multiple stamp sets to create my scene, which is what happened with my first card:


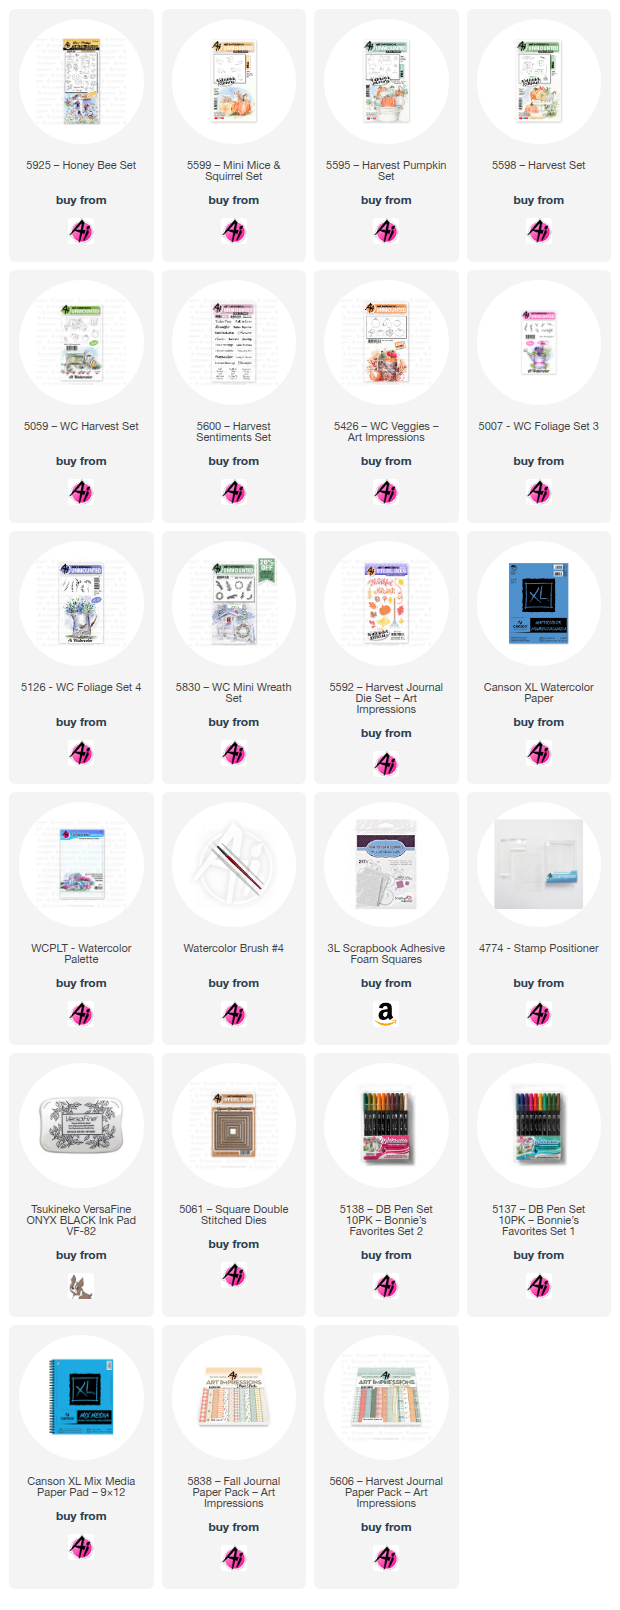
This was the first time I've used the Canson XL Mixed Media paper that is available in the shop, and it wasn't bad to paint on!  It's very lightweight, and fairly smooth, but took the colour well.  I started by stamping the large birdhouse from 5925 - Honey Bee Set in N45, leaving off the lower right corner as I knew that I was going to stamp the single pumpkin from 5595 - Harvest Pumpkin Set beside it.  After masking the birdhouse, I stamped the two pumpkins from 5059 - WC Harvest Set in N55, and put the mouse from 5599 - Mini Mice & Squirrel Set in front.  I really love the line of leaves from 5598 - Harvest Set, and stamped it in front of the pumpkin, as well as just small parts of it on either side of my scene.


With all the elements in place, I started painting in #993 and #312 on the house, and to get the colour of blue that I was looking for, I used Stormy Sky Distress ink for the roof and wooden base.  On the two lighter pumpkins, I used #312/N45/565, and for the orange one I used #993/933/947/899.  The mouse was painted with layers of #899, and my black Twintone marker filled in his eye and feet.  The leaves were done in a multi-coloured fashion, using #126/933/993/899.  The sky was added using a wash of #565, and a wash of #126 was painted in as the ground.  I used my #565 to add shadows under the house and objects, and darkened up different areas with my grey Twintone - or redrew lines that had disappeared.

The greeting from 5600 - Harvest Sentiments Set was stamped in Versafine Onyx Black, and the scene was matted with a blue decorative rectangle die, and mounted on paper from the 5606 - Harvest Journal PP.

My second project was started with the intention of it being a wreath, but as I got painting, I stopped at a half-wreath since I liked the way it looked.


I started with the veggies from 5426 - WC Veggies, stamping them in N55, masking where needed (can you tell that's some broccoli peeking out??).  Then I began building my design with the ferns from 5830 - WC Mini Wreath Set, done two-toned in 126/993 and 126/158.  The vines from 5007 - WC Foliage Set were coloured in #565/177, stamping one in each direction, on each side.  This is the point where I decided that I didn't want to do an entire wreath, so I added the leafy branch from 5126 - WC Foliage Set 4 in 933/993 on either side to finish it off.  I decided that my wreath needed a little something beside the veggies, so I used the small sprig from 5830 - WC Mini Wreath Set in a bit of a rainbow fashion using #565/685/933/993.  After painting in the veggies with (orange) 933/947/969 (brown) 899/947 (yellow) 993/899/933 and (green) 249/177/126, I touched everything with a damp brush, and pulled out a bit of the colour.


After looking for a sentiment to add, I found the Hello Fall die in the 5592 - Harvest Journal Die Set.  I first painted it in an ombre style on watercolour paper, but it looked a little bold.  Knowing that I intended to add a metallic gold mat under my square, I tried adding a gold diecut layered over the painted one, and loved the look!  A few dots with my gold pen added a little more sparkle.  The square was cut using the 5061 - Square Double Stitched Dies, and was mounted onto paper from the 5838 - Fall PP with 3D foam adhesive.


Monday, August 25, 2025

Too cute to scare away crows - by Sharon Caudle

 Hello AI Fans!

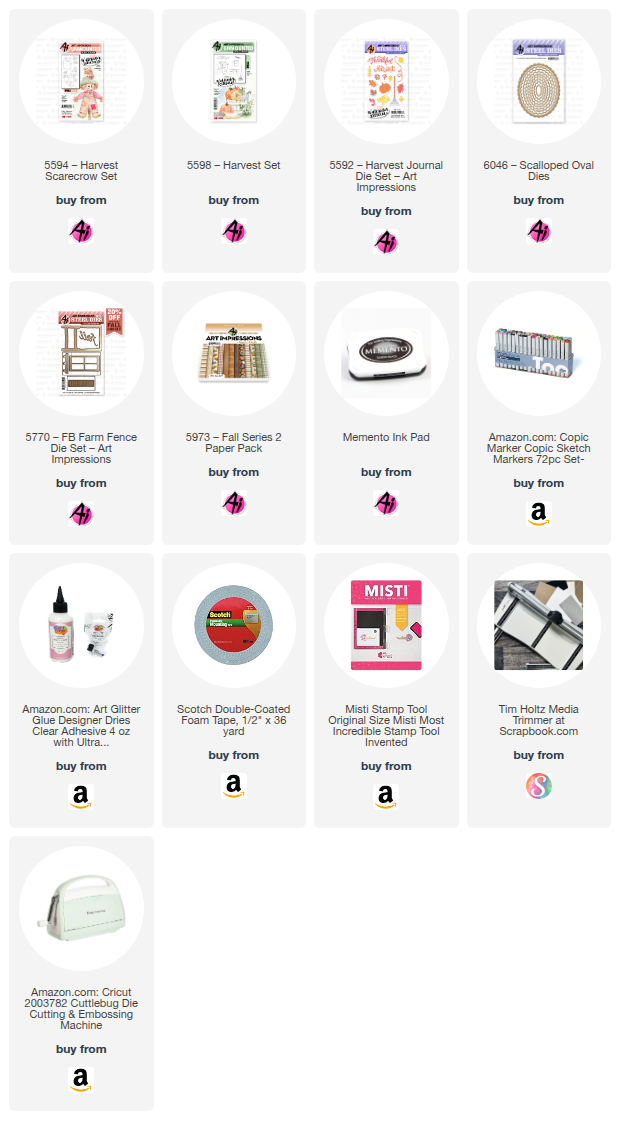
I know we are still into full blown summer, but the season is definitely starting to change. The leaves on the trees have already started to change and September is right around the corner! So I've created my first fall card of the season. I started out by stamping the adorable scarecrow from #5594 Harvest Scarecrow set onto a Copic friendly cardstock. After coloring him up, I cut him out using #6046 Scalloped Oval Dies and then matted that with one of the larger dies in brown. I wanted to see him from the front, but I wanted to place him on the inside of the card. So using #5770 Farm FB Set, I cut a hole through all three layers on the top of my card and then added the fence frame on both the front and then again on the inside. 


All of the pieces that are on the front of the card came from #5598 Harvest Set and #5592 Harvest Journal Die Set. The gorgeous paper is from #5973 Fall S2 PP. 


I also used one of those hay bales to prop up the scarecrow.


So that's it for me today! Thanks so much for stopping by for a visit and until next time - stay crafty!!


Copic markers used:
E13, 15, 17, 19, 21, 23, 31, 33, 35, 40, 42, 43, 47, 51, 53, 55, and 97
YR01, 02, 12, 14, 23, and 31
R12, 32, 35, and 37
YG61, 91, 93, and 97
C1, 2, and 3
Y32


Thursday, March 13, 2025

I Like to Move it, Move it!" Challenge #399 Week #1

Hello Ai fans!

Welcome to our new, "I Like to Move it, Move it!" challenge!

We want to see your projects that have movement on them.

These can be sliders, shakers, wobbles, pop up cards etc. You name it! If something on your project moves, then it qualifies.

Our featured artist is Dori Mendiola but before we see her amazing birthday card, we need to see who won our last challenge.

Out Top Spot went to Rachel B. for her wonderful interpretation of Carol Hintermeier's card.


Here is Carol's card that Rachel CASEd.

Please contact Leah at Feedback@artimpressions.com
to claim a free stamp set of your choice!!

Our Lucky Random Winner was 

Kimberly W.


Kimberly was inspired by this card from Amy Tsuruta.


Please contact Leah at Feedback@artimpressions.com
to claim a free stamp set of your choice!!

Now let's see Dori's fabulous creation. You're going to LOVE it!

---------------------------------------------------------------------------------------------------------------------------
 
I am soooo thrilled to be the feature for this challenge - "I Like to Move it, Move it".  I am such a fan of interactive cards, so this is a delight for me.  I had soooo much fun creating this card and I am soooo excited for how it turned out.  

First of all, I stamped all of the images on copic friendly paper with Memento black ink and colored with my copic markers listed below.  Some images were dies so I cut them with copic friendly paper and then colored with copic markers. 
I cut two 4 1/4 x 4 1/4" pieces of heavy white cardstock and scored each piece at 1".  Do NOT adhere together yet as you need to place the acetate pieces in between.
  
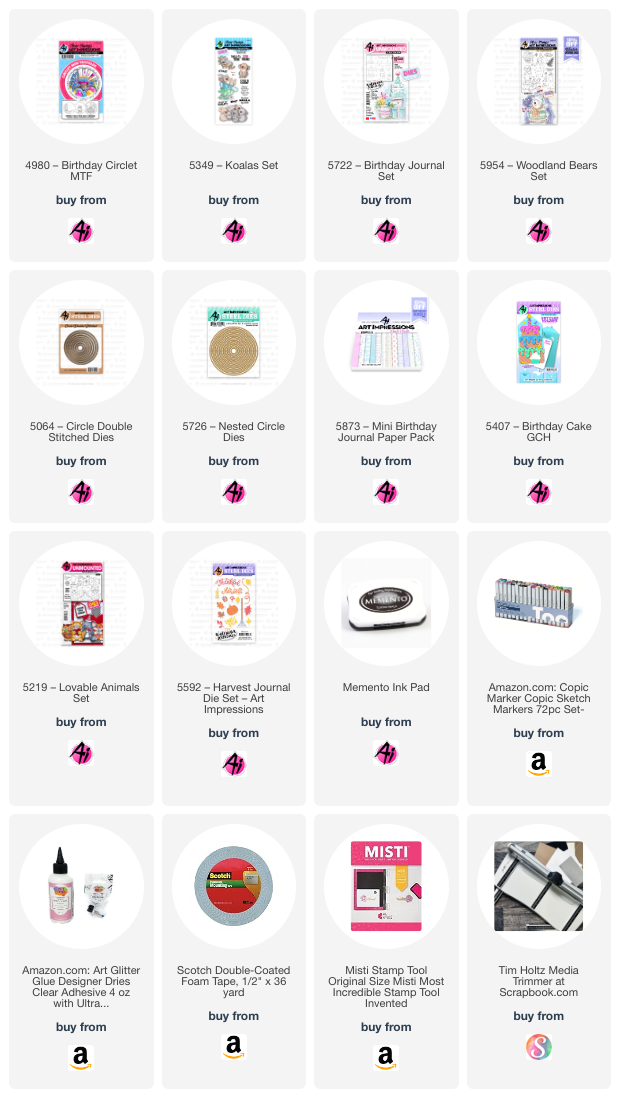
Let's decorate the front of the card first.  I matted a piece of pattern paper onto a piece of purple cardstock allowing for an 1/8" border around all sides.  This is then adhered to one of the white cardstock pieces. The 1" fold should be towards the back at the bottom.  I started by using the front layer (balloons) of the #4980 Birthday Circlet MTF.  I die cut this layer with the coordinating die and then cut the whole circle with one of the #5726 Nested Circle dies.  I used the koala sitting in the teacup from the #5349 Koala set and cut him off of the teacup so that I could place him on the stack of presents from #5954 Woodland Bears set.  I only used the bottom three presents of that stamp so that it fit nicely in the circlet.  I popped the circlet onto foam dots and placed onto a stitched circle die cut from purple cardstock.  I then glued the bottom two presents behind the balloons and popped up the top present as well as the koala so that they sat on top of the circlet.  I colored several confetti pieces from the #5407 Birthday Cake GCH and adhered them to the front of the card.  I saved several colored pieces for the inside of the card.  

Now, for the inside of the card.  I cut several strips of acetate, about 1/2" x 3" for each item.  I arranged the images how I wanted them to pop up over the front flap of the card.  I glued each to the top of a piece of acetate making sure there is enough acetate at the bottom to glue between the 1" folds.  Once the images are glued to a piece of acetate, I then glued the bottom of the acetate to the back of the front flap fold.  When all of the acetate pieces are glued down, I took the back flap and glued the two fold pieces together, making sure the acetate pieces are glued in firmly.  I then finished decorating the inside of the card with pattern paper and purple cardstock over the exposed white cardstock.  Lastly, I added the final pieces of confetti to decorate.  

Below is a video of how the card wobbles.


I hope you enjoyed my feature card and that it has inspired you to enter our bi-weekly challenge for a chance to win a free stamp set. We love to see what you create!
Have a great day and happy creating!
Copics used:  E21, E50, E51, E53
W5, R20
Y11, Y21, Y23, Y35
RV55, RV63, V12, V15
G40, G43, B41, B45

You are invited to the Inlinkz link party!

Click here to enter

Tuesday, March 4, 2025

CASE That Card Winter Birthday by Reneé Matarese

Hello Ai fans!
Today I'm sharing my card for the CASE That Card challenge here on the Art Impressions Challenge Blog. I've chosen to imitate a card from Penny Black.


I fell in love with this card the second I saw it and I knew that I wanted to try something like it. Art Impressions to the rescue! I will link all of the Ai products I used at the bottom of the page.


This was my Mother-in-law's late January birthday card. She used to live in the north like me but hasn't been able to get back here for several years. Last time she was here she loved watching the birds at our feeders. I know she doesn't miss the cold but she misses seeing the pretty snow.


In addition to the Tombow markers listed below I also used the following colors from Marvy.
1 Black
12 Grey
32 Laurel Green
38 Oyster Grey


Tuesday, January 21, 2025

White Monochromatic cards by Reneé Matarese

 Hello Ai fans!

I have two cards, well really one since they're the same, that were made for the Art Impressions Monochromatic Challenge going on right now. Click the Bi-Weekly Challenge tab above to enter.


My card was made exclusively with Art Impressions dies except for the stamped sentiment which is from 5734 – Friend Sentiment Set.


All dies that I used are linked below.
I feel like my card could be for Valentine's Day, a wedding, anniversary,
or, just for a friend that makes you a better person!
I have a lot of those.


Thursday, January 9, 2025

Golden Celebration by Dori Mendiola

 Happy New Year AI Friends!

Hope you all had a wonderful holiday season and are off to a fantastic 2025! 

 My card today was inspired by the current challenge "Craft Time is Golden".  I sort of went "all out" golden.  😁  When I started creating, the gold was minimal, then all of a sudden, it went full on gold! Guess you could say it screams New Year's celebration, but wouldn't it be great for a 50th wedding anniversary card or add a little black and make it a graduation card.  So many options.

I used the 5811 - Gift card pocket die set for the bow and the 5722 - Birthday Journal set for the balloons and celebrate word die.  The streamer is from the 5592 - Harvest Journal die set.   I also used the 5063 - Rectangle A2 Double stitched die set for the frame and gift box.  And lastly, I used the 5606 - Harvest Journal PP for the striped pattern paper background.


To make the balloons pop out of the box, I used a slider pull tab and cut a vertical strip in the white frame piece, under the box, for the pull tab to slide.  I adhered a strip of acetate to the bottom of the bow and adhered some balloons on it.  I adhered a pop dot onto the pull tab and placed the pop dot through the vertical slit and onto the bottom of the acetate, so that when you pull the tab the bow rises and the balloons pop up.

Hope you enjoyed my card today.   

Make sure to play along in our blog challenges for your chance to win a free stamp set!

Monday, November 18, 2024

Hello Fall by Sharon Caudle

 Hello AI fans!!

Hope you're having a wonderful start to your week! I've got one more fall card to show you today before you start seeing all Christmas cards from me. LOL! I used the absolutely adorable set #5507 Harvest Together Set. These are the cutest scarecrows I've ever seen! I started by stamping the image onto a Copic friendly paper and then coloring her with the markers listed below. I really like the color she turned out cause she looks like she's made from a potato sack!  I made the card super simple by using a die in my stash to create the scalloped card. All you have to do is score and fold your cardstock in half for your card base. Place your die with the top cutting edge just above the fold of your paper. Cut it out and you have your card base. Then use a complete die cut on top of the card base so you have the decoration on the top of the card as well! So simple to do and I feel it really adds a lot to the card. The Hello Fall die cut is from #5592 Harvest Journal Die Set. 


That's it for me today. Thank you so much for stopping by for a visit and until next time - stay crafty!!


Copic markers used:

Y15, 17, 35, and 38

E33, 35, 37, 40, 41, 42, 55, 81, 84, 93, 95, and 97

YG93 and 95

R02, 32, 35, and 37


Tuesday, November 5, 2024

Thankful Owl by Reneé Matarese

Hello Ai fans and welcome to the current 


https://artimpressionsstamps.blogspot.com/2024/10/all-fall-challenge-390-week-2.html


This set is an instant favorite of mine and obviously the rest of the design teams as well.
I'm also loving the self adhesive Watercolor paper for the more delicate Ai dies.

You cut it out, color it (or color and then cut) and stick it down.
So much easier than glue.