Showing posts with label Ai Watercolors. Show all posts

Saturday, June 17, 2023

Watercolor Weekend June 17, 2023

 Hello Ai Watercolor fans!

It's another Watercolor Weekend here on the Art Impressions blog and

I was blown away when I saw this week's cards!


Diane, Tricia and Karen never disappoint and this week,
went above and beyond.  Wait until you see what they've made.

This week, Diane is up first, with her adorable puppy wagon!


Hello, Ai Watercolor Weekend fans! With 4th of July just around the corner, I decided to create a Patriotic Celebration card. In addition to being a great “Happy 4th of July!” card, it could also make a nice July birthday card! 
 

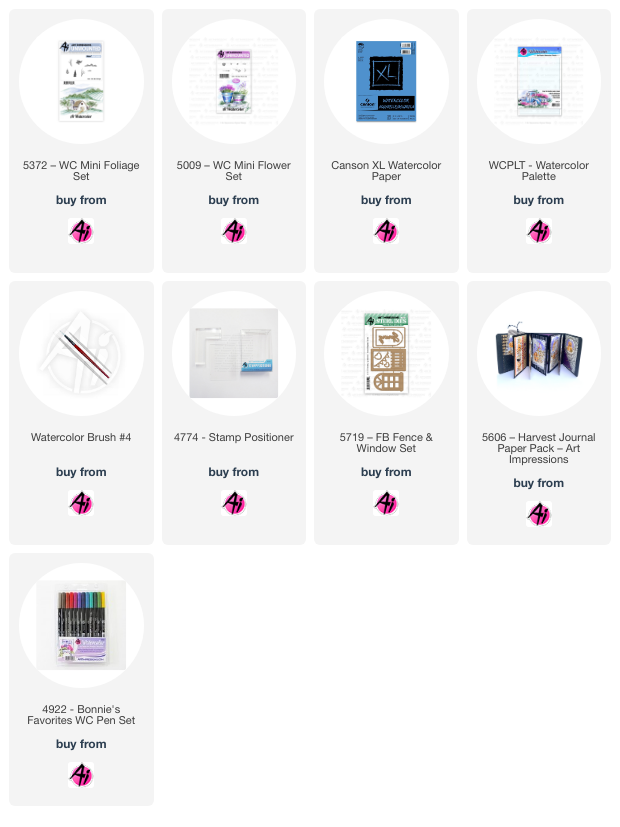
To create this scene, I inked the wagon stamp from 5597 – Harvest Wheelbarrow Set in 565/969 and stamped off once before stamping onto my Canson XL watercolor paper. Next, I masked off the top edge of the wagon with some Post-It tape. I inked the puppy from 5722 – Birthday Journal Set with 969 leaving off the birthday hat and stamped to the left in the wagon. With a pencil, I sketched in the top of the puppy’s head and drew in a bandana. For the pot to the right, I inked just the pot from the stack of presents from the same set and placed into the wagon. I knew I would be cutting out this image later, so I traced an oval die from 5727 – Nested Oval Dies to frame my scene. Next I added a trio of overlapping balloons from 5722. With my scene complete, I used a damp brush and pulled out the stamped lines of the image to create shadows and contours. 


Before adding any color to the images, I brushed in a watery sky with 526. I wanted to keep the wagon white, so I used 565 to add shadows. The color palette for this scene is fairly simple. I chose 856 for the red and 555 blue. The greens are 177 and 249. For the wheels I used N25 black. For the puppy and the underside of the wagon I used 969. For the clay pot I selected 947. For all the white details I used Dr. Ph. Martin’s Bleed Proof White.


The flowers in the pot were stamped in using the rounded double flower from 5475 – WC Flower Set 6. For the greenery, I inked the vine from 4051 – Foliage Set 1 in 177. For the area under the wagon, I brushed in a watery base of 249. Grass and foliage was added with 177. To keep the center balloon white, I added a light shadow with 565. To make the red and blue balloons appear to be behind the white balloon, I added a very diluted mix of red and blue in the overlapping areas. For the exposed areas of the balloons, I applied multiply layers of red and blue. When adding the details to the balloons with white, I used it full stength on the outside edges. Where the white balloon overlaps, I diluted the white. I dotted in some tiny white flowers and added polka dots to the bandana. Using a gray Twintone marker, I added strings to the balloons. I added back details where needed with a brown Twintone. I die cut the flag banner from 5719 – FB Fence and Window Set, and painted the flags in blue and red. The banner was then popped up with foam squares. For the interior of the card, I die cut “Celebrate” from 5722.


Thank you for joining us for another Watercolor Weekend, until next time – Happy Painting!


Next up is Tricia with a gorgeous floral birdhouse card.

Hey watercolor fans!  Today I have an oldie but goodie.  I love this older stamp set.  It is a perfect non-gender all occasion show stopper!  Let me tell you how I created this card.


I started out by inking the large birdhouse with brown and blue. I stamped it off and then stamped it into the middle of my watercolor paper.  I didn't pull the color out of the lines because I wanted the leaves to be really soft and I wasn't sure how much of the pole would show.  Glad I did because I love how the flowers came out.  I left off a little of the top right of the roof so I could place the bird there.

Next I used the Cardinal stamp, without my positioner, inked up with brown, stamped it off, then stamped it onto the roof of the birdhouse. Using the small vine inked with green and stamped a few bunches around the base sides and right of the house.  I used a bit more water to soften just the ends of the leaves.  Once that was dry, I inked it up again with the bright green and stamped a couple of times over the soften leaves. This brightened them up.

I pulled the color out of the lines of the birdhouse and then added some additional color from my palette. I added some turquoise to the roof, making sure that sides are darker than the center. I also added some pink to the house, keeping the left and right dark.

For the bird, I added red, keeping the face light and building the color slowly, drying between each layer to get darker shadows. I used the N25 nib to draw in the cardinals face.

Using the daisy bunch, inked with purple, I stamped it a couple of times next to each foliage bunch. I added water to the purple and then once it was dry, added a detail darker layer to enhance the flowers.  Once that was dry I added yellow to the centers.

I also darkened the wood on the stand and to ground the birdhouse. I used my marker direct to paper to darken in those shadows. Lastly, I added some blue for the sky.  Don't overthink it, lots of water, drop in color, let it dry, there are no perfect clouds only beautiful organic ones!

Sign and date!  This was a quick and easy project that I had fun making. I hope you tag us so we can see your work. Head over to Instagram we can see what you create!

Thank you so much for stopping by and I hope you have a crafty day!


Our last watercolor artist this week is Karen.
You don't see popped up images too often in watercolor and I'm
not sure why because Karen showed us that it looks AMAZING!

Hello Ai Watercolour fans!

I'm using several sets for the first time, that were released a little while ago.  I wanted to create a scene where the sweet little gal is selling flowers, so this is what I came up with:


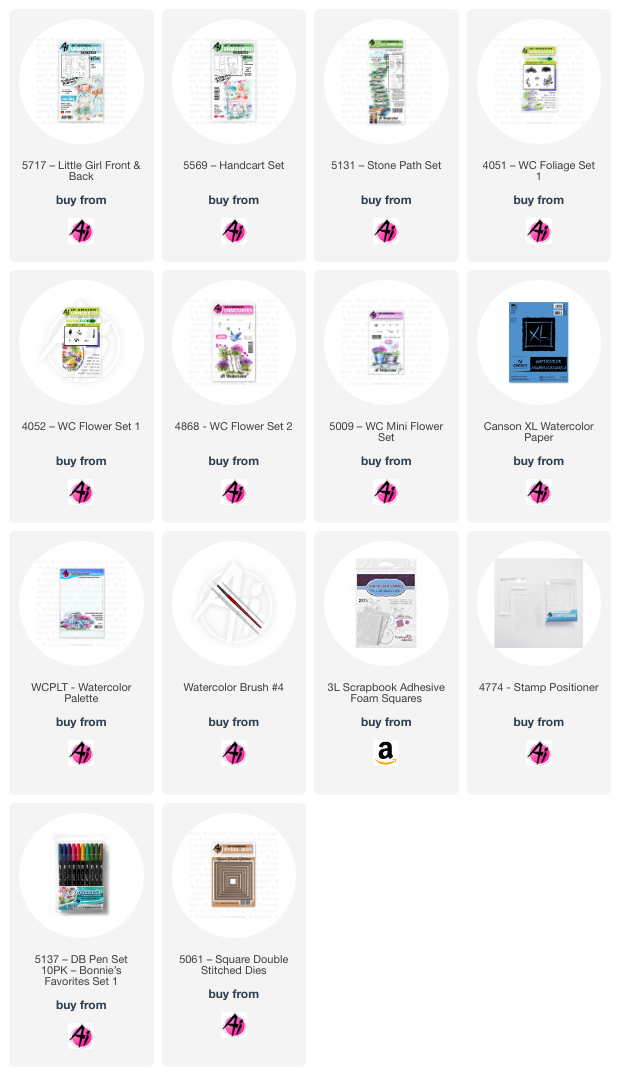
I started by stamping the 5569 - Handcart Set onto my Canson XL Watercolour paper with Tombow #969/565, and separately stamped 5717 - Little Girl FB.  After pulling the colour out from the lines, I picked a warm summer palette of colours, and started adding my flowers & foliage.  Using the Daisy bunch from 4052 - Flower Set, I added them in #925 and #407.  With the smallest image from 4868 - WC Flower Set 2 and #725, and the tall stems from 4052 in #565, I filled in all the flowers.  The tiny sprig image from 5009 - WC Mini Flower Set was stamped in both #126 and #312 as the foliage in both the cart and her basket.  Tones of browns #969/947/992 were painted on the cart trim & wheels, her basket, hat and shoes.  I wanted to add a sign to my scene, so I used the signpost from 5131 - Stone Path Set, altering it a little, and painting it in the same brown tones.  I used my Twintone Chocolate marker to write on the sign, and then cut it out.


N65 was painted onto the watering can, and as the white shadows on the cart, and #947 created the look of a terracotta pot.  The yellow of her dress and the banner on the cart are shades of #991, with some #992 shadows, and her skirt is #407.  I used the tiny grass from 4051 - Foliage set in #126 to add grass around the cart and sign, painting it out as a wash, and added a wash of #493 as the sky.


The background was cut out with 5061 Square Double Stitched Dies.  I cut the Little Girl out with her matching die, and fussy cut out my sign.  I attached them both to my base painting with foam adhesive, to make them both appear as if they are in the foreground.


Do you have the newest watercolor catalog?  It's filled with all sorts of wonderful inspiration.


Also, 4th of July is just around the corner!
Be sure to get the super cute new 5494 – Front Porch Patriotic Set.


Happy Watercolor Weekend everyone and Happy Father's Day to all of the dads out there!


Saturday, May 6, 2023

Watercolor Weekend 5-6-2023 plus NEW WATERCOLOR FOUNDATION SETS!!

 Welcome to our Watercolor Weekend!


This has been a very exciting week for Art Impressions and all of the Watercolor Fans!

There were 6 new WC sets released on Wednesday.
Did you SEE??!!


These sets can be purchased individually or as a
bundle with all 6 that will save you some money.

Be sure to hop on over to the website and check out the new releases
as well as the Deal of the Week and On Sale! categories.

Now, let's see what our amazing Design Team has created to inspire 
you this week.  We're starting things off with Diane.

Hello my Ai Watercolor friends, welcome to another Watercolor Weekend! I am so excited to be sharing with you a tri-fold card using a stamp from the brand new Scenic Foundations release!  Bonnie really knocked it out of the park with these new Scenic Foundations stamps. She has taken all the guesswork out of creating a scene – and there are so many fun scenes to choose from! Today I am using set 5746 – SF Village. I just love this little village scene, especially the shop and signboard. I chose to make mine a hair salon.
 

To begin, I inked the scenic foundations stamp in 969/565 and stamped off before stamping onto my Canson XL Watercolor Paper. I pulled out the color from the lines of the stamped images with a damp brush to soften and add shadows, using a #4 brush in larger areas and #1 brush in smaller areas. Next I brushed in a bit of sky using a watery mix of 526. Using a pencil, I lightly sketched in a few lines for the hills in the background between the buildings and painted the hills with 249. Next I stamped in all the flowers and foliage. For the tall thin bush in the pot to the left of the orange building, I inked just the top of the salvia stamp from 4052 – Flower Set in 177 and softened and pulled out the color with a damp brush. For the trailing vines in the pots and window boxes I inked just the tip of the larger mini leaves stamp from 5372 WC Mini Foliage. Next I added flowers by inking the tiny dots from 5009 – WC Mini Flower Set in 856/993/565. Using a damp brush I softened the flowers and foliage. I used the bullet tip of each flower color to dot in a bit of detail to the flowers. With a light mix of 565/969 I added shadows and contours to the pots and came back in with a little more 565. I also used this same mix for the chimneys. For the roof tops and overhang above the door, I used 969 and a little 565 to darken the brown. For the signboard, I painted the frame in 977 and the chalkboard in N25. Details to the sign were added by using a very fine liner brush and Dr. Ph. Martin’s Bleed Proof White. For the cobblestone street, I lightly drew in random stone shapes with a pencil. I painted around the cobblestones with a wash of 969 and added a bit of color to the stones with 565 and 969. For the blue building, I used 526 for the front trim, awning, and door. For the shadowed side of the building I used a mix of 526 and 565. For the orange building, I used 912 for the main building areas and a mix of 912 and 993 for the trim and flower box. For the green building, I used 177 for the main building areas and a 177/249 for the shadowed areas, trim and the door. All of the window panes were painted with 565. I added shadows under the awning and overhang with 565. With a very fine (.05) black micron pen, I added details to the hanging sign and door handle on the green door. I also added in details on the roof tops, cobblestones, and signboard frame with a brown TwinTone.


To learn how to make a tri-fold window card, Jennifer McGuire has a fantastic video tutorial found HERE.  For the tri-fold card, I cut out a rectangle slightly smaller than the window die (5543 – Journal Template Die Set) from the card front, using a rectangle die. Next I glued two white die cut window frames over the opening on the front and back of the card front. I die cut the village scene painting using the rectangle die from 5543 and matted with black cardstock. The painting was then adhered to the inside flap. In the center of the card, I added a white cardstock panel for writing a note. I used the flag banner from 5543 to die cut the sentiment on the front of the card.

 How fun was that? I absolutely love the new Scenic Foundations stamps, but this village set just might be my favorite. There are just so many ways you can change up this scene to match your needs. As always, if you paint this scene, please be sure to tag us on social media. We love to see your work! Until next time, Happy Painting!


We also have a bonus card from Diane because she's loving the new releases so much!
5744 – SF Picket Fence


Next up we have Tricia who also has two cards for you.

Hello Watercolor Fans, can you believe it is May already?  The new stamps are out and I can’t wait to start creating with them.  I decided to do a simple glass vase bouquet this weekend.  I used just 3 stamps, two from the original foliage and flowers sets.


To start off, I inked the bottom of the vase (you can use any of the containers to do this, I love doing this with the mini containers), with light blue and stamped it off, you really want the line to be barely there so it looks like glass.  Before adding more color, I like to stamp in my foliage along the top of the vase, try not to go too high.  I used the original vine inked with green.  Next, I moved onto the daisy bunch from the original flower set, inked with 606 and the long stem inked with 725. 

Once that was all stamped, I added water to all the foliage and then the flowers.  I then moved along to the vase.  I added a small amount of clear water to the vase,  then dropped in some light color blue color along the sides so it bleeds toward the middle.  I also added some green for the stems.

Lastly, I added a small amount of brown beneath the vase and lightly into the vase as there would be a reflection.  I signed and dated it.  

 For the card, I added my painting, cut out with my rectangle die, to a mat made with Gina K Designs card stock.  I added that to my white card base.  Using my MISTI, I added the sentiments with Gina K Design black ink.
 

Thank you so much for spending time with us today, we can’t wait to see what incredible creations you are doing.  I hope you have a crafty day!


Lastly, we have a gorgeous scene from Karen who is battling a broken finger on her painting hand and she STILL managed to create this little masterpiece!

Hello Ai Watercolour fans!

I'm sharing one of the new Scenic Foundations sets that was released this week.  Here is 5745 Stone Bridge:


I coloured the entire image (it's all one stamp!) in Tombow #969/565 and stamped onto my Canson XL Watercolour paper.  Since the image is rectangular, but not defined by an outside line, I used a pencil to sketch in the outer rectangle shape so that I knew where to confine my painting.  After pulling out the colour with a damp brush, I began painting the house, layering # 992/977 on the roof, bench and pathway, adding extra layers of colour on the shadier areas.  I decided that my house would be white, so added layers of 565 to create the shaded sides, keeping the brighter sides pure white, and I used it to paint in the windows, and add shadows under the roof lines.  I used tones of warm and cool grays N65 and N57 to paint the chimney and stone bridge in a bit of a mottled fashion, keeping the darker tones to the lower side of each stone, which would be more shadowed.  565 was added in for extra shading, and used to paint the under side of the bridge.  


With the small dot flowers and greenery sprig from 5009 - WC Mini Flower Set, I added the garden around the house, using 565/993/177, and used 993 to paint the bench.  The house needed a pop of colour, so layers of #856 gave me a red door, which becomes the focal point of the scene.  I used #177 to paint the faraway hill, and #126 the closer grass, and used both colours along with the foliage stamp from 5372 - WC Mini Foliage to create the leaves on the tree.  A light wash of #493 was painted in the sky, leaving white areas that became clouds, and a darker wash created the stream.  I erased the lines defining my rectangle, matted my scene on some green cardstock and adhered it to the pretty plaid from the 5606 - Harvest Journal PP.  I cut out two of the Spring die from 5719 - FB Fence and Journal Set in a lighter green cardstock, and adhered it to the bottom of my scene.


We hope you enjoyed all of these amazing cards from the Design Team.
We'll leave you with the beautiful paintings Bonnie created with her latest releases.

Happy Watercolor Weekend everyone!


Saturday, October 29, 2022

Kim's Floral Journal

 Hello Ai fans!

By now we're sure you've heard about Kim's EXCLUSIVE WC Floral Journal!

We're sharing the photos of the pages she made in her class.  It began as an in person class but the response from people who couldn't attend was so overwhelming that she created a video tutorial for purchase.


Here's a list of supplies you will need and what's provided in your exclusive kit.

There's also a gorgeous exclusive bird set included in the kit!

#5708 Birds of a Feather Set


Here are the pages that are created in Kim's tutorial.


You are invited to the Inlinkz link party!

Click here to enter

Saturday, April 7, 2018

WC Wishing Well by Sharon Caudle

Hello AI Fans!!

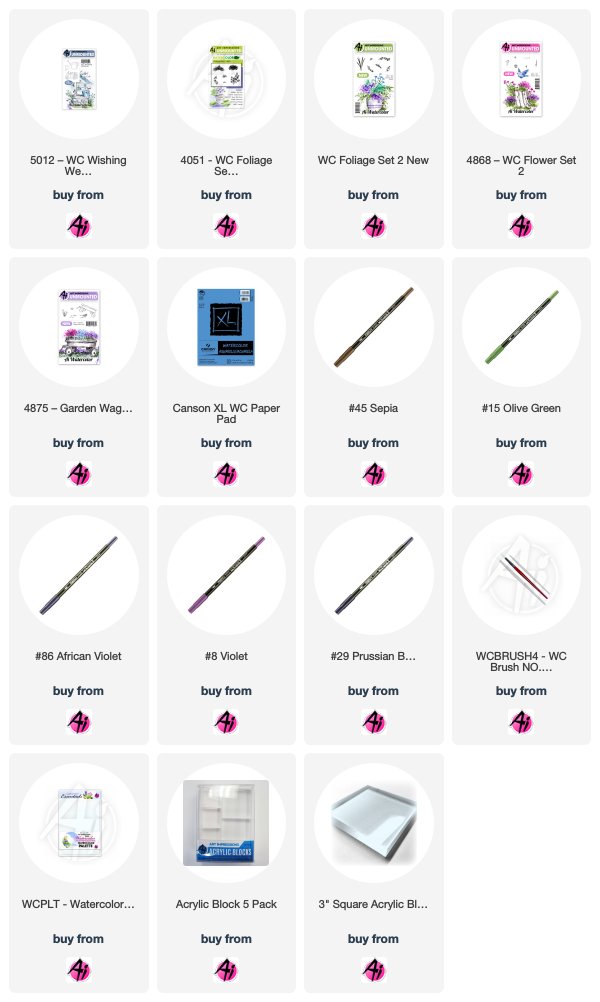
Today's card is one that I will be teaching in class on Monday at Scrapbook Paradise!  I used the beautiful 5012 WC Wishing Well Mini Set, along with the tiny grass from 4051 WC Foliage Set 1,  a branch from 4867 WC Foliage Set 2,  flower from 4868 WC Flower Set 2, And grass from 4875 Garden Wagon Mini Set.  If you haven't been keeping up with Bonnie and her tutorial videos, you really need to tune in every Wednesday! She has wicked talent and shares every little tidbit with us so we can make beautiful watercolor cards! 


Thanks so much for stopping by to visit today and until next time - stay crafty!!

Marvy Markers used:
#45 Sepia, #29 Prussian Blue, #8 Violet, #15 Olive Green, #86 African Violet, #80 Victorian Rose