Showing posts with label Cheers to You. Show all posts

Saturday, November 3, 2018

Tis the Season by Sharon Caudle

Hi AI Fans!!

So tell me, have you started making your Christmas cards yet?  I am now in full swing trying to get them done so I can mail early! Today's card features #4664 Cheers to You. Doesn't she look fabulous all decked out for the holidays??  I used a sentiment from #5040 Sleigh Bells Set. stamped onto a piece cut out using #5064 Circle Double Stitched Dies.


Thanks so much for stopping by for a visit today and until next time, stay crafty!!


Copics used:
E000, E00, E04, E11, E21, E23, E33, E53, E57
R20, R22, R24, R27, E35, E37
Y35, Y38
C3, C4, C5, C6
T1, T2
G82, G85, G94
B000
Blender


Wednesday, December 13, 2017

Christmas Duo by Dana Warren

Hello AI fans!!

I can't believe its the middle of December already and Christmas is almost here!! Today I have the last 2 Christmas cards to share with you this year. I used
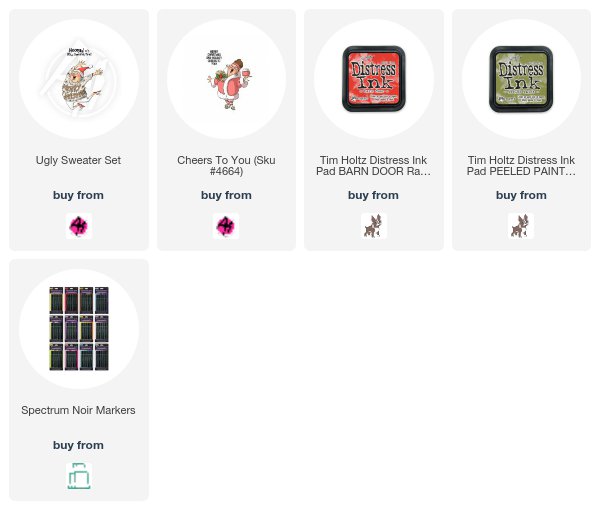
 Ugly Sweater and 
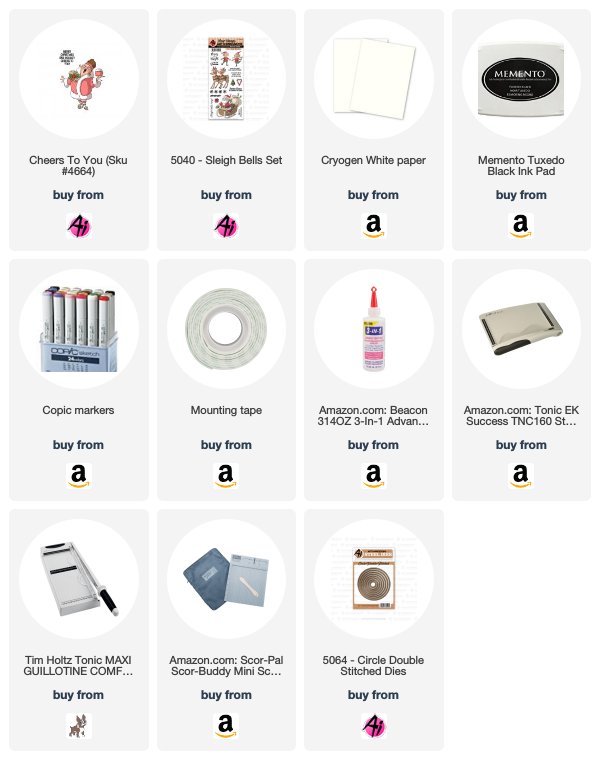
Cheers to You. These were the color at about the same time, so I decided to similar backgrounds with them by splitting up a watercolor panel and using some pattern papers!

First, I stamped the images and used my Spectrum Noir markers to color them up. I used AG1, AG3, AG5, CT1, CT4, DR4, DR6, DR7, IG2, IG4, RB1, RB2, RB4, Black. Then I used some basic circles to cut them out.

For the background, I cut a panel of watercolor cardstock and did some ink smooshing with Distress Ink, Barn Door & Peeled Paint. I also used some splatters of black from a black ink spray I happened to have on my desk!


While that dried I stamped the sentiments for each card, one on a small die cut circle. The other from a strip of cardstock that I notched one end. 

When the watercolor panel was dry I cut it in half, but at an angle. That way each card gets half a watercolor panel. I added some pattern paper to the other half of each card, each one getting their own pattern.

The pattern paper was added directly to each card base and the watercolor half was added with foam tape. Last, I just added each stamped circle and the matching sentiment!


Thanks so much for stopping by!!! Happy Stamping and Happy Holidays!!


Monday, December 12, 2016

Cheers to You by Kerry

Hello Ai friends and happy Monday!
Since Christmas is fast approaching, I figured it would be fun to spread some holiday cheers using the special diva from the Cheers to You set!  Is she just fabulous?


Copic markers used:
E11, E15, E17, G05, G09, G28, R22, R24, R27, R83, W0, W2, W4, W6, Y11, Y13, Y15, Y28, YR24, 110 


Tuesday, December 15, 2015

Cheers To You by Karen Day

Hello Ai fans!
Well, people are certainly getting in the holiday spirit around here this week, with Christmas just days away!  So I have the perfect holiday card for you today, in some non-traditional colours.  Here is the fun gal from the Cheers to You set (Sku #4664):
 Isn't she festive??  She was fun to colour, and would look great in a more traditional colour combo, too.  Now I have a bonus card to share - with the holidays fast approaching, I won't have time to share many more cards, and I really loved how these little guys turned out.  Here is the snowman trio from the Holly Jolly Set (Sku #4667):
 I'll be back next Tuesday to give you my "Top Five cards from 2015".
Copics used on Cheers to You: E11, E00, E000, R35, R20, RV18, RV15, RV13, RV11, YG03, YG01, Y38, Y35, Y32, E53, E51, E50, B02, B00, B000, B0000, C1, Y26, Y23
Copics used on Holly Jolly: W7, W5, W3, W1, R59, R35, R32, R30, Y26, Y23, Y21, E57, E55, E53, E51, G46, G43, G41, B28, B24, B23, B21, YR18, YR15


Wednesday, December 9, 2015

Holiday Cheers to You by Dana Warren

Hello AI friends!!

Dana here with a card featuring one of the new Christmas 2015 stamp sets, Cheers to You. Who doesn't love some wine with their Christmas outfit!


I started by stamping the sassy Christmas lady on some watercolor paper. Then i used my distress markers to color her. ( I just love her jingle bell earrings!!) Next i trimmed off the top part of the panel, fussy cutting around the Christmas lady.


Then i stamped the sentiment next to her. I set aside the panel to get the rest of the card ready! From some flowery Christmas paper i die cut a stitched rectangle, i added this to a white card base.


Next i cut a stitched black oval and added it to my card base where my Christmas Lady will be, other white she gets lots against the pattern paper. I added the Lady to the card with foam tape and last i added a few sequins across the card.

Thanks so much for stopping by!! Happy Stamping!!


Friday, November 20, 2015

Cheers!

Hello Ai Fans!
Who doesn't love a good glass of wine? This set from Art Impressions is called "Cheers To You" (#4664) and is super cute. I love that you get a stamp and matching sentiment! This adorable Gal makes a perfect wine tag to add to a Hostess gift when visiting over the Holidays! I made a matching card to go with it as well. I do apologize for the darker photos, I had a really hard time trying to photograph this and get the right lighting.
 I decided to use paper from the Echo Park The Story Of Christmas 6x6 collection. I love the Poinsettia and its a die from My Favourite Things I've had for a few years now. I added Yellow Stickles to the flower middle and Crystal Stickles to the fur on her coat.


The tag was simple to make. I cut a piece of 7 3/4" x 2 3/4" cardstock and scored it at the 2 1/2" mark. From there I cut a hole in the small section to slip over the bottle neck. Then just decorate it however you see fit.
I tried a different skin colour for a change. I got the idea from a suggested site called The Human Rainbow by the talented Sandy Allnock. I actually printed off the page and coloured all the faces up. It was a really interesting "lesson" and used colour combinations I had never thought of!
Copics Used:
Skin: E11, E33, V15 / cheeks R22
Hair: E44, E47, E49
Reds: R35, R37, R39
Greens: G24, G28
Golds: Y23, Y26, Y28
Shoes: W3, W5, W7
I bought this paper collection fro Pebbles called Winter Wonderland and have been dying to use it so I decided to make a fun version of the "Cheers To You" set. The colours are so bright and fun and very non-traditional for Christmas!
This time I put the sentiment that comes with the set on the inside of my card.
The last fun detail for this card was to add Flower Soft in the colour Peony Pink to the fur on her coat! I love how it turned out!

Thanks for sticking it out for my long post today LOL! 
Happy Friday!
Supplies: