Showing posts with label Distress Marker. Show all posts

Wednesday, March 21, 2018

Pots & Buckets by Dana Warren

Hello AI fans!!

It's still cold where I live and there is even snow in the forecast, but I'm ready for spring!! Creating for spring helps to know that eventually, spring has to arrive for real!! 


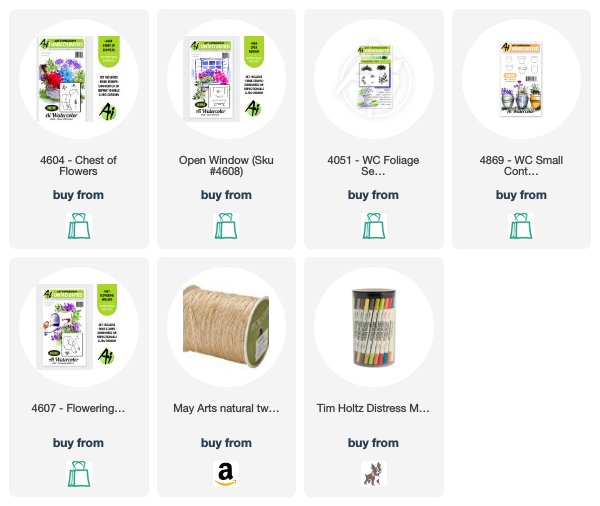
I started with the different pots and then added in the flowers and foliage. I used the following Watercolor sets: Small Container, Foliage Set 1, Flowering Mailbox, Open Window, Chest of Flowers.


Along with the stamps I used many Distress Markers. I used: Peeled Paint, Worn Lipstick, Mowed Lawn, Mermaid Lagoon, Picked Raspberry, Twisted Citron, Fossilized Amber, Gathered Twigs, Shaded Lilac, Pumice Stone, Rusty Hinge, Forest Moss, Hickory Smoke, Vintage Photo, Ground Espresso, Victorian Velvet. These markers are nice as one end has a brush and the other a fine point. To add detail and or make darker shadows, I went in with the fine point.


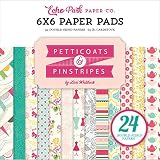
After everything was dry, I trimmed my panel and rounded the corners. Then I wrapped some twine around the panel and tied it in a bow off to one side. I picked out some pattern paper from Echo Park paper Co Petticoats and Pinstripes pad. The watercolor panel went on the pattern paper and then I adhered that to a white card base. I decided to leave off a sentiment, instead, one can be added to the inside to fit the occasion the card is needed for!

Thanks for stopping by! Happy Stamping!!


Wednesday, December 13, 2017

Christmas Duo by Dana Warren

Hello AI fans!!

I can't believe its the middle of December already and Christmas is almost here!! Today I have the last 2 Christmas cards to share with you this year. I used Ugly Sweater and Cheers to You. These were the color at about the same time, so I decided to similar backgrounds with them by splitting up a watercolor panel and using some pattern papers!

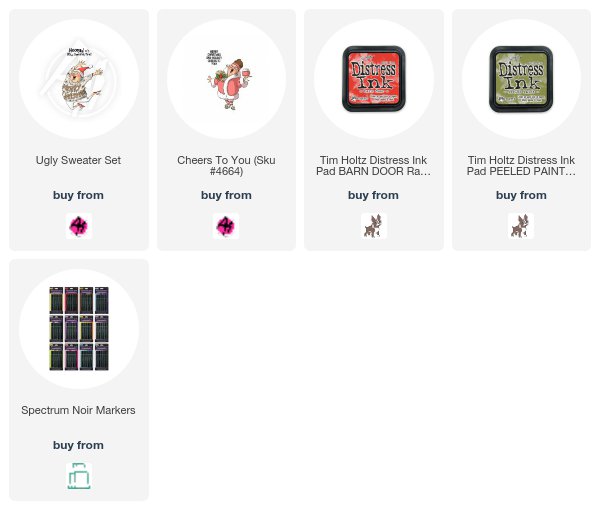
First, I stamped the images and used my Spectrum Noir markers to color them up. I used AG1, AG3, AG5, CT1, CT4, DR4, DR6, DR7, IG2, IG4, RB1, RB2, RB4, Black. Then I used some basic circles to cut them out.

For the background, I cut a panel of watercolor cardstock and did some ink smooshing with Distress Ink, Barn Door & Peeled Paint. I also used some splatters of black from a black ink spray I happened to have on my desk!


While that dried I stamped the sentiments for each card, one on a small die cut circle. The other from a strip of cardstock that I notched one end. 

When the watercolor panel was dry I cut it in half, but at an angle. That way each card gets half a watercolor panel. I added some pattern paper to the other half of each card, each one getting their own pattern.

The pattern paper was added directly to each card base and the watercolor half was added with foam tape. Last, I just added each stamped circle and the matching sentiment!


Thanks so much for stopping by!!! Happy Stamping and Happy Holidays!!


Wednesday, October 11, 2017

Oh Sing by Dana Warren

Hello AI fans!! 

My card today features the Oh Sing Window and the 3D Frame die! If you are a fan of the Windows to the World stamps you have to have the 3D frame die!! And even if you are not, it can be used with any stamp for decor or given as a gift!! 

Dana Warren - Kraft Paper Stamps - Art Impressions
I started by stamping the Oh Sing Window on watercolor card stock. Then I used the following Distress Markers to color it: Evergreen Bough, Peacock Feathers, Mowed Lawn, Squeezed Lemonade, Carved Pumpkin, Vintage Photo, Tumbled Glass.

Dana Warren - Kraft Paper Stamps - Art Impressions

Next, I pulled out some double sided pattern paper and cut it the 3D frame. Then I trimmed my colored image so it would fit inside the square the frame makes. With a little folding and tucking, I created the frame around the opening. 

Dana Warren - Kraft Paper Stamps - Art Impressions
With adhesive, I made sure the tabs would stay in place. Then I just adhered frame over the colored image. Last I just adhered the stand so my frame would stand up. Super easy to make some decor and a little gift for a friend!

Thanks for stopping by!! Happy Stamping!!


Wednesday, July 12, 2017

Beauty is All Around You by Dana Warren

Hello AI fans!!

Are you a fan of Art Impressions Watercolor Stamps?? Today, I have a noncard idea!! Use your stamps to create some wall decor with an embroidery hoop!! It's super easy!!


I started with watercolor card stock and the following AI stamps: WC Sentiments, WC Cats, WC Small Containers, WC Flower. To color the stamps I used Distress Markers. I lost my list of markers I used, but you can see the colors I used in the photo and can customize them to fit your decor!

When I was stamping the cat and container I used AI's stamp positioner. As I stamped the images I would also scribble the marker ink on the palette, using a paintbrush and watercolor to add color and details. 


Once everything was dry I placed the inside hoop around the image and lightly traced around the outside of it. Along with this line, I used a bone folder to crease a circle. It's not going to perfect as it's hard to crease in a circle!!! I worked the paper to bend the cardstock at the crease, all the way around the circle. 


Next, I cut the paper around the circle leaving about 1/4 between the crease and edge. Then I made cuts all around the circle stopping at the crease. I added double sided tape to the outside of the inside hoop circle. I centered the image on top the hoop and pressed the tabs I cut onto the tape, working my way around the hoop, but also making sure the image stays centered in on the hoop. Last, I added the top hoop, tightening the screw at the top. 

Now you have a pretty handmade decor to add to your wall or give as a gift!!

Thanks for stopping by!! Happy stamping & watercoloring!!


Wednesday, May 24, 2017

Watercoloring with Distress Markers by Dana Warren

Hello AI fans!!

Dana, here with a with a card featuring the Watercolor Clay Pot set. I used my Distress Markers to color the images. I want a more spring-like feel so I used pinks as my main color!

I started by coloring the pot with a distress marker and stamping it on watercolor paper. I used some water and a paint brush, along with many other markers to color the pot. With the foliage I did the same thing, adding details and shading until I was happy with the image. The Distress Markers I used where: Weathered Wood, Festive Berries, Forest Moss, Vintage Photo, Fired Brick, Aged Mahogany, Worn Lipstick. 


Next, I used Papertrey Ink's Half & Half die to cut out the image. I found some pattern paper from Echo Park Paper that matched the colors I used and added one pattern to the card base and strip of another pattern in the middle.


I added the image the card with foam tape, trimming off the extra at the top. Then I scattered some matching sequins across the card. I decided to go without a sentiment for the front when a card is needed I can stamp a sentiment on the inside.

Thanks so much for stopping by! Happy Stamping!!


Wednesday, May 10, 2017

Happy Mother's Day by Dana Warren

Hello AI fans!!

Dana here with quick little Mother's Day card!! If you haven't yet made one, this might be the thing for you!! I used the FDMD Set, perfect to have on hand for your Mother's Day AND Father's Day cards!! 
I started with a watercolor panel that was a little bit smaller than 4 inches. Then I used the leafy stamp from the WC Foliage Set 1 along with the Distress Marker Forest Moss. I would color the stamp with the marker, then stamp along the panel. Stamp several at a time, then add a little bit of water with a paintbrush. I did this all the way around the square panel. 


Next, I used the flower cluster from the Flowering Mailbox set to stamp pink flowers all around the panel. I did it the same way I did the leaves, only with Picked Raspberry and Spun Sugar. You can customize by using any leaf and flower stamp you want. And any watercoloring marker will work too!
I stamped the Mother's Day sentiment in the middle of the square panel. Then I used a little bit of Picked Raspberry and water to color the hearts. I added a few sequins to the panel and then added it to some light pattern paper and a card base.

Thanks for stopping by!! I hope all the Mom's (and Dad's who are the moms!) have a great Mother's Day!!