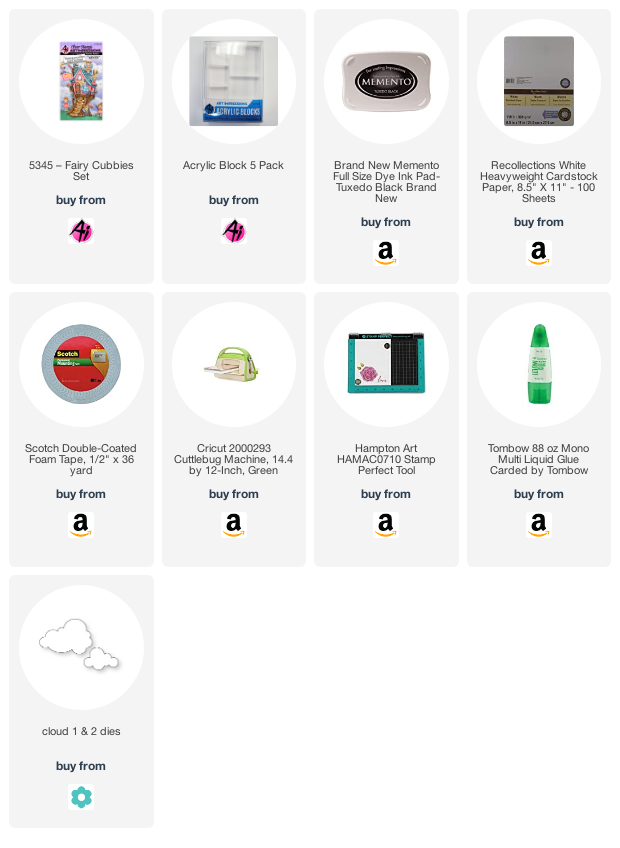
Showing posts with label Cloudy with a Chance of...Challenge. Show all posts

Sunday, August 15, 2021

Cloudy with a Chance...of Fairies! by Reneé Matarese

Hello Ai fans!


Today I'm sharing my card for the Art Impressions Cloudy with a Chance... challenge!


This is a fun fold to use and is SO easy to make. 
My pink base is 11 1/2" x 3 7/16"


Each of the floral panels inside is cut to 5 1/4" x 3 1/4".
The pink strip that holds the 4 little panels is 11 1/2" x 3/4".


Each of the 4 pink panels is 2 1/2" x 2 1/2" and 
the floral squares are 2 5/16th x 2 5/16".


I cut the fairy tree in half and put the top on the front and the bottom inside my card.


I wanted it to look like the tree was growing and peeking up through the clouds.


Did you notice how the door opens and closes for the adorable little fairy to peek out of?


This is what it looks like from above.


Aren't these fairies the cutest?


I used crystal Stickles on all of their wings for that little extra something.


Copics used:
E000, E31, E35, E95, YG93, 
W1, W4, RV00, RV63


Friday, August 13, 2021

Hoppy Birthday Card by Tasha

 Happy Friday Ai Fans!

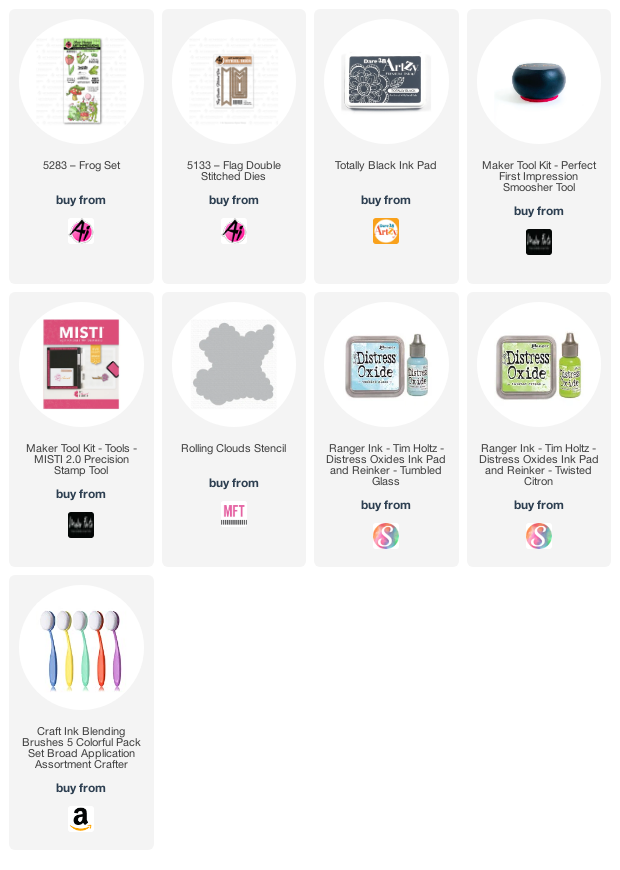
Tasha here sharing a fun new birthday card created with the Frog Set!


The card was inspired by this week's challenge and I love how relaxed this little froggy looks! I layered a cloud and grass stencil within a spotlight stencil to make a little scene. I think having a bright white background really allows the cool shape and bright colors to pop!


The frog was stamped with black ink and colored with Copic Markers. I cut the image out and layered him on to the card with foam tape. I like that the clouds look far away since the frog is raised up; he is just so cute!

Lastly, I embossed "Hoppy Birthday" with white powder and cut a simple banner with the Flag Double Stitched Die Set. I added a layer of teal card stock to coordinate with the clouds and a piece of plaid pattern paper. This card is a great design to give to any one and it could also be used for a Father's Day card!


Thank you so much for checking out my card and I hope you enjoyed the project! Also, be sure to enter the Cloudy with a Chance of... Challenge!


Thursday, August 12, 2021

Cloudy with a Chance...challenge week 2!

 Hello Ai fans!

We are beginning week 2 of our Cloudy with a Chance... challenge!

Bri kicked off the challenge last week.
Today we're taking our inspiration from Bri and the rest of the Design Team!


Crystal used 5186 – Enjoy the Ride Set


Tasha used 5283 – Frog Set.


Bri used Paws to Love Mini Tryfold 

Bri also made a card for our feature last week using 5398 – Sheep Set


Now for our new challenge...
We want to see your crafty creations using clouds!
This could mean cloud stamps, dies, stencils, embossed,
cloud thought bubbles, designer paper...surprise us!
If it has clouds, it counts!

Here are the Challenge Rules...
✻ Please make a new card or creation. You can make any crafty item you wish; this is not limited to cards!
✻ Limit two submissions per person. You will receive extra votes if you use Art Impressions stamps!
✻ The Ai Challenge is open to everyone, international submissions are welcome!
✻ Include a link back to the Ai Blog or grab our button on the top right of our sidebar!
✻ Share the Ai love if you can by clicking and commenting your fellow crafters.
✻ Make sure to get your link up by the deadline to enter your creations.
✻ Good luck and happy stamping!


You are invited to the Inlinkz link party!

Click here to enter

Saturday, August 7, 2021

Cloudy With a Chance of...Cheery Umbrellas! by Janet Axtman


Today I have a card using a variety of techniques and Art Impressions products to create this fun Windows to the World Scene. I am playing along with the current AI challenge on the blog. The challenge is to make anything with clouds on it. 

The stamp set with all the colorful umbrellas is from the Windows to the World series called Walking in the Rain. I colored it with Tombow Dual Brush Markers and a damp brush. 

After finishing the image, I worked on the card panel. I cut a 4 1/2" square piece of white metallic cardstock and used a cloud stencil and Distress Oxide inks in Tumbled Glass and Chipped Sapphire. I layered the colors together so they were darkest at the bottom as if they were heavy with rain. I added dragonfly brads on the panel because they harbor good luck in my life and they matched my color scheme. 

The 3D window was created by using the Shadow Box Window Die Set. The dies cut the square for the window, a pretty window frame, a perfect little flower box and the shadow box piece to put behind the window. I love how this set makes the Windows to the World stamp set even more interesting.

The flowers for the box were stamped with the leaf spray in the Foliage Set #4051 with Tombow markers. I added blue, red and yellow dots to represent flowers. I smudged everything up a little with a damp brush. After stamping them, I fussy cut them out so they could be placed on top of the flower box.

I glued my colored umbrella image to the shadow box piece. Before I attached it to the card panel, I added some blue teardrop bling to represent rain drops. I also put some on the front of the card panel.

I mounted the finished white panel and shadow box on a dark blue metallic cardstock measuring 4 3/4" square. Finally I mounted both panels to a 5 1/2" square top fold card base in the same metallic white cardstock as the main panel. 

One thing to point out is that the shadow box piece does need room to pop behind the front of the card so I cut a square that was larger than the shadow box piece in the center of each layered panel and the base card before putting them together using the Double Stitched Square die set. This makes plenty of room for the shadowbox to pop out behind the window die cut when displayed.

Hope you enjoy this little rainy day card. What kind of card will you make for the challenge featuring clouds? I can't wait to see them! 

Happy Creating!

Janet YouTube - Blog - Facebook - Instagram - Pinterest