Showing posts with label embossing. Show all posts

Friday, June 30, 2023

Happy YOU Day Card by Tasha!

 Happy Friday Ai Fans!

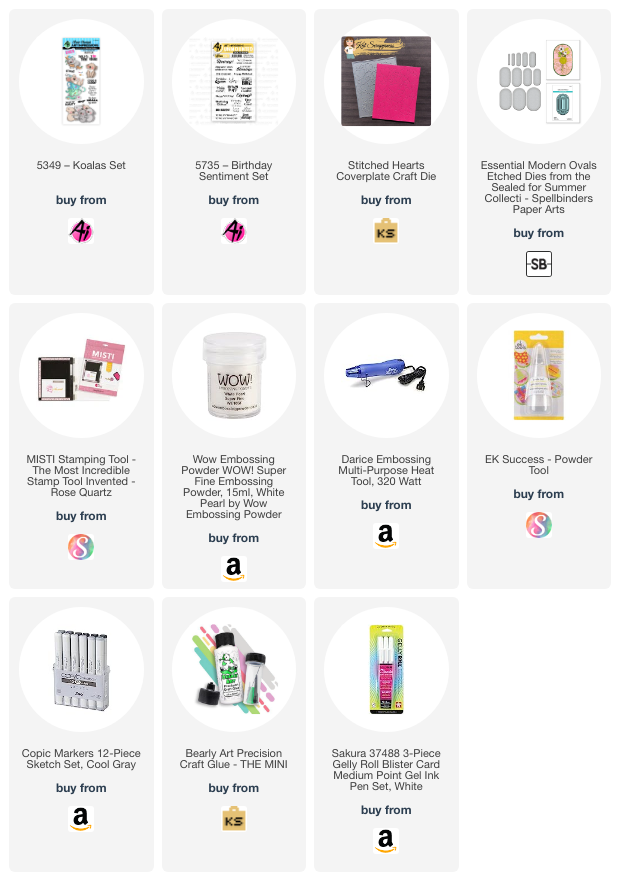
Tasha here sharing a new birthday card created with the 5349 - Koala Set and 5735 - Birthday Sentiment Set. This card was inspired by the Ai Emboss like a BOSS Challenge and I love the way white embossing looks on colored paper!


The sweet koala was stamped with black hybrid ink and colored with markers. I think this image looks so cute with the tea cups and streamers, and how happy is this koala bear!!! For the sentiment, I embossed "Happy YOU Day!" on to purple paper. The white letters pop against the pretty purple background!


Lastly, I added a multi-colored background paper that was cut with a heart coverplate die, and layers of silver paper. I also added white gel accents and a metallic purple paper layer to complete the design. 


Thank you for checking out today's card and I hope you all have a Happy 4th of July Weekend!


Friday, August 13, 2021

Hoppy Birthday Card by Tasha

 Happy Friday Ai Fans!

Tasha here sharing a fun new birthday card created with the Frog Set!


The card was inspired by this week's challenge and I love how relaxed this little froggy looks! I layered a cloud and grass stencil within a spotlight stencil to make a little scene. I think having a bright white background really allows the cool shape and bright colors to pop!


The frog was stamped with black ink and colored with Copic Markers. I cut the image out and layered him on to the card with foam tape. I like that the clouds look far away since the frog is raised up; he is just so cute!

Lastly, I embossed "Hoppy Birthday" with white powder and cut a simple banner with the Flag Double Stitched Die Set. I added a layer of teal card stock to coordinate with the clouds and a piece of plaid pattern paper. This card is a great design to give to any one and it could also be used for a Father's Day card!


Thank you so much for checking out my card and I hope you enjoyed the project! Also, be sure to enter the Cloudy with a Chance of... Challenge!


Friday, April 23, 2021

I Wool Always Love You!

 Happy Friday Ai Fans!

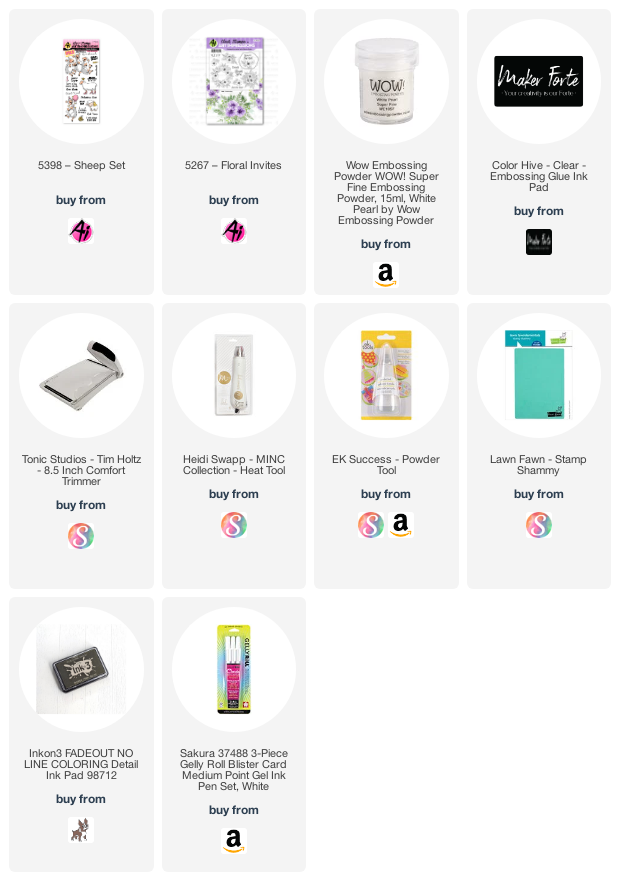
Tasha here sharing a card created with the new Funny Farm Sheep Set!


I wanted the lamb to be surrounded by flowers and the pretty wreath from the Floral Invites set worked perfectly! The sweet lamb looks so happy, doesn't it just make you smile!


To give a watercolor appearance, I stamped with Inkon3 Fadeout Ink and colored with Copic Markers. This is a fun technique that really gives your stamped images a different look. 


The sentiment was embossed with white on deep orange cardstock and I used gold glitter paper to add sparkle. I also used the same orange and gold glitter paper for the card layers before attaching it to an A2 sized card base.


Thank you for stopping by today and I hope you enjoyed a peek at the new Sheep Set!

Have a wonderful day!


Friday, June 5, 2020

Frogs and Greenery Wreath | By Jessica Shier

Hello Ai fans!
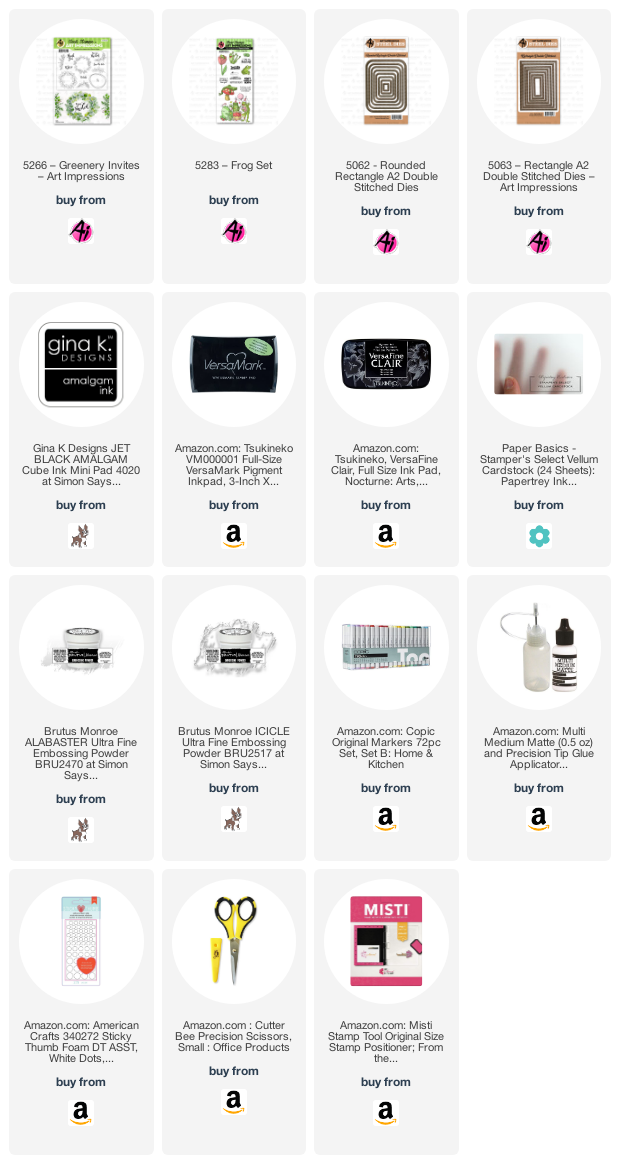
It's Jessica on the blog today and I have a cute little mash up card design using the Greenery Invites and Frog stamp sets. If you haven't checked out the new challenge for this week head on over and see what Niccole created. The challenge prompt is animals and nature, I hope this card gives you some inspiration to participate in the challenge!


These stamps do not come with dies so I did fussy cut everything. It really didn't take long! I stamped the frogs and greenery wreath on to Neenah 80lb Solar White card stock. I used Copic markers to color these images in. The Copic list is down below. 


After fussy cutting my images I also did some embossing with embossing powder. I used clear embossing powder on the corner foliage after die cutting a piece of blue card stock with the second to largest Rounded Rectangle die. I also used clear embossing powder on the fly. This time stamping that image onto vellum with Versafine Clair Nocturne ink and then embossing. The last thing I embossed was the sentiment, no surprise I used white embossing powder on black card stock. 


For the inside I used the "thank you" sentiment ( I love the font ) and the circle scribble from the Greenery invites. I also stamped the little fly form the Frog set again. I love how this turned out and I had a blast using both of these fun stamp sets together.


Thank you so much for joining me today! Happy Stamping. 


Friday, September 6, 2019

Fright Night Anything Ghost! | By Jessica Shier

Hello Ai Fans!
I can't get enough of this Fright Night set. I just had to make another scene card, this time I'm using these fun loving, partying ghosts!


I started this design by stamping the ghosts and pumpkin on to a piece of Neenah 80lb Solar White card stock. I used Gina K Amalgam ink in Jet Black to stamp these guys. Aren't they so fun!? Plus ghosts are super easy to color! I used just a few gray Copic markers, colors listed below, to color the ghosts bodies. Adding in some yellow highlights as a reflection of the light coming from the jack-o-lantern. This stamp has the ghosts sitting on top of stumps and the pumpkin is a separate stamp. I brought the grass/ground coloring just past the edges to make the edges. Then I fussy cut the whole scene out and the pumpkin which I adhered on top. 


I layered this over a piece of Wolf Pack pattern paper which I die cut using the small double ended flag die from the Art Impressions Tag Double Stitch Die.  Both of those pieces are layered over a piece of navy cardstock and then I heat embossed the sentiment with white embossing powder. I added a piece of gray cardstock to a Neenah Solar White 110lb card base and attached everything to the top. 


Copic Markers Used:
W6, W3, W0
R39, R27
Y38, Y35, Y02, Y00
G46, G14, YG01
E77, E74, E31

Thank you for joining me today! 
Happy Stamping.


Thursday, March 21, 2019

NEVER Underestimate the Power of Being Properly Caffeinated.

Hi Ai fans! 

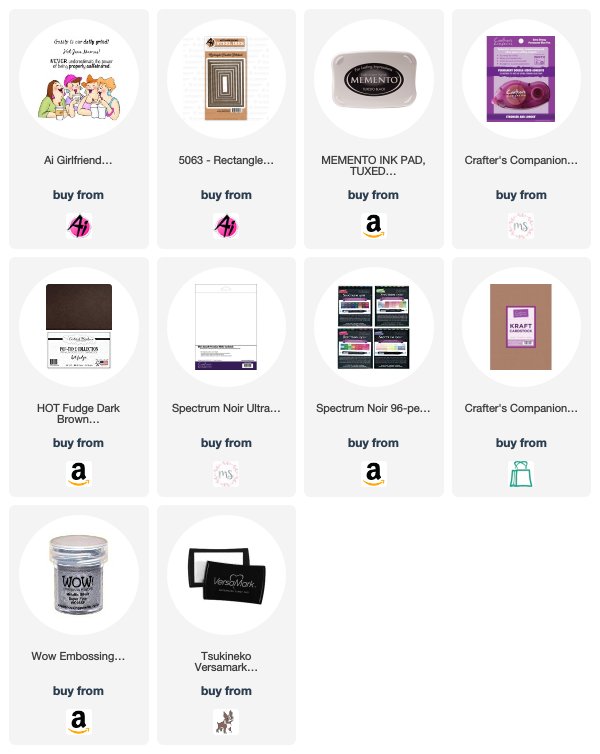
Nothing is better then a coffee date with friends! This week I played with the Girlfriend Blend set 4132


I started with stamping these fun ladies onto smooth cardstock using Memento black ink because I planned on coloring them in with alcohol markers. 


After I colored them in I fussy cut them out. I did use a white gel pen to add a little bit of detail to two of the ladies shirts. One shirt I added some fun polka dots and the other one some strips. I love to color any of the girlfriend images in with fun colors. 


When I'm not feeling very inspired on a lazy Saturday I enjoy playing with ink for backgrounds on future cards. I just save my backgrounds for cards to use in the future. After I fussy cut these ladies out I looked through my backgrounds and found this one I did with green ink onto Kraft cardstock I thought it went with them just perfectly. 

I stamped the sentiment on the bottom of the card with and heat embossed with silver embossing powder. 


Spectrum Noir Markers:
FS6, FS7, FS8, PP3, BGR1, BGR2, BGR3, BGR5, MB1, MB2, MB4, EB1, EB2, EB3, DR3, DG1, DG2, DG3, GY1, GY3, GY5, CR1, CR3, CR6

Happy Stamping! 


Friday, January 18, 2019

Miss You Pig Time By Jessica Shier

Today I'm making a couple of cards that could be used for Valentine's or just a hello to a friend who you haven't seen in a while. I thought that the Ham it up stamp set from Art Impressions would work perfectly for this and I was drawn to the flying pigs image. I do have a card process video down below if you would like to watch!


For these I was inspired by the look of a chalk board. So I attempted to create my own chalk board design with Distress Oxide Inks, white embossing powder and Prismacolor Pencils. 


For one card I used a Soft Navy cardstock from Simon Says Stamp and the other I used a Black cardstock. I left the coloring on the black cardstock a little more sketchy and not as blended. To start these I sketched out a city scape design on some masking paper and trimmed it out. I also stamped the pigs and heat embossed them then stamped the pigs one more time on another piece of masking paper and fussy cut that out.

I layed the mask for the pigs over top the embossed area and the city scape at the bottom of the cardstock. Then I started ink blending. I used Distress Oxide inks for this since they are a partly a pigment ink and will sit on top of the dark cardstock.

Once I had enough ink down I pulled the masks up to reveal the start of my design. Then I started coloring. Using light colored pencils (list below) I colored in the pigs then traced the buildings so that they had a definition. They navy cardstock I used the darker colors of pencils on the buildings to color them black. On the black cardstock I only added some white highlights.

I trimmed the panels down to 4in by 5 1/4in. The navy panel is cut diagonally and popped up with foam tape over top the mustard/floral pattern paper. I did the opposite for the black cardstock.


Prismacolor Pencils

Flying Pigs
PC938 White
PC1093 Seashell Pink
PC1018 Pink Rose
PC929 Pink
PC1077 Colourless

City Scape
PC938 White
PC1063 50% Gray
PC1067 90% Gray
PC935 Black
PC1077 Colourless Blender


Sunday, January 12, 2014

Val Set by Reneé Matarese

Hello Ai Fans!!

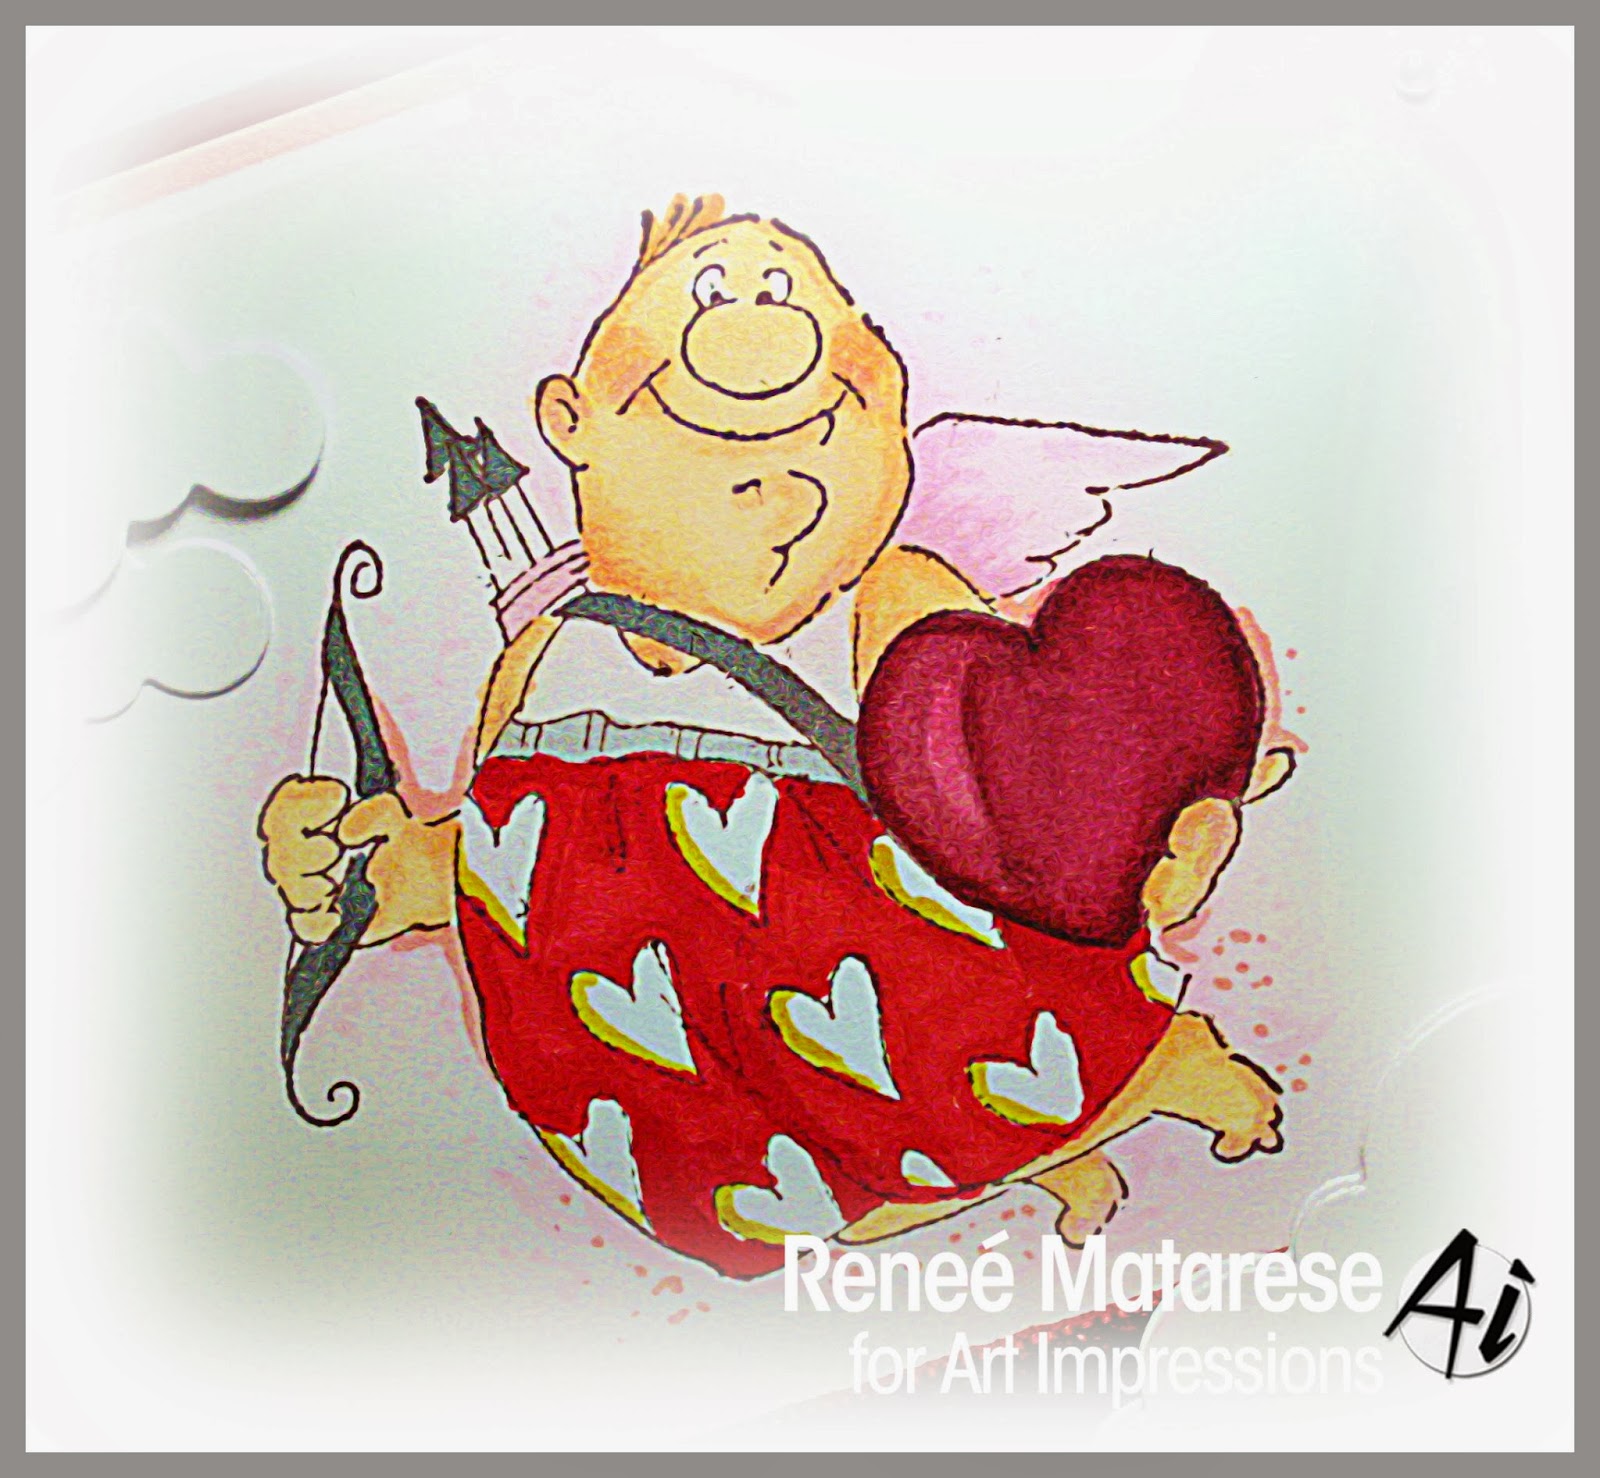
This is one of my favorite Valentine sets from Art Impressions!  This one's called Val Set (Sku#4214).


I love how fun and whimsical this guy is!


Art Impressions has some of the cutest Valentine sets there are!