Showing posts with label Slimline Double Stitched Dies. Show all posts

Tuesday, February 14, 2023

Love You Slimline Card by Nina


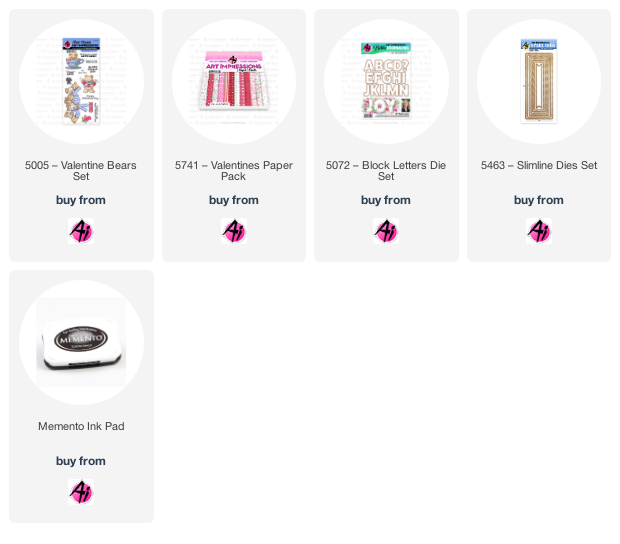
Hello Ai fans, Nina here with a Valentine’s Day themed card using Valentine’s Bears Set, Slimline Double Stitched Dies, Valentine’s Paper Pack and Block Letter Die Set.


As usual I started by stamping my images on Bristol Smooth White Paper using Memento Tuxedo Black Ink and my Mini Misti which I them colored later with my Copic Markers.

Copic Shades I used:

Reds: R59 R29

Browns: YR24 E99

Light Yellow: YR24 YR21

Pinks: RV12 R22

Grey: C1

I then used my scissors and cut all around the images and backed them with foam tape.

I cut slimline background using the Double Stitched Slimline Dies with my Big Shot die cutting machine.

To create the background I used a stencil from my stash and lightly blended light purple and light pink Distress ink shades to give a light color behind my vibrant colors of the bears. I used Shaded Lilac and Spun Sugar Distress Inks.

I used Block Letter Die Set to cut letter Y and U and glued them on the sides of the single bear for the whole card to read LOVE YOU, isn't it cute!

To ground my images and to give my little bears something to stand on, I cut a strip from the Valentines new release paper pack that’s full of fun colors and patterns perfect for Valentine’s cards. I glued the strip to the bottom of the card with tape runner.

I decorated all around the images with red and pink enamel dots and glued the whole panel to a slightly bigger red card stock.


Tuesday, March 1, 2022

Girls Road Trip Slimline Card by Nina

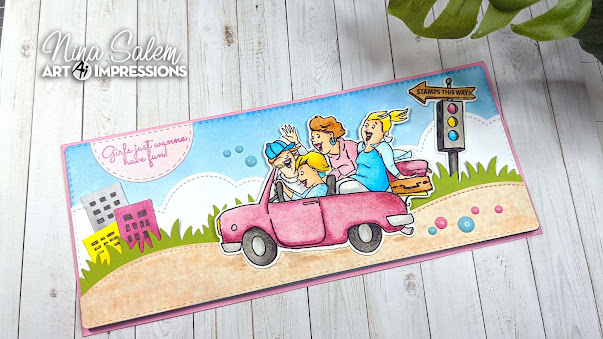
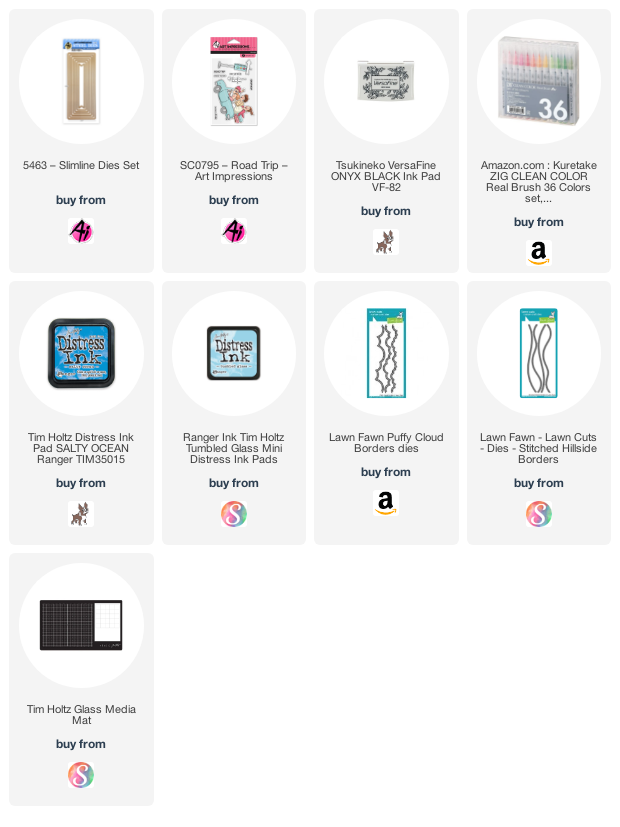
 Hi crafty friends, Nina here with a new fun slimline card. The beautiful Road Trip Stamp Set inspired me to create a slimline setting for these happy girls on thier way for a crafts shopping trip! 


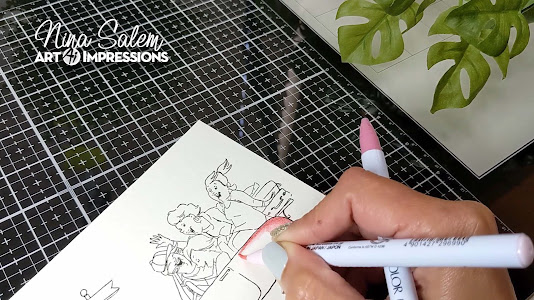
I stamped the girls image on Bristol smooth paper with watercolor friendly ink and colored it using my Zig Brush Markers. 


I then cut the background using the Double-Stitched Slimline Die Set and blended Salty Ocean and Tumbled Glass Distress Inks to create a sky in the background.


I added few more elements to complete my scene, some clouds, grassy border and hillside. I also cut scraps of papers and colored them with same markers to create some buildings.


Find below a step by step video tutorial on how I created this fun slimline card.


Tuesday, October 26, 2021

Slimline Snowman Christmas Card by Jil Lebel


Hello Ai fans!

I used the Christmas Slimline stamp set. It comes with the matching dies to make it very simple to cut out all of the images.  I also used the new Slimline Double Stitched Dies on this festive card. 
I started by stamping the images onto Spectrum Noir Ultra Smooth card stock with Gina K Black Amalgam ink and colored them with Copic markers.  The colors I used will be listed at the end of this post.  I then cut the images out with the matching dies that come in the set.
 I then cut the images out with Cutterbee scissors and set them aside.  I stamped the greeting onto a thin strip of white card stock using Versafine Clair Nocturne ink. 
To finish the card I used the new Slimline Double Stictched Die set.  I cut out a layer of burgundy card stock, white catd stock and a piece of patterned paper using the slimline dies.  I colored the white layer with my Distress Oxide Inks and the Ranger Mini Blending Tool.  I used the colors Tumbled Glass and Salty Ocean.  I cut out a snow bank from the Lawn Fawn Stitched Hillside Die set. I added the burgundy layer to a white slimline card. I then added the patterned paper to one card and the ink blended layer to another card.  I attached the snow bank along the bottom of the panel and added the snowman bird and bunny images to the card with foam tape. I added the greeting flat. I then added some White Blizzard Nuvo Glitter Drops to the main images. 
Copic Colors Used:
Blue 0 B02, B00, B0000
Snow - B000, B0000, 0
Pink - R85, R83, R81
Green - YG67, YG65, YG61
Brown - E74, E71, E70
Orange - YR14, Y15
Bunny - W3, W1, W0


Thanks for stopping by and Have a Great Day!