Hello Ai fans!
There was an amazing announcement yesterday on Bonnie's Facebook LIVE broadcast.
There's a new Gnome Bundle available!
(or these can all be purchased individually)
There are 6 new sets and a coordinating paper pad.
c5833 – 7pc Gnome Journal Bundle or separately here.
These are perfect for the 5543 – Journal Template Die Set.
I "gnome" how happy this must make you all!
I can't WAIT to play with my new sets!
Not quite sure what the journals are? Maybe you are, but you're stuck for ideas.
Visit our Pinterest page for MANY ideas.
Or, visit our FB page for some tutorial videos.
Now, it's Thursday which means it's challenge time!
We have a new challenge called Tag, You're It!

We're looking for gift tags, tag journals, tag cards, tags in journals...anything tag related.
Before we see what Janet, our featured artist has created, let's see who won our V is for Vacation challenge!
Our Top Spot went to:
#16 Lynn C.


Please contact Leah at Feedback@artimpressions.com
to claim a free stamp set of your choice!
Also, be sure to grab our badge to display on your blog, Facebook or Instagram!
Now for our Lucky Random Winner.


Please contact Leah at Feedback@artimpressions.com
to claim a free stamp set of your choice!
Also, be sure to grab our badge to display on your blog, Facebook or Instagram!
Now for the MAIN FEAUTURE!
Janet has created a gorgeous tag using one of the circlet sets.
Look at all of that decadent GOLD!!
Look at all of that decadent GOLD!!

Hello everyone! It's my turn to bring you inspiration for our newest challenge, Tag You're It! Link up your own tag inspired projects for a chance to win a free stamp set!
I was super excited to learn that I was the featured DT member for this challenge. For some time, I've been thinking about using Circlet Mini Tryfolds to make dimensional tags. Other DT members have done that but I had a slightly different idea to try. I've been eyeing 5276-Tropical Circlet for a while so I ordered it and used it for the tag I've made for the challenge.
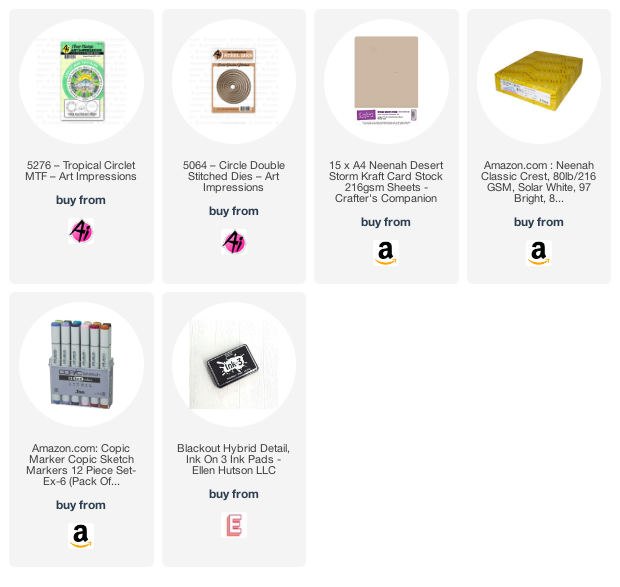
The other supplies I used are shown below. It includes the 5726-Nested Circle Dies and 5132-Tag Stitched Dies. I also chose a stencil from my stash to make a background and distress oxide ink pads in Forest Moss and Peeled Paint. Not shown are white cardstock for the tags that I layered, and a kraft cardstock for the tag front. I used foam tape to adhere the layers together and give dimension to the tag. I also used a two twines, some star stickers, and green gems for the finished tag. Finally, I picked a light olive cardstock to use for the ringed sentiment that is shown on the top layer of the tag.

To begin, I first stenciled the two green inks randomly on an A2 sized kraft cardstock piece. I thought it needed a little brightening so I used some metallic green spray which also added some great shine to the piece.
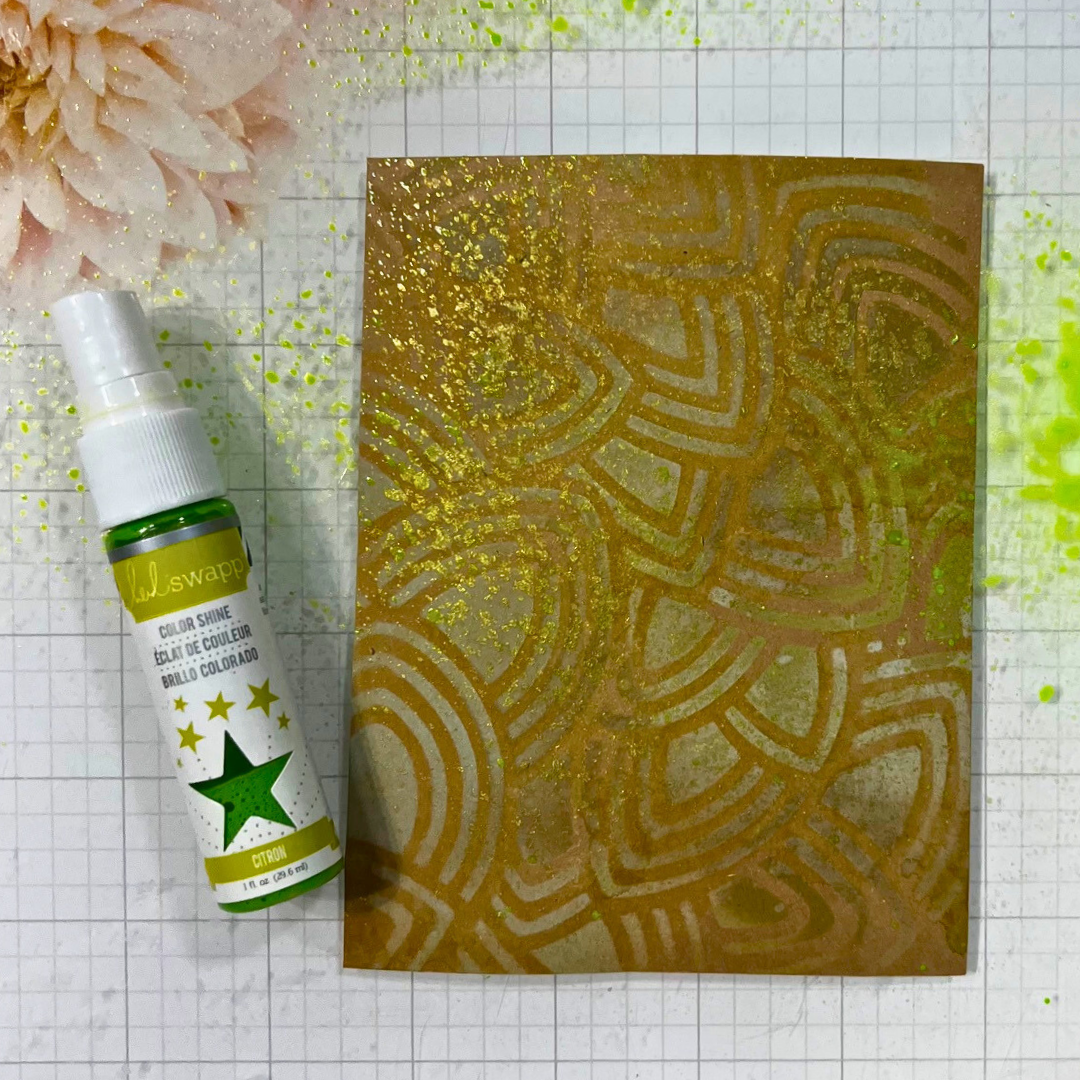
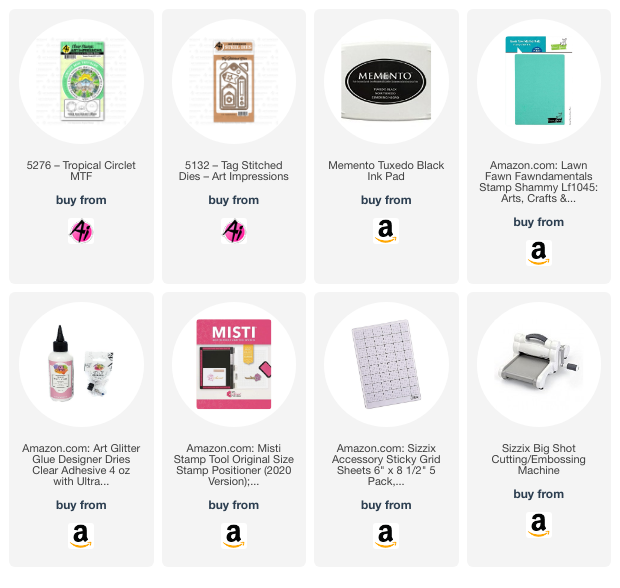
After it dried, I cut a tag out using the largest of the tags from the 5132-Tag Stitched Dies. I used the same large tag die to cut 3 more tags out of white cardstock. The white tags will be layered but no one will every be able to tell they are white when they are stacked up because of the way I ink them up. You'll see that step as you read on. I chose a 5726-Nested Circle Die that fit around the outside of the circle sentiment and cut that into the kraft cardstock tag to create a window.

I matched up one of the white tags behind the decorated tag and traced the circle window on to it. Then I used the circle as a placement guide so that the first layer of leaves in the Circlet Mini Tryfold set was centered in the middle. I just eyeballed the center. It needs to be close but not perfect. Then I used the included Mini Tryfold die to cut the center out of the leaves.

I lined up the next white tag under this one and traced the leaf opening on it as you see below. I used that as a placement guide for the second stamp of the Circlet set.

Then I used the included Circlet Mini Tryfold die to cut out around the chairs and umbrellas.

On the last white tag, I again traced the circle window from the decorated tag and used it as a guide to center the final and 3rd Circlet Mini Tryfold image of the sun with the sentiment. I stamp it again on the light olive cardstock and used two of the Nested Circle Dies to cut the center and the outside of the sentiment. Doing so creates a sentiment ring that is hollow in the center like a donut. The outer circle die is the same one I used to cut the circle out of the decorated tag. The center circle die closely matches the inside circular border of the stamp.

Here's where it looks like a hot mess! I sponged Forest Moss oxide ink along the edges and sides of all the tag pieces. I did that so when someone looks at the side of the finished tag, they will see the inked green edges and not the white ones. This is a minor thing but I think the finished look is better if no one can see that the layers are white. I used a detail brush and Peeled Paint to color the leaves on the first tag. I added white highlights to the leaves with Bleedproof White Ink available from the Ai store. I used Copic markers for the other two tag images.

At this point, I applied foam tape to backs of the 1st and 2nd white tags. I did the same with the sentiment ring I had cut out of light olive cardstock.

I adhered the 2nd tag with the umbrella and chairs to the top of the 3rd tag with the sun and water, being careful to match all edges.

Following the same process, I adhered the first tag with the leaves on top of the other two tags and used wet glue to adhere the decorated tag directly on top. It still looks like a hot mess here but hang in with me.

I adhered the circle sentiment on top with foam tape which really makes the layered image pop from the rest of the tag. No more hot mess! Now it looks cohesive and and neat.

Here is a side view of the tag. Although you can see the white foam layers, there is no hint of white cardstock between the layers thanks to the inking I had done to prep them. If I had thought of the foam tape showing, I would have used a Copic marker to darken the foam edges as well. The finished tag is surprisingly not very bulky. I measured it to be slightly more than 1/4" thick.

To finish the tag, I used a small tag die from the 5132-Stitched Tag Die Set and I cut a reinforcement circle for it from the set out of the decorated kraft cardstock that was left over from cutting the tag out. I used another piece of that to cut a star from the Stitched Tag set and adhered it to the small tag as decoration. I also added two gold star stickers and three green gems to the front. The final step was to thread the tags with twine and add a twine bow to the top.

I must say that even I was a little concerned that the tag might not turn out as I had imagined but it really is pretty great. The layers are unexpected and make the tag unique and special. I will definitely do this same technique with other Circlet Mini Tryfold sets now that I know how to approach it. I hope you will give it a try too!
Thanks so much for stopping by today and don't forget to enter your tag in our challenge. I hope you'll stop by the store soon for all your card and tag making needs.

✻ Please make a new card or handmade crafty creation. You can make any item you wish; this is not limited to cards!
✻ Limit two submissions per person. You will receive extra votes if you use Art Impressions stamps!
✻Please include your first name and last initial on your submission.
✻We love to comment on your entries, but keep in mind if you use a private group or a platform that you need to sign up for, we probably won't be able to.
✻ The Ai Challenge is open to everyone, international submissions are welcome!
✻ Include a link back to the Ai Blog or grab our button on the top right of our sidebar!
✻ Share the Ai love if you can, by clicking and commenting on your fellow crafters.
✻ Make sure to get your link up by the deadline to enter your creations.
✻ Good luck and happy stamping!
Join our challenge by linking up below.